Gave headlight restoration a go... I have about 6 hours invested just in headlights yesterday and today. A far cry from the 30 minutes it said on the package.

But there was a lot of trial and error since this was the first time I had attempted this...
Before Sylvania headlight restore kit:

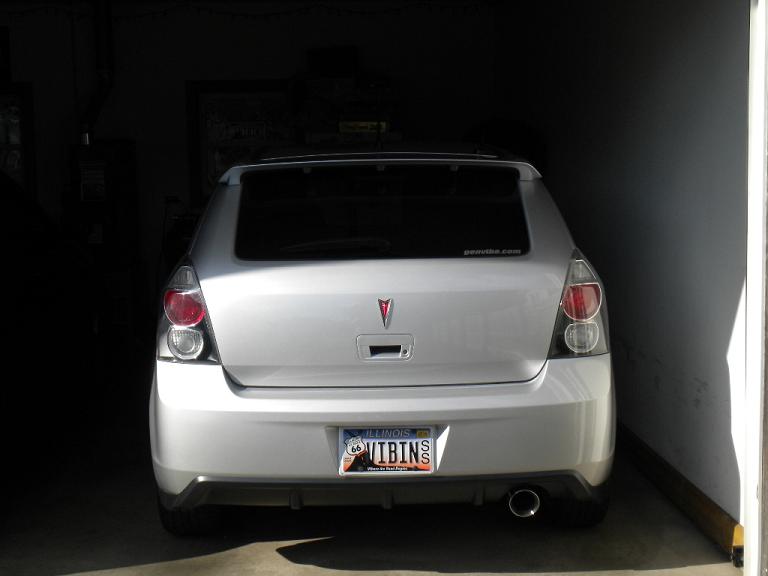
After:

I could only get the driver's side in before dark yesterday. The final UV coating step did not look good this morning, very streaky so I had to hit it with Plast-X to get all of that junk off. I then reapplied and it looked better by the end of the afternoon.
The passenger's light didn't turn out as good as I had hoped, it's still somewhat cloudy but it was also in worse shape than the driver's side when I started.. For it, I tried the Mothers kit as it has all those sanding/polishing attachments for the drill and I felt like being lazy.

Ultimately I used a combination of both kits for this light and sealed up with the Sylvania's UV blocker stuff - which a comporable item is missing from the Mothers kit.
Then a shot of TrimShine on the plastics, a pre-winter waxing, sanding of rusted paint chips and touch-up paint. My hackish attempt at repairing the roof rack rubber molding with black silicone failed, so I just stuck electrical tape over the crack and missing section of rubber.
Old car looks great (from a distance.)

Washed that filthy little blue Chevrolet in the background too.