Page 1 of 1
Repair Log “Silver Bullet”
Posted: Sat Feb 15, 2020 12:12 am
by FrankenVibe
This will be a (hopefully photo heavy) log of the repairs I perform on my ‘03 Base Manual, “The Silver Bullet”
I’ll start with the driver side mirror. This car has working automatic mirrors, but the driver side one was in rough (though functioning) shape. The junk yard I went to had an ‘04 Matrix with manual mirrors. I figured the cover was the same and assumed the mirror glass would switch over as well. Turns out the cover is an exact match, but the glass has a different backing that won’t attach to the automatic mechanism. I swapped the cover, and some hardware that was rusty. I’ll be on the hunt for an automatic mirror glass, but it’s fine for now.
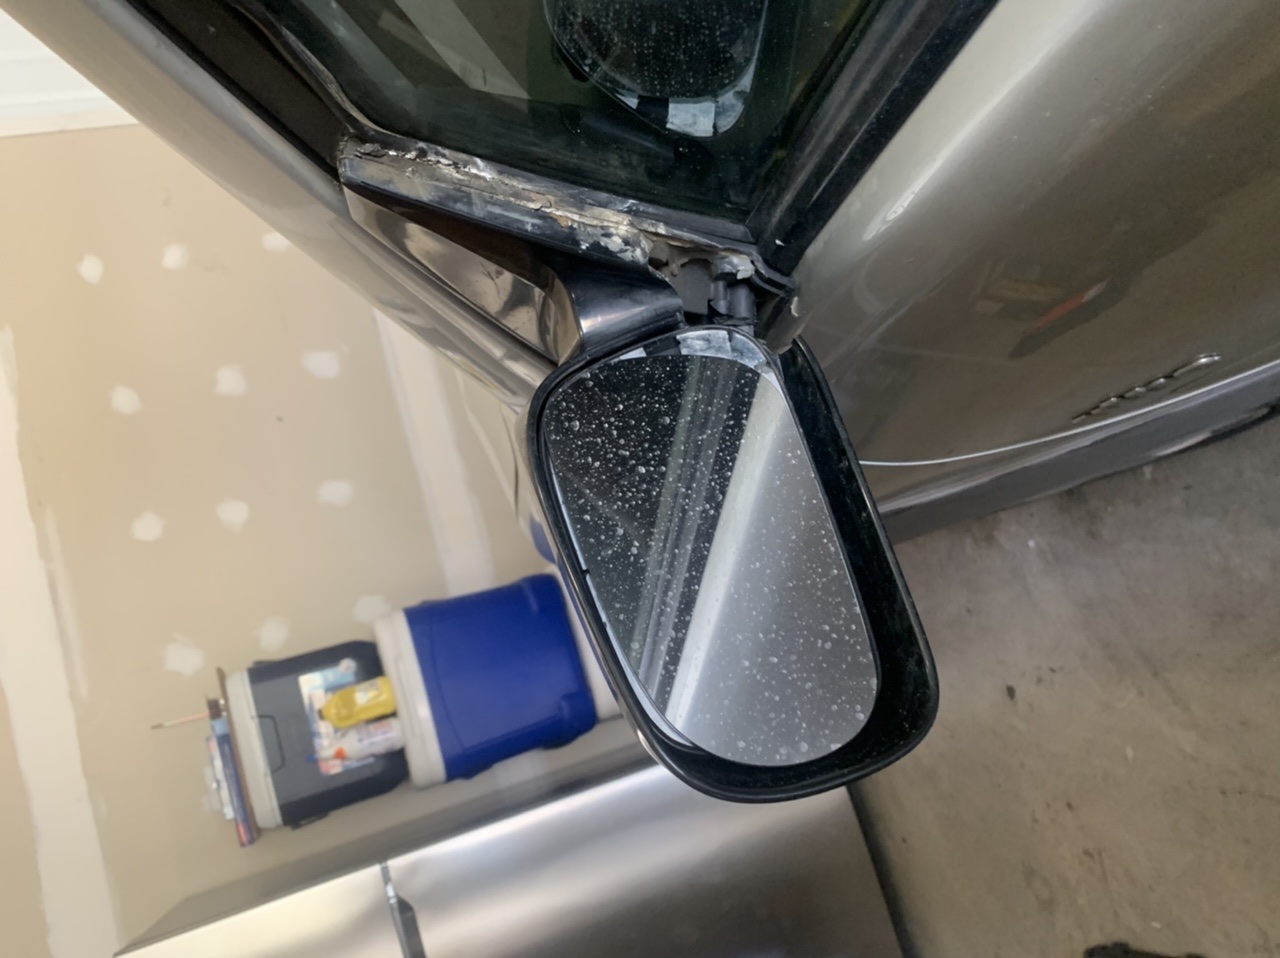
- Mirror Before
- 80733D1C-6A5F-4D2D-8695-6DF29C8E3AB0.jpeg (224.95 KiB) Viewed 3091 times
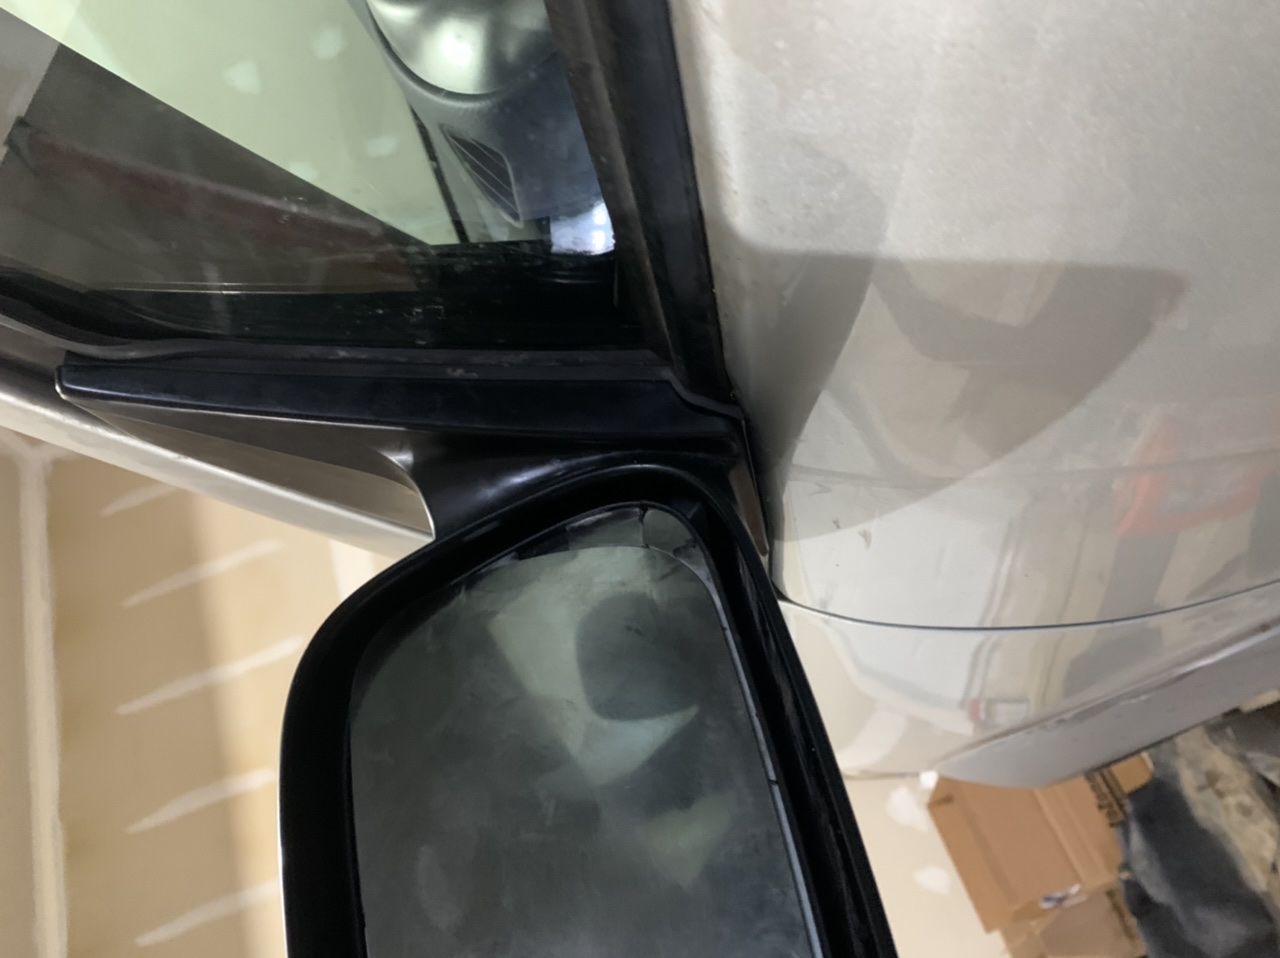
- Mirror After
- 6E1F4A0C-74DC-4730-A0AC-4AEA7B8D3A6F.jpeg (193 KiB) Viewed 3091 times
Re: Repair Log “Silver Bullet”
Posted: Sat Feb 15, 2020 12:19 am
by FrankenVibe
Re: Repair Log “Silver Bullet”
Posted: Sat Feb 15, 2020 12:24 am
by FrankenVibe
Re: Repair Log “Silver Bullet”
Posted: Mon Feb 17, 2020 4:31 am
by zbyers
With the door check, is it catching the window now? If so, the fix is to grind a corner off of the strap so it clears the window when it rolls down.
Otherwise, so far what you've done is pretty common to all of them at this age.
Re: Repair Log “Silver Bullet”
Posted: Mon Feb 17, 2020 4:54 am
by FrankenVibe
zbyers wrote: ↑Mon Feb 17, 2020 4:31 am
With the door check, is it catching the window now? If so, the fix is to grind a corner off of the strap so it clears the window when it rolls down.
Otherwise, so far what you've done is pretty common to all of them at this age.
Is that what the window clicking on the way down is????? I thought I had put the door trim in wrong and was gonna try to redo it this week haha. How much should I trim? Is that due to using the matrix door check?
Re: Repair Log “Silver Bullet”
Posted: Mon Feb 17, 2020 5:17 am
by zbyers
FrankenVibe wrote: ↑Mon Feb 17, 2020 4:54 am
zbyers wrote: ↑Mon Feb 17, 2020 4:31 am
With the door check, is it catching the window now? If so, the fix is to grind a corner off of the strap so it clears the window when it rolls down.
Otherwise, so far what you've done is pretty common to all of them at this age.
Is that what the window clicking on the way down is????? I thought I had put the door trim in wrong and was gonna try to redo it this week haha. How much should I trim? Is that due to using the matrix door check?
yep, that's probably what it is. be careful, as it can cause the glass to shatter. other members were saying they trimmed about 3/4" off the corner on the window side, and the smoothed out the points.
viewtopic.php?t=31218
Re: Repair Log “Silver Bullet”
Posted: Mon Feb 17, 2020 5:55 am
by FrankenVibe
zbyers wrote: ↑Mon Feb 17, 2020 5:17 am
yep, that's probably what it is. be careful, as it can cause the glass to shatter. other members were saying they trimmed about 3/4" off the corner on the window side, and the smoothed out the points.
viewtopic.php?t=31218
Thanks for the info and link. Wish the photos in the first post were still there, but I get the gist haha. I could perhaps bend the door back into shape with some wood and hammering, but I would trim the door check while I’m in there anyway.
Front Passenger Knuckle
Posted: Sat Mar 28, 2020 4:32 pm
by FrankenVibe
Went for another inspection attempt, turns out my right front bearing and hub need to be replaced. Instead of dealing with all of that, I purchased an entire MOOG knuckle assembly, which includes the bearing and hub already installed. Wasn't a big deal, other than being unable to remove the lower ball joint from the old knuckle since the cotter pin was stuck into the opening of the nut and I couldn't pull it out. Purchased a new MOOG lower ball joint with a coupon code from Advance Auto. I also installed new pads and rotors, and cleaned and lubed the caliper pins. I may have bent the brake shield on the new knuckle, because it was grinding pretty badly and I had to bend it back quite a bit. After that, passed the next inspection.
Re: Front Passenger Knuckle
Posted: Mon Mar 30, 2020 4:04 am
by zbyers
FrankenVibe wrote: ↑Sat Mar 28, 2020 4:32 pm
Went for another inspection attempt, turns out my right front bearing and hub need to be replaced. Instead of dealing with all of that, I purchased an entire MOOG knuckle assembly, which includes the bearing and hub already installed. Wasn't a big deal, other than being unable to remove the lower ball joint from the old knuckle since the cotter pin was stuck into the opening of the nut and I couldn't pull it out. Purchased a new MOOG lower ball joint with a coupon code from Advance Auto. I also installed new pads and rotors, and cleaned and lubed the caliper pins. I may have bent the brake shield on the new knuckle, because it was grinding pretty badly and I had to bend it back quite a bit. After that, passed the next inspection.
NIce work. We recently did the exact same thing on mom's AWD. Those Moog hub assemblies are great.
Re: Front Passenger Knuckle
Posted: Wed Apr 01, 2020 2:46 am
by FrankenVibe
zbyers wrote: ↑Mon Mar 30, 2020 4:04 am
NIce work. We recently did the exact same thing on mom's AWD. Those Moog hub assemblies are great.
Right? So convenient! I almost pulled the trigger on the Hub Grappler Set, but I don’t do them often enough to justify the cost.
Re: Repair Log “Silver Bullet”
Posted: Sun Apr 25, 2021 11:19 pm
by FrankenVibe
Welp, had a collision involving the front passnger corner:
https://imgur.com/D8jG0LW
Washer Reservoir, Headlight, Fender, Fog Light and Bumper were broken. Inner Tie Rod was bent, along with the support structure for the fender and washer reservoir. Upper radiator support was bent a bit more than it normally is (note the driver and passenger side are not the same). Frame was fine though, so after having multiple body shops blow me off, I "fixed" it myself. Quotes because its not perfect, but fine for a beater. First I broke the outer tie rod end while struggling to remove it from the knuckle. Then I used an angle grinder to cut the tie rod, since it was so bent I couldn't dream of getting the inner tie rod removal tool on it otherwise. Then I miraculously found a 2003 vibe parts car nearby and got all the parts I needed for $285. Even got a new driver side mirror, since my mirror glass was cracked (how it was when I bought it). Then I knocked everything back into place with pieces of 2x4 and 1x4, as well as a sledgehammer:
Test Fitting Washer Reservoir:
https://imgur.com/6OYMaZ7
I couldn't get the fender to line up, it was driving me nuts, then I finally noticed this bracket was bent back, so I knocked it forward and everything lined up:
https://imgur.com/85l0dDH
After:
https://imgur.com/c9qBqu0
It ain't pretty, but it was cheap and will keep me on the road for a while. Now I just gotta get that broken off O2 sensor out of my exhaust so I can put in a new one and pass inspection. Sigh.
Edit: Anyone know where these bits go?
https://imgur.com/q6WVGti