Once you're sure everything is oriented correctly, install the front subframe bolts to attach the arms, through the bolt sleeves, to the vehicle.
As you're tightening them, pay attention to whether the arms are pinching or binding anywhere.
This is the step where all of our previous human error and sloppiness resolves itself--inaccurate bending, hand drilling for the bolt sleeves, eyeballing the drilling angle--it's all gonna come out in the wash right now.
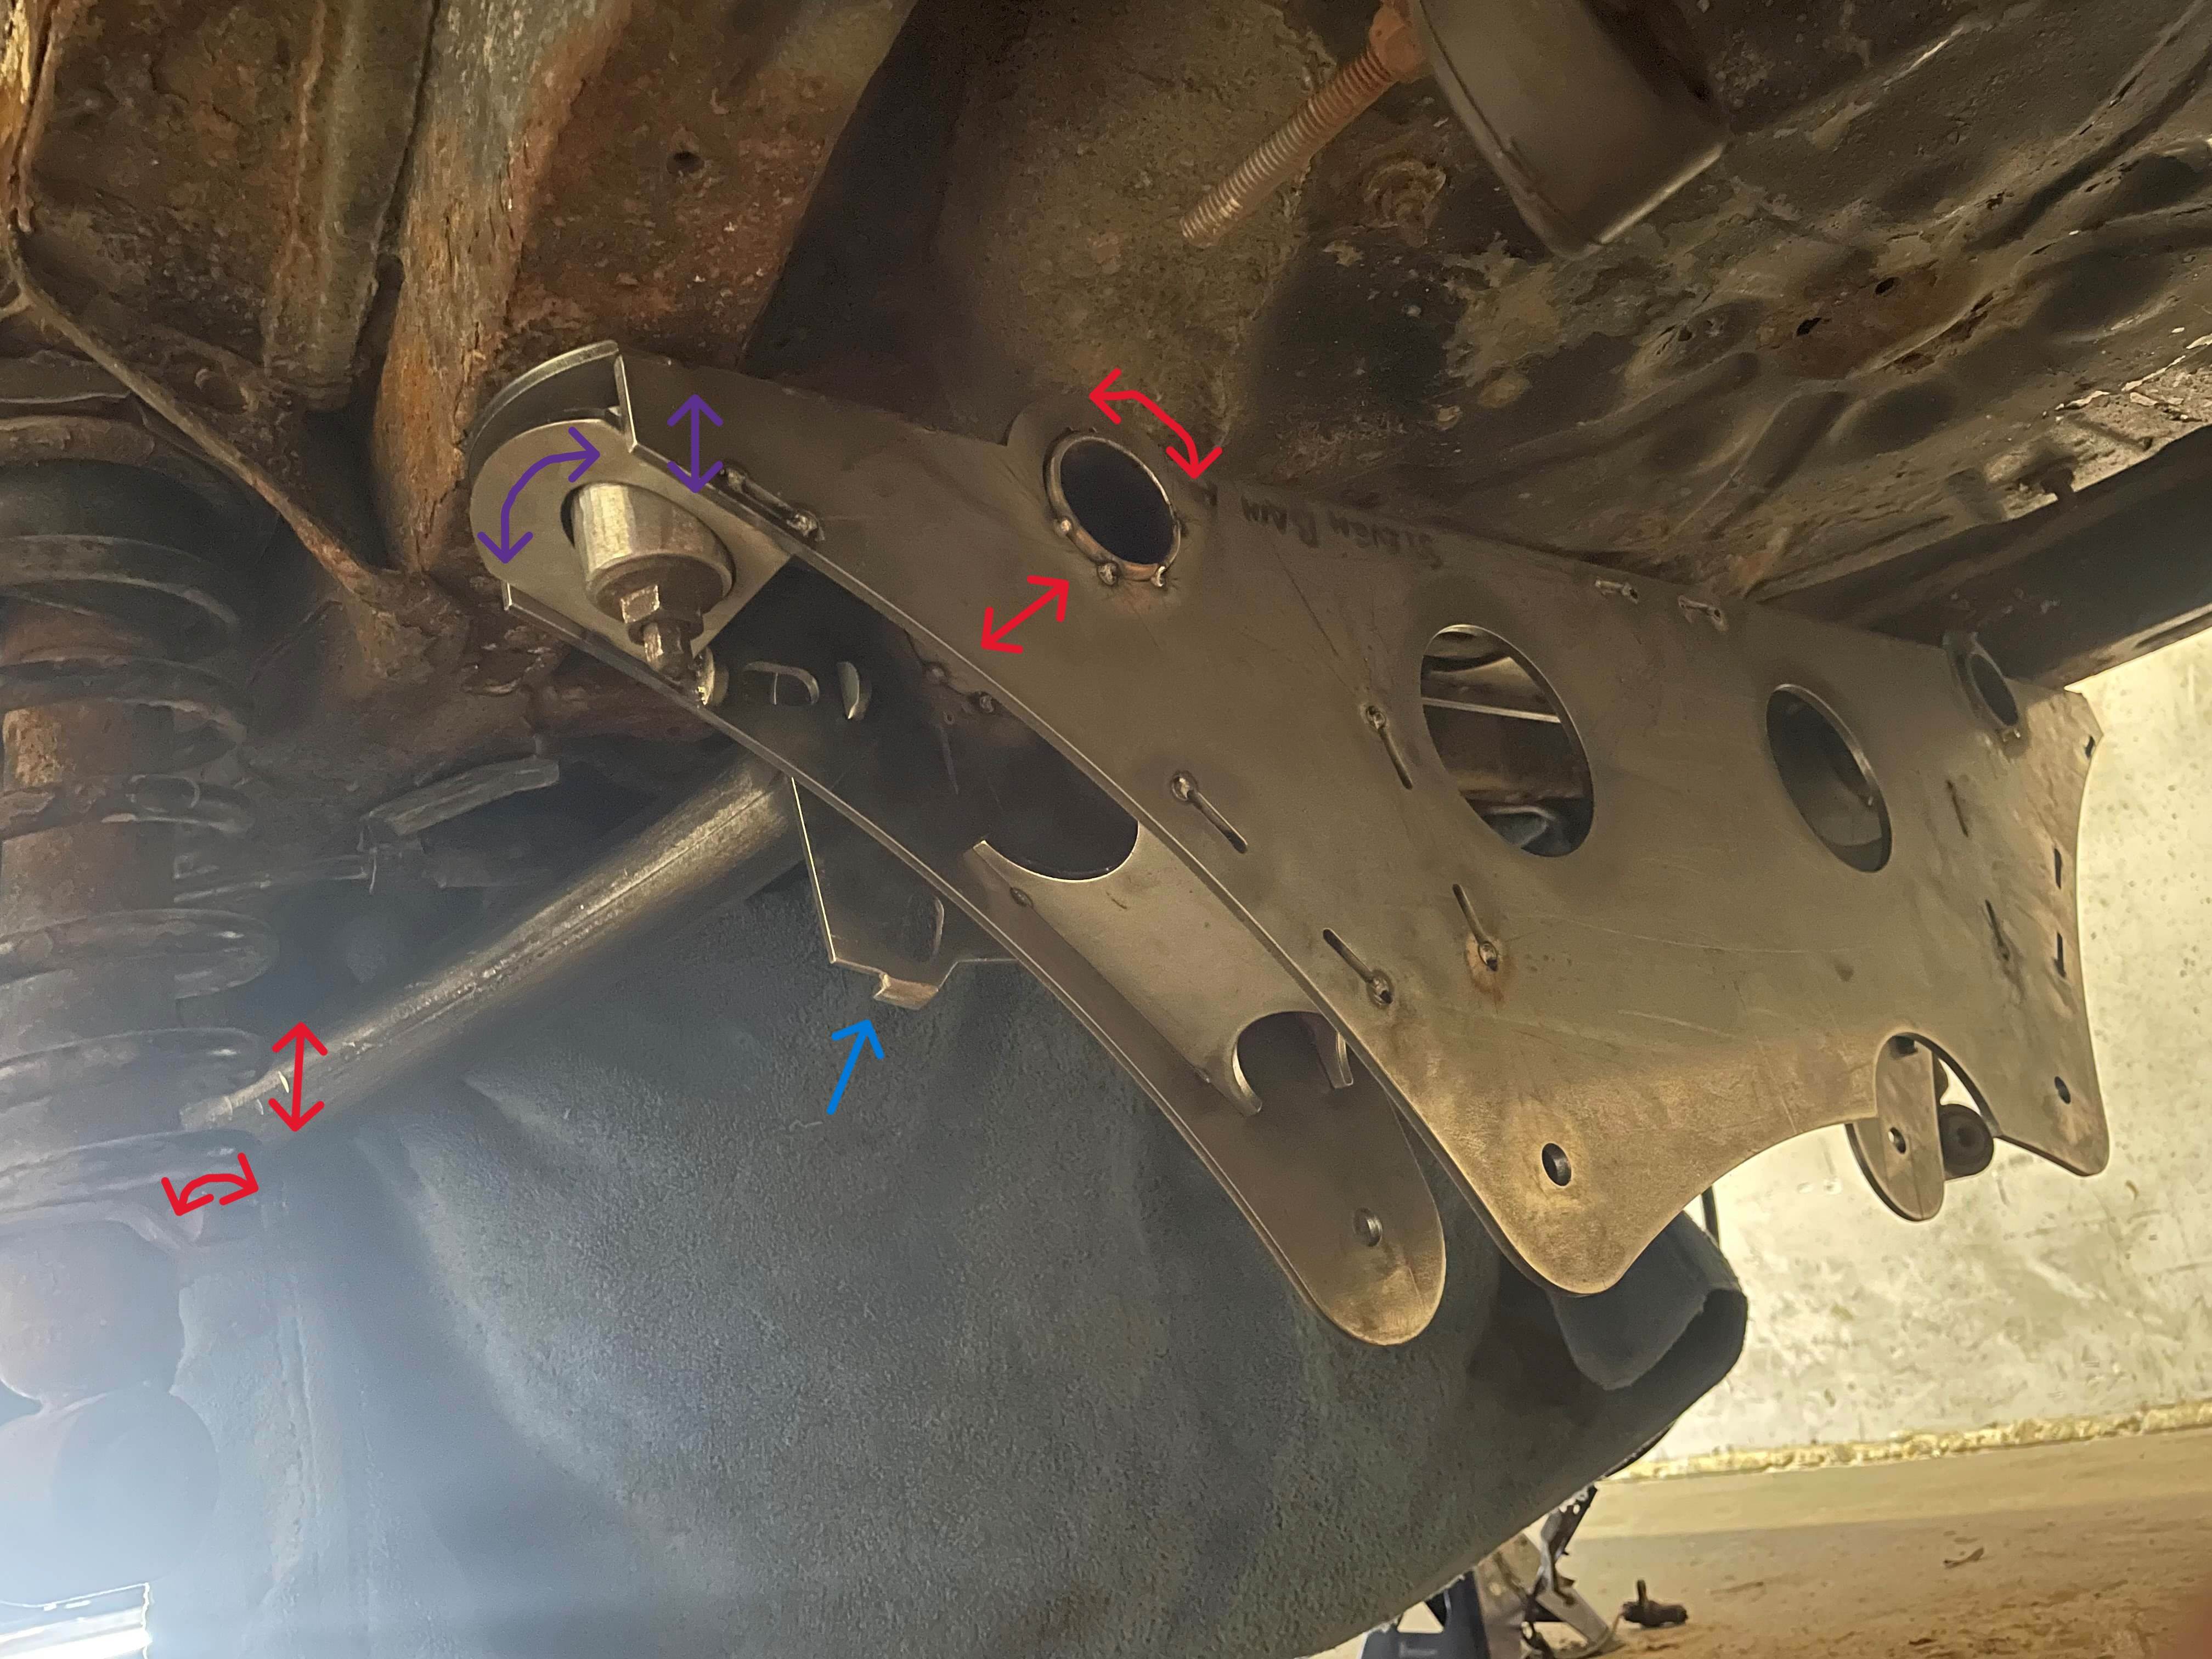
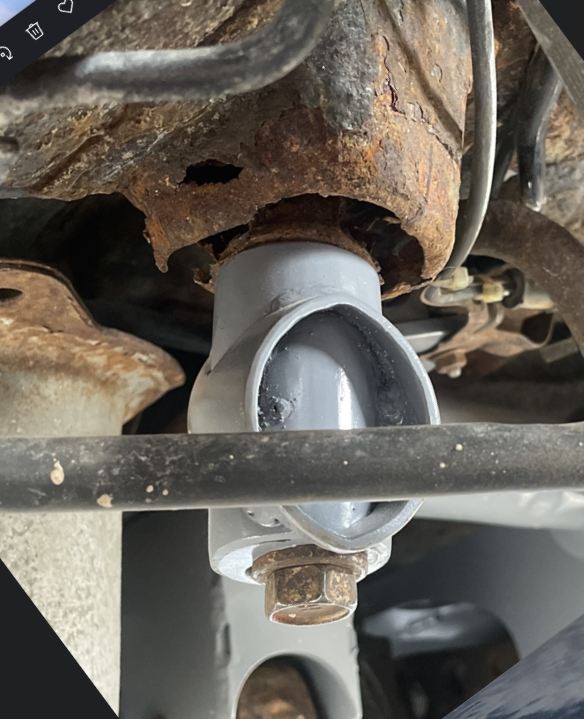
Check again that you've installed the upper control arm ears correctly. Last chance. (Blue arrow)
- detailreducedIMG_2719.jpg (984.27 KiB) Viewed 2375 times
We have 2 positions that we know are correct and that are locked in: the location of the bolts, and the holes in the laser cut subframe plates.
All we have to do is guide our bent tube to the best fit between those positions.
We have 4 primary dimensions of adjustment to accomplish that (Red arrows):
1) The arms can rotate relative to the subframe plates
2) The arms can move forward and backward relative to the subframe plates
3) The arms can move up and down relative to the bolt sleeve
4) The bolt sleeve can rotate in the arm, moving the bolt hole (slot) relative to the arm
And 2 more secondary dimensions of adjustment (Purple arrows), that should be avoided unless absolutely necessary because they compromise one of our fixed positions:
5) The subframe can move up and down relative to the rear bolt sleeves
6) The rear bolt sleeves can rotate, moving the subframe forward, back, left, right, and at angles relative to the vehicle.
Again, these last two get messy. Only for those playing on expert mode.
Tightening the bolts down will do 95% of the adjustment automatically. The most you're likely to have to do is tap the end of the arms up or down along the bolt sleeves.
You'll know you've found the right position when the front bolt sleeves are tight to the vehicle and visibly straight.
Here are some pics from the future of roughly what you're looking for:

- Screenshot (31).png (386.94 KiB) Viewed 2375 times
- Screenshot (32).png (627.48 KiB) Viewed 2375 times
Stay tuned for a "How To Replace Your Rotten Subframe Mounts (Front and Rear!)" thread. Much smaller project than this.
Once you're in the right position, tack the tube where it passes through each plate to lock everything where it is. We want to do the least welding possible with the subframe on the car, so 4-8 tacks per side is plenty. I put a thick towel over the gas tank to insulate it from sparks and my arc from gasoline vapors. Taking the gas tank out would have been better. Use your judgement. It is also good practice to disconnect the battery.
Tacks done on the vehicle:
- reducedIMG_2720.jpg (740.83 KiB) Viewed 2375 times
If you left your gas tank in,
DO NOT tack the front bolt sleeves to the arms while the subframe is on the vehicle. If they're tight enough for a friction fit, great: take the subframe off and tack them on the bench. If they're too loose for a friction fit: trace the edge of the hole in the tubing where they meet so that you can find that exact position again on the bench. DO NOT BLOW YOURSELF UP TRYING TO SAVE A STEP. I know the temptation is strong. I too have felt it.
Tacks done on the bench:
- IMG_2725.JPG (994.27 KiB) Viewed 2375 times

