How to do an HID retrofit
Posted: Fri Oct 03, 2014 4:31 pm
Hello once more kind Vibe people! A lot of people have asked about my projector headlights, and since I just did another set (posted at the bottom of the page) I thought it would be a good time to do a writeup!
You'll need a few things for this:
Phillips head screwdriver
One/two flathead screwdrivers you don't mind getting gunked up
Oven large enough to fit headlamp assembly
Cookie sheet
Oven mitts AND heat-resistant gloves (can't use oven mitts for handling the light warm, can't use gloves to remove sheet from warm oven)
Long, thin pliers
Paint (as needed)
HID retrofit kit (theretrofitsource.com is a great resource, I used Morimoto Mini H1 retrofits w/ 70mm LED halos)
Butyl resealing glue (Not necessarily needed, but if you end up without enough glue moisture WILL get in your lights)
Silica gel (optional to soak up minor moisture)
*I'm not responsible for ruining your lights, melting things, exploding houses, alien invasions, etc...*
Clean the lights well. If there's any residue it may meld itself to the plastic, and essentially ruin the lens.
First things first, get a decent set of lights. Eagle Eyes brand had been known to have quality issues, and after comparing one to the DEPO brand units I have, I can say that the DEPO lights are definitely much higher quality.
Start by removing the bulbs from the assembly.
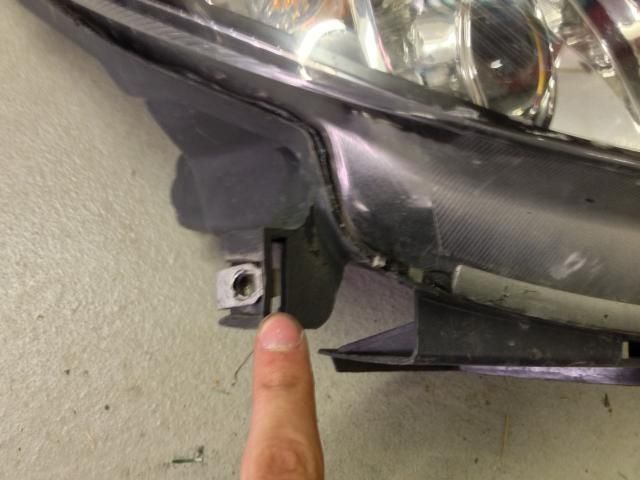
Then remove the two screws holding the lens to the housing.
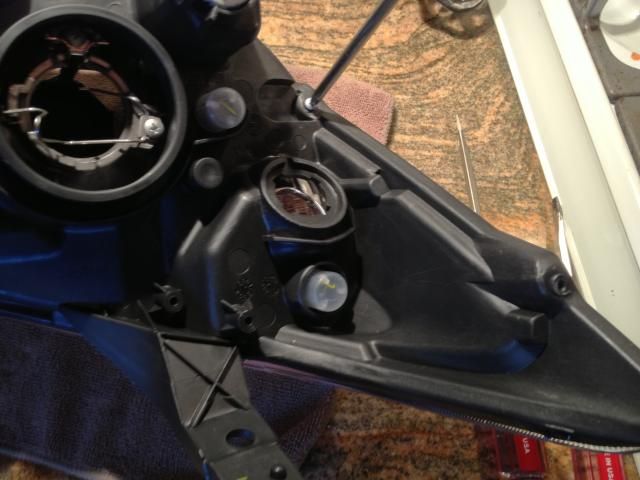
In this photo the other screw is removed (you can see the hole) while my screwdriver is on the other screw.
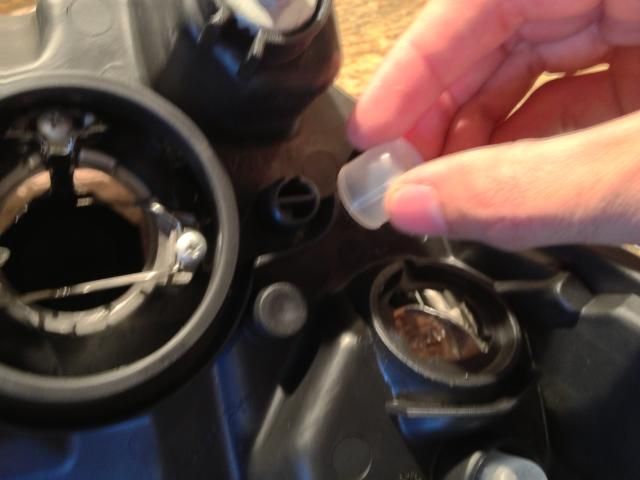
Then remove the three moisture caps from the assembly.
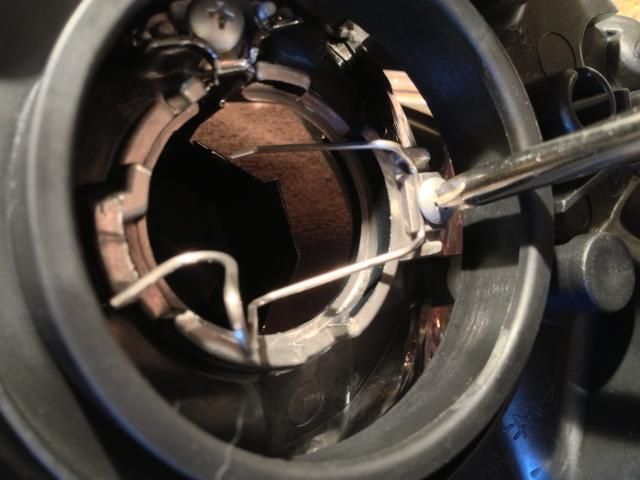
Remove bulb clip. You will not reuse this.
So here's what's removed from the lights to be set aside and reinstalled later
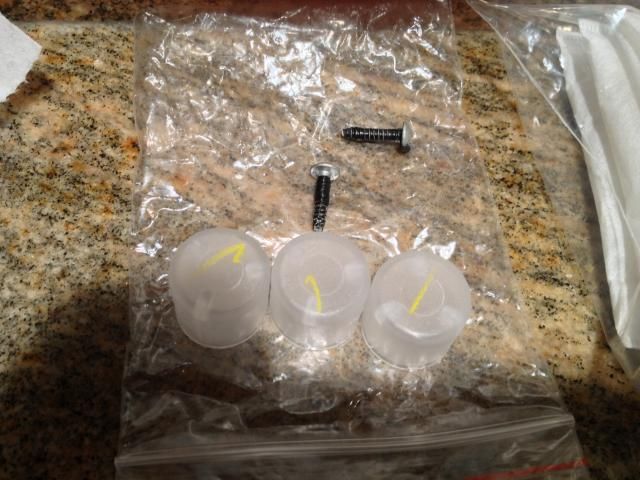
** I forgot to take pictures of the rubber feet on the lights. Remove them then reinstall later**
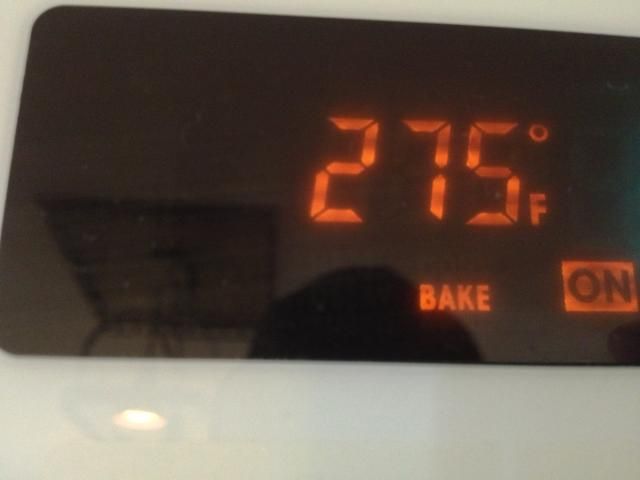
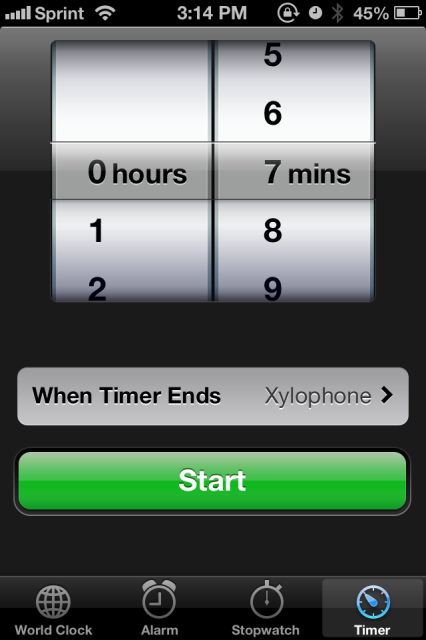
Then, preheat the oven to 275 degrees Fahrenheit
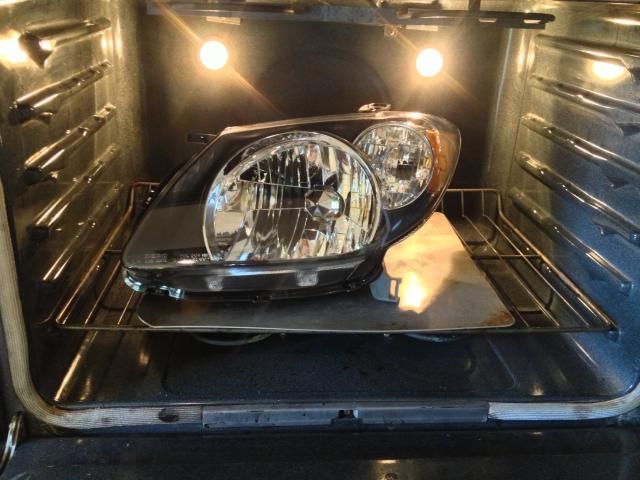
Put the light assembly on the cookie sheet and slide it into the oven once it's warmed up
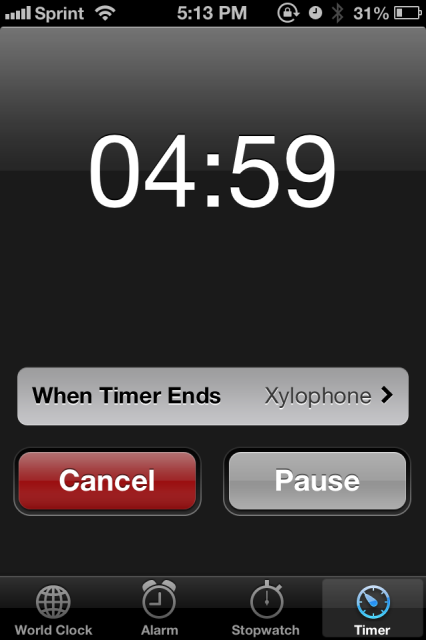
Set your timer for seven minutes

Once seven minutes is up pull the light out, take your flathead screwdriver and gloves, and pry the clips off the lens, as pictured
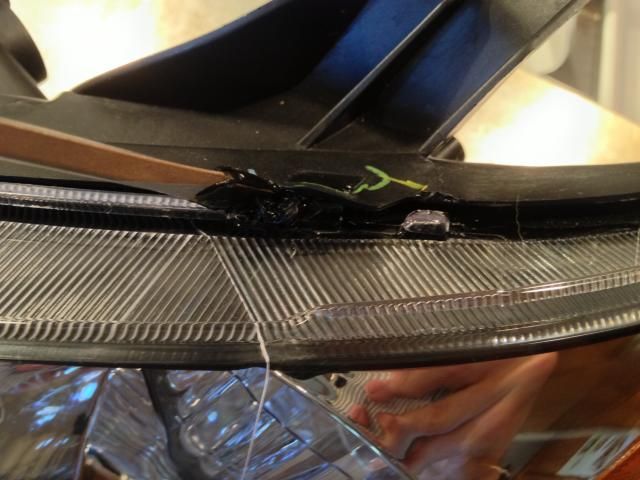
There are several of these. Be careful as they can break, but when warm they are VERY malleable. Just pry the clips off. Then, back into the oven for another few minutes
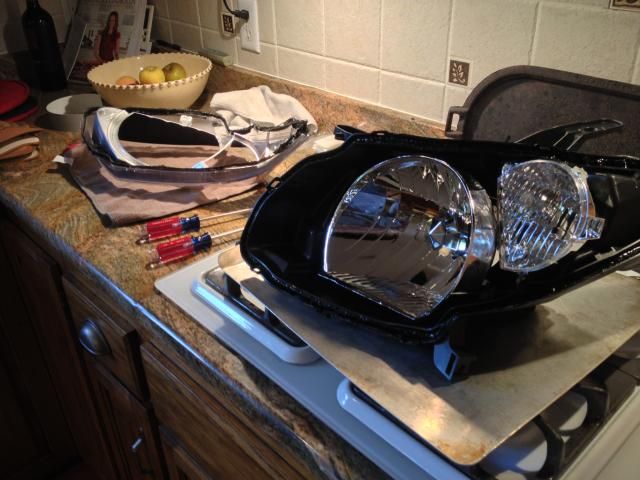
Once seven minutes have passed again pull it back out, and start prying. Pry evenly around the lens. Once it starts coming, grab the lens and start pulling it away from the housing (using gloves the entire time of course). The glue will stick like warm cheese. But once they're separated set the lens on a soft towel so you won't scuff it. Get the stringy glue off anything important and back into the channels. Some may choose to scrape it all off and replace it with new glue. Just keep the glue warm while scraping it off.
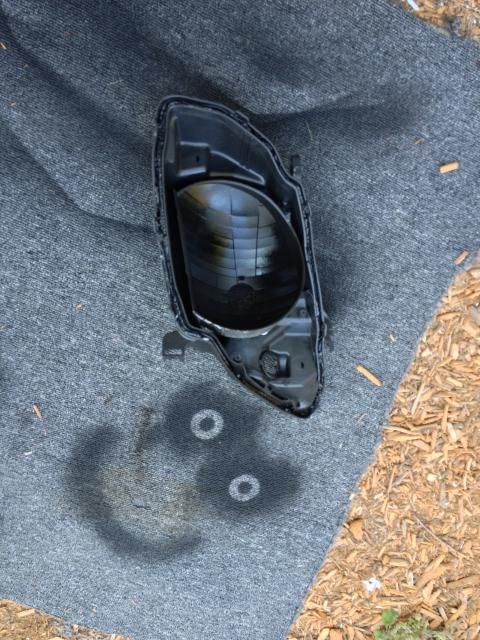
Once the lens is off you can turn the over off for a while, and should have this
Now, remove the bulb cover held in by one screw.
You will end up with this
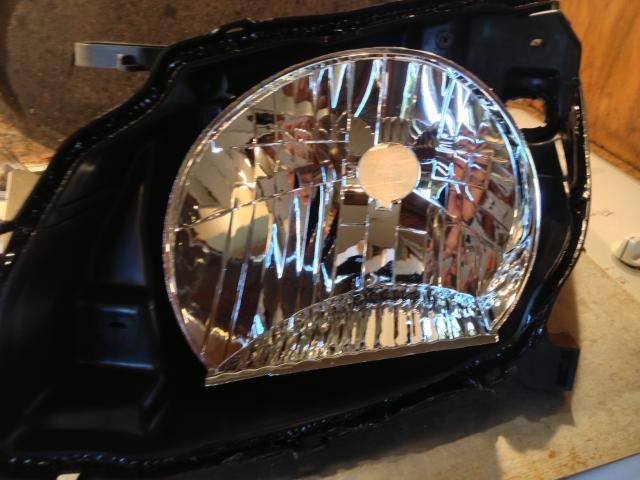
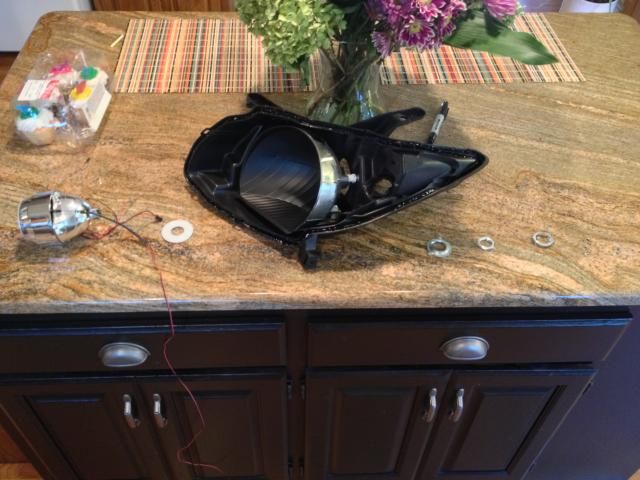
Now that everything is apart, here is where you do various painting and such. The front bezel can be removed with the two screws and gentle persuasion (and gives you access to the reflector if you choose to tint). All I did was the main bucket, and I'm very please with the results.
Paint as you desire and let dry as necessary.

NOTE: Make sure the silicon washers that come with the retrofit kit will match with the paint you did. Since they were white they didn't work with my black headlight buckets. Hence the smiley face above.
Once it's all painted it's time to install the projector assembly. The shrouds , demon eyes, and halos should be installed by this point.
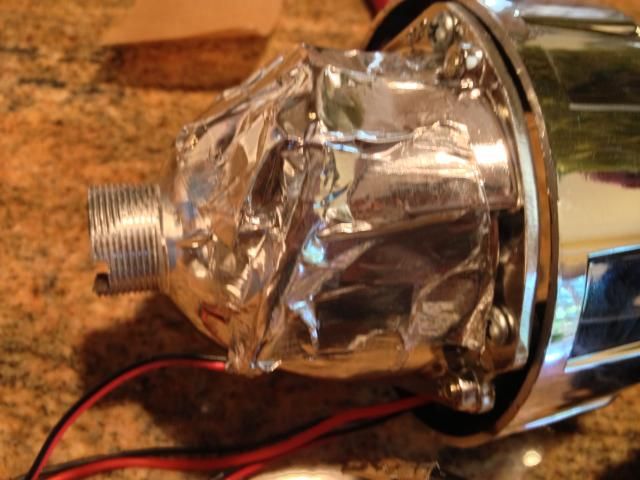
Tip: to hide wires, use aluminum tape
This is the order of installation:
Projector assembly, silicon washer (pictured unpainted), headlamp assembly, H4/9003 adapter ring, locking nut, and bulb retainer (bulb retainer can be installed later)
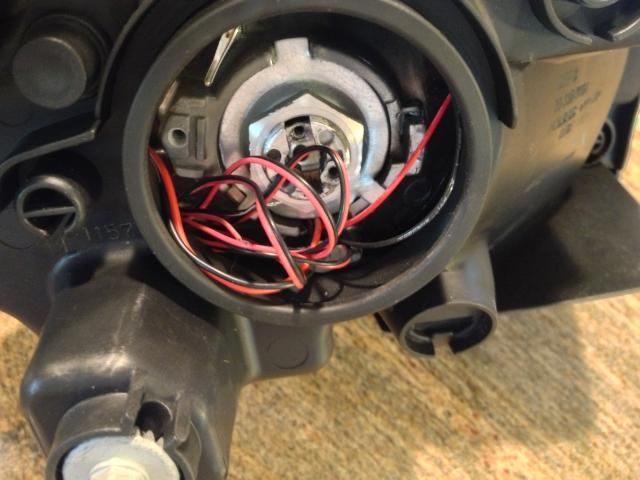
Slide everything in and make sure the wires for the halos/demon eyes/cutoff shield solenoid are in the notch below the adapter ring.
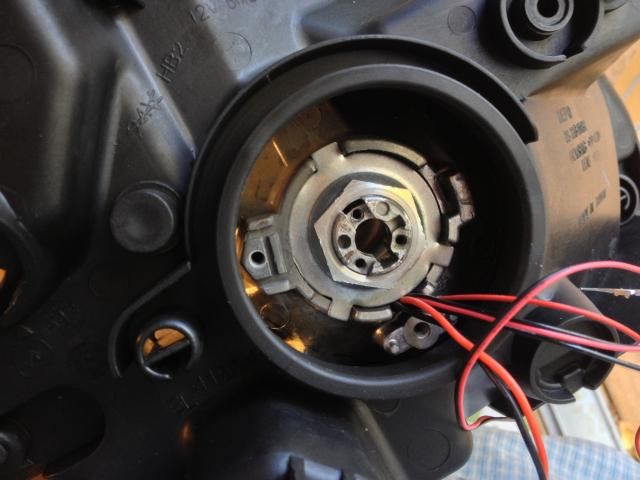
Tighten the nut with the longnose pliers.
NOTE: Aim them before you put the lens in and/or tighten the nut fully. This requires the HID controller, ballasts, and bulbs to be installed and working to the car, and installation of the unfinished lights to the car. I forgot to do this step and had to adjust them with the lens on. It is not fun.
Instructions on how to aim: http://www.hidplanet.com/forums/showthr ... headlights" onclick="window.open(this.href);return false;
Once everything is all aimed and such preheat the oven once more back to 275. Tuck the wires away so they won't get burned, and polish off the insides to make sure all the fingerprints, lint, dust, etc are off the shround, housing, lens, bezel, etc.

Slide the now painted and projector'd assemblies into the oven for FIVE minutes
Pull them out after the five minutes, then press the lens back onto the housing so the clips clip on. If necessary, use rubber-foot clamps to press the lens to the housing (though it is difficult). Then, reinstall the removed things.
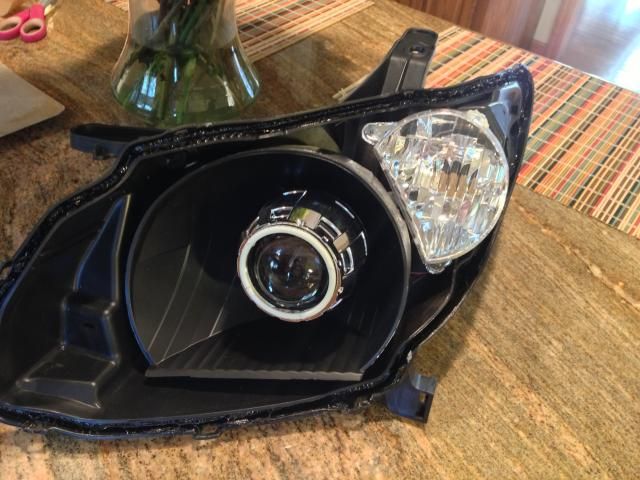
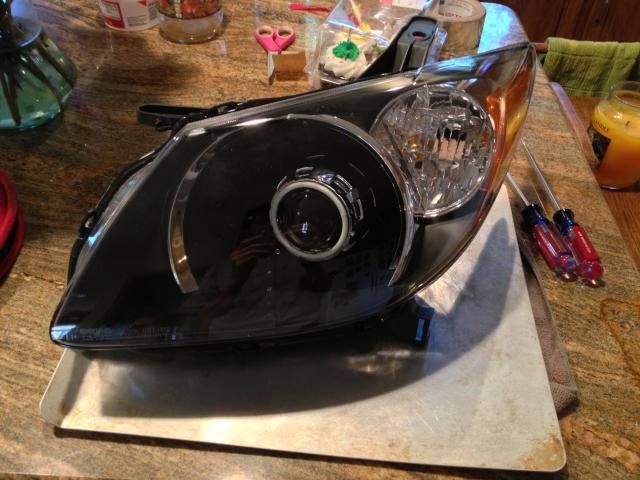
Once they're all sealed up here's what you get!
Repeat for other side....
Once that's done, remove your bumper cover.
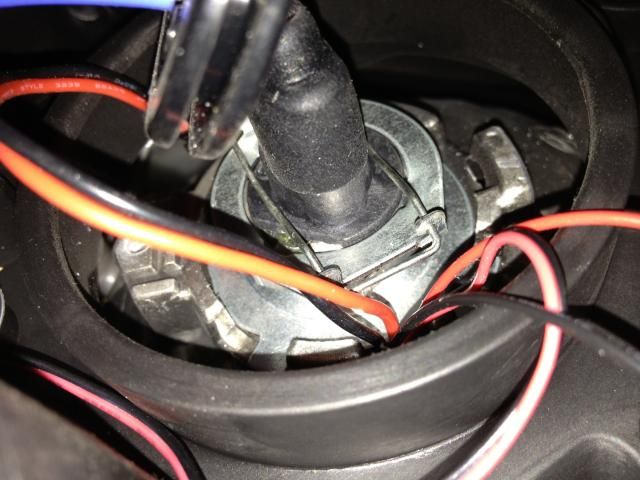
Install bulbs. Retainer and clip go in as pictured.
If you want you can slide some silica gen packets between the bowl and housing.
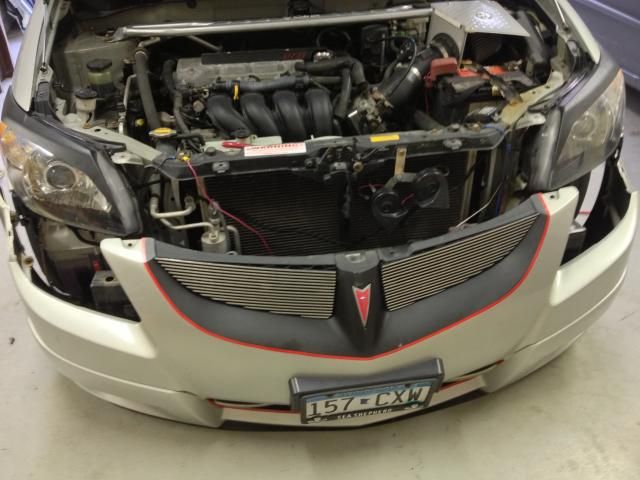
Now, remove old lights. There's three 10mm nuts, two in the engine bay, then one behind the cover.
NOTE: Your new lights may not have these little clips. Remove them and reuse as necessary. You won't get too far without them.
Installation is reverse of removal etc etc.
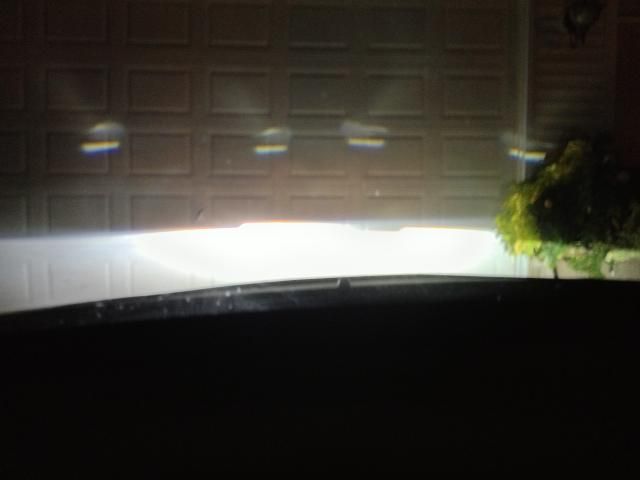
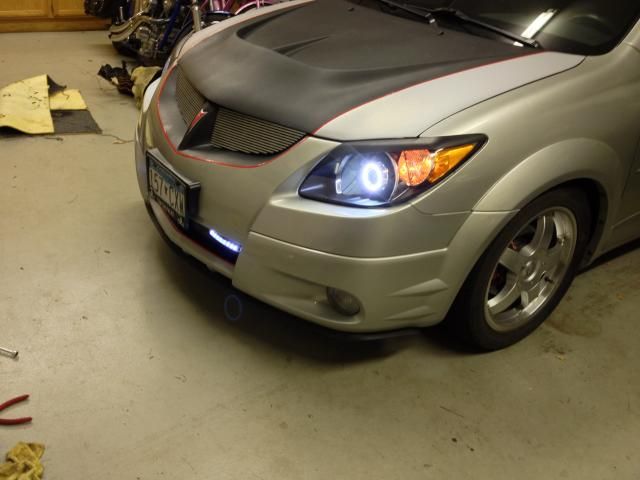
Then... You're done!
Pictured: my not-quite-aimed low beam
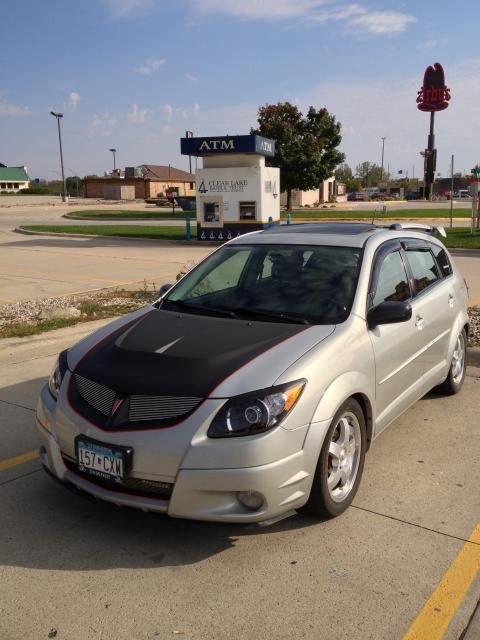
Halos on!
(oh, yeah, I bought Jason's old JSP hood from Leigh, and vinyled it and Plasti-Dipped it so I can remove it later and refinish it when I have more monies).
Enjoy your new lights!
Thanks!
You'll need a few things for this:
Phillips head screwdriver
One/two flathead screwdrivers you don't mind getting gunked up
Oven large enough to fit headlamp assembly
Cookie sheet
Oven mitts AND heat-resistant gloves (can't use oven mitts for handling the light warm, can't use gloves to remove sheet from warm oven)
Long, thin pliers
Paint (as needed)
HID retrofit kit (theretrofitsource.com is a great resource, I used Morimoto Mini H1 retrofits w/ 70mm LED halos)
Butyl resealing glue (Not necessarily needed, but if you end up without enough glue moisture WILL get in your lights)
Silica gel (optional to soak up minor moisture)
*I'm not responsible for ruining your lights, melting things, exploding houses, alien invasions, etc...*
Clean the lights well. If there's any residue it may meld itself to the plastic, and essentially ruin the lens.
First things first, get a decent set of lights. Eagle Eyes brand had been known to have quality issues, and after comparing one to the DEPO brand units I have, I can say that the DEPO lights are definitely much higher quality.
Start by removing the bulbs from the assembly.
Then remove the two screws holding the lens to the housing.
In this photo the other screw is removed (you can see the hole) while my screwdriver is on the other screw.
Then remove the three moisture caps from the assembly.
Remove bulb clip. You will not reuse this.
So here's what's removed from the lights to be set aside and reinstalled later
** I forgot to take pictures of the rubber feet on the lights. Remove them then reinstall later**
Then, preheat the oven to 275 degrees Fahrenheit
Put the light assembly on the cookie sheet and slide it into the oven once it's warmed up
Set your timer for seven minutes
Once seven minutes is up pull the light out, take your flathead screwdriver and gloves, and pry the clips off the lens, as pictured
There are several of these. Be careful as they can break, but when warm they are VERY malleable. Just pry the clips off. Then, back into the oven for another few minutes
Once seven minutes have passed again pull it back out, and start prying. Pry evenly around the lens. Once it starts coming, grab the lens and start pulling it away from the housing (using gloves the entire time of course). The glue will stick like warm cheese. But once they're separated set the lens on a soft towel so you won't scuff it. Get the stringy glue off anything important and back into the channels. Some may choose to scrape it all off and replace it with new glue. Just keep the glue warm while scraping it off.
Once the lens is off you can turn the over off for a while, and should have this
Now, remove the bulb cover held in by one screw.
You will end up with this
Now that everything is apart, here is where you do various painting and such. The front bezel can be removed with the two screws and gentle persuasion (and gives you access to the reflector if you choose to tint). All I did was the main bucket, and I'm very please with the results.
Paint as you desire and let dry as necessary.
NOTE: Make sure the silicon washers that come with the retrofit kit will match with the paint you did. Since they were white they didn't work with my black headlight buckets. Hence the smiley face above.
Once it's all painted it's time to install the projector assembly. The shrouds , demon eyes, and halos should be installed by this point.
Tip: to hide wires, use aluminum tape
This is the order of installation:
Projector assembly, silicon washer (pictured unpainted), headlamp assembly, H4/9003 adapter ring, locking nut, and bulb retainer (bulb retainer can be installed later)
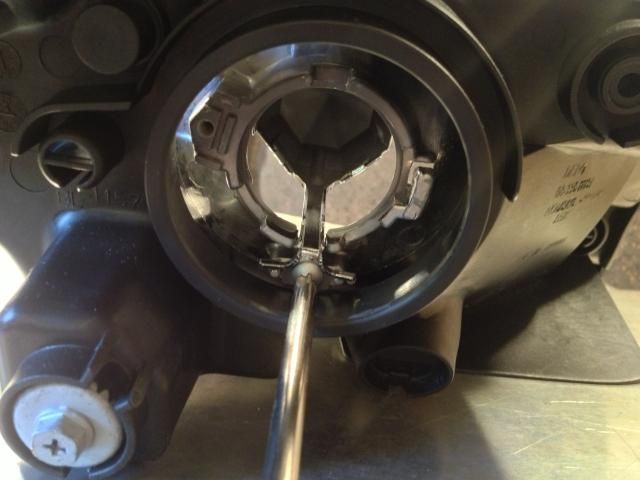
Slide everything in and make sure the wires for the halos/demon eyes/cutoff shield solenoid are in the notch below the adapter ring.
Tighten the nut with the longnose pliers.
NOTE: Aim them before you put the lens in and/or tighten the nut fully. This requires the HID controller, ballasts, and bulbs to be installed and working to the car, and installation of the unfinished lights to the car. I forgot to do this step and had to adjust them with the lens on. It is not fun.
Instructions on how to aim: http://www.hidplanet.com/forums/showthr ... headlights" onclick="window.open(this.href);return false;
Once everything is all aimed and such preheat the oven once more back to 275. Tuck the wires away so they won't get burned, and polish off the insides to make sure all the fingerprints, lint, dust, etc are off the shround, housing, lens, bezel, etc.
Slide the now painted and projector'd assemblies into the oven for FIVE minutes
Pull them out after the five minutes, then press the lens back onto the housing so the clips clip on. If necessary, use rubber-foot clamps to press the lens to the housing (though it is difficult). Then, reinstall the removed things.
Once they're all sealed up here's what you get!
Repeat for other side....
Once that's done, remove your bumper cover.
Install bulbs. Retainer and clip go in as pictured.
If you want you can slide some silica gen packets between the bowl and housing.
Now, remove old lights. There's three 10mm nuts, two in the engine bay, then one behind the cover.
NOTE: Your new lights may not have these little clips. Remove them and reuse as necessary. You won't get too far without them.
Installation is reverse of removal etc etc.
Then... You're done!
Pictured: my not-quite-aimed low beam
Halos on!
(oh, yeah, I bought Jason's old JSP hood from Leigh, and vinyled it and Plasti-Dipped it so I can remove it later and refinish it when I have more monies).
Enjoy your new lights!
Thanks!