Progress on Stereo Upgrades

Stereo, security systems, vehicle electronics, and electrical-related discussions
Post Reply
bLITzJoN
Posts: 18
Joined: Thu Jul 27, 2023 7:39 pm

Progress on Stereo Upgrades

Post by bLITzJoN »

I'm starting a thread to journal my progress on my daughter's 2003 GT Base stereo upgrade. I'm keeping to a small budget and not going overboard (easy for me to do). So, let's begin. I removed the stock speakers and noticed they are the cheap bracket/speaker combo; those gots to go! I designed and 3d printed some brackets. I managed to put in a 5.5deg tilt for imaging. Here's an example:
sketch.png
sketch.png (172.65 KiB) Viewed 1495 times
They fit perfectly.
woofer-bracket1.jpg
woofer-bracket1.jpg (371.3 KiB) Viewed 1495 times
Going to the junkyard, I scored some tweeter pods and the subwoofer. I'll post updates regarding the subwoofer. The tweeters in the component set are much larger than the factory ones. I didn't like their angle positioning either, so I removed the grills and dremeled as much I felt necessary to keep structure to hold the grill and allow me to improve the position of the tweeter.
tweeter-pods2.jpg
tweeter-pods2.jpg (447.43 KiB) Viewed 1495 times
I managed to use the pillar pods with the set to hold the tweeter in place with some basic dremel modifications; I'll post a pic when I finish the other side. After repainting the grills with satin black and reinstalling them, I'm very happy with the results and new angle.
tweeter-pods3.jpg
tweeter-pods3.jpg (314.99 KiB) Viewed 1495 times
I'll post the STLs for the brackets. Now, if someone doesn't have access to a 3d printer and would like a set, DM me and we can work out the logistics. Hopefully, I'll get more done to share.
bLITzJoN
Posts: 18
Joined: Thu Jul 27, 2023 7:39 pm

Re: Progress on Stereo Upgrades

Post by bLITzJoN »

More progress today. I have a road trip Wednesday and hope to get this done sans the subwoofer. Here are some more pictures of the tweeter bracket that came with the components I fitted behind the factory bracket.
tweeter-bracket.jpg
tweeter-bracket.jpg (335.65 KiB) Viewed 1491 times
tweeter-mounted.jpg
tweeter-mounted.jpg (342.94 KiB) Viewed 1491 times
I designed some brackets for the rear door panels as well.
woofer-rear.jpg
woofer-rear.jpg (524.07 KiB) Viewed 1491 times
I can't believe the grill is the size of a 6.5 on the face, but it only has an open to support a 5.25. Seriously?! I may go to the junkyard and grab some door panels for the upgraded stereo just to have the true 6.5 support. The window buttons can be fidget devices. :lol:
I'm also concerned about the front door panels. The brackets are tall enough to rest against the door panel in the bottom corner. That could cause vibration or excursion collision, so I may print out some shorter ones to be on the safe side when I return from my trip. I installed the crossovers on the panels that cover where the power window controls are located and didn't realize there is a block of foam that fills the area. Welp, that got chopped in half.
useless-foam.jpg
useless-foam.jpg (386.03 KiB) Viewed 1491 times
tpollauf
Posts: 4039
Joined: Wed Jan 20, 2010 11:37 am
Location: Toledo/Oregon, Port Clinton Ohio
Contact:

Re: Progress on Stereo Upgrades

Post by tpollauf »

Nice work so far :) What a difference it makes when you have the rescouces and technology to do the job RIGHT !!! Looking forward to more progress. Thanks for sharing with us ;)
Image
2009 Vibe GT (manual), 2009 G8Gt, 2009 Vibe GT (auto)
2014 Silverado, 2004 Vibe GT

"everything is modifiable"
SlammedNiss
Posts: 508
Joined: Tue Apr 02, 2002 1:11 pm
Location: Chitholé, KS
Contact:

Re: Progress on Stereo Upgrades

Post by SlammedNiss »

Looks great. I've always preferred a stereo that looks completely stock, even after being upgraded. So good job getting everything to fit behind the OEM grilles. Question though, were the speaker magnets just too deep for the rear replacements? Asking because when I replaced my rear speakers in my '03 XRS, they dropped right in without any clearance issues.
2003 Matrix Xrs Automatic - SOLD :'(
2011 Rav4 Sport
bLITzJoN
Posts: 18
Joined: Thu Jul 27, 2023 7:39 pm

Re: Progress on Stereo Upgrades

Post by bLITzJoN »

Went on a business trip today (9 hrs roundtrip) and drove the Vibe after finishing pretty much everything except the sub.
Here are my findings:
  • The speaker brackets are fine, with no rattle or distortion from excursion collision, so I'm leaving them as-is, but I will release the STLs with shorter options since all speakers are not created equally.
  • I'll be fabricating a bezel filler to cover up the aftermarket brackets. I'll post pics.
  • The rear speaker magnets are a non-issue since the windows don't go down all the way to start with; however, the window hits the front ones. Do'h! BUT, the window is only exposed a few mm above the seal - moot; not going to bother but definitely something to consider if someone upgrades.
  • The sound-deadening material makes a huge difference!!
  • I mounted the amp under the rear 60 seat and may have to move it - the seat is touching it slightly when up and down (front of amp in up, rear of amp when down). **PSA: DO NOT MOUNT ANYTHING UNDER THE REAR SEATS!!!!!** Gas tank, you idiot!! 🤦‍♂️ I made sure to use very short screws that barely hold the amp in place.
I plan to work on the sub tomorrow.
bLITzJoN
Posts: 18
Joined: Thu Jul 27, 2023 7:39 pm

Re: Progress on Stereo Upgrades

Post by bLITzJoN »

I should have taken a few more pics of the subbox, but this should be enough to get the point across. The box itself is held around the perimeter with many screws and one bolt through the back of the speaker. You definitely want to remove the bolt on the speaker before removing the screws around the speaker surround. The speaker is surprisingly not that bad, and shocked it's a dual voice coil.
empty-sub-box.jpg
empty-sub-box.jpg (348.49 KiB) Viewed 1436 times
I picked up a Skar Audio EVL-65 in hopes I could fit it, but that definitely was NOT going to happen! So, I spent some extra pennies and picked up what now I believe is the BEST replacement choice, a Kicker CompRT 6.75" DVC 4ohm. The speaker touches the back, so I would say the MAX mounting depth in this enclosure is 2-3/4". The cage and magnet on the Kicker is wider than most speakers and happens to be vented. I used a hot gun to flatten the fins and a 3d printing pen (using ABS) to fill in the bolt hole.
flatten-3d-pen-filled.jpg
flatten-3d-pen-filled.jpg (320.18 KiB) Viewed 1436 times
Happy with the fit and preparations, I sprayed the inside with underbody spray.
underbody-sprayed.jpg
underbody-sprayed.jpg (216.18 KiB) Viewed 1435 times
bLITzJoN
Posts: 18
Joined: Thu Jul 27, 2023 7:39 pm

Re: Progress on Stereo Upgrades

Post by bLITzJoN »

Time to get everything back together. I had to make a trip back to the junkyard because the car doesn't have holes for the brackets, I don't believe it's an option for 2003 - don't quote me on that. A #2 pencil and paper for transfer then cut out and used a sharpie to mark the holes. Easy peasy
mark-holes.jpg
mark-holes.jpg (202.06 KiB) Viewed 1432 times
The holes above and below the speaker are also absent, but I wasn't going back to the JY for those. I cut the top plastic hanger off the back so it would rest flush against the body, marked the holes, and used a stepper bit to make the holes large enough for some cheap 1/4 20 bolts with swivel locking nuts and fender washers for the top two holes. As for the bottom two, that's a bit trickier. I ignored one (lowest hole can't be reached behind), cut out ~2 3/4" standoff from a piece of 2x4, and used wood screws from both ends after drilling one hole through the body at a seam. Time to deaden this whole back and install the sub!
sound-proofed.jpg
sound-proofed.jpg (315.59 KiB) Viewed 1432 times
box-installed.jpg
box-installed.jpg (315.32 KiB) Viewed 1432 times
sub-all-done.jpg
sub-all-done.jpg (202.76 KiB) Viewed 1432 times
bLITzJoN
Posts: 18
Joined: Thu Jul 27, 2023 7:39 pm

Re: Progress on Stereo Upgrades

Post by bLITzJoN »

It doesn't work! Do'h!!! Cause I forgot to put the fuse back in the fuse holder under the hood!! Which, btw, you can't tell except for the holder mounted on the firewall.
fuse.jpg
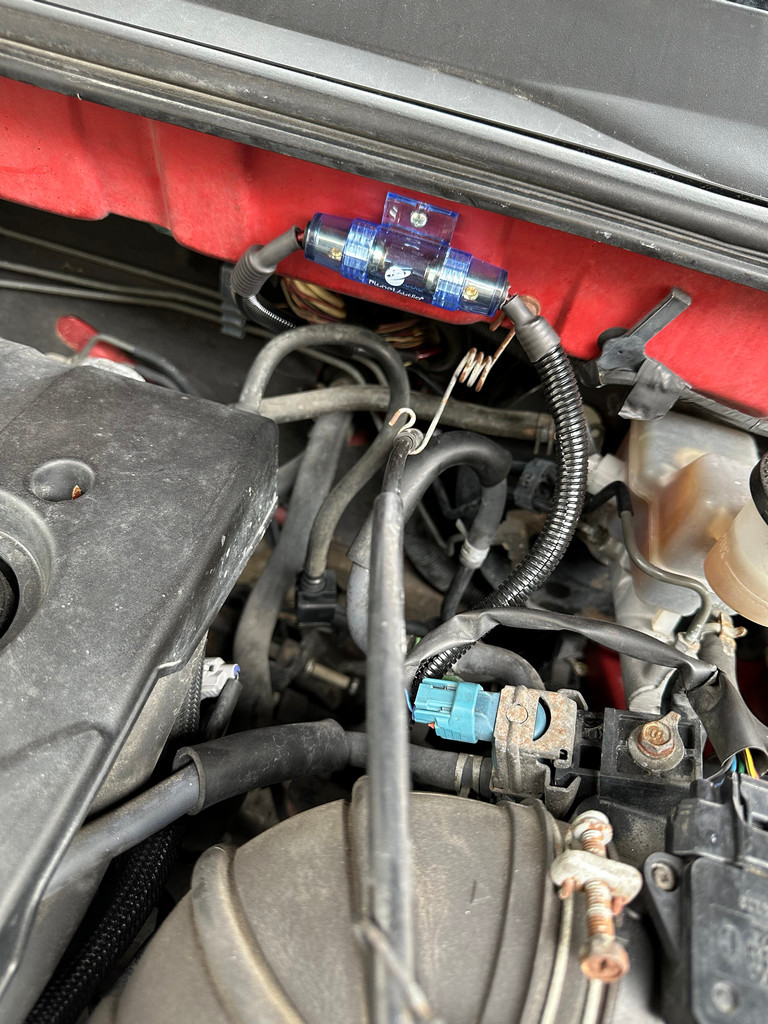
fuse.jpg (258.82 KiB) Viewed 1431 times
Hindsight for me, but something to consider for others looking to upgrade or install one of these gems, I would mount the amp to the box in the available space in the compartment on top. I'm using a Taramps 400watt Monoblock because of the size (Class D) and best bang for the buck - it would fit perfectly there, but instead, I mounted it under the rear seat (Again, I do NOT recommend mounting anything that requires drilling under the rear seats - gas tank!)
storage-compartment-future-amp-install.jpg
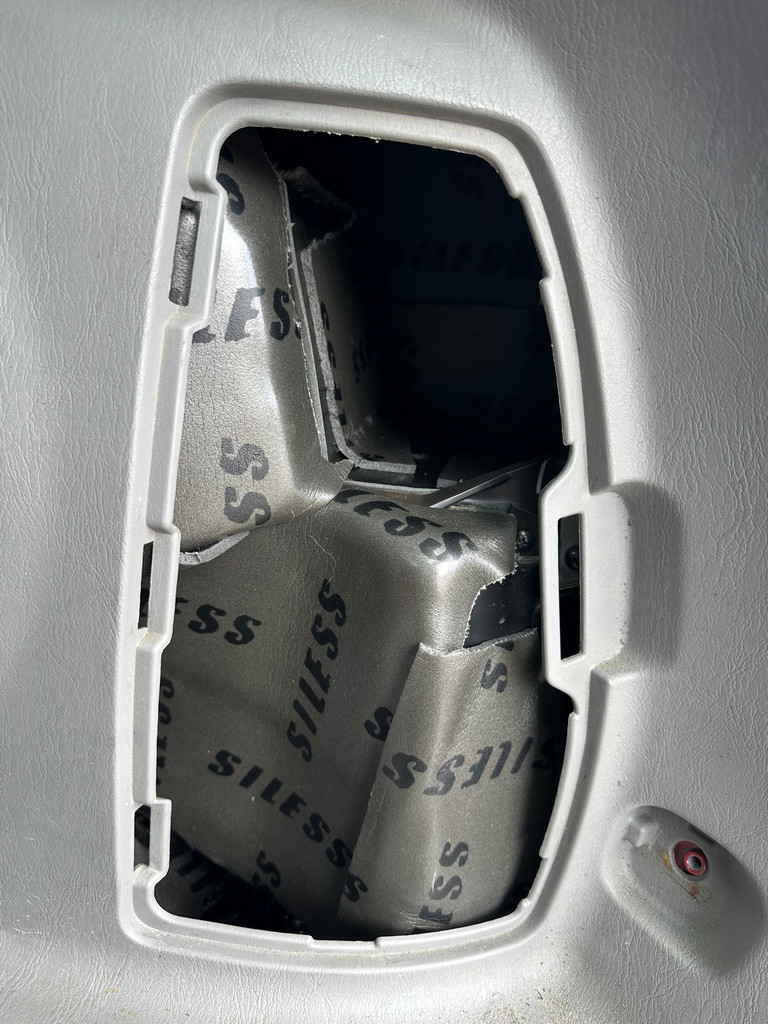
storage-compartment-future-amp-install.jpg (221.54 KiB) Viewed 1431 times
How does it sound?! Well, I haven't spent the time to tune it, yet, HOWEVER, I am thrilled with the performance out of all the budget components (Kicker being a budget component is subjective). What's next, you might be wondering? The headunit I purchased has a sub out, but it's nothing more than left channel out with zero bass controls in the head unit. I purchased a budget bass knob with frequency adjustment and will use proper L/R outs. I'm considering installing it through the coin holder under the parking brake. Stay tuned!
bLITzJoN
Posts: 18
Joined: Thu Jul 27, 2023 7:39 pm

Re: Progress on Stereo Upgrades

Post by bLITzJoN »

Another update now that it's burned in. I want to address the sub-control. The head unit actually has a very nice built-in crossover and bass control, but it's buried under Bass Boost. I was hearing some crackling from the sub-region and thought for sure it was a bracket; nope, it actually was the sub, and a lil tweak to the xover cutoffs remediated the crackles. Range 20hz - 65hz seems to be the sweet spot for this little guy with the stock enclosure. It bumps pretty good for a 6.75" shallow sub!! I'm extremely pleased with the overall install. Seriously, I've installed some high dollar systems over the years and this one ranks as one of the best ones without a lot of tweaking. And when I mean tweaking, I'm running this flat on the EQ with no loudness. It's that solid!! (low cut of 50hz to both front and rear, and the sub at 20hz - 65hz). I was going to list a BOM, but it appears most of the items are already unavailable at Amazon. Send me a PM if you want more details on a component. The next upgrade is the rearview mirror to a dashcam/rear camera - already picked one up.
Post Reply