

I have no clue how different they actually are if you have them in yours.
In this tutorial I'll show how I removed the stock fabric off the seats for washing and hopefully some customization.
A little disclaimer: I AM NOT RESPONSIBLE IF YOU BREAK SOMETHING!!!!
What you'll need:
A ratchet
Breaker bar (if ya have one, not a must-have tho)
12mm socket
14mm socket
Phillips head screwdriver
Flat-head screwdriver
Hex key or Star bit (not sure what size
Ziploc bags labeled (Front Driver)(Front Passenger)(Rear 60)(Rear 40) <---so ya don't lose parts
Some good chill tunes
With that said....let's get started with some tasty, tasty pictures:
I began by removing ALL my seats (Look HERE if you're not sure how to do this)
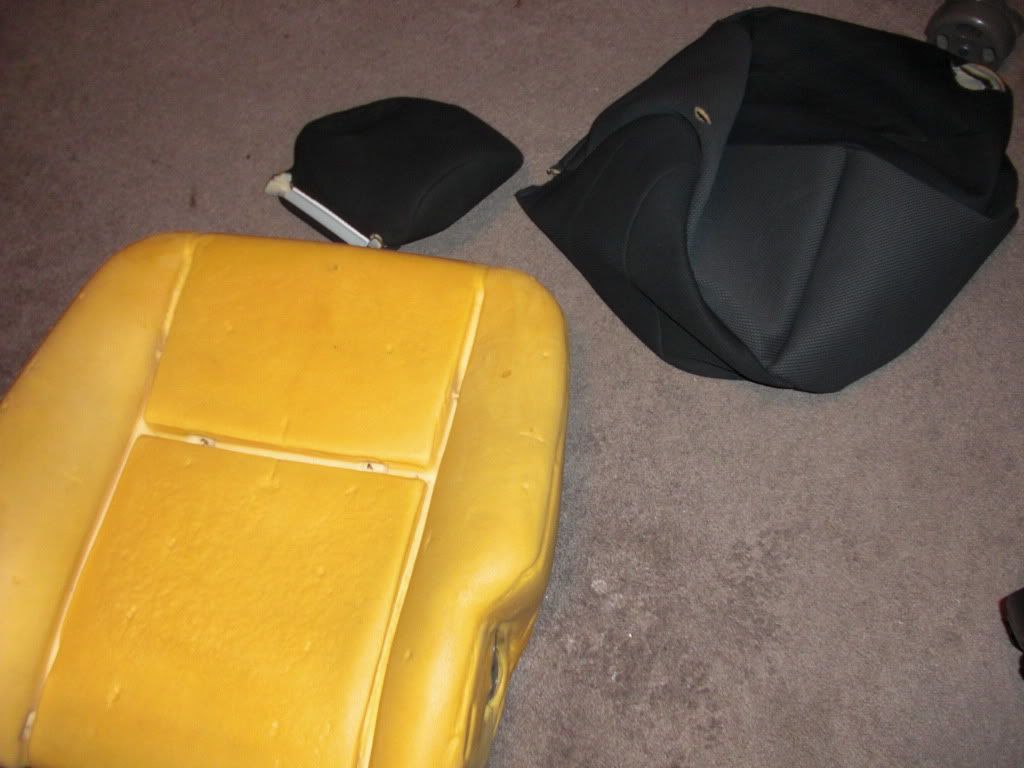
The first seat I did was the 60% section in the rear. You begin by removing the top of the seat from the bottom.
It's two 12mm bolts (one on each side)
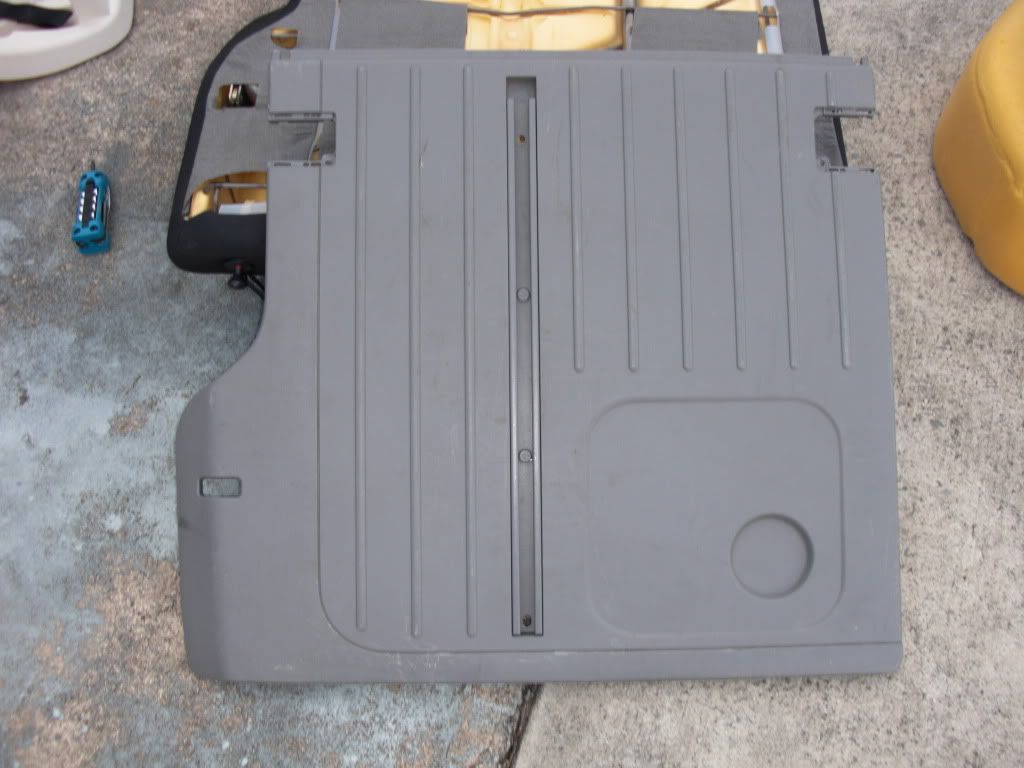
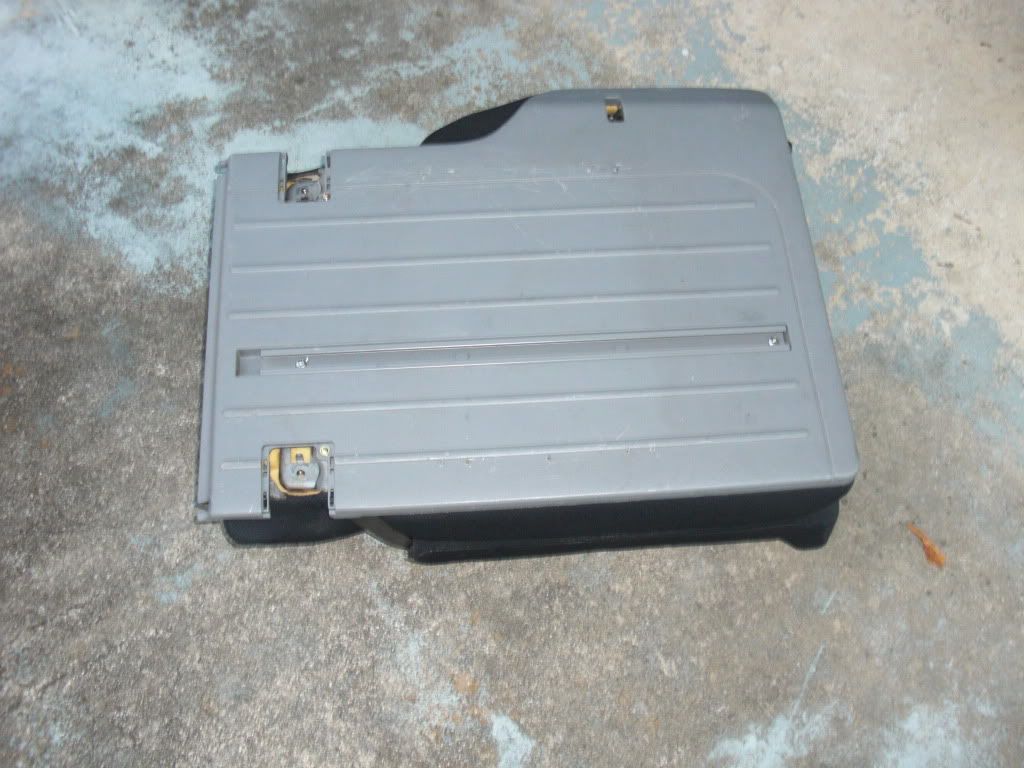
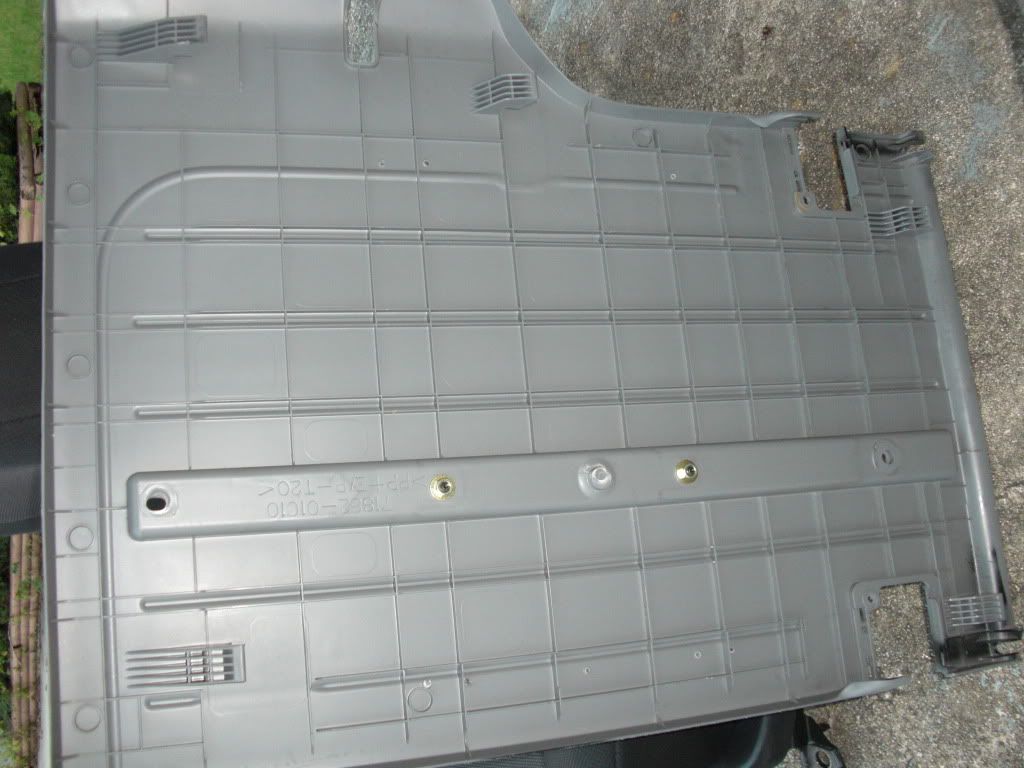
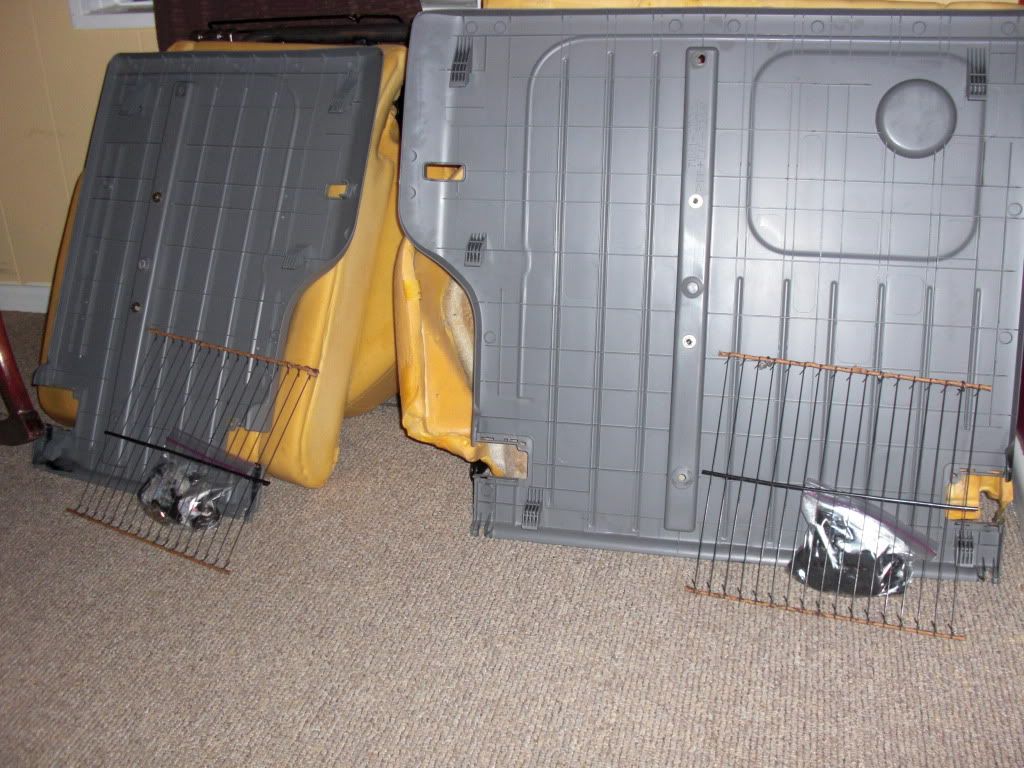
Then, starting with the TOP, you'll need to remove the plastic off the back.
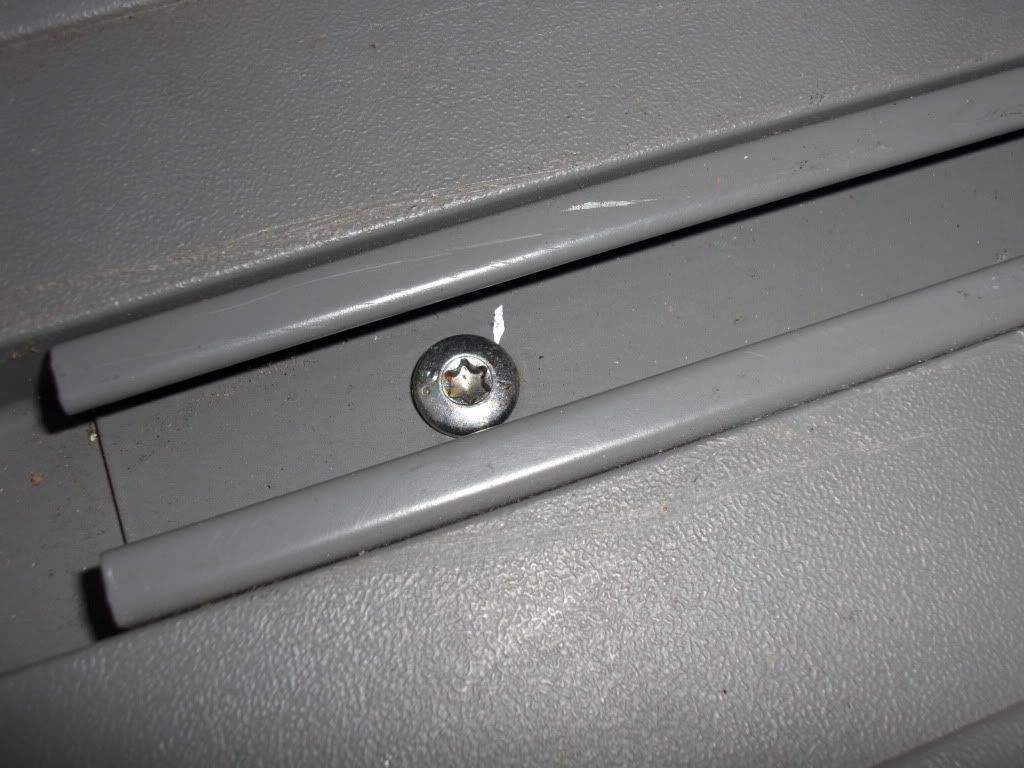
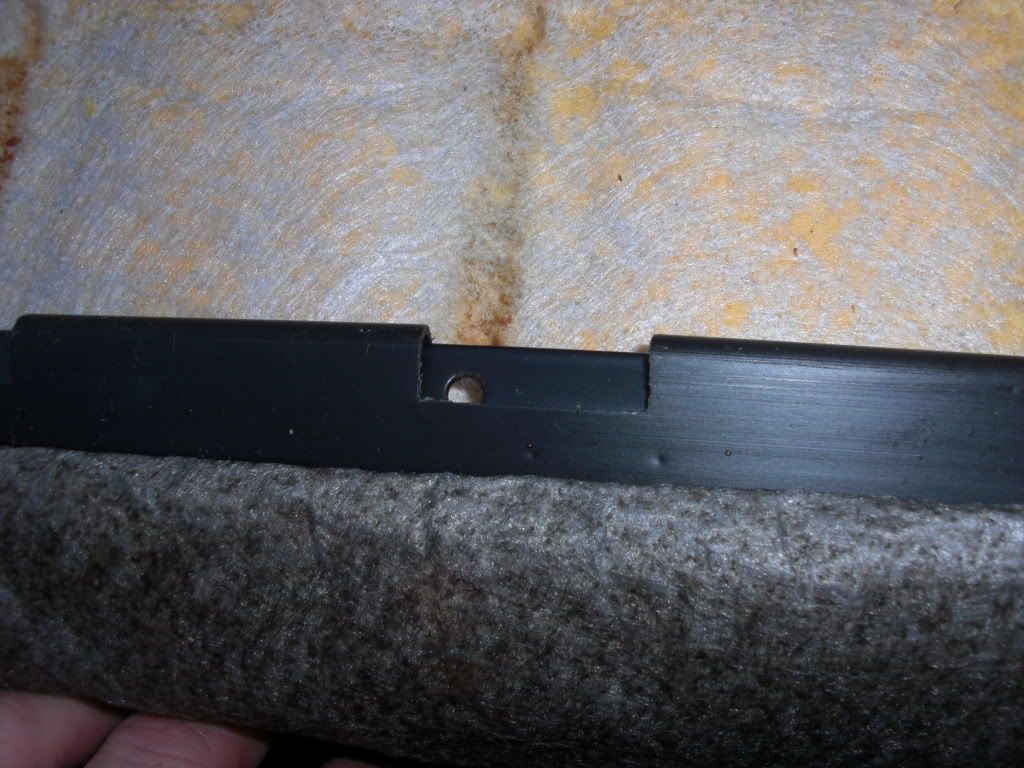
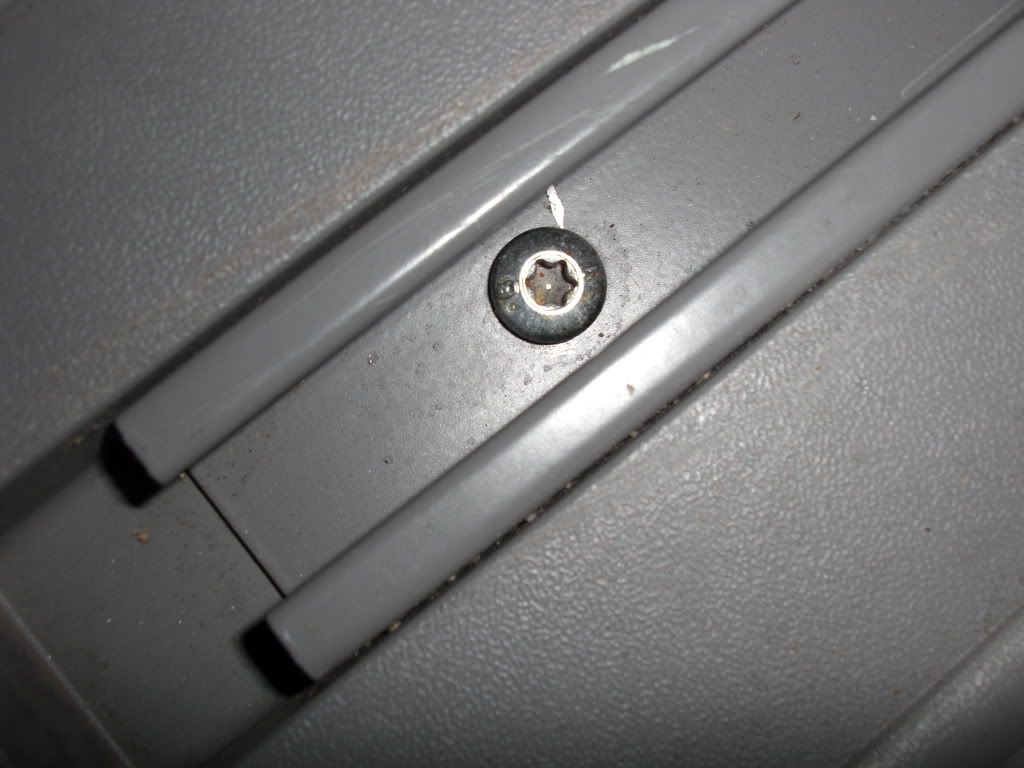
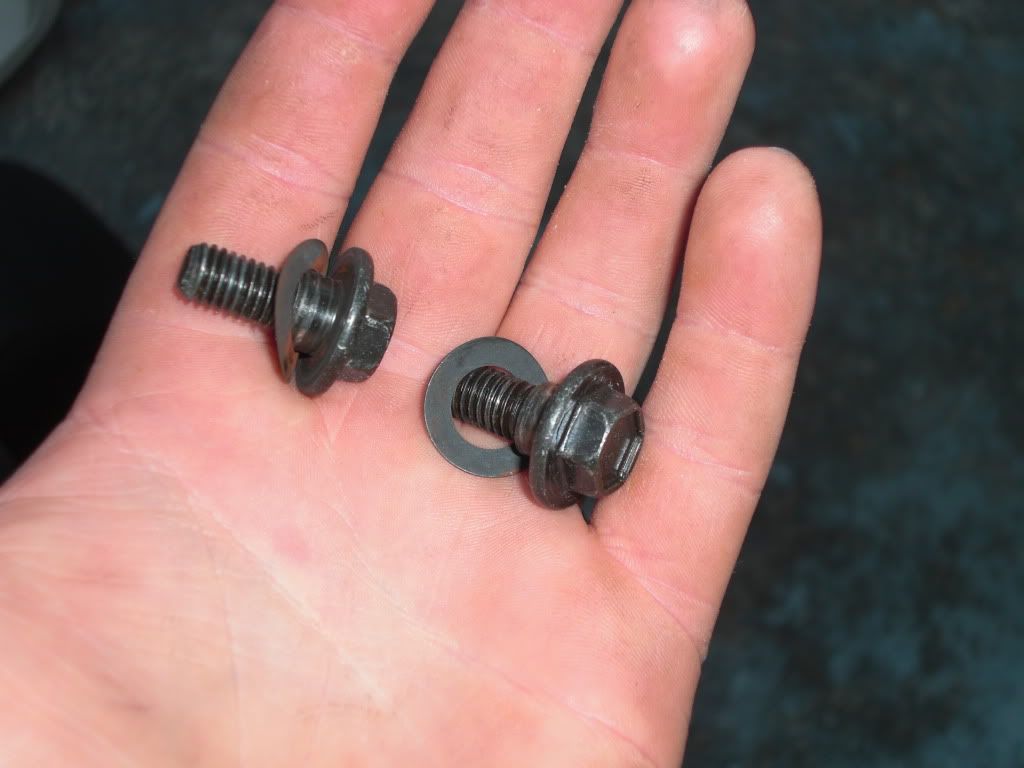
You'll start by removing these two silver screws (hex head or whatever) from the tracks in the back of the plastic
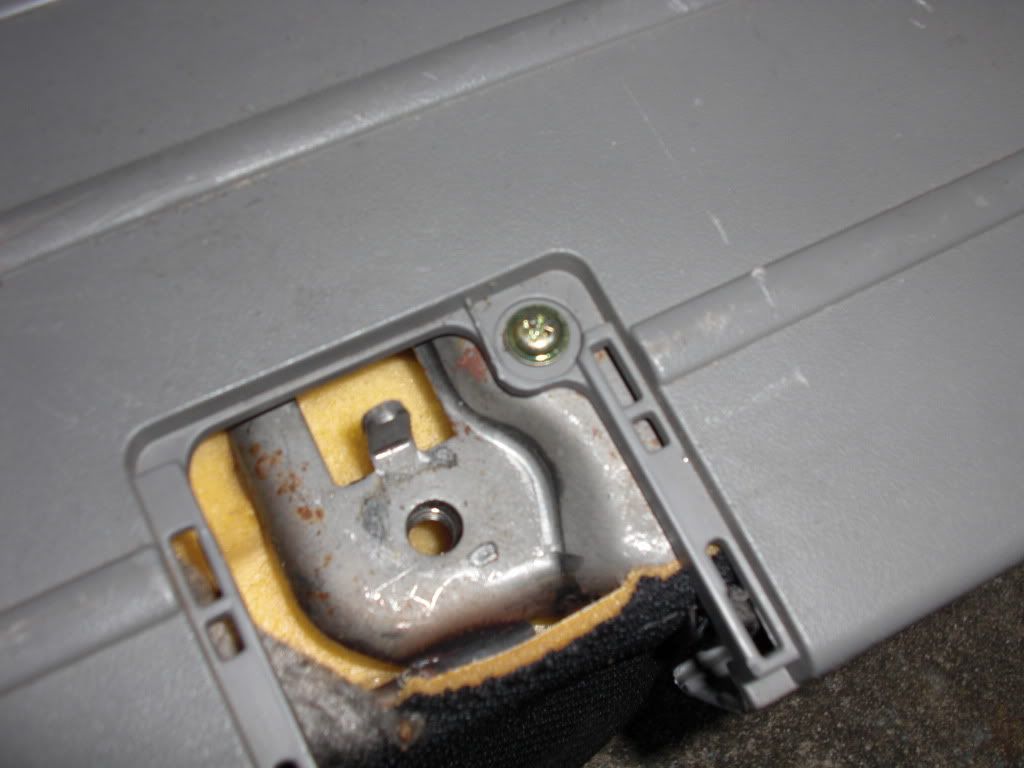
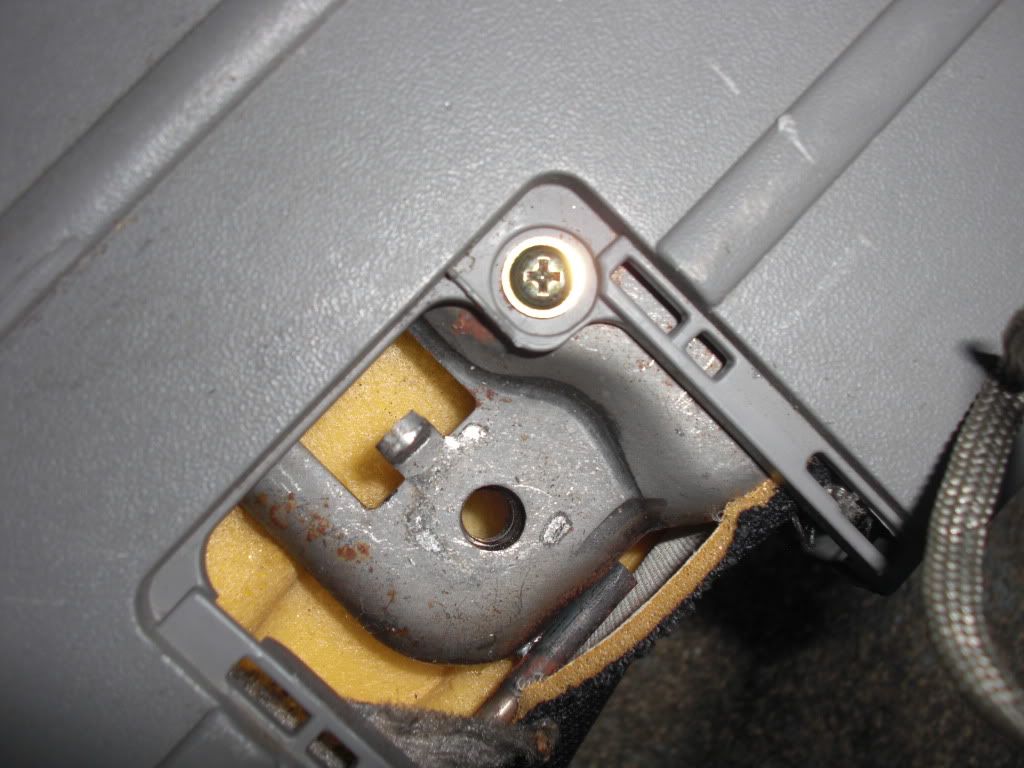
Then you'll remove these little gold screws
Now to remove the plastic off the back of the seat you slide up on the entire piece. DON'T PULL!
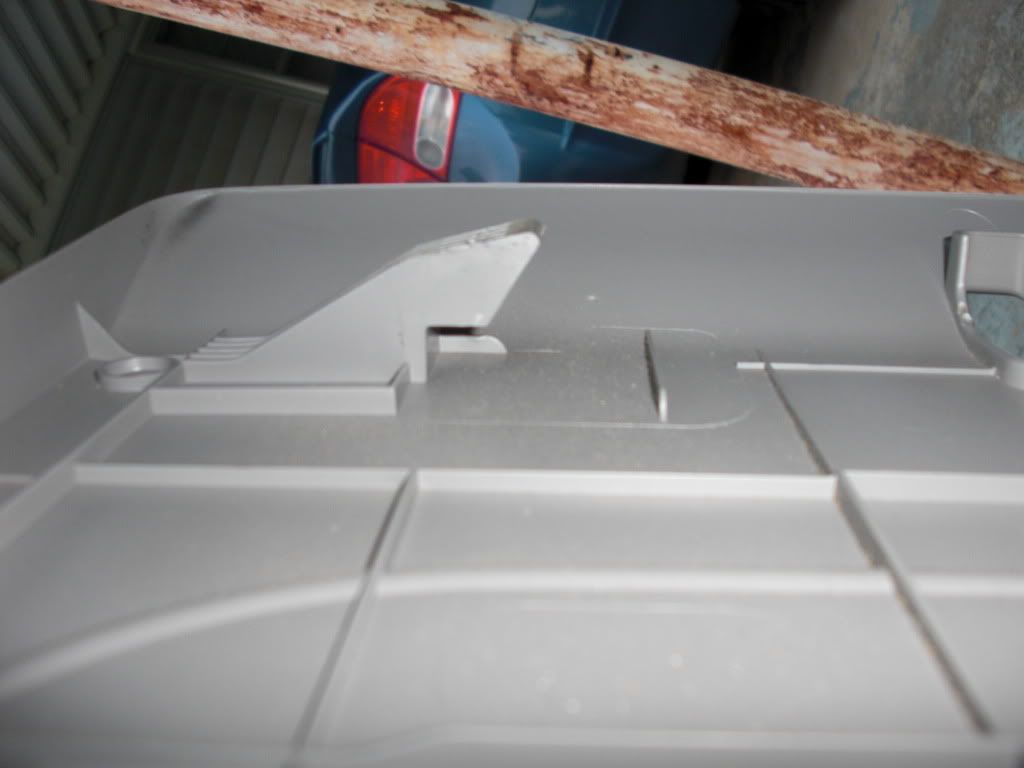
Here's what the hooks (NOT clips) holding it in place look like.
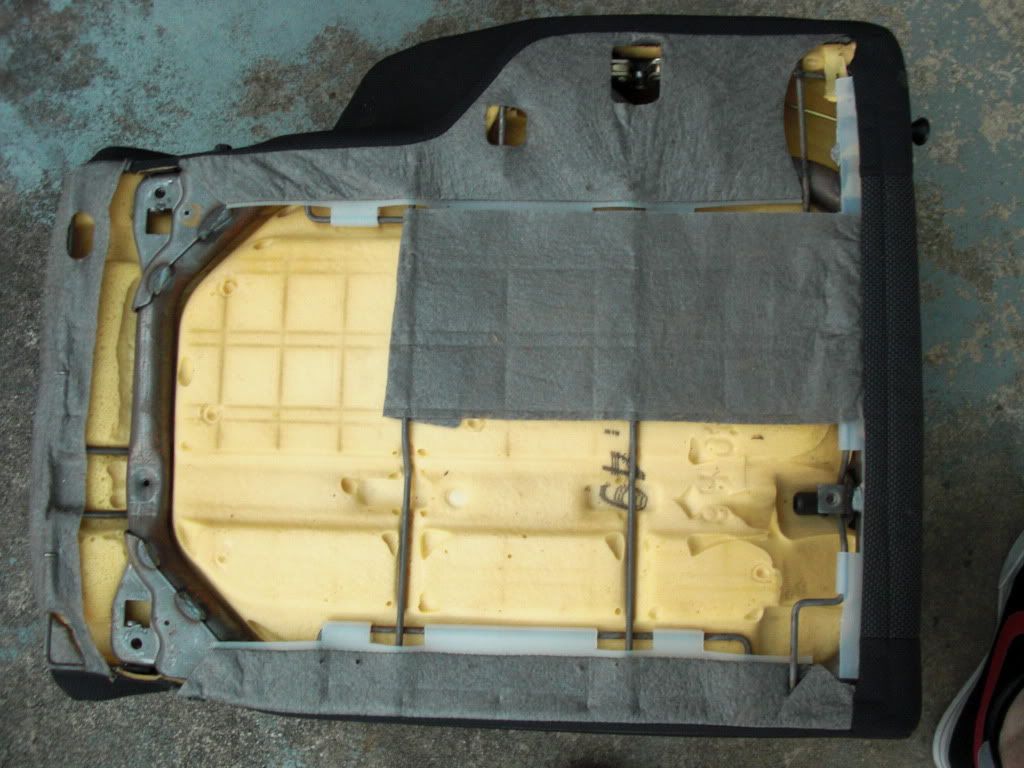
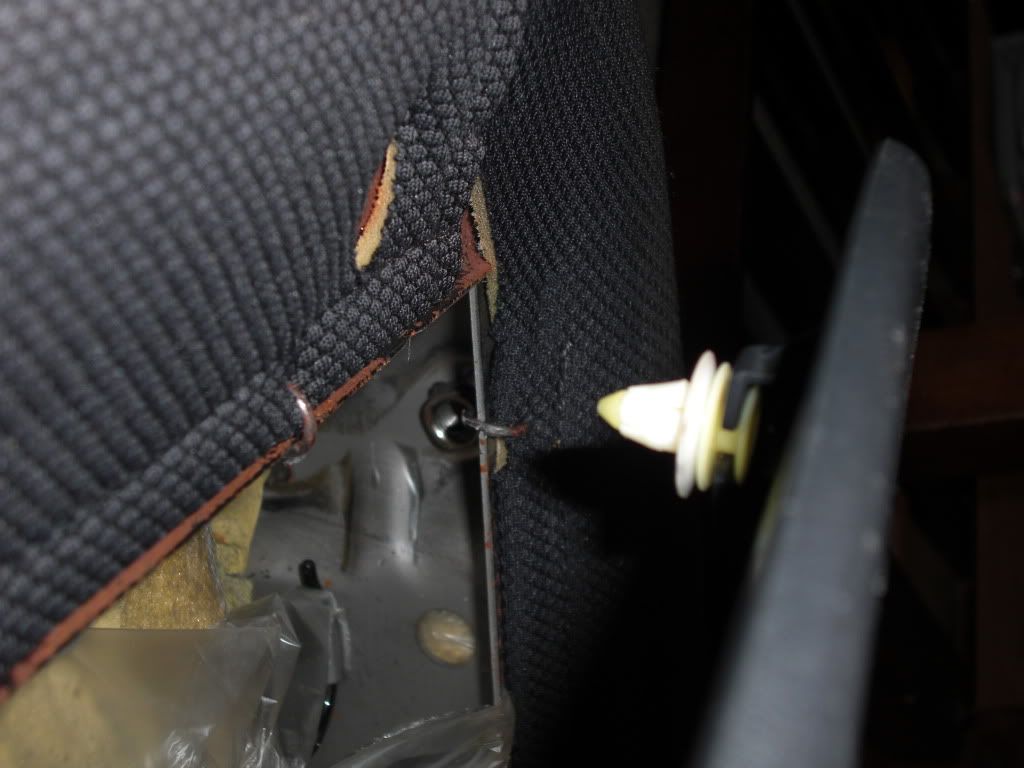
Now that the plastic is off, some of the fabric is held on by plastic hooks. Just undo everything you can and pull it all back.
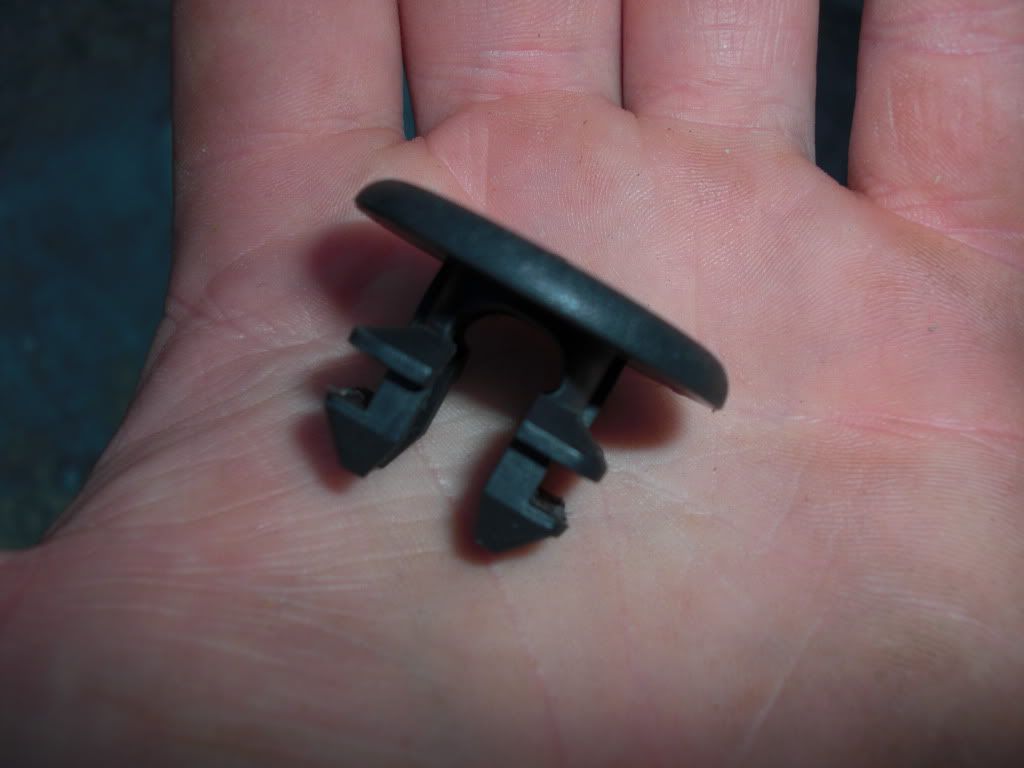
Then you'll need to remove the plastic pieces that your headrests fit into. Easy squeezy
Just reach inside and squeeze two tabs while pushing and it pops straight out! Here's what it looks like from the inside
Then you move on to the piece you pull up on to lay the seats down. It's simply threaded on there. Lefty Loosey and you're home free
Don't forget about the circle plastic thing still in there. It's just like the headrest holders. Here it is before and after removal
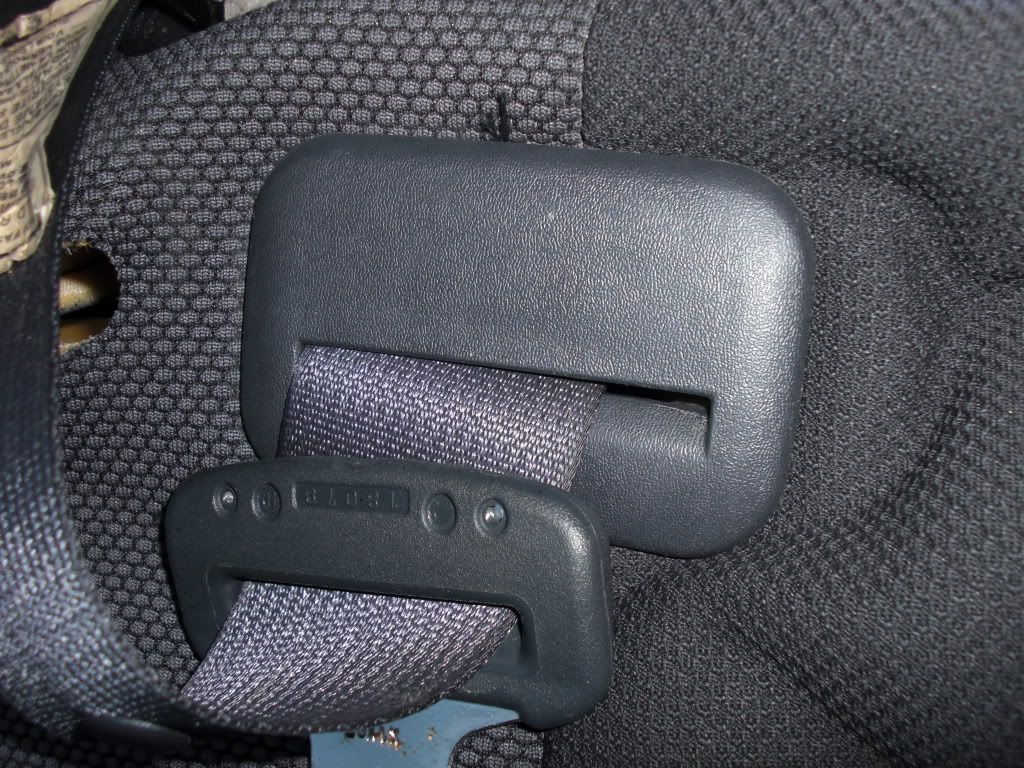
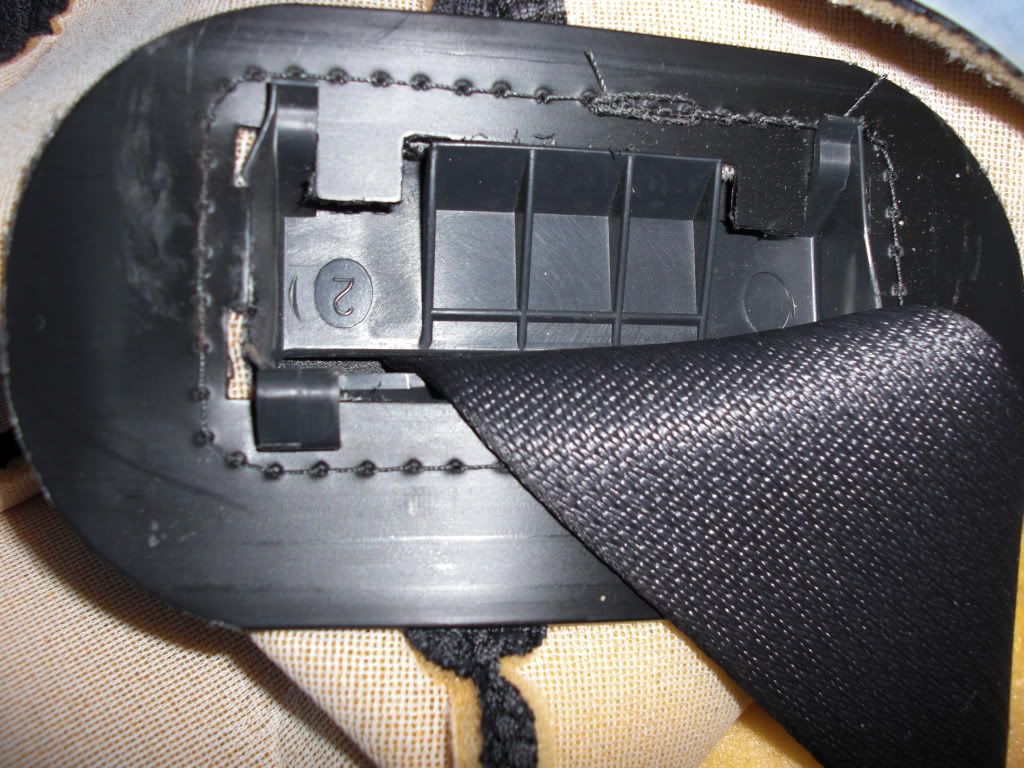
Now on to the plastic trim that your shoulder seatbelt comes thru. Tiny tabs hold it into place. Just pop it out.
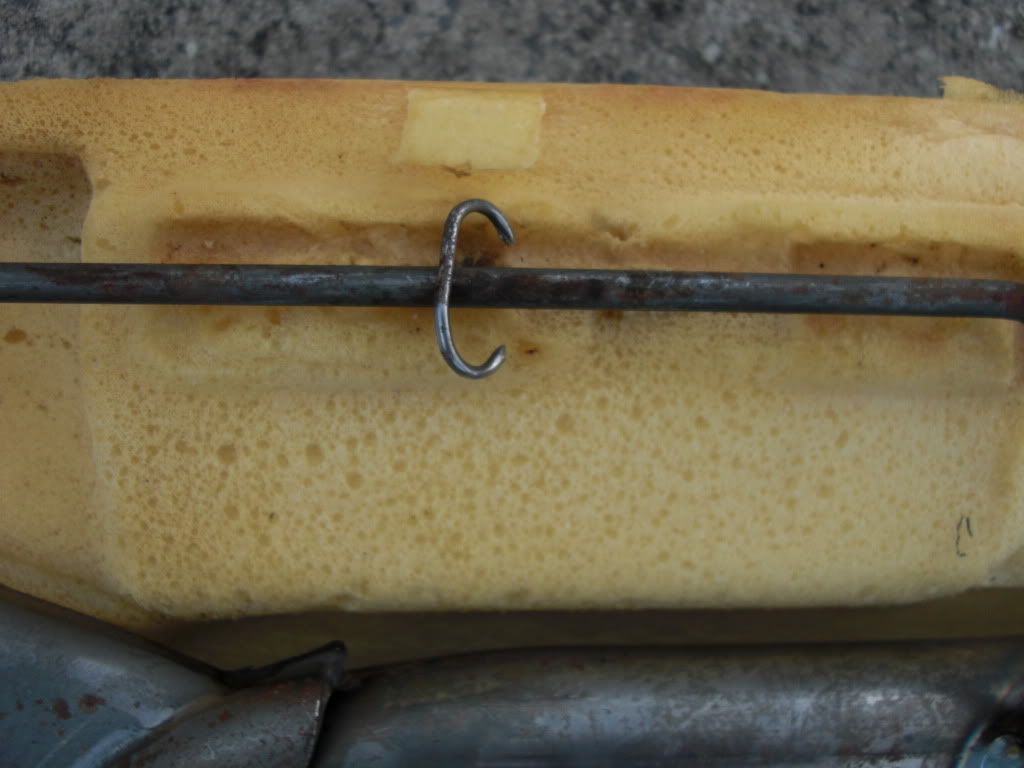
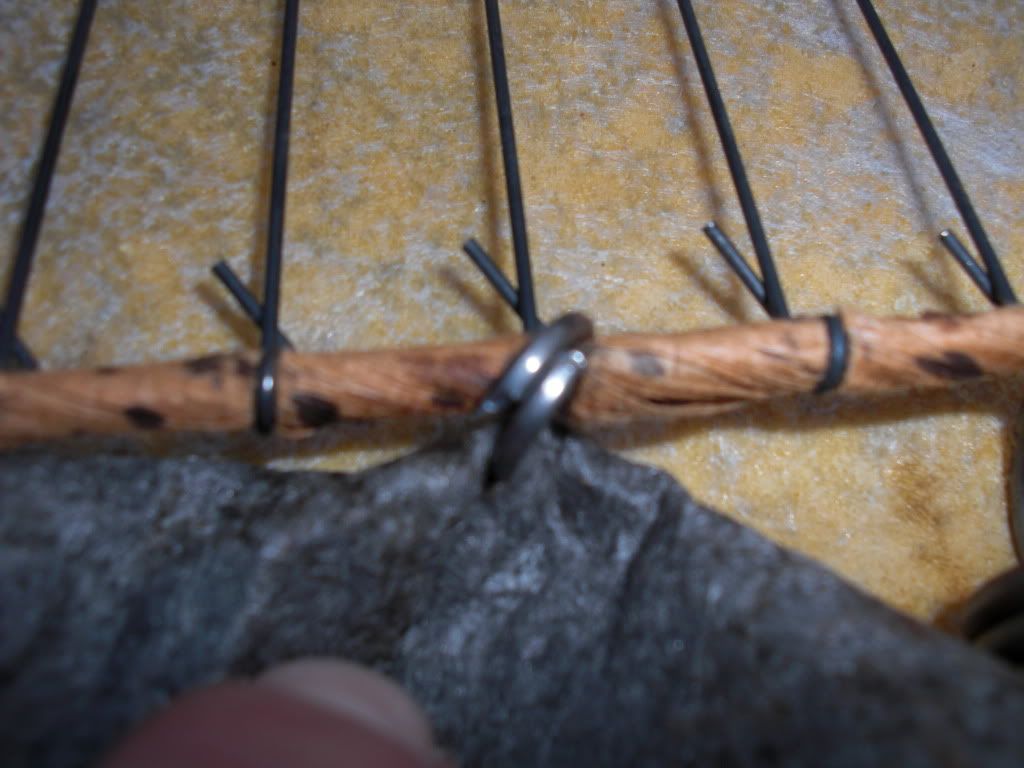
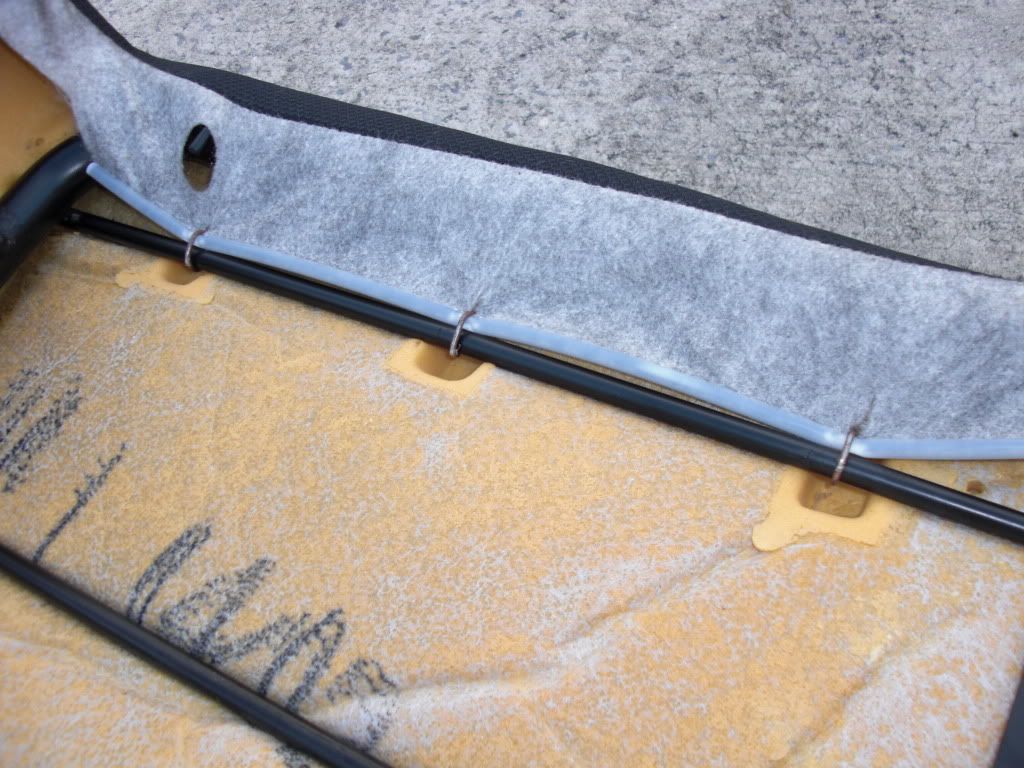
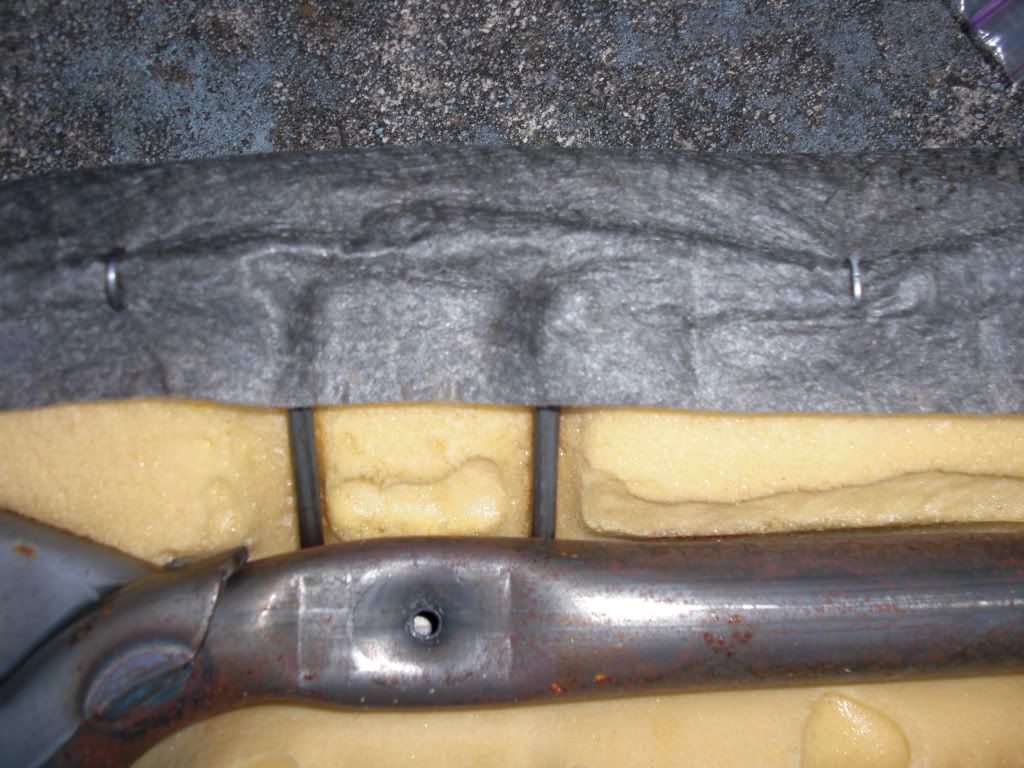
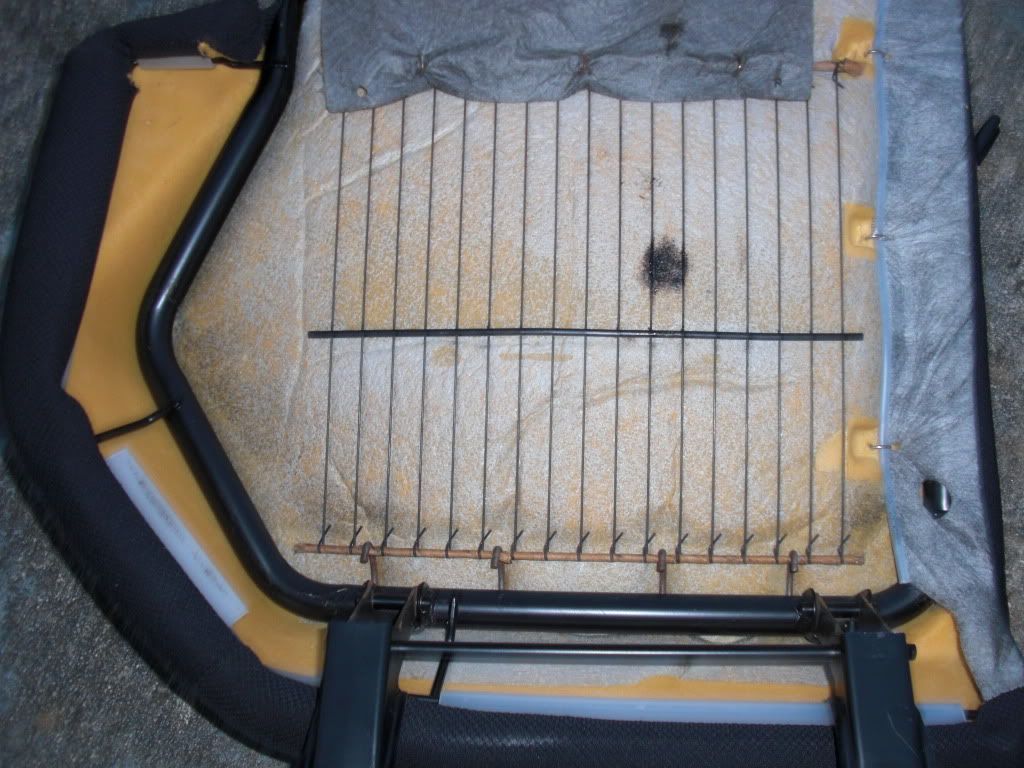
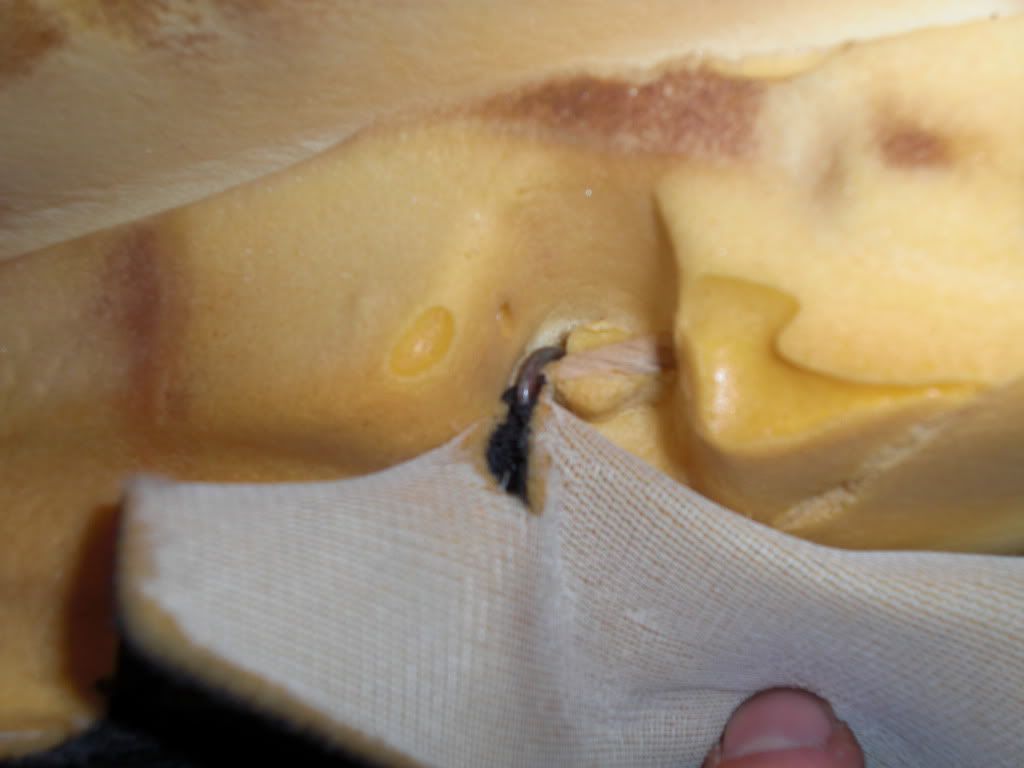
Now to remove the foam from the frame of the seat, you have these annoying little metal rings called hog rings pinched onto a metal bar inside the foam.
I pried them all apart and pulled them out, but in retrospect, I realize I could have just cut them with wire cutters and saved LOADS of time.
You have to trash them anyways and use all new ones. So here they are....and they're EVERYWHERE!!!
Now THAT piece is done
Okay So the whole hog ring thing goes the same throughout the WHOLE process, so I'm not gonna post
anymore pics of those. The rest of this "How-To" will show you how to disassemble every seat down to that point
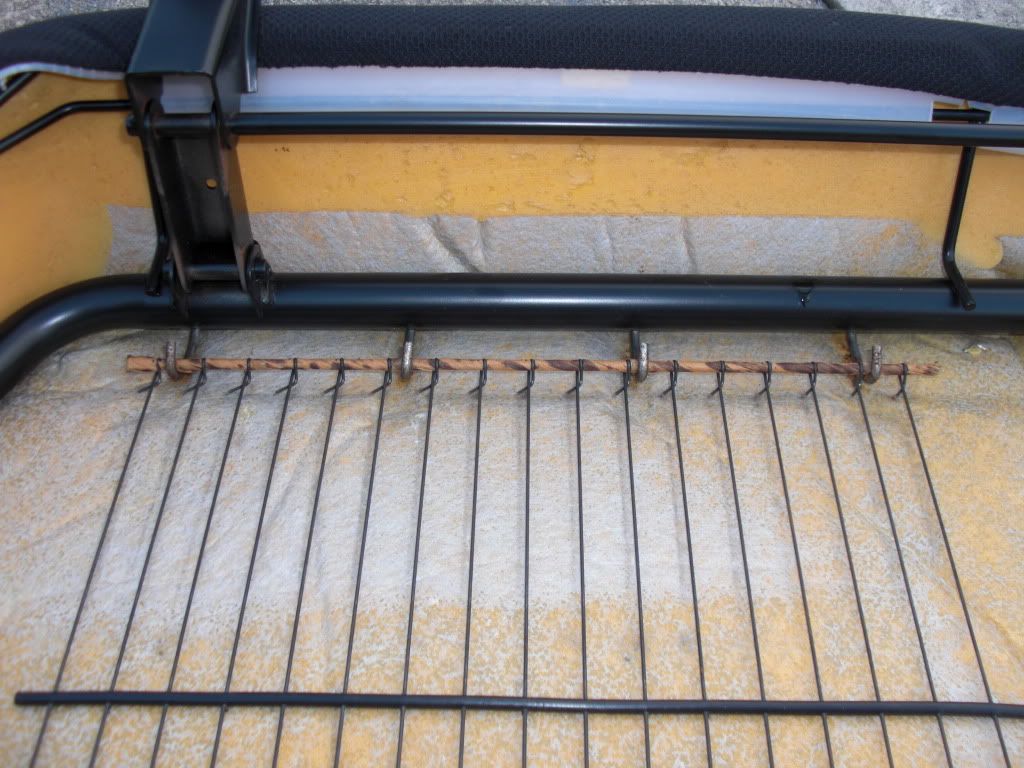
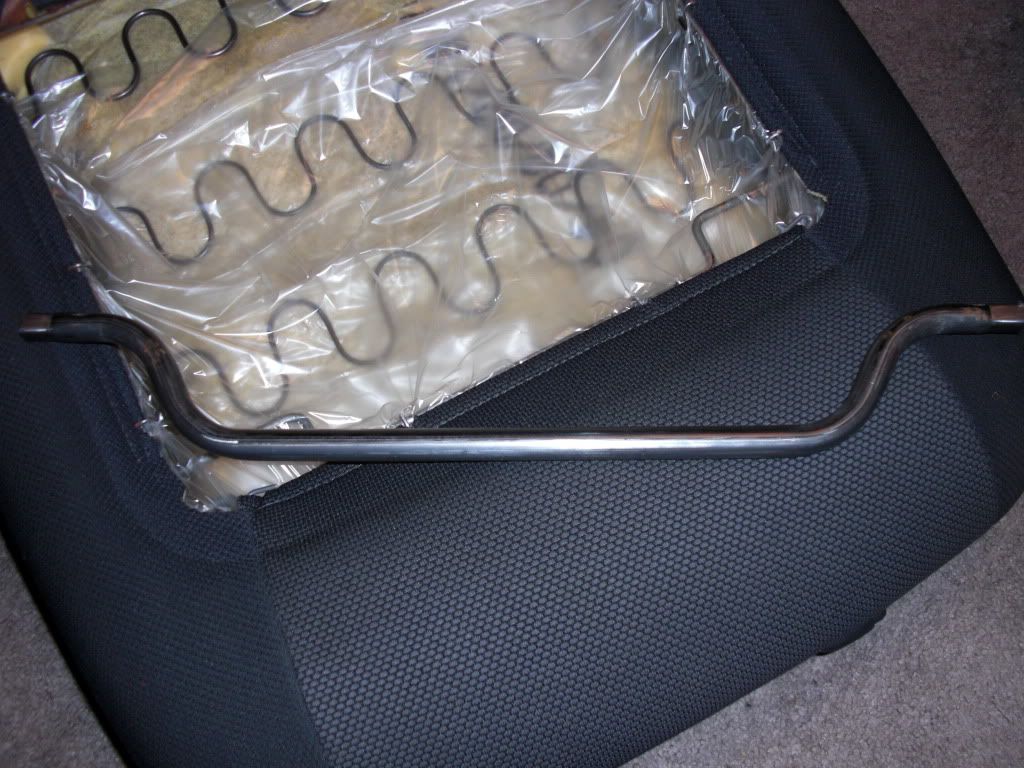
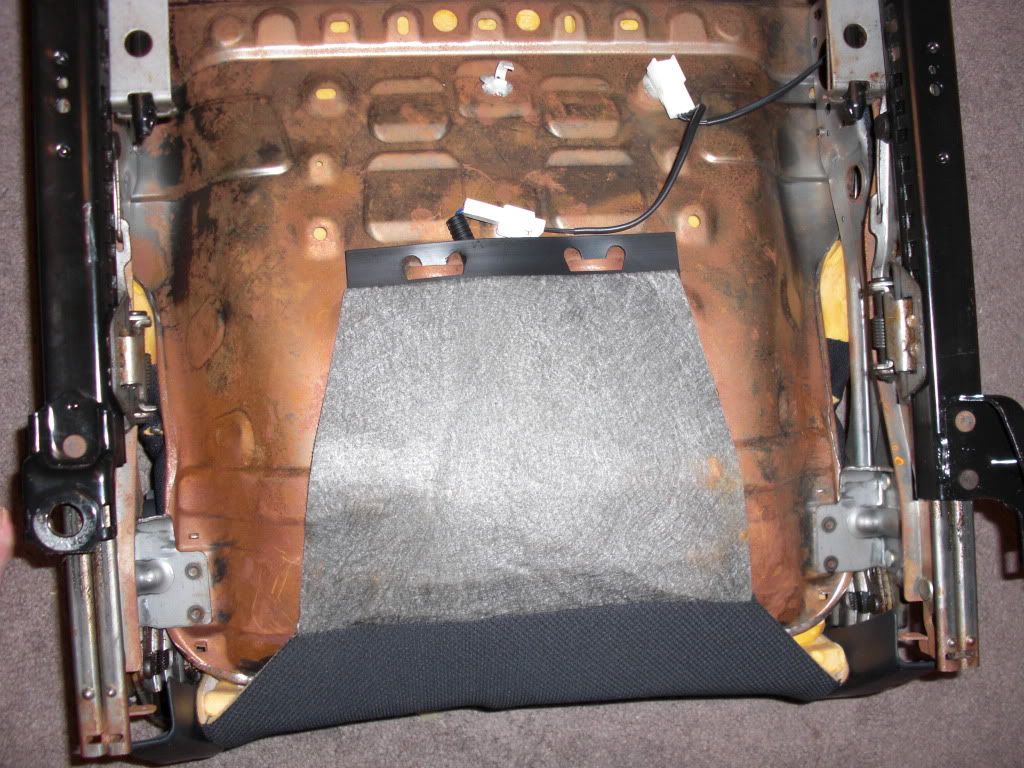
On to the bottom of the 60% seat:
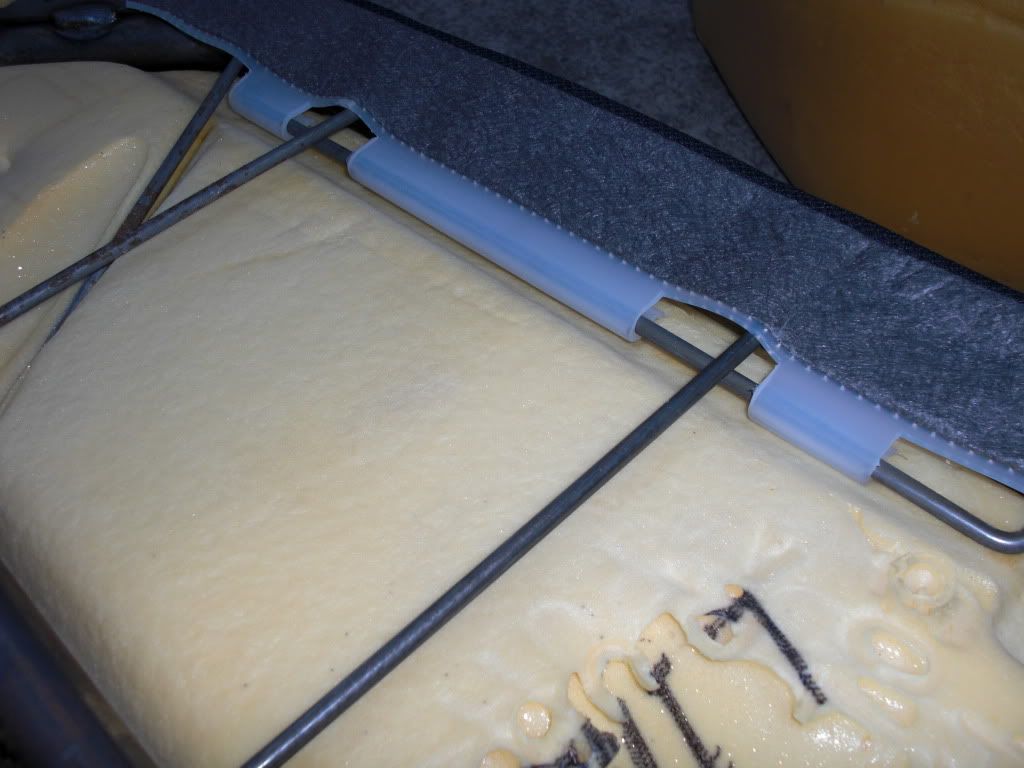
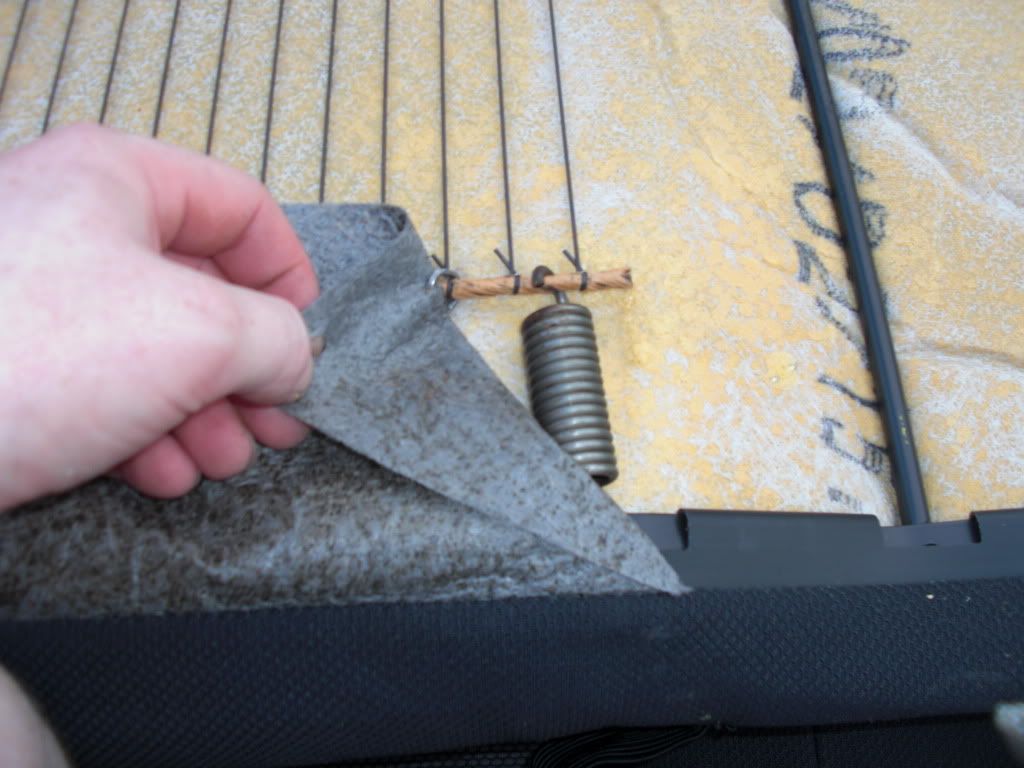
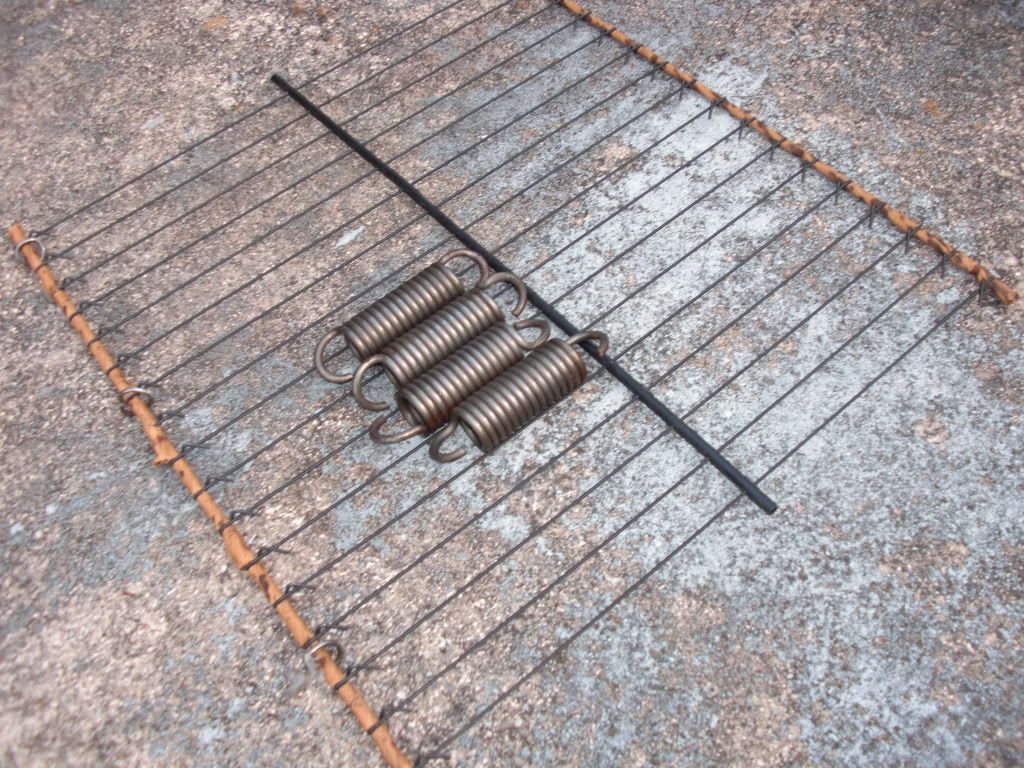
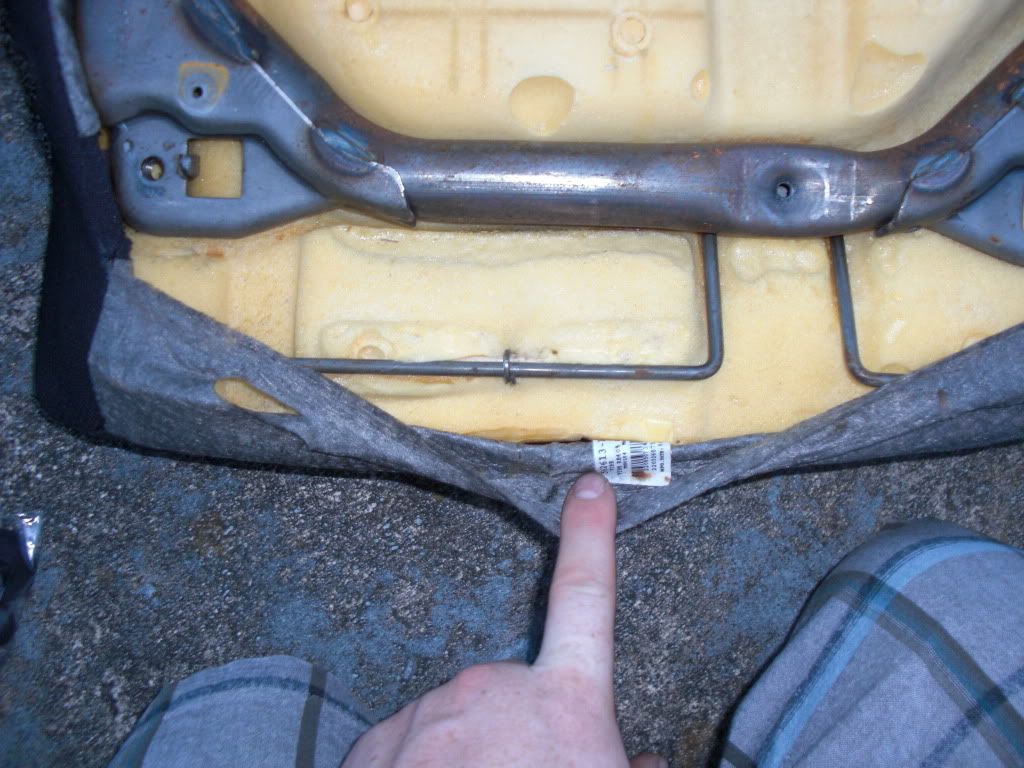
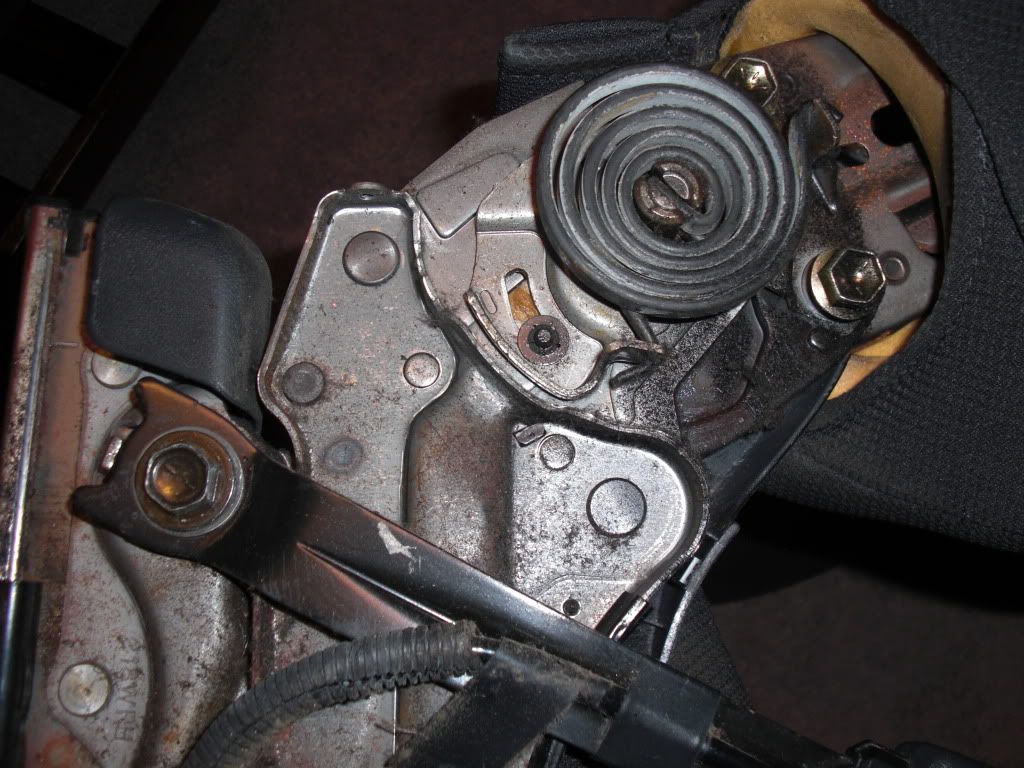
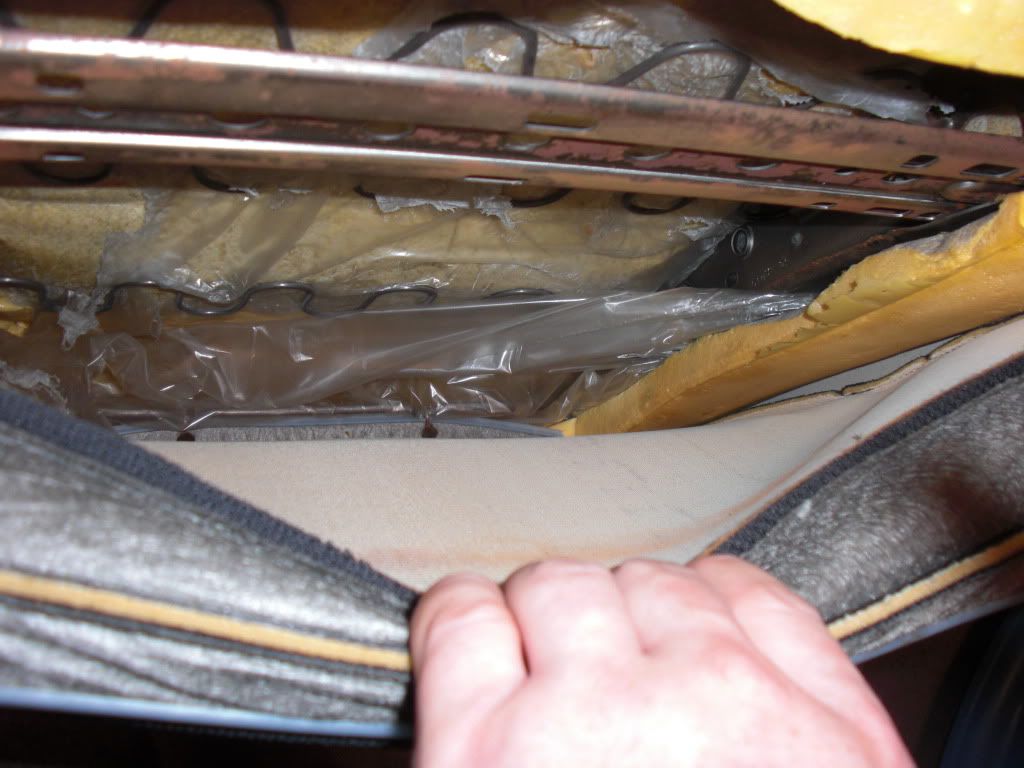
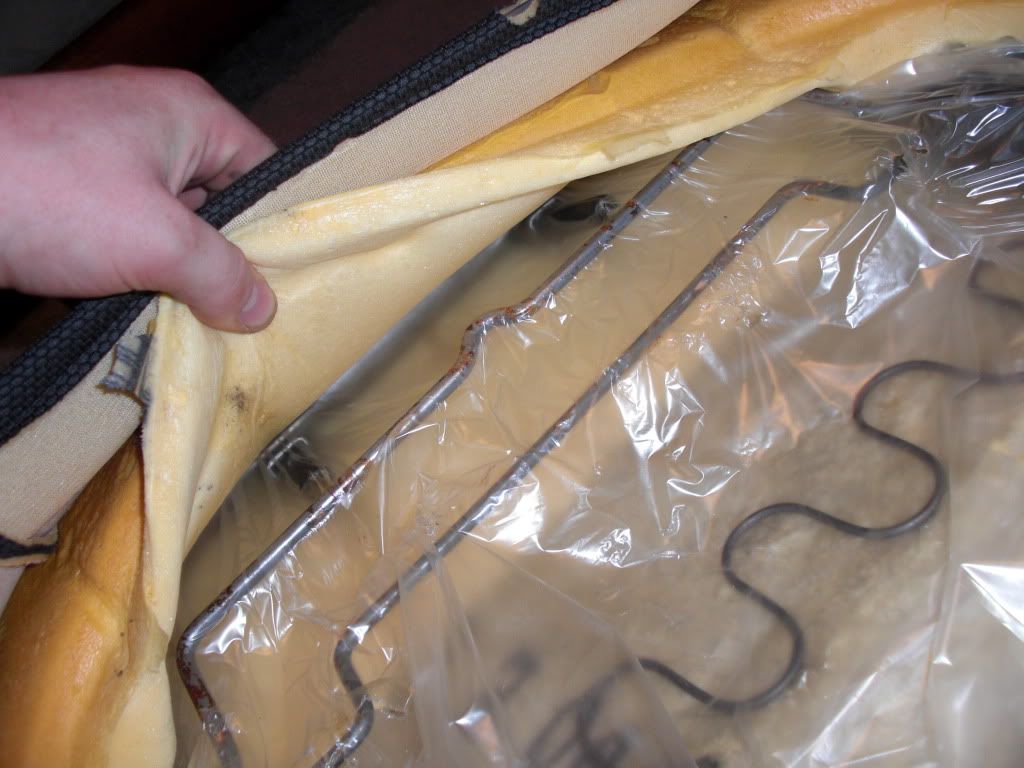
You 1st need to remove this spring thingy . One side of it is covered by fabric that is hog ringed to the spring itself.
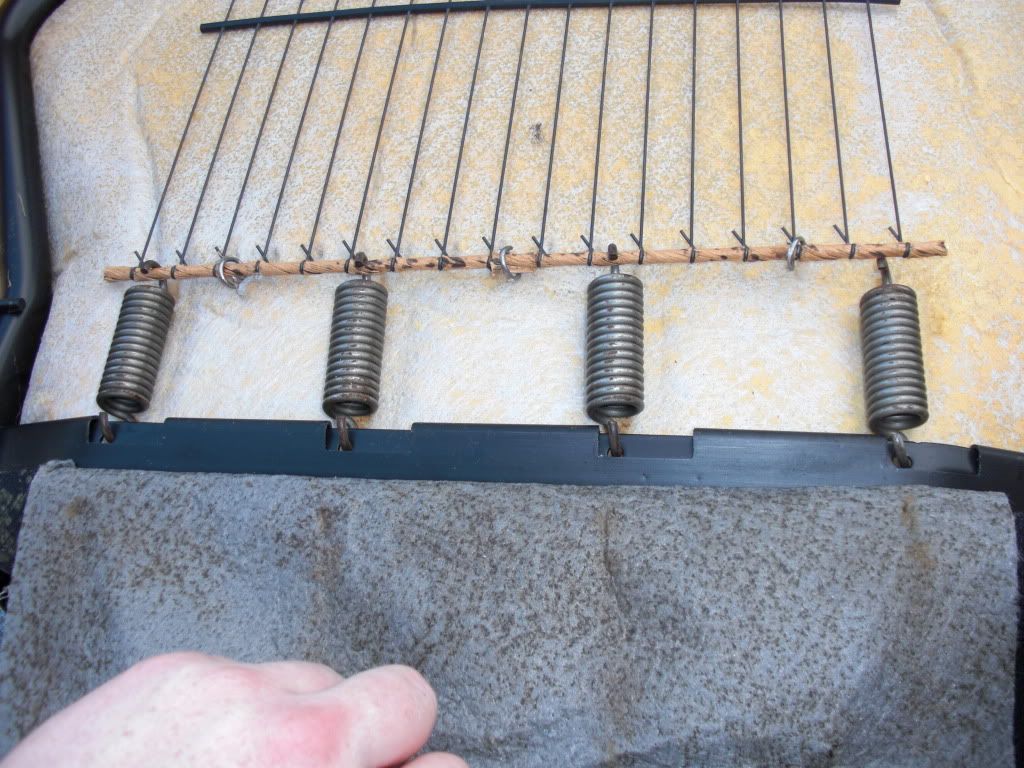
Undo those and then undo the 4 springs in there. Set all that aside and don't lose anything.
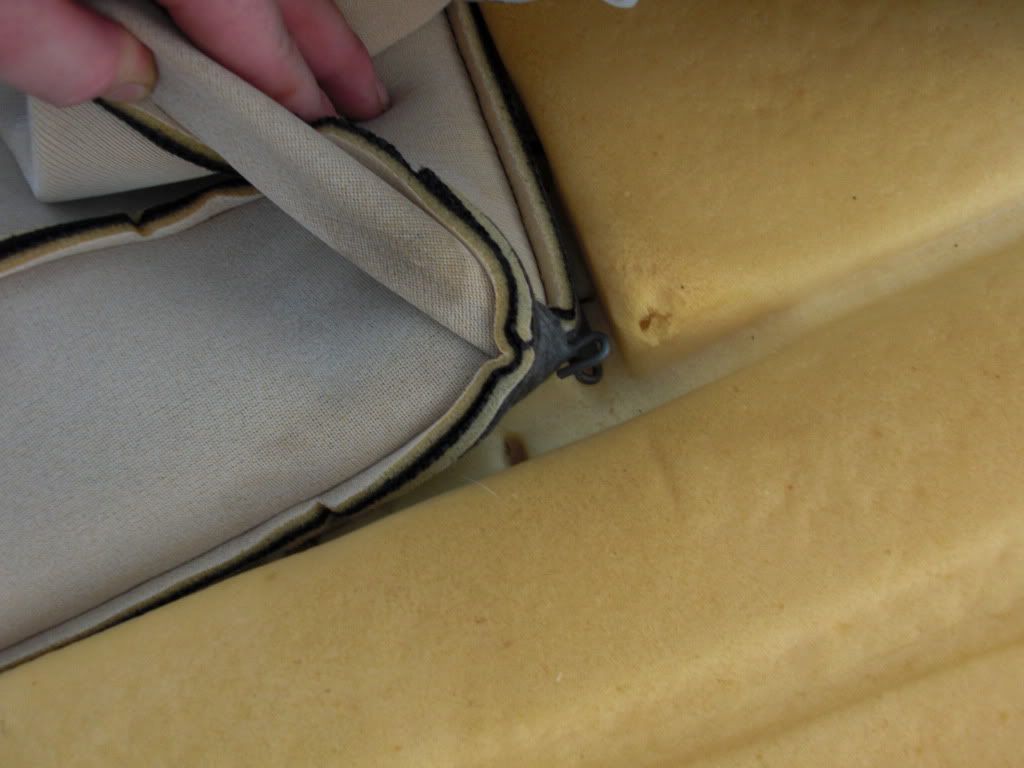
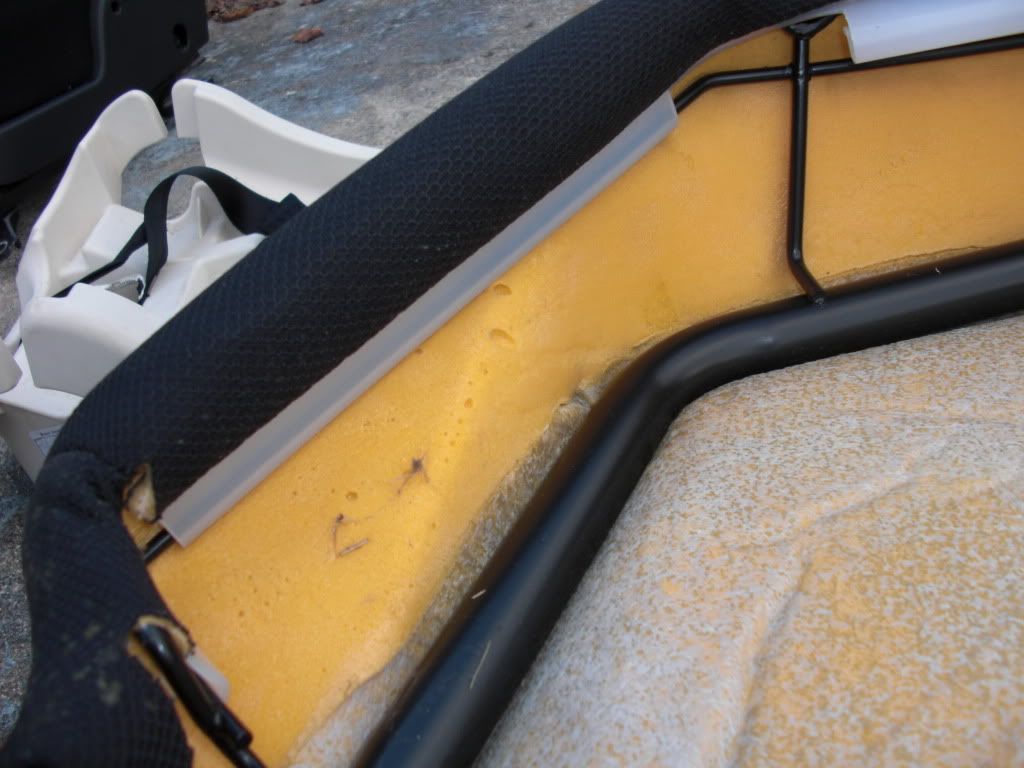
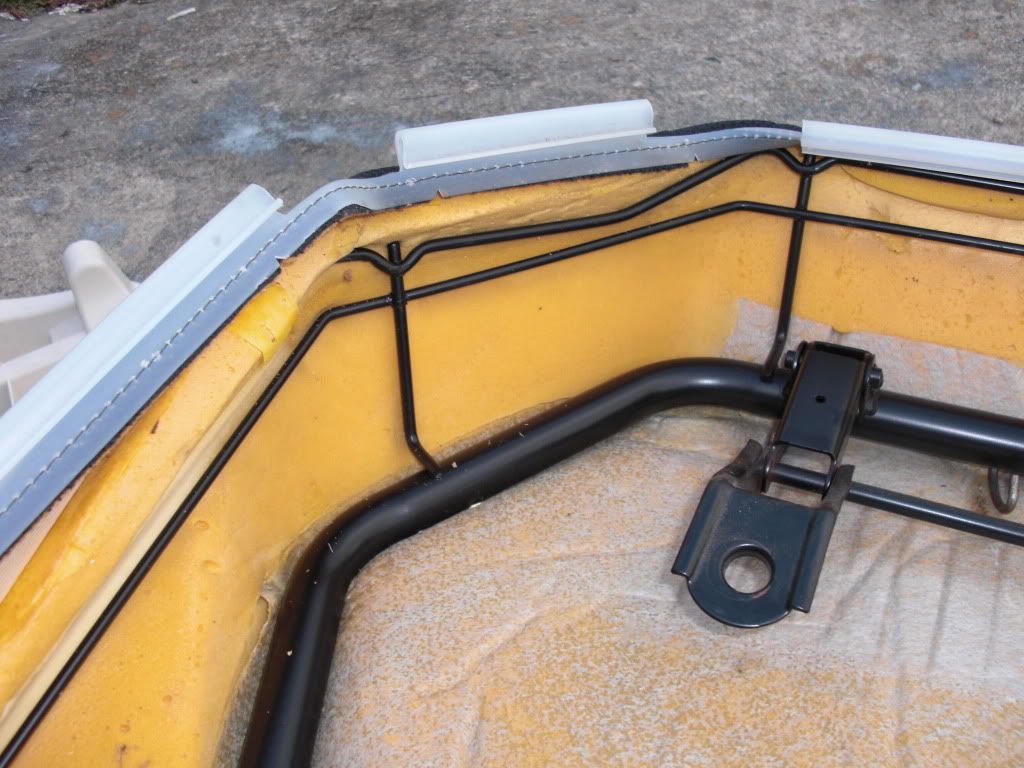
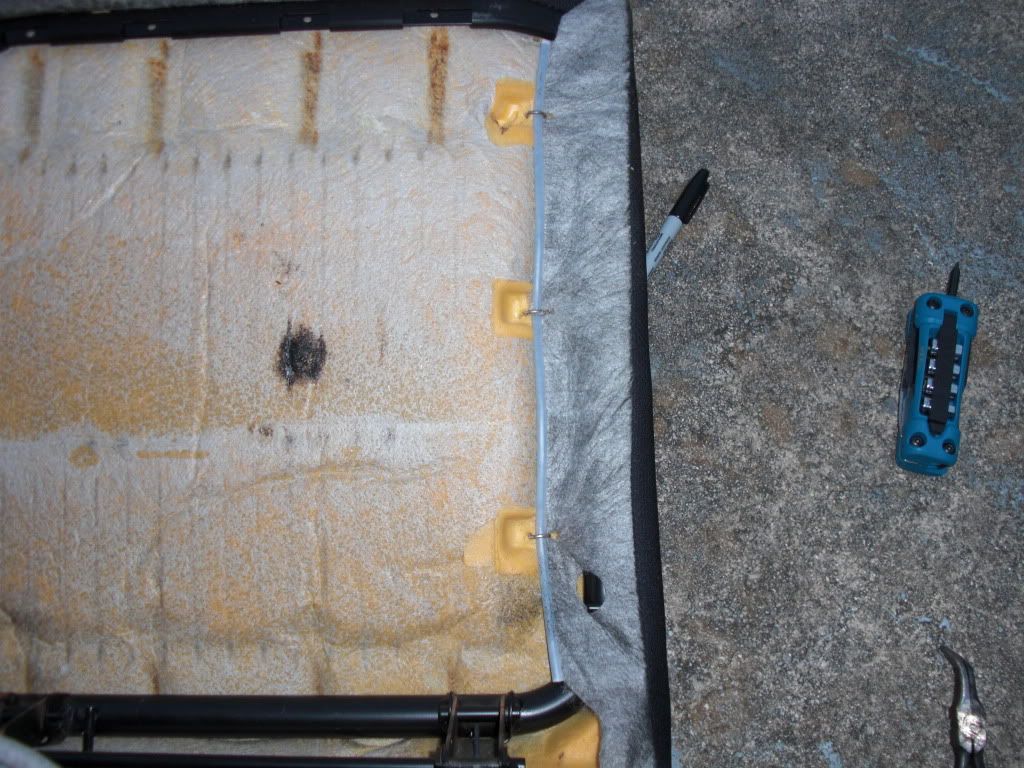
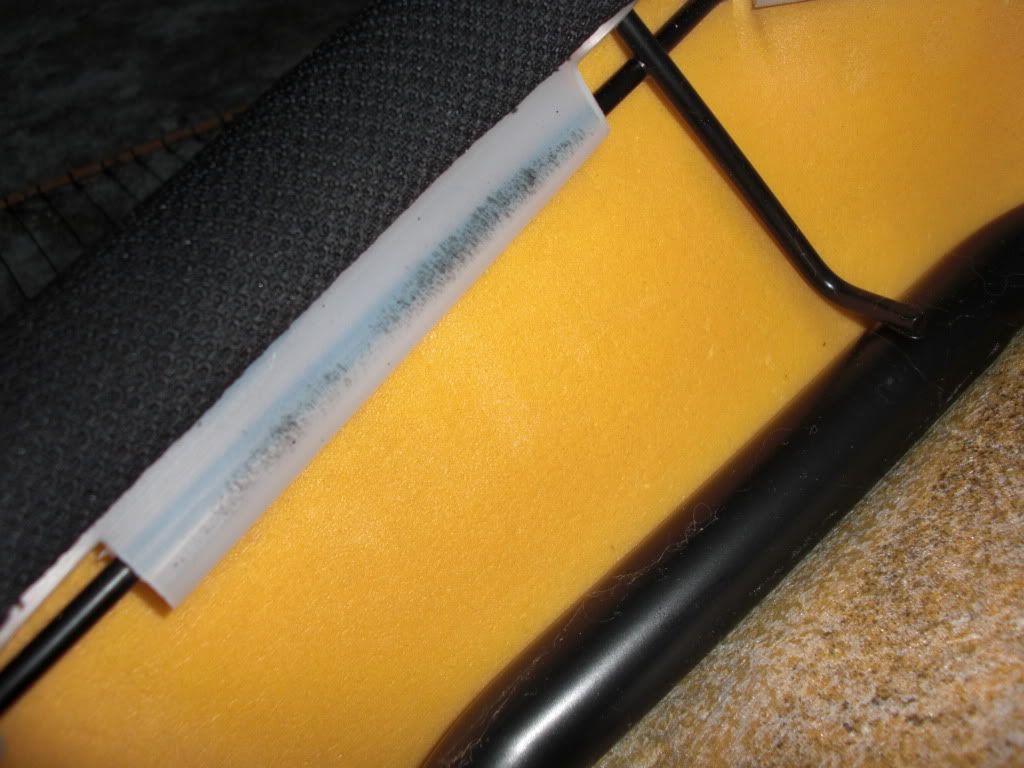
Now start to unclip the plastic edges of the fabric from the frame of the seat.
Do this until you can pull the cover around the foam and begin to undo those blasted hog rings
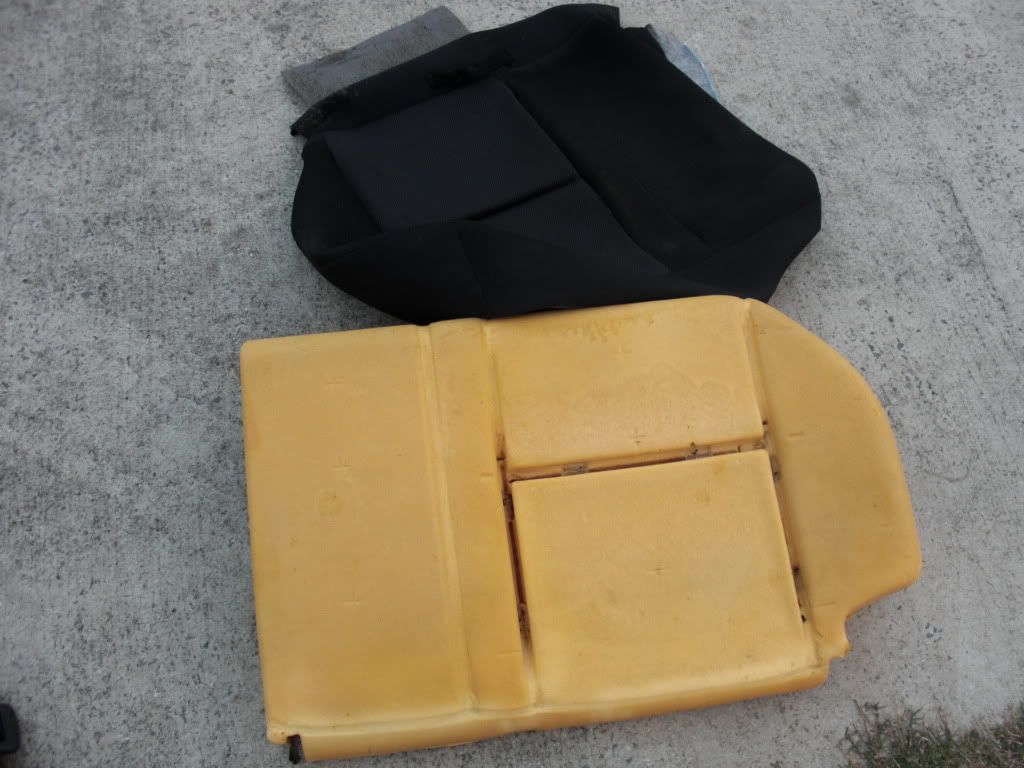
Once all your hog rings are removed, you're done with the 60% seat completely
NOW let's move on to the 40% seat
Same process for removal of the plastic backing. Two hex head screws inside the tracks, two gold screws, then SLIDE it up
Then I went ahead and separated the top from the bottom of the seat. Two 12mm nuts hold this thing on. One on each hinge
Then pull all these out....same as before
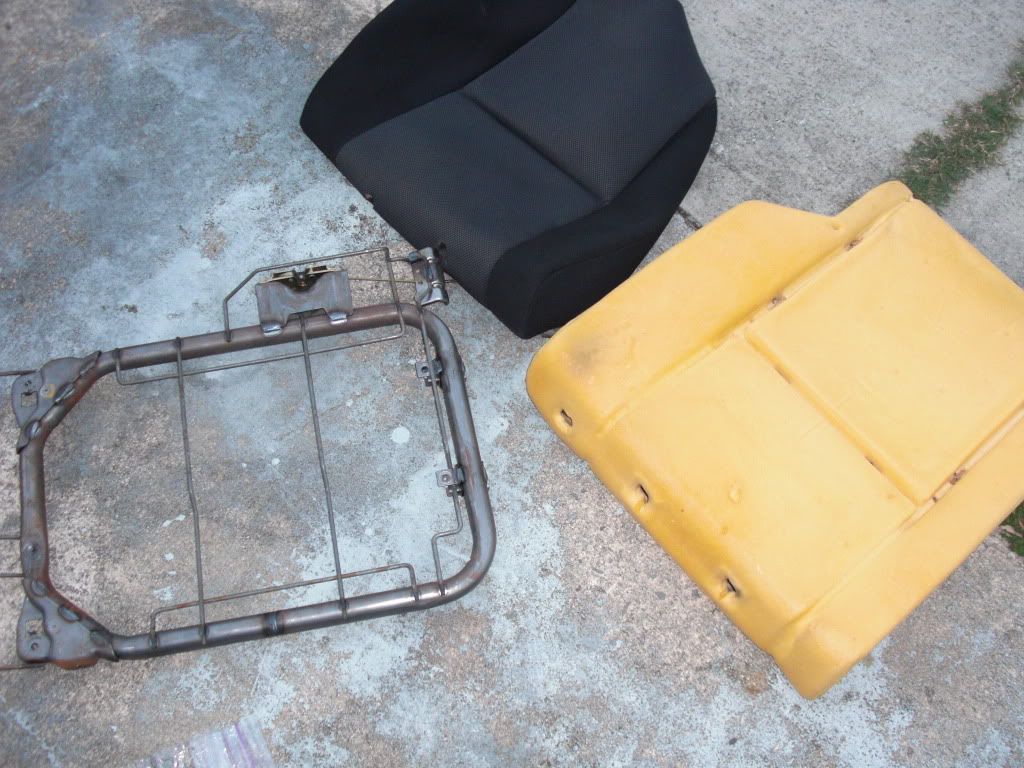
Start undoing more hog rings until you can remove the frame from inside the foam, then remove MORE hog rings til the fabric is free
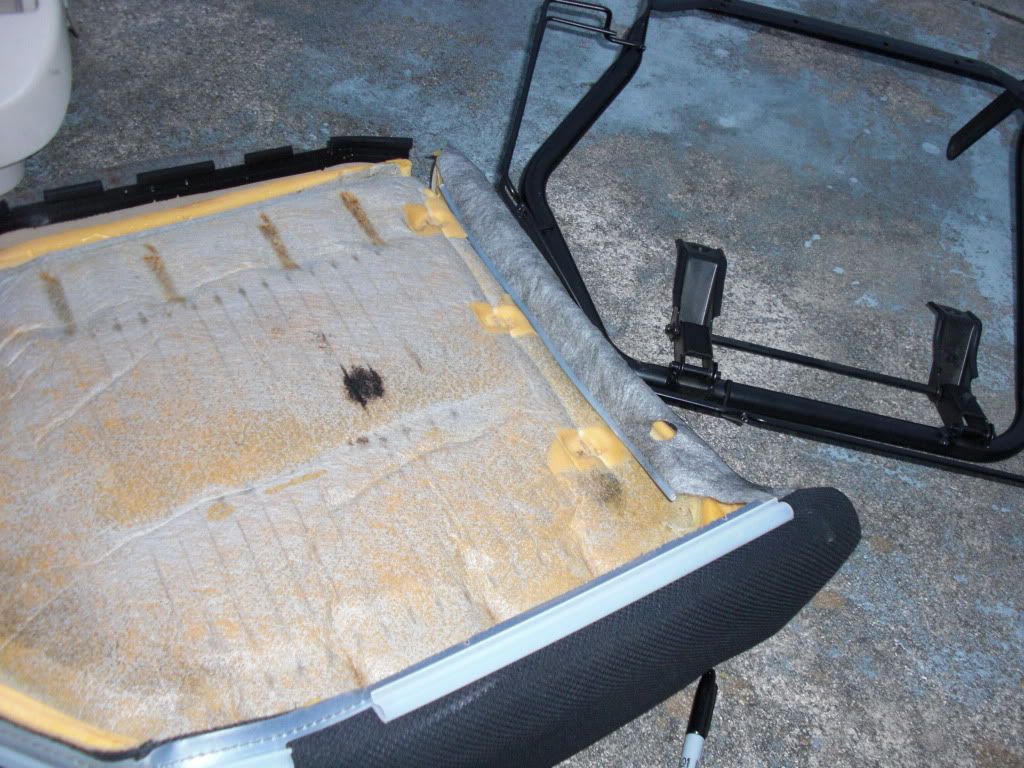
Now on to the bottom half of the 40% seat. Flip it over and you have the same spring thingy. Removal is the same as the 60% seat
Then start undoing your fabric carefully making sure you undo all the hog rings and you're done in NO time
THE REAR SEATS ARE DONE!!!!
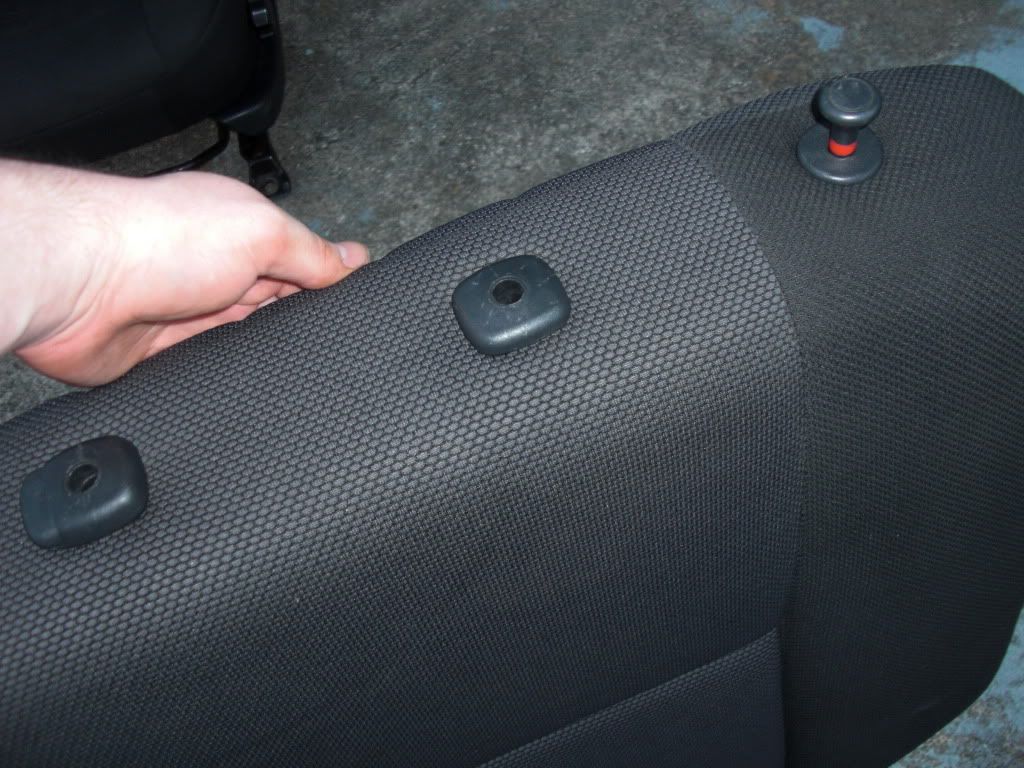
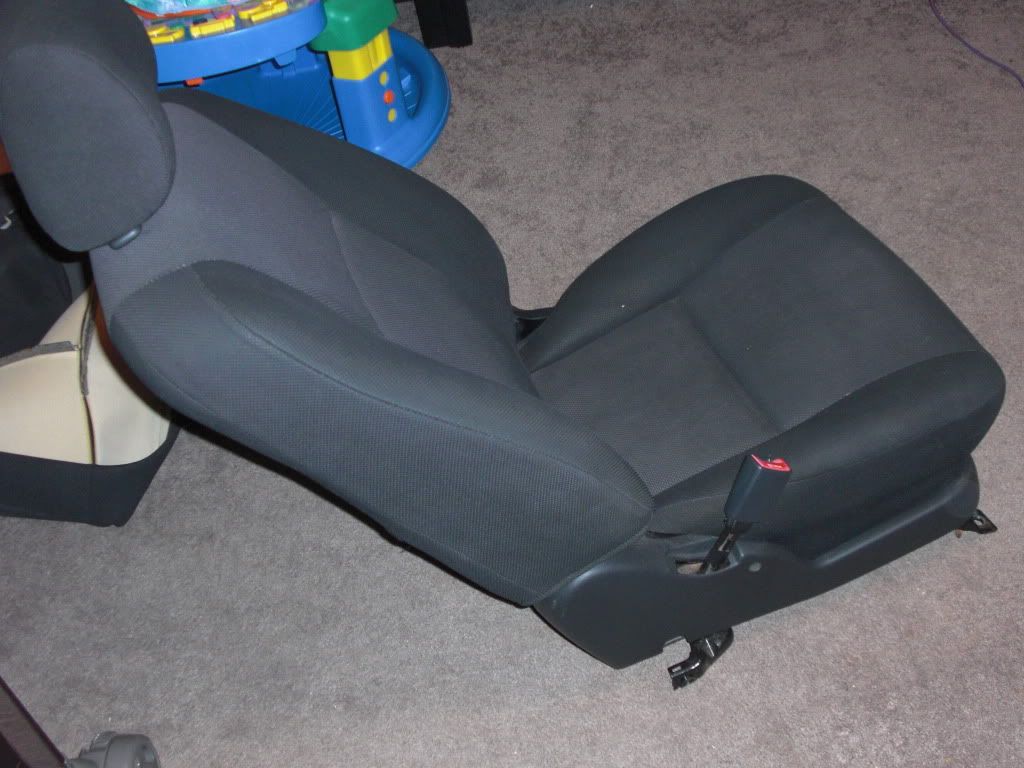
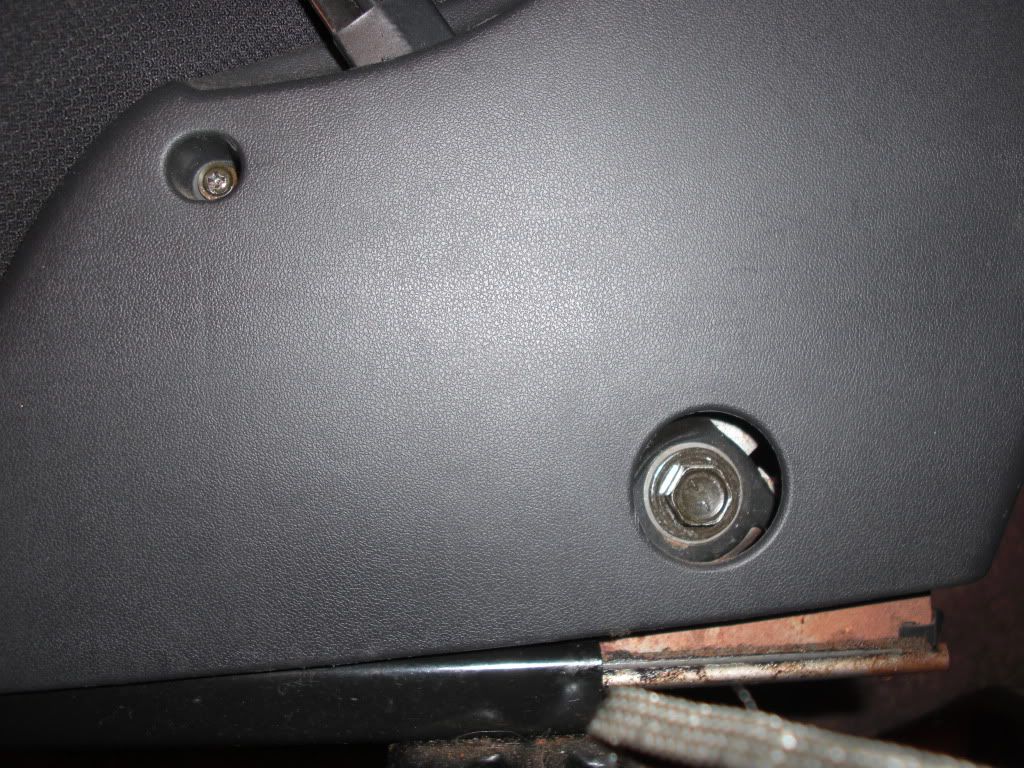
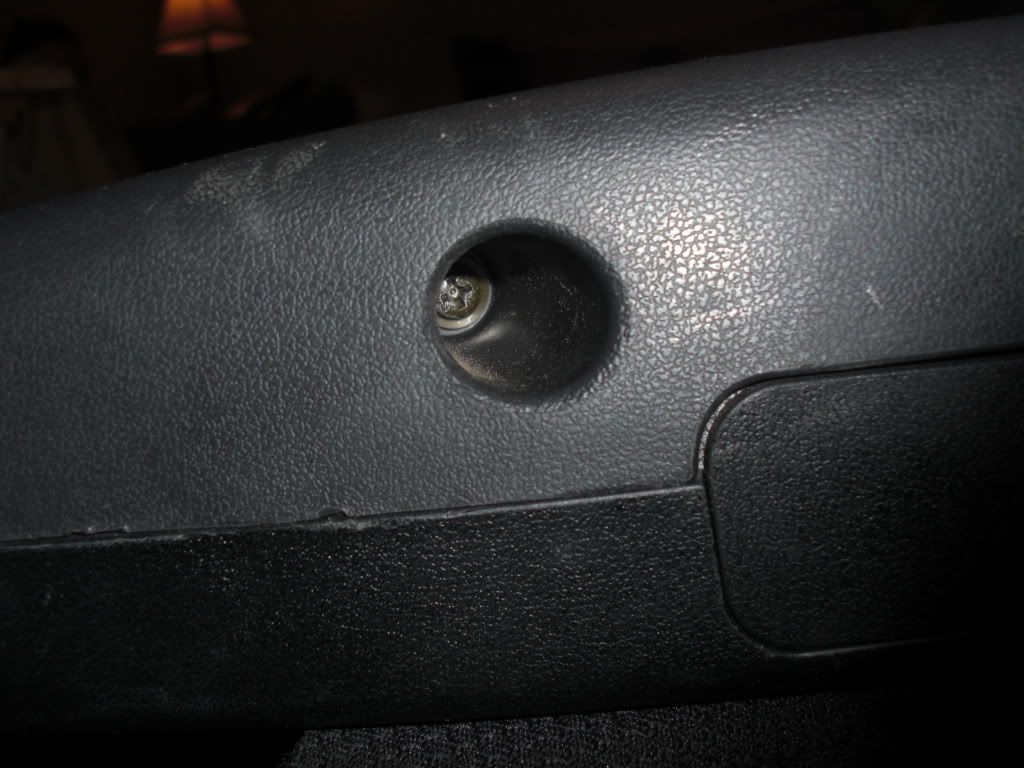
Okay, on to the front seats, we'll do the driver side first since it was the easiest. Start by removing the plastic trim all around it.
There are two screws on each side and then the plastic is kinda pieced together w/ no actual clip. The seatbelt actually did (with help) fit thru the whole in the trim
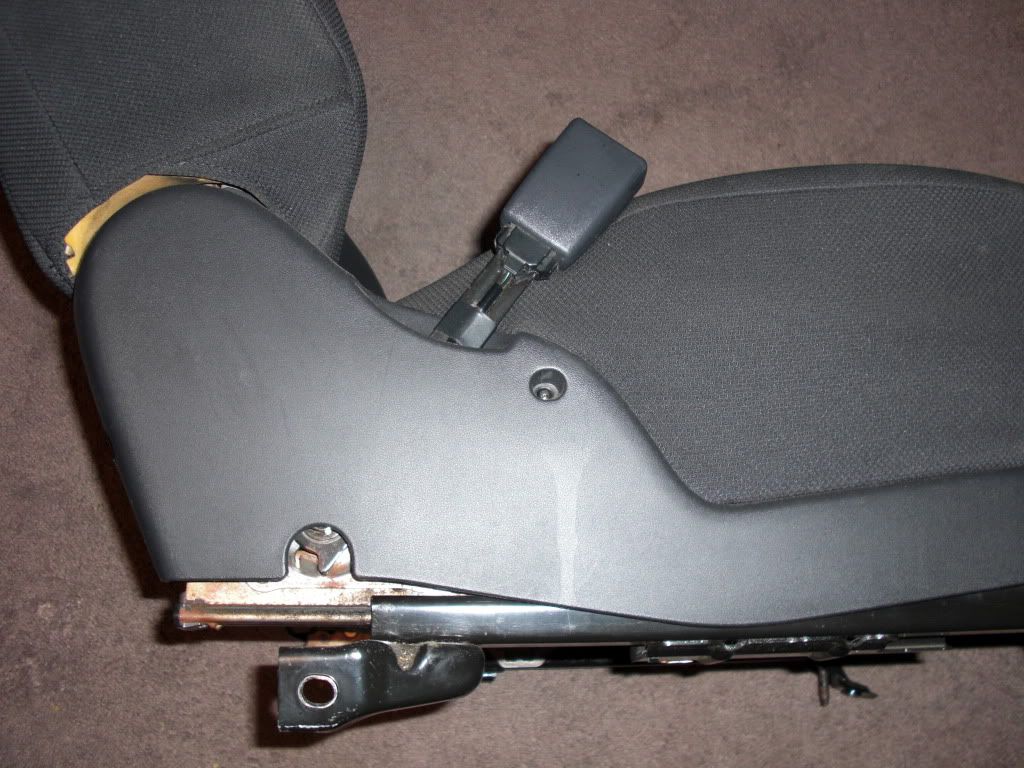
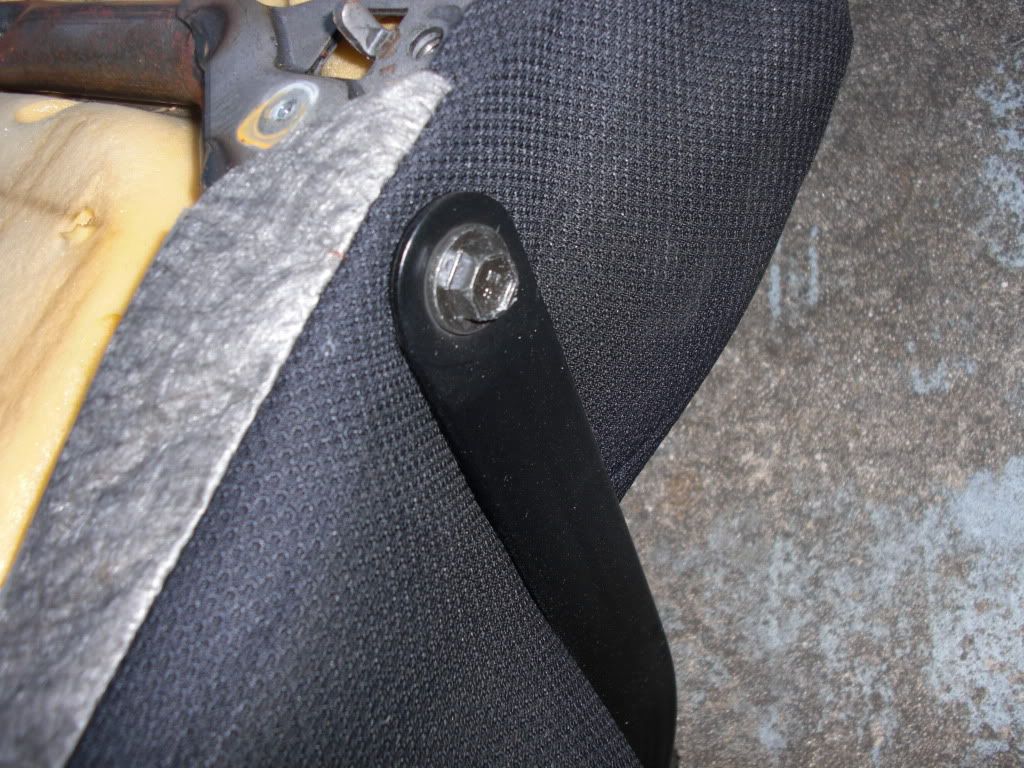
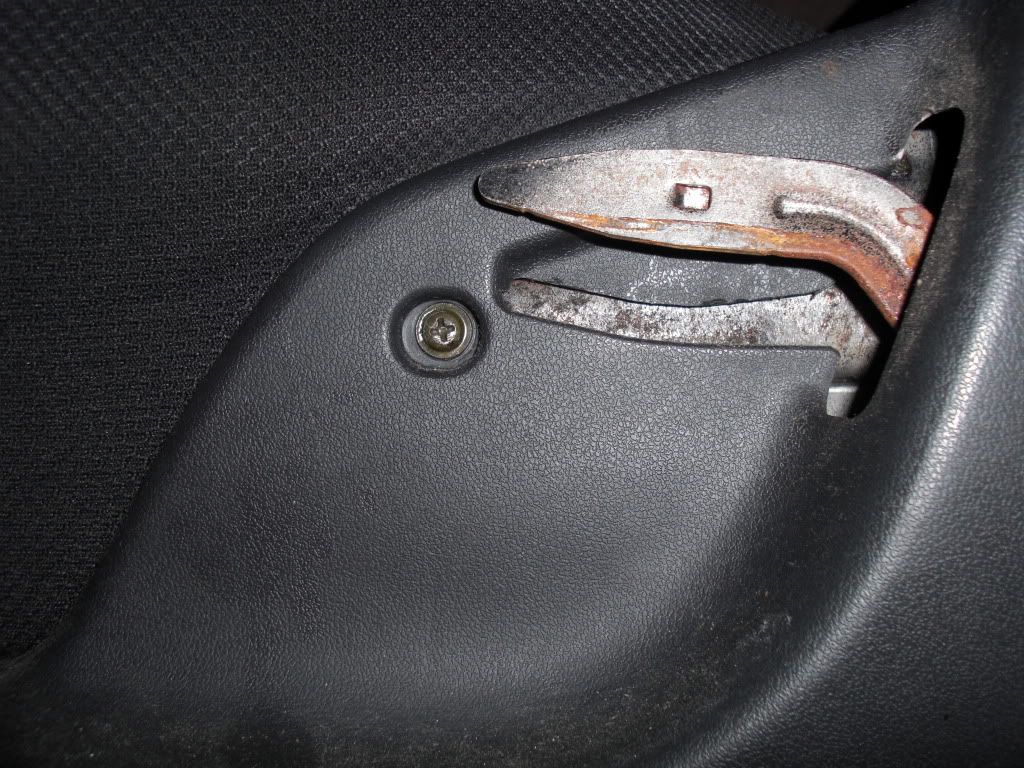
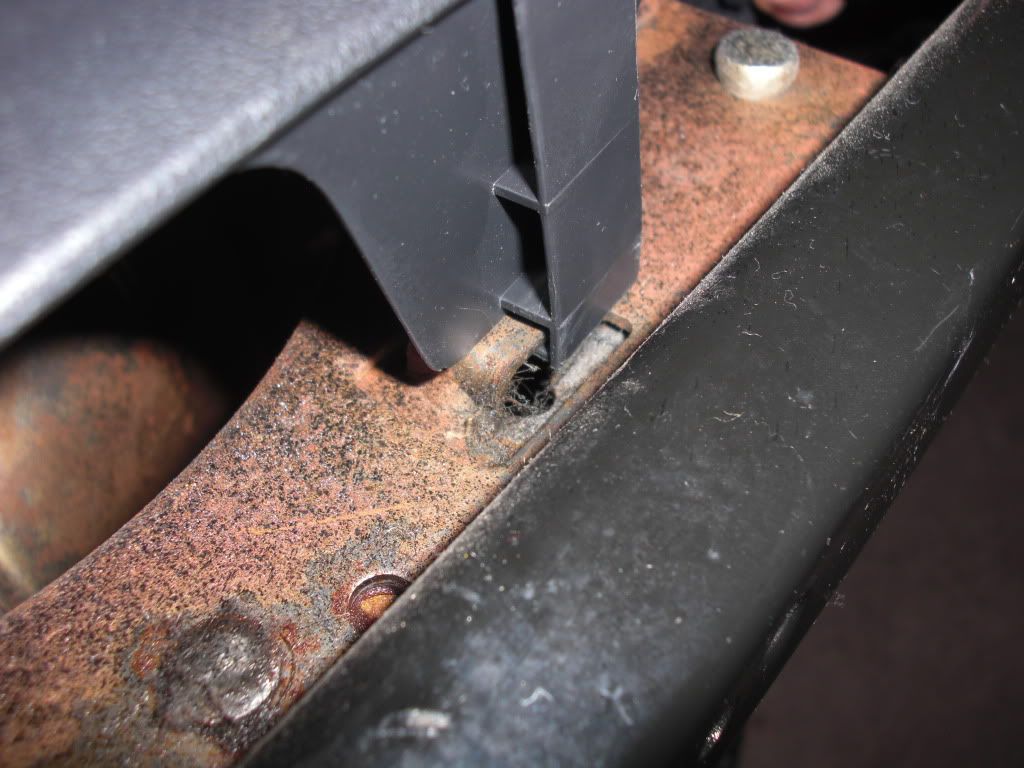
The lever you pull to recline the seat is pretty easy. Just pull it up and you can see in my photo where I pried. This is where you use the flat head

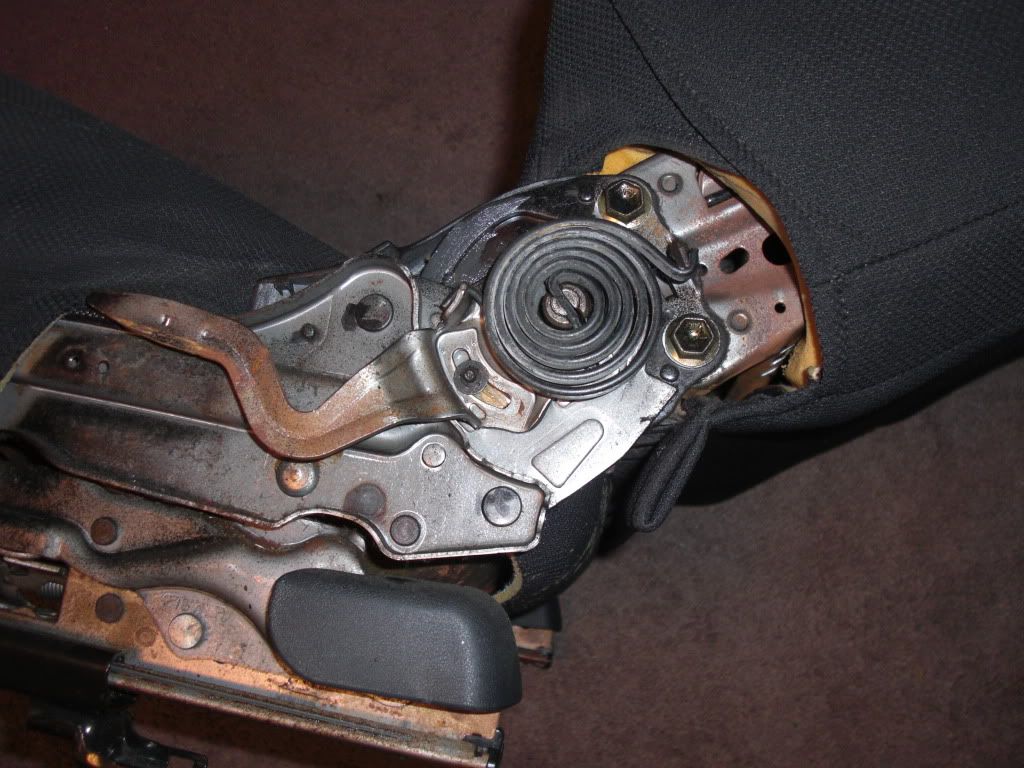
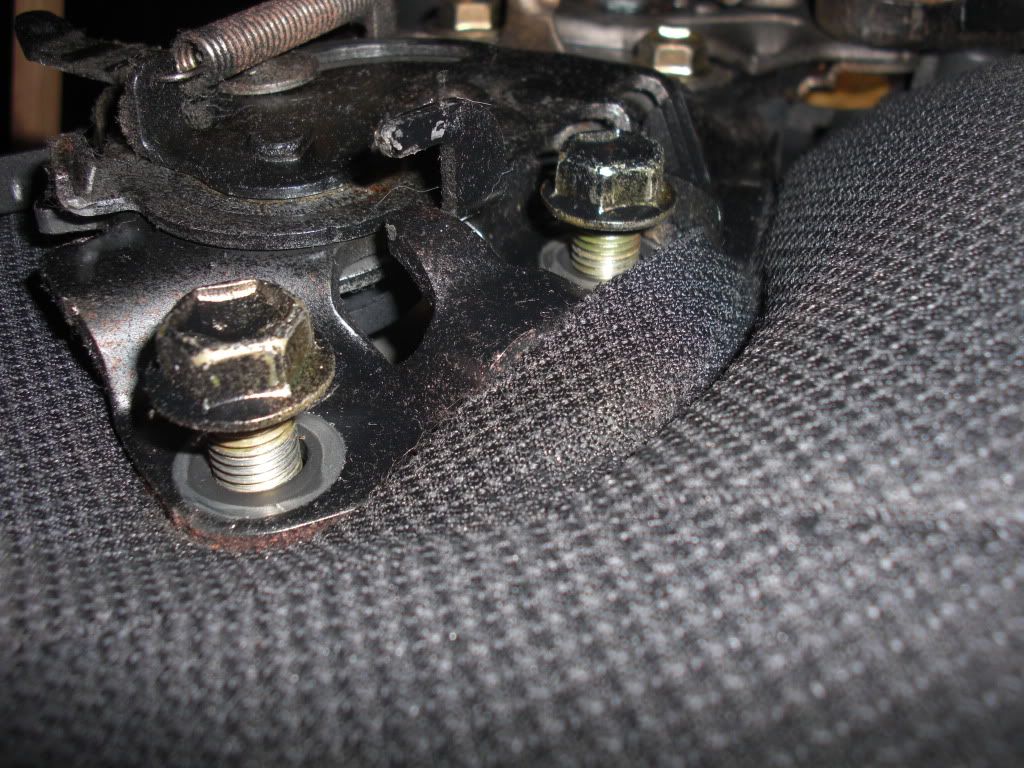
Then to remove the top half from the bottom half you undo a few hog rings, then undo the two 14mm nuts on each side.
These babies were EXTREMELY torqued down, so this is where a breaker bar would come in handy
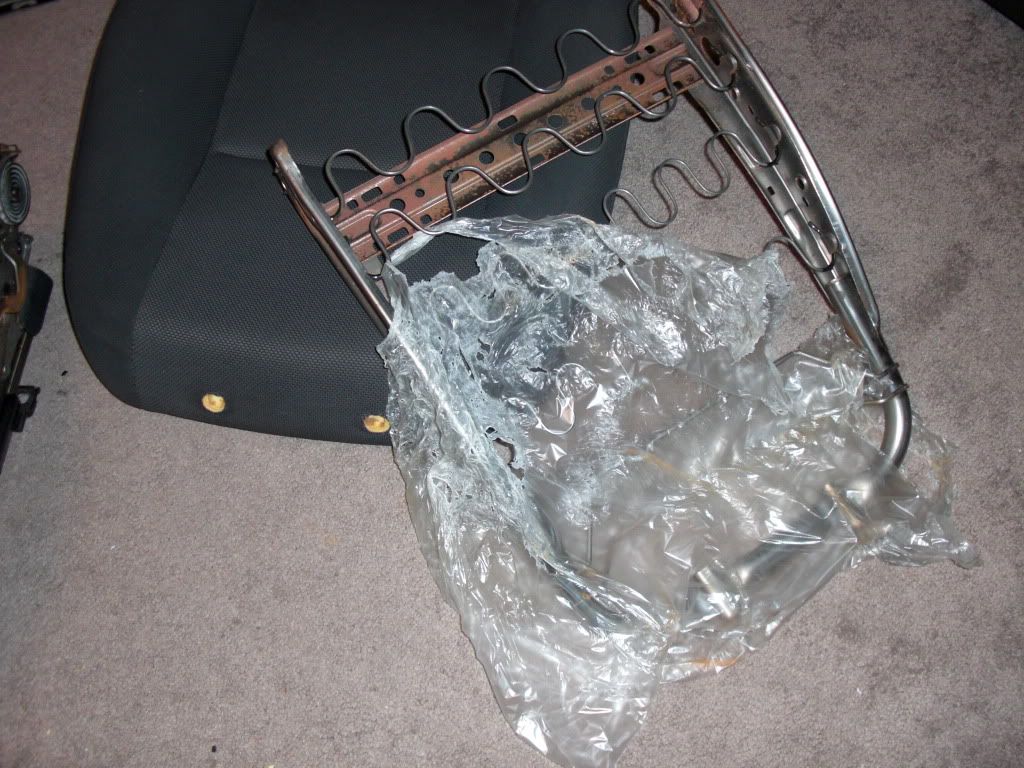
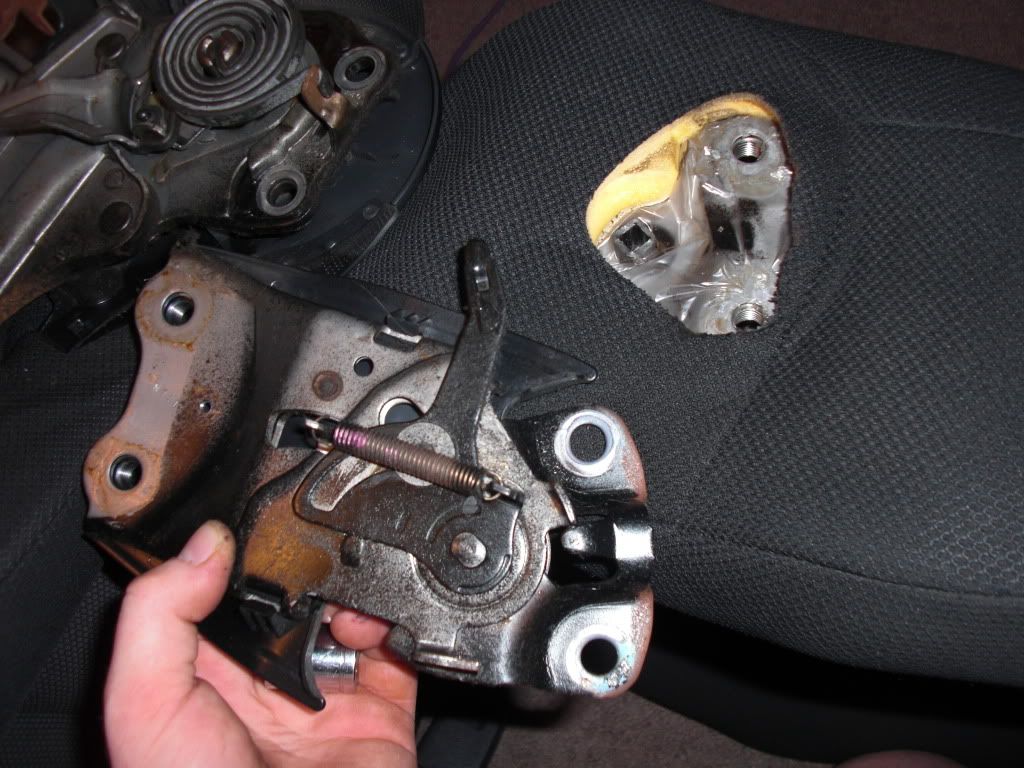
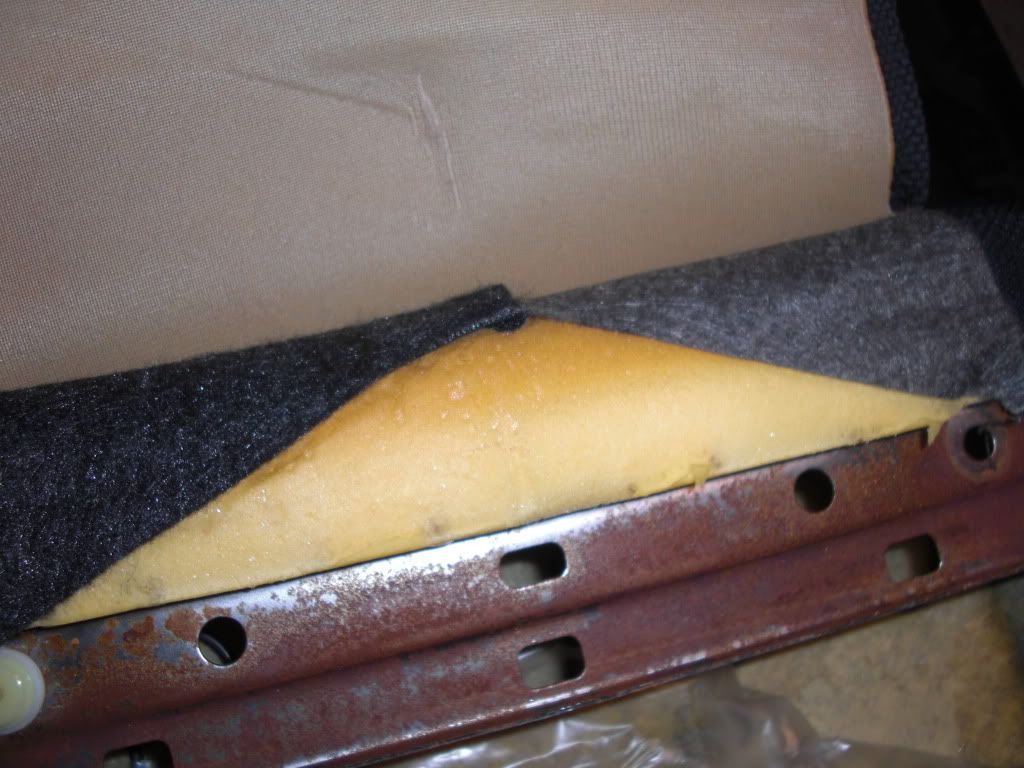
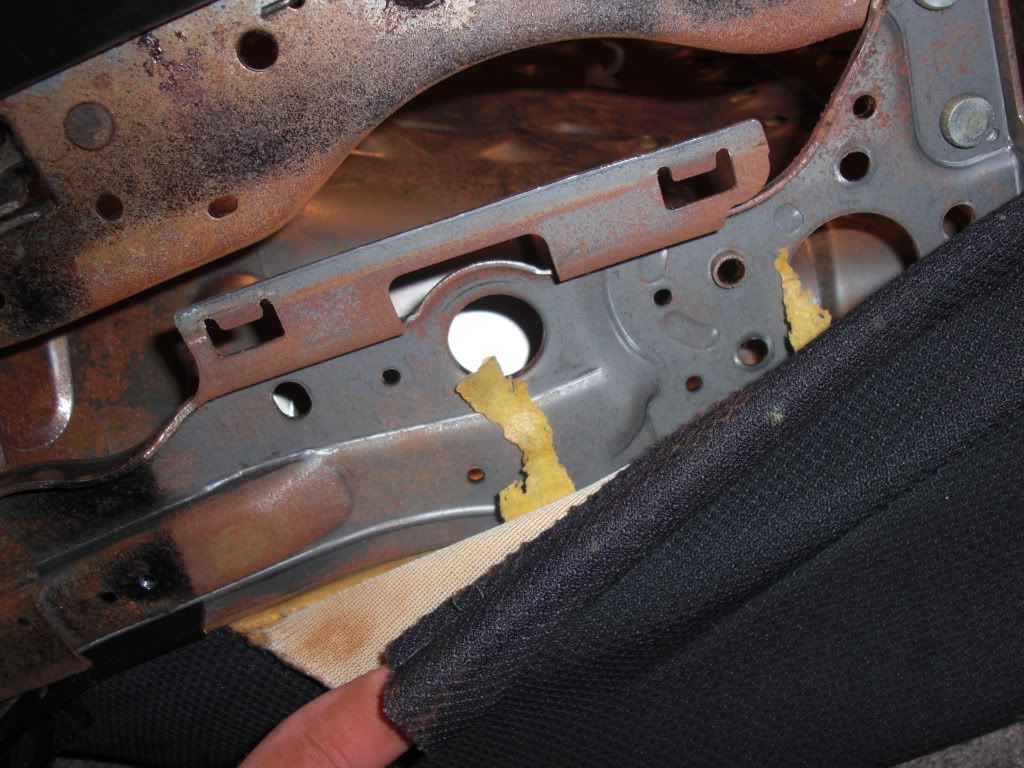
Now if we look down inside the top half, we see 3 more hog rings, undo those, then remove the headrest holders.
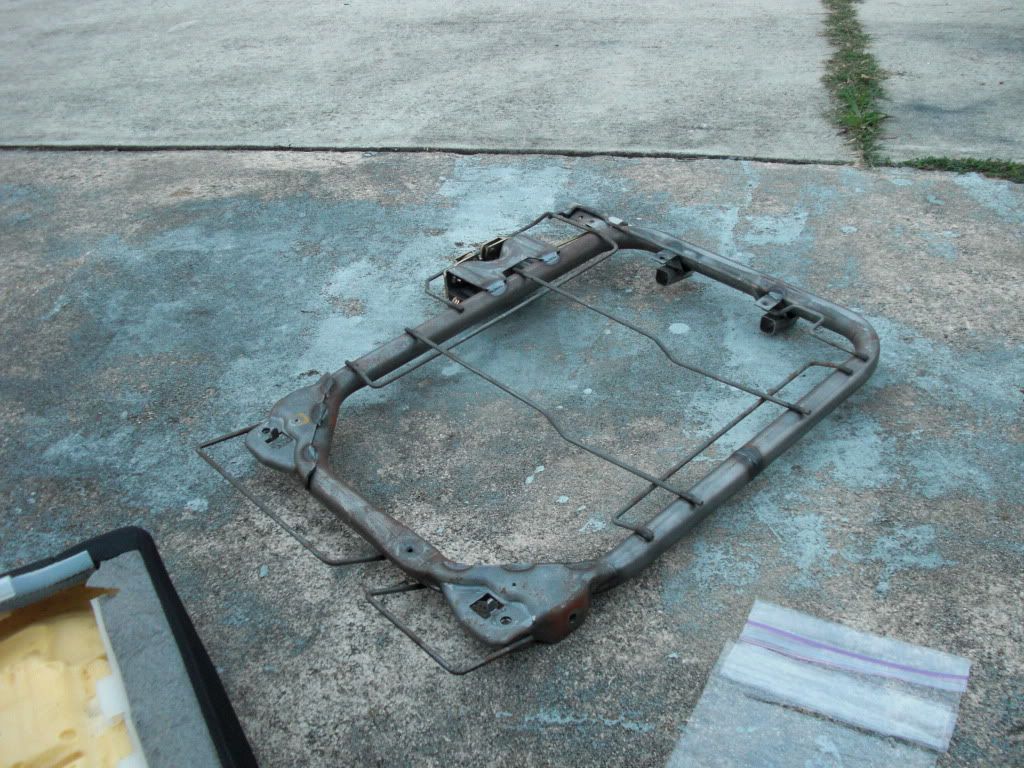
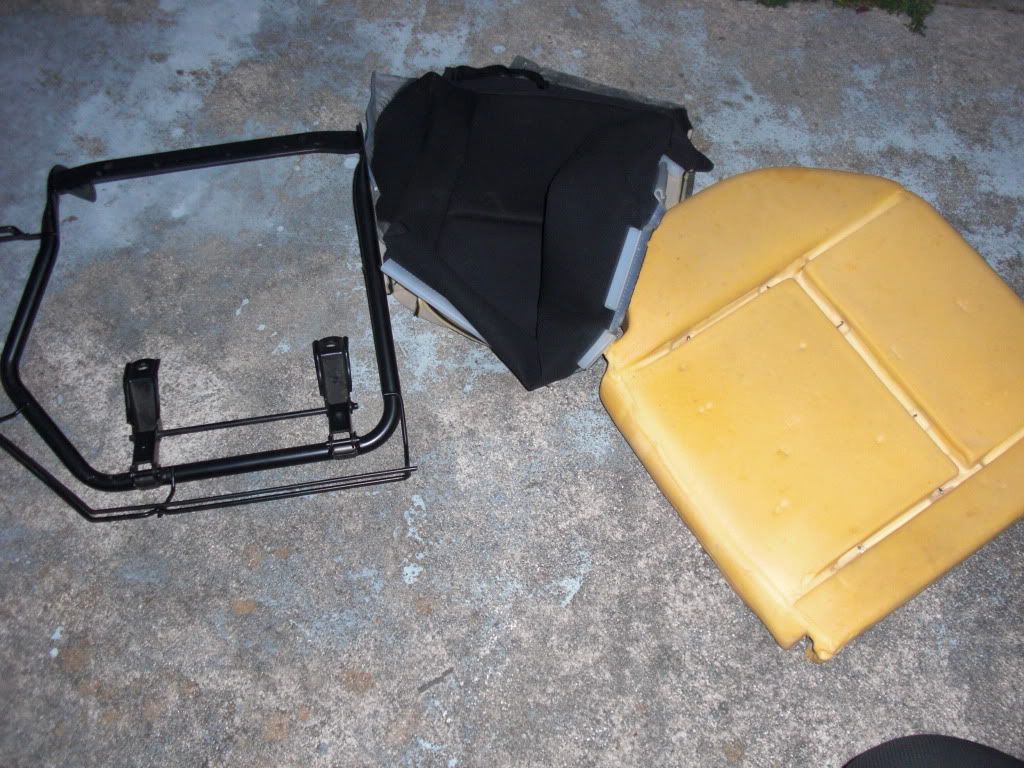
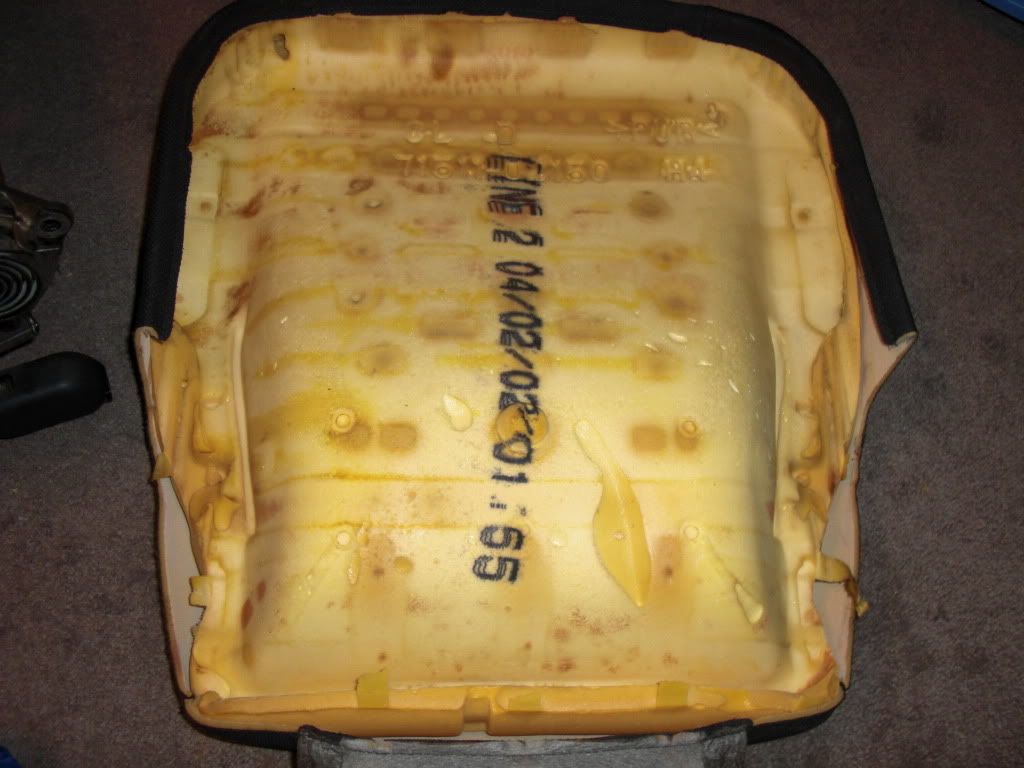
Then your metal frame pulls out and you find trashed plastic.lol Start removing the hog rings and your fabric from the foam.
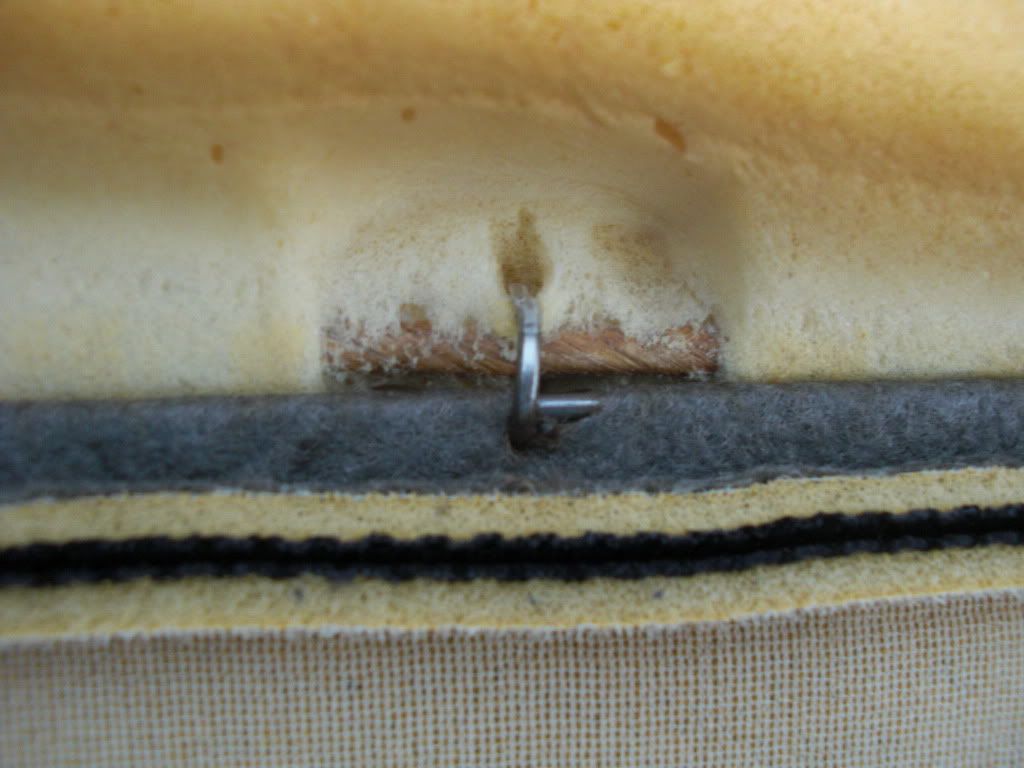
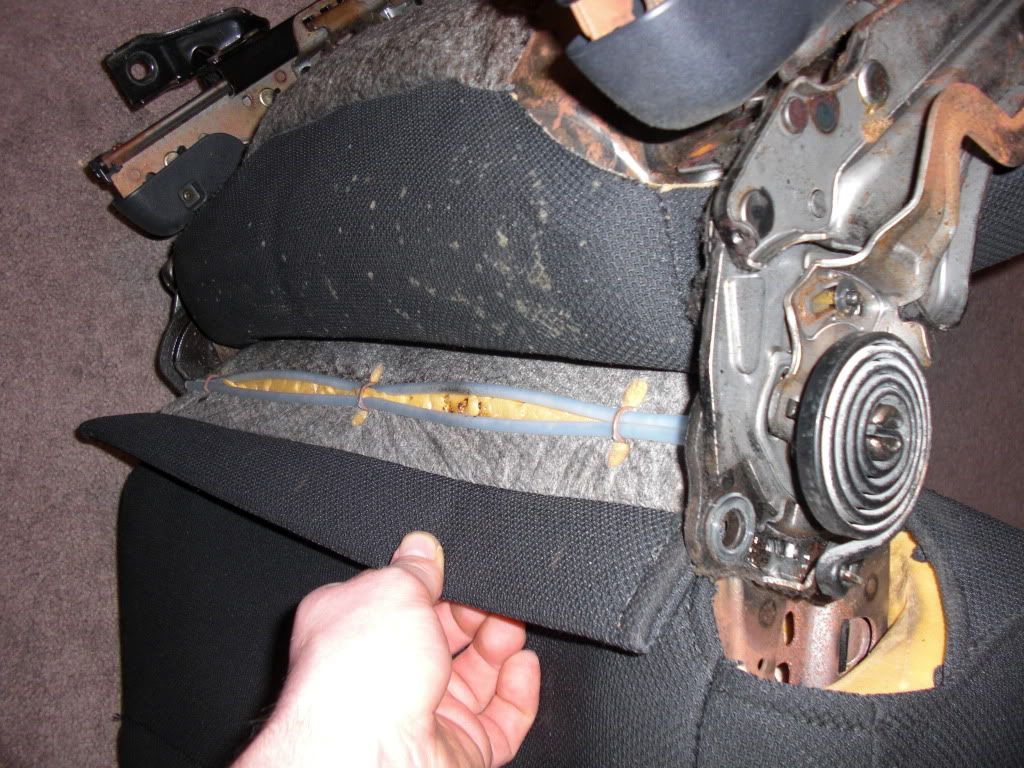
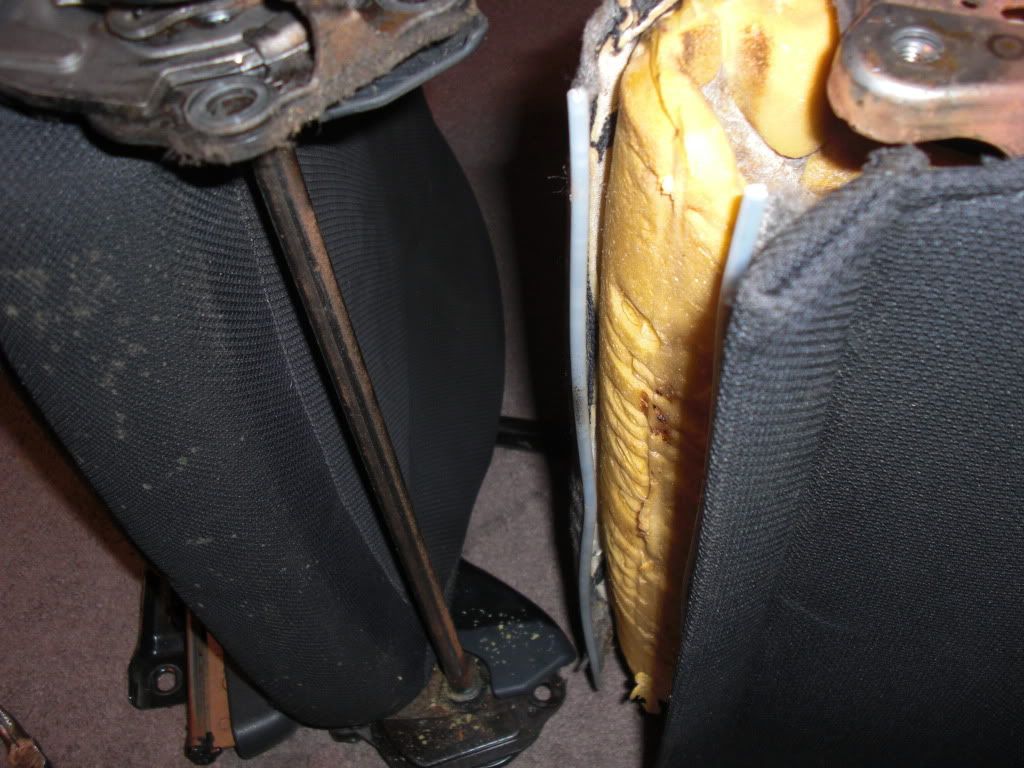
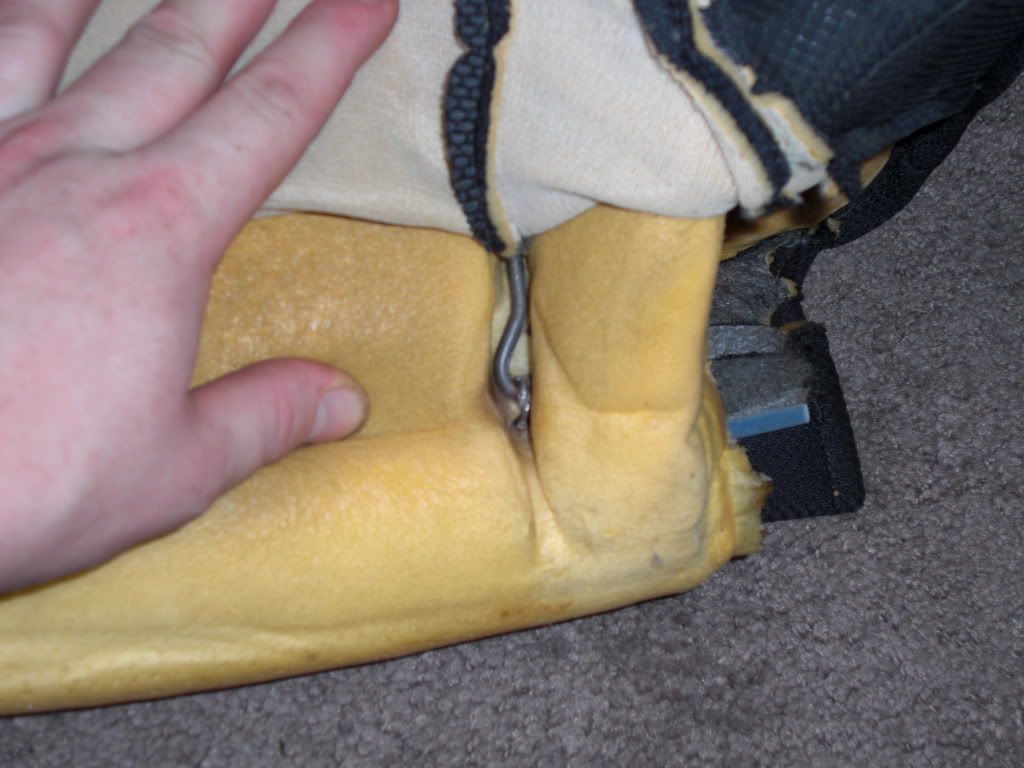
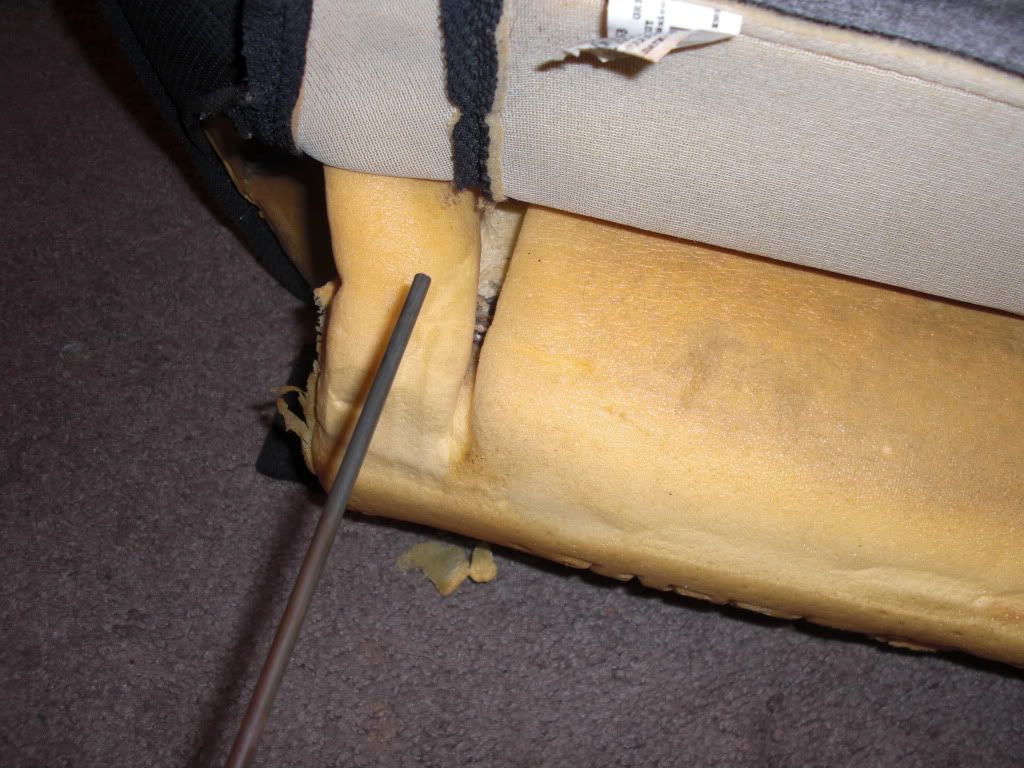
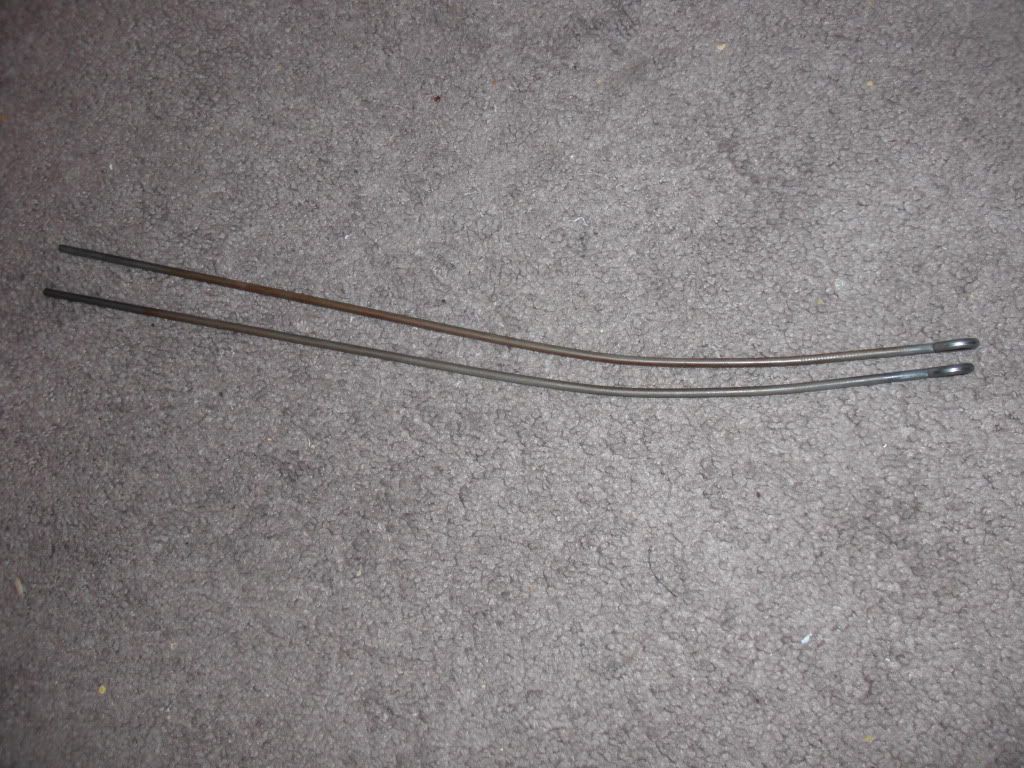
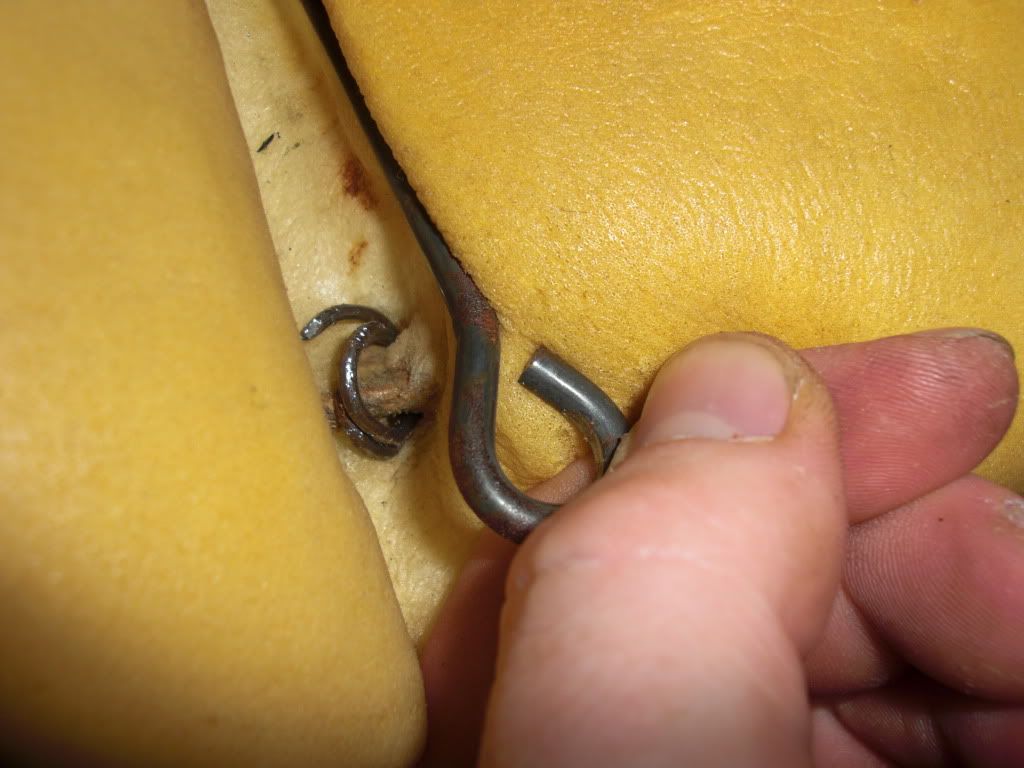
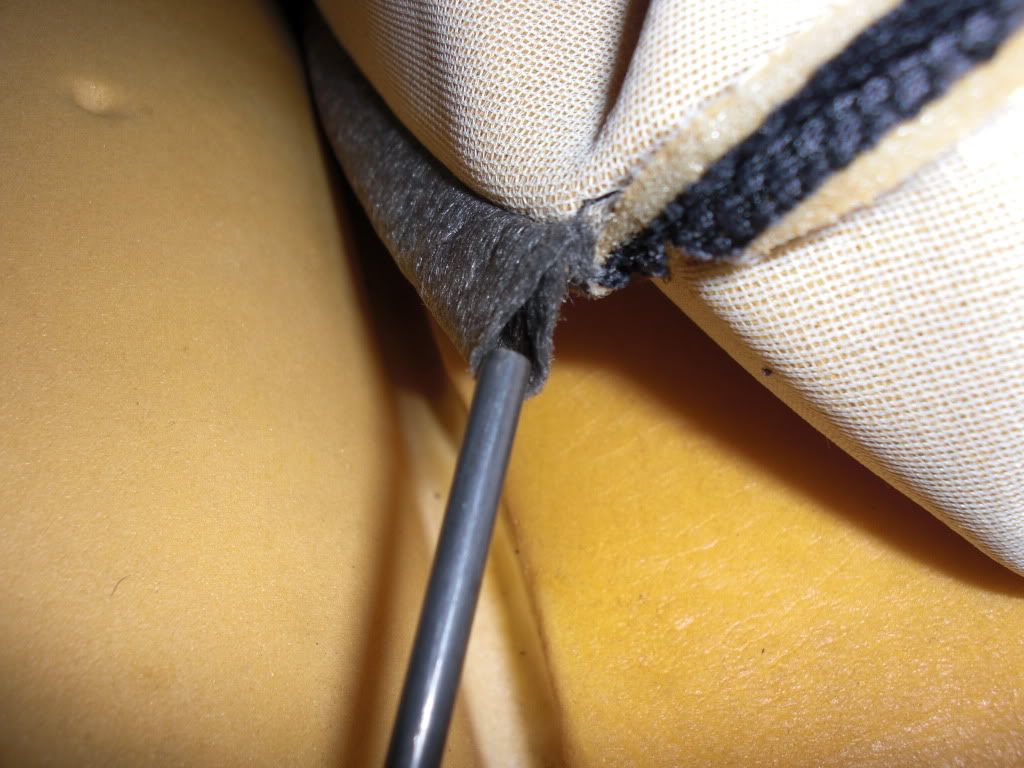
The front seats down each side just have a metal rod w/ a loop that is hog ringed to the foam.
Undo the rings and pull the rod out and the fabric will begin to come loose

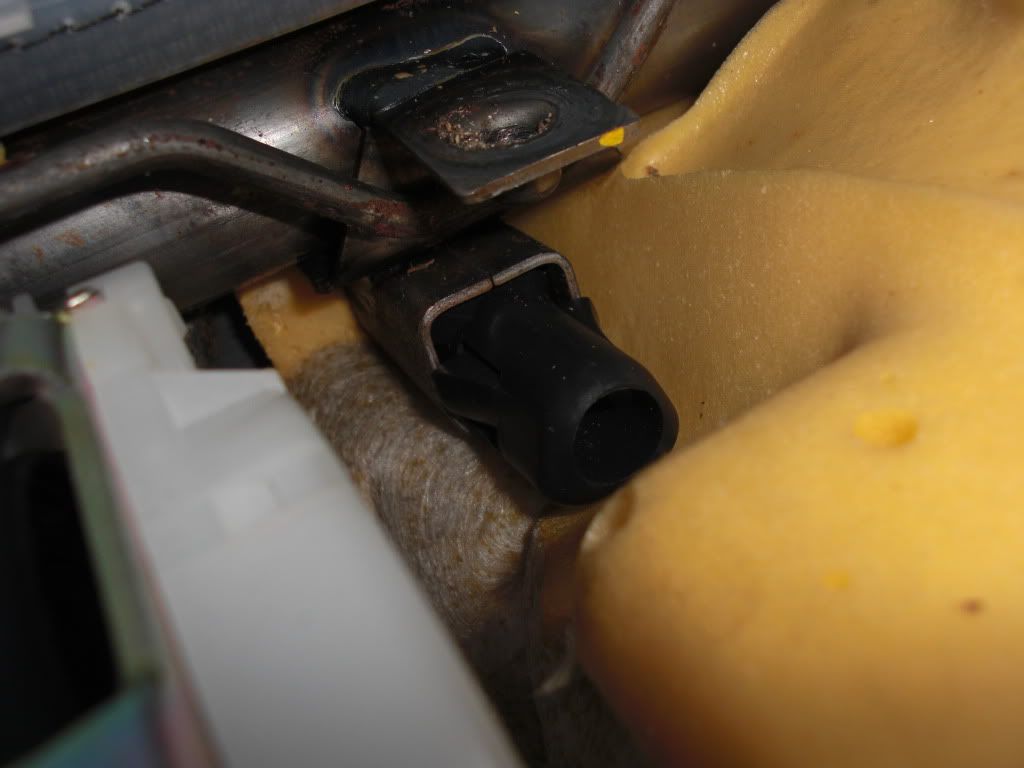
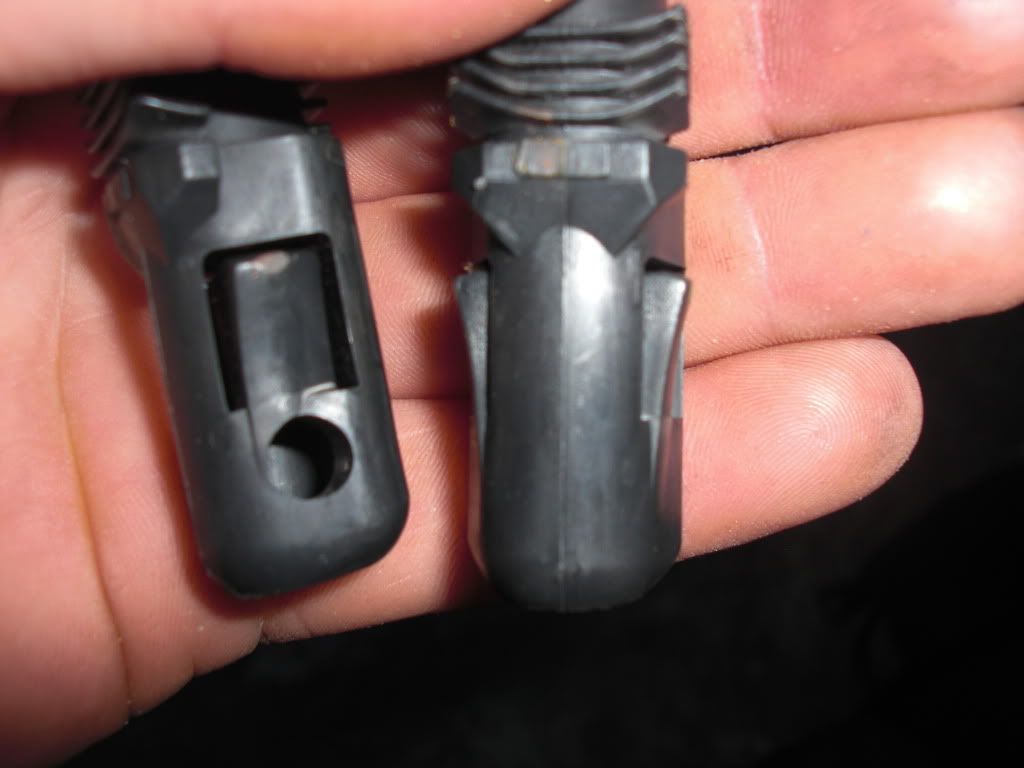
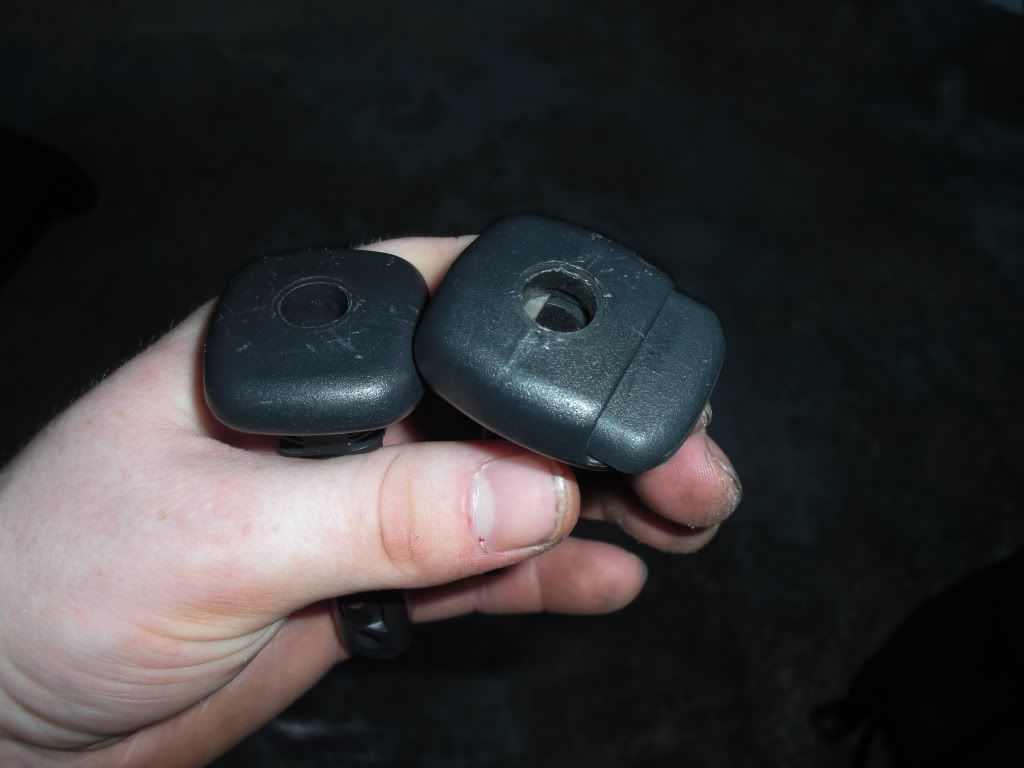
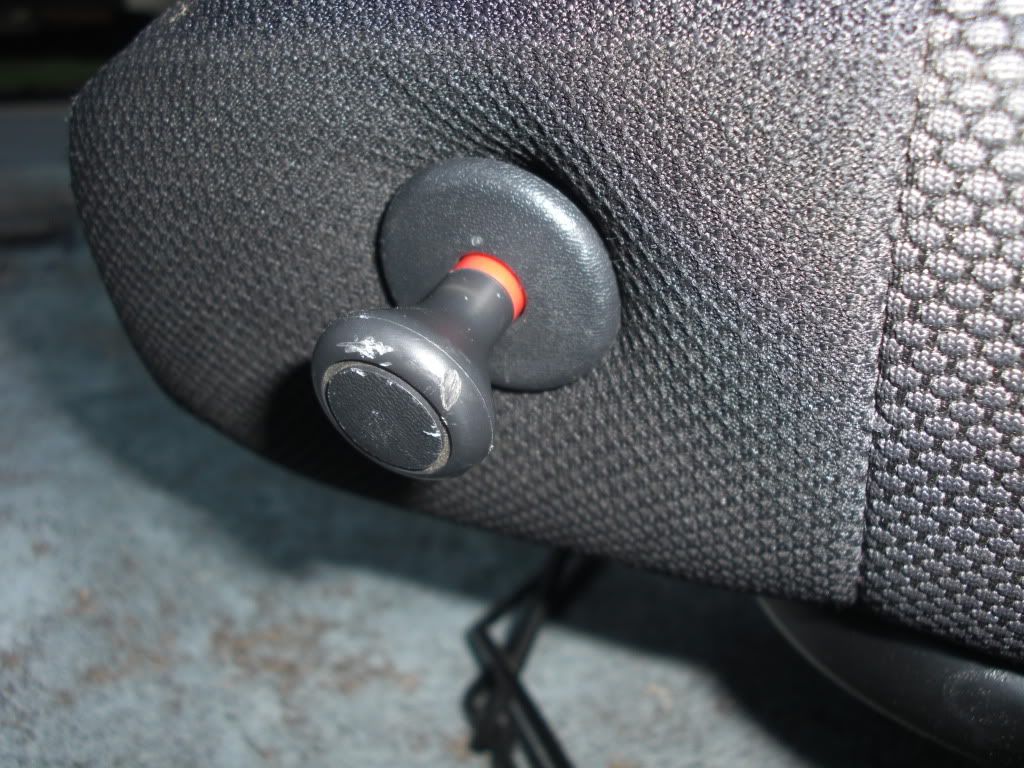
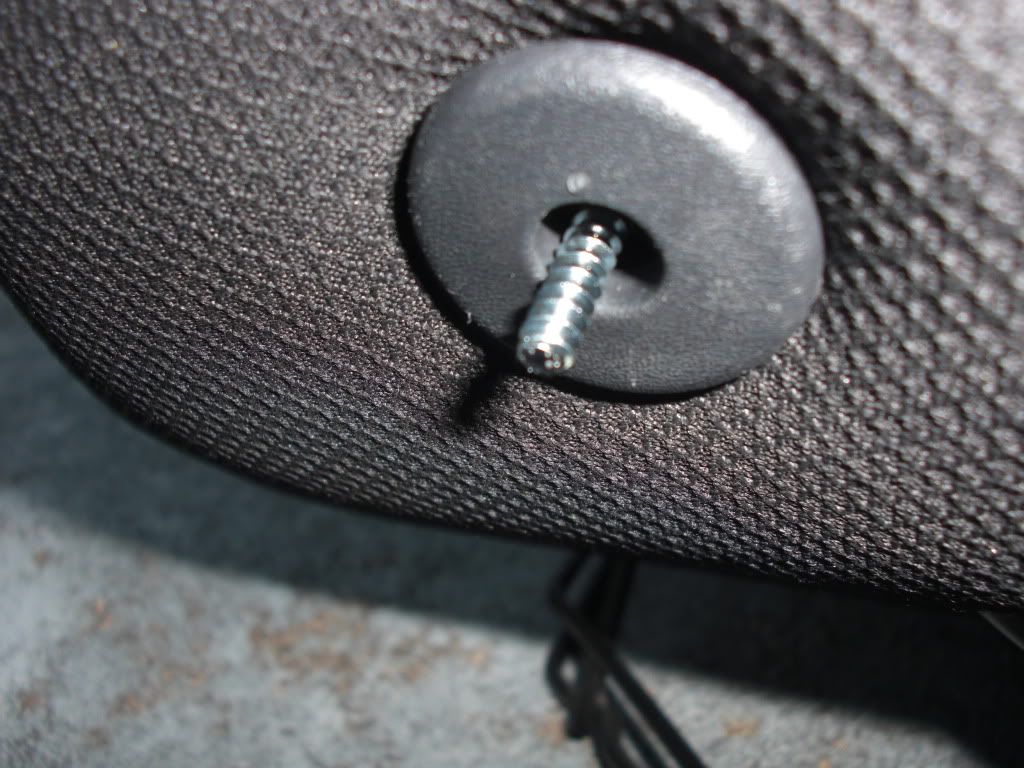
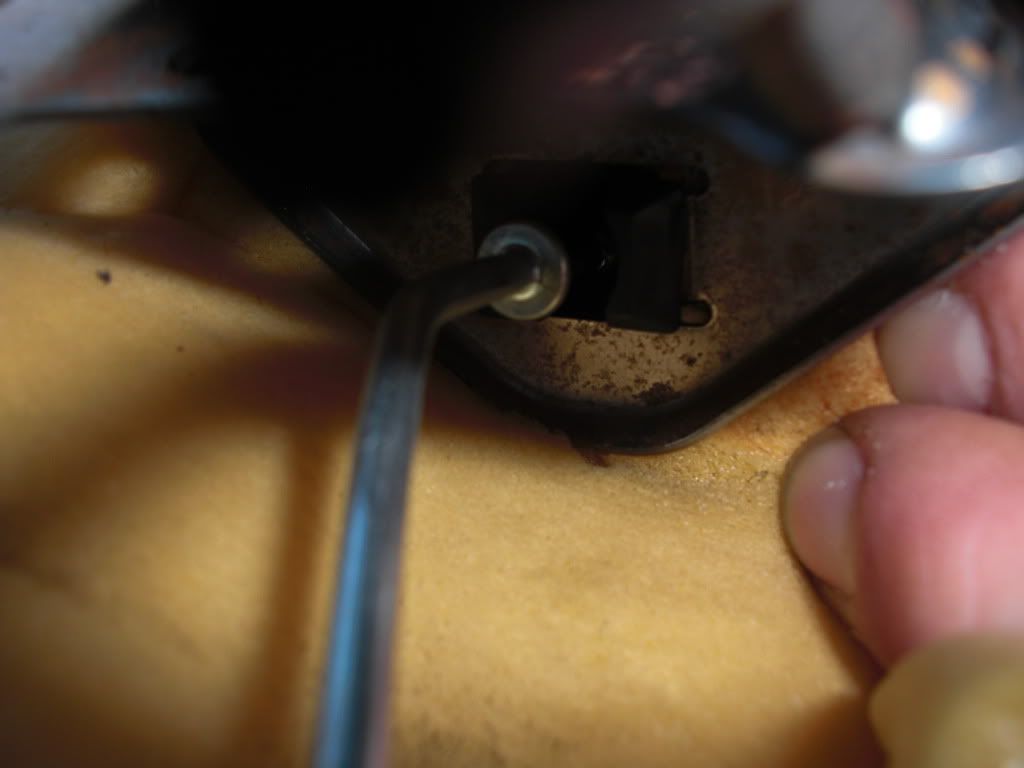
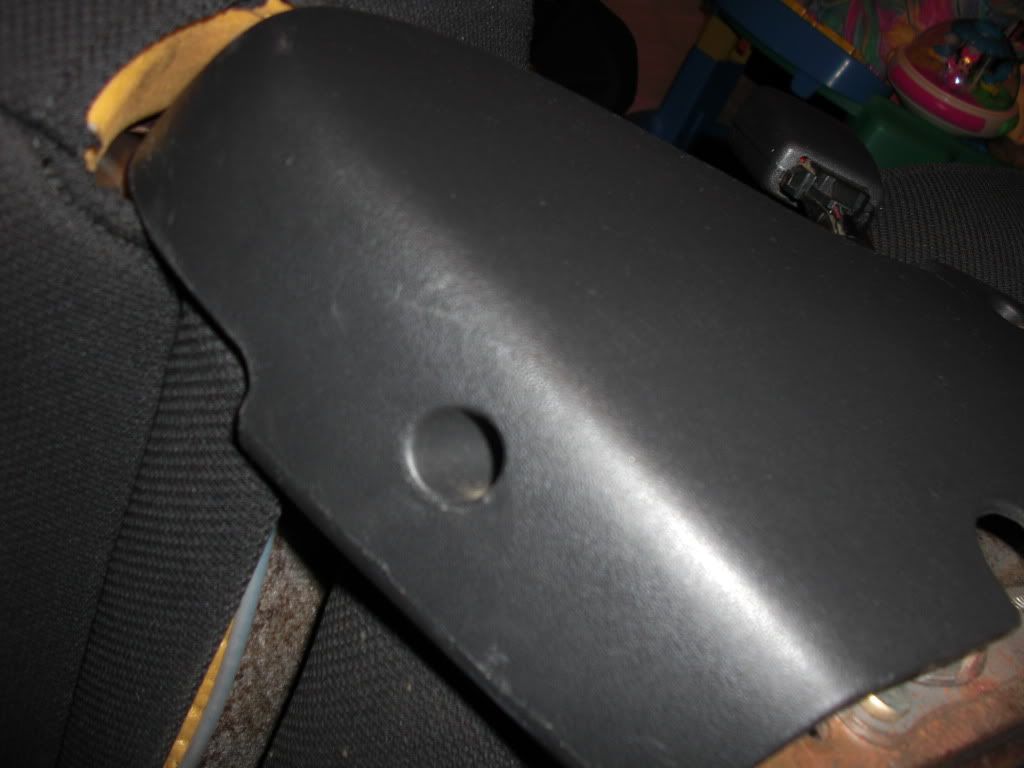
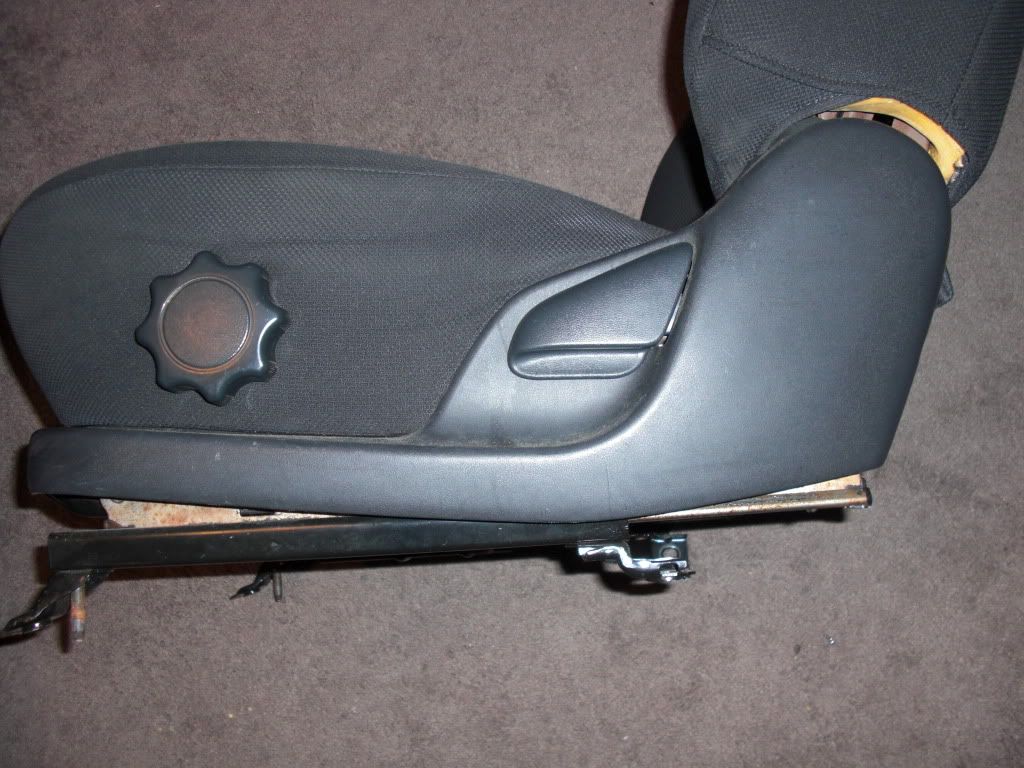
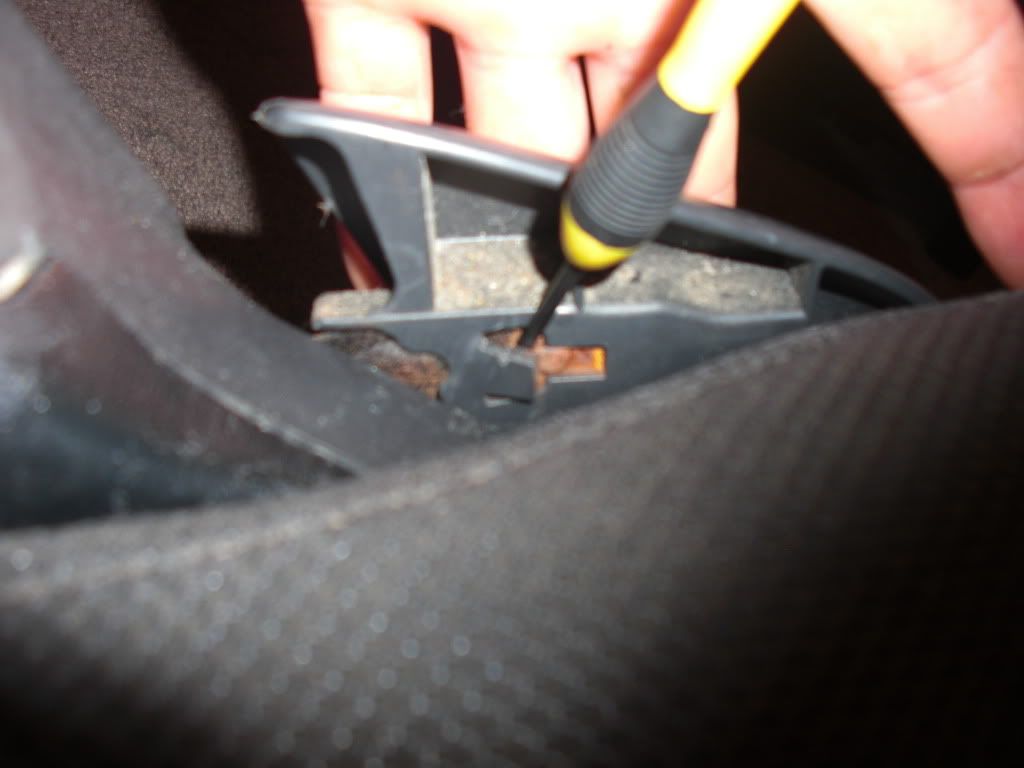
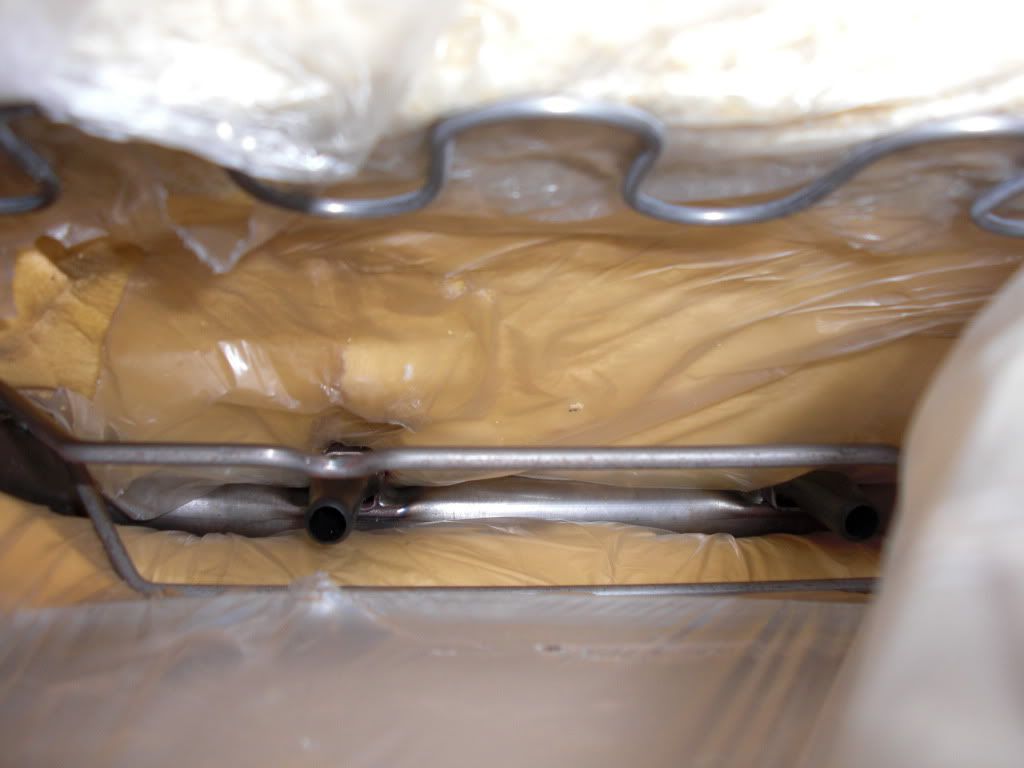
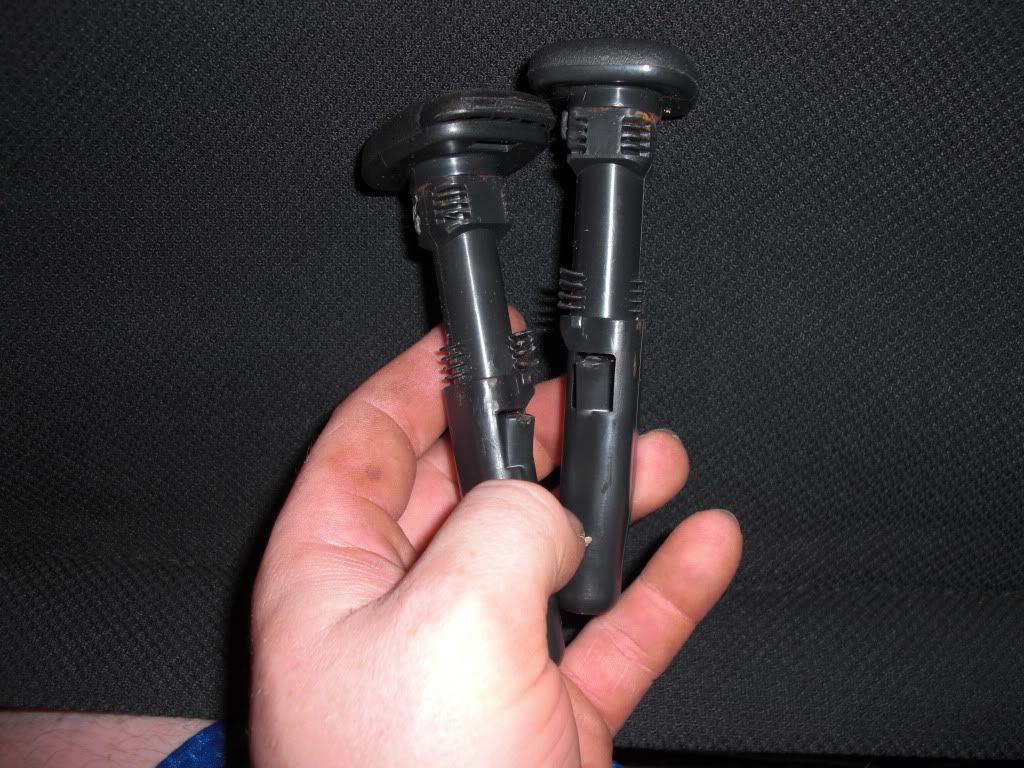
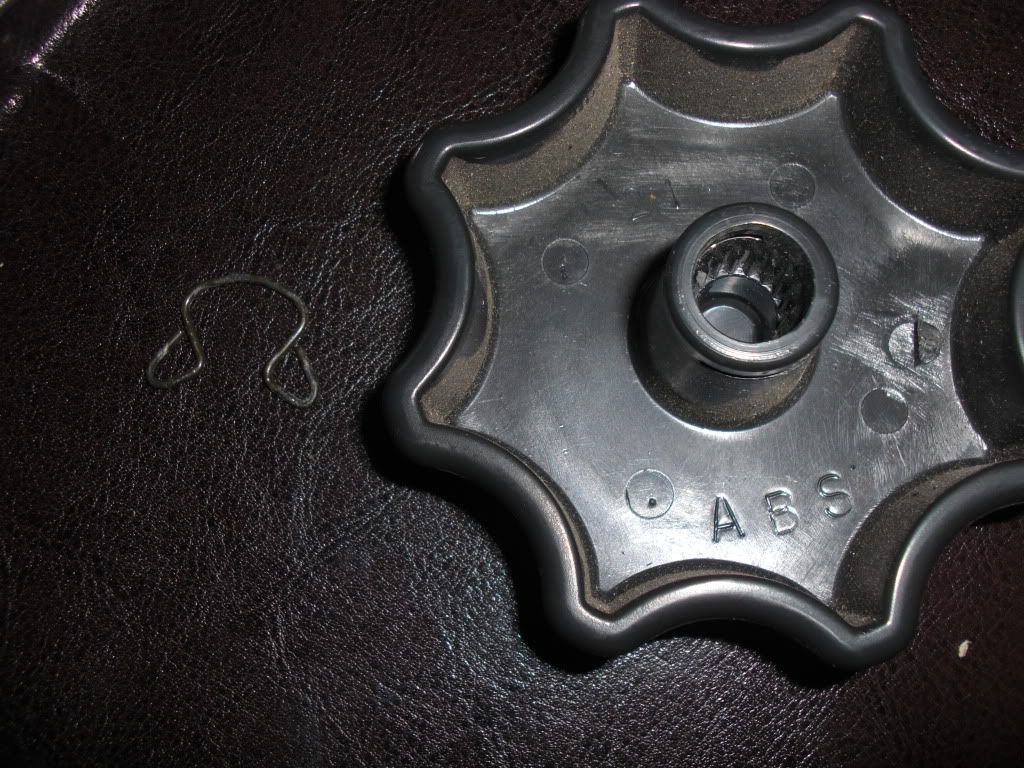
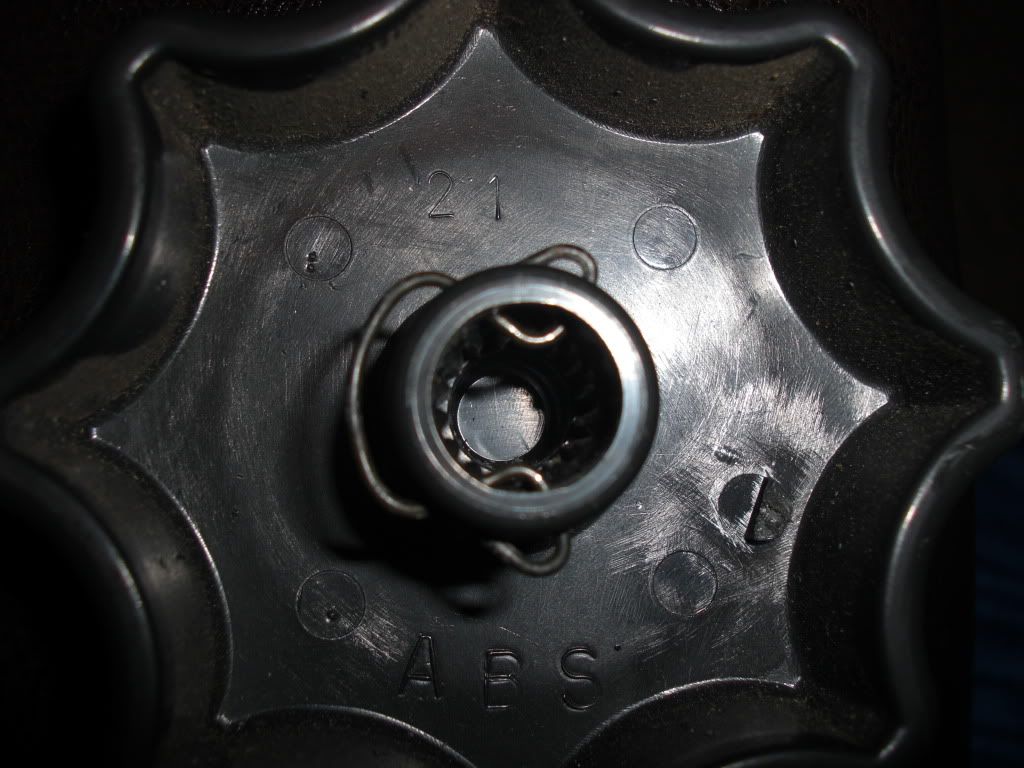
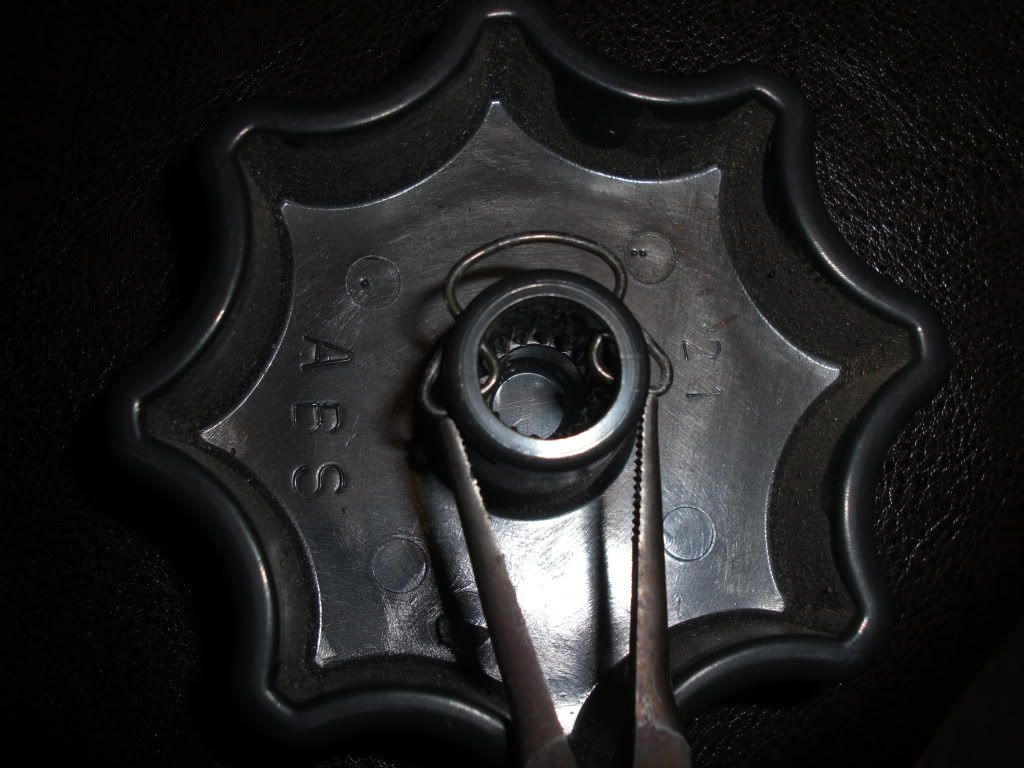
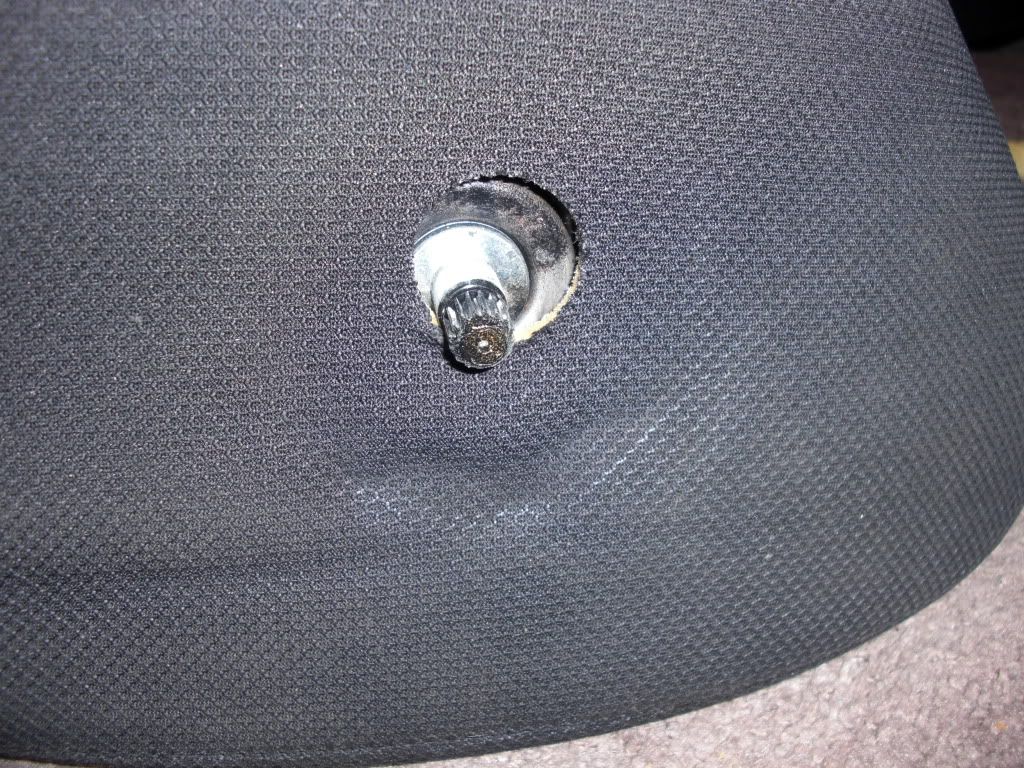
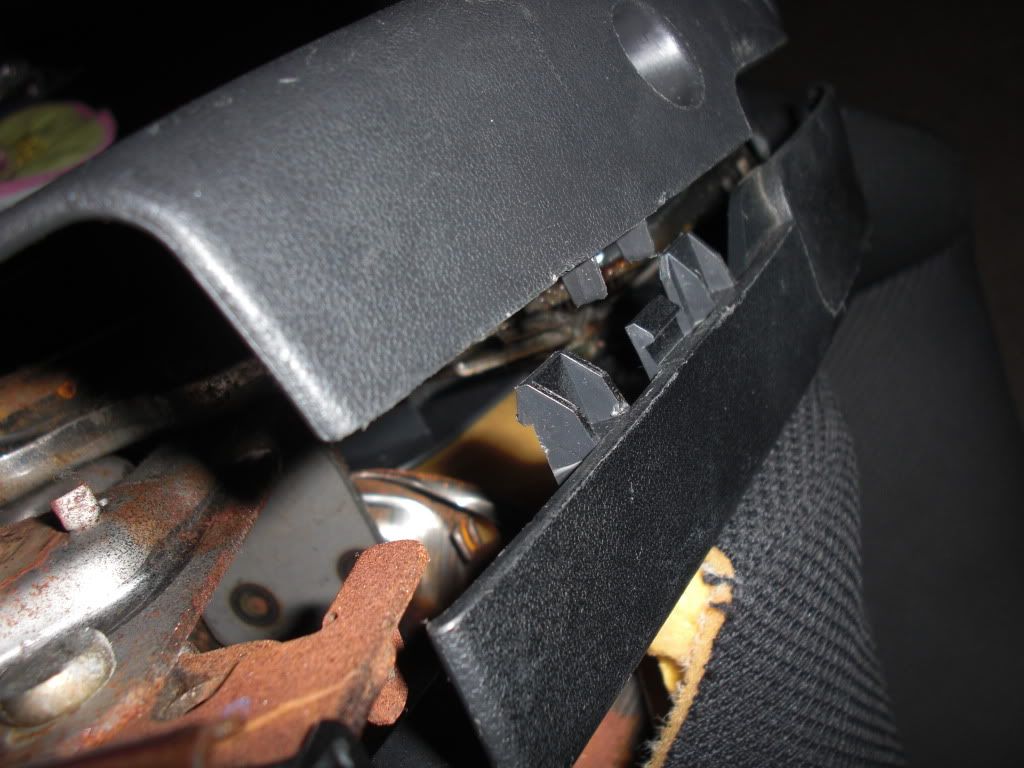
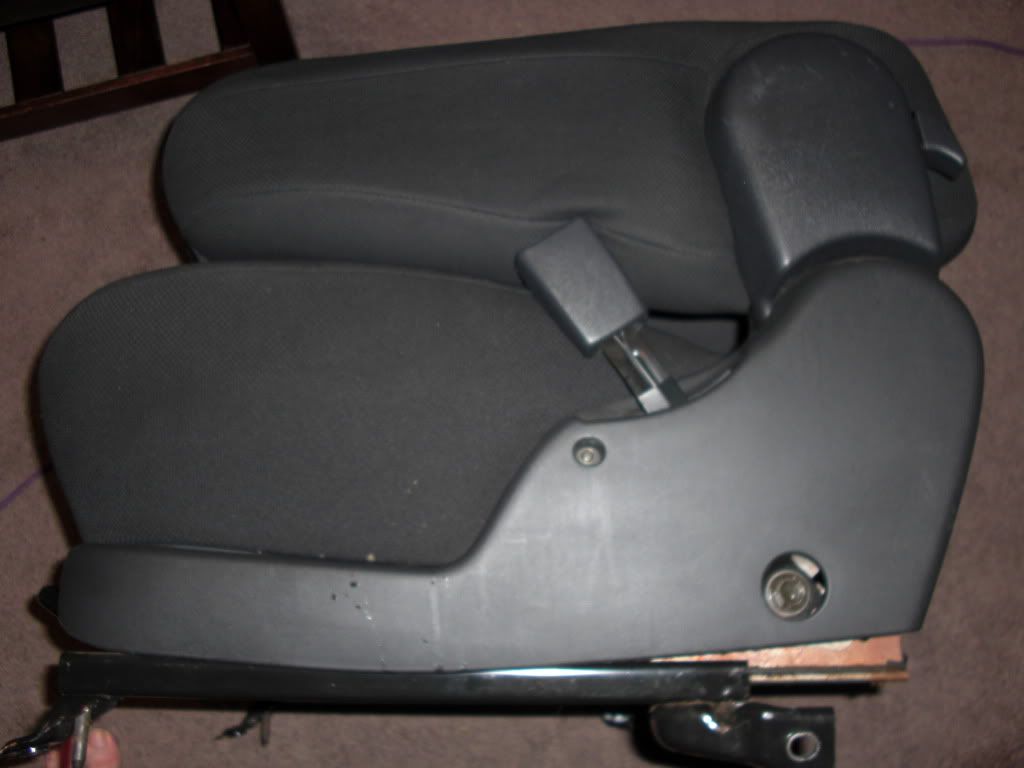
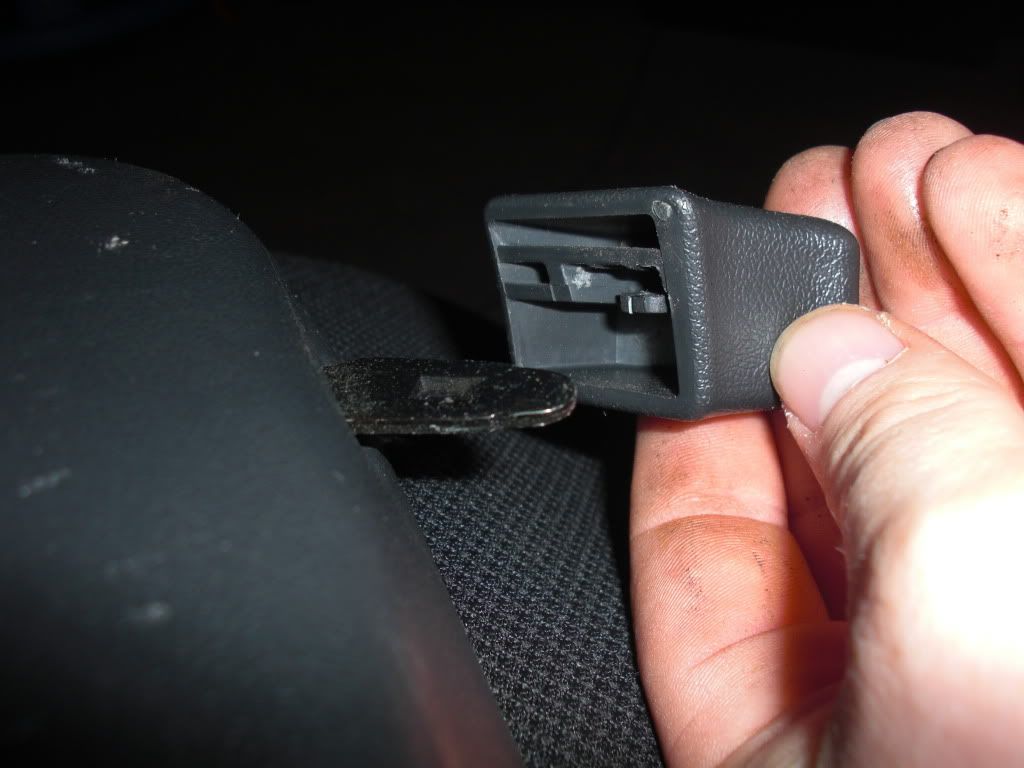
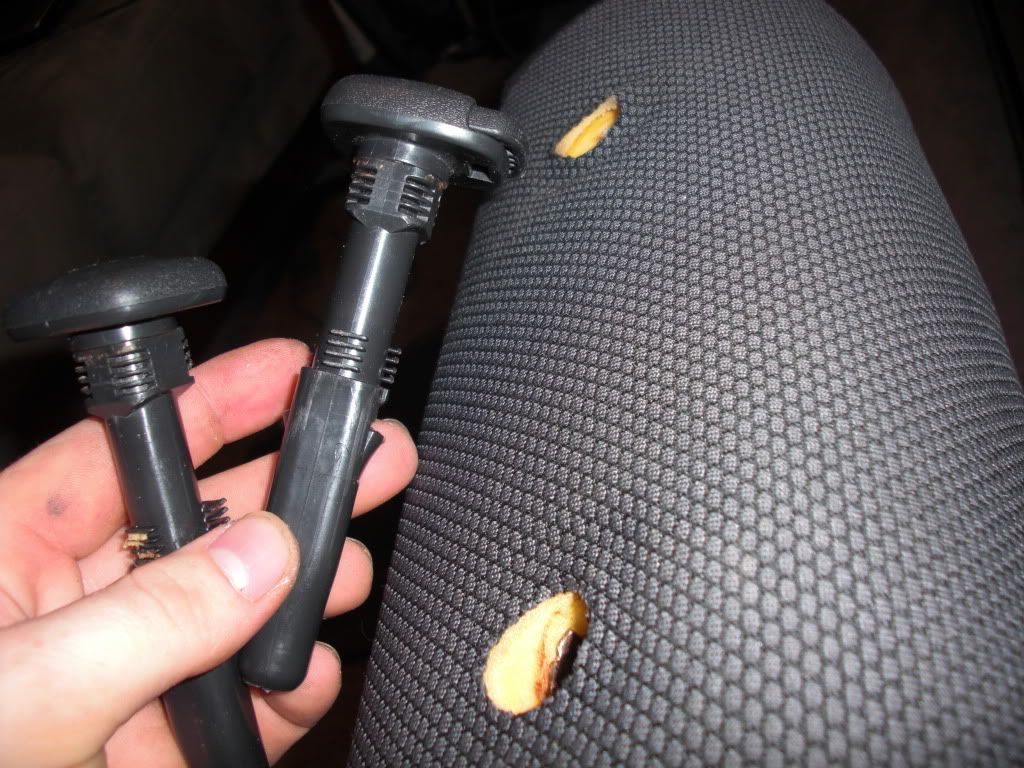
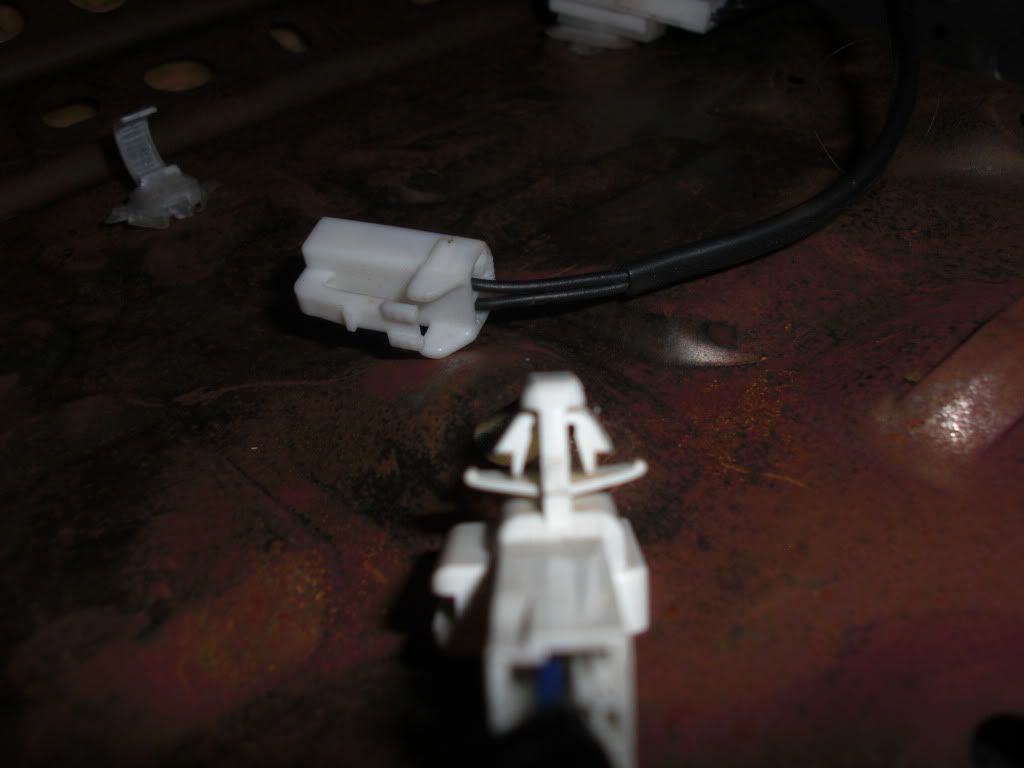
Now we move on to the bottom of the seat. We need to remove the knob that raises the base of the seat up. Here are the best pics I could get.
I used needlenose pliers, held them open and pushed this clip out.

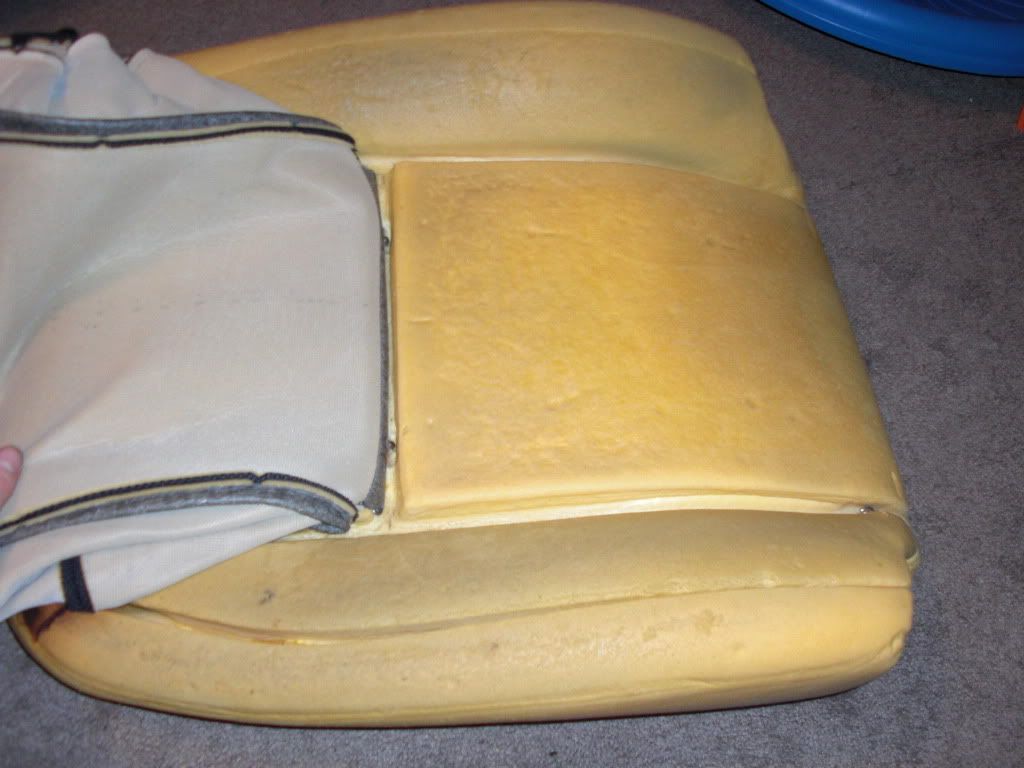
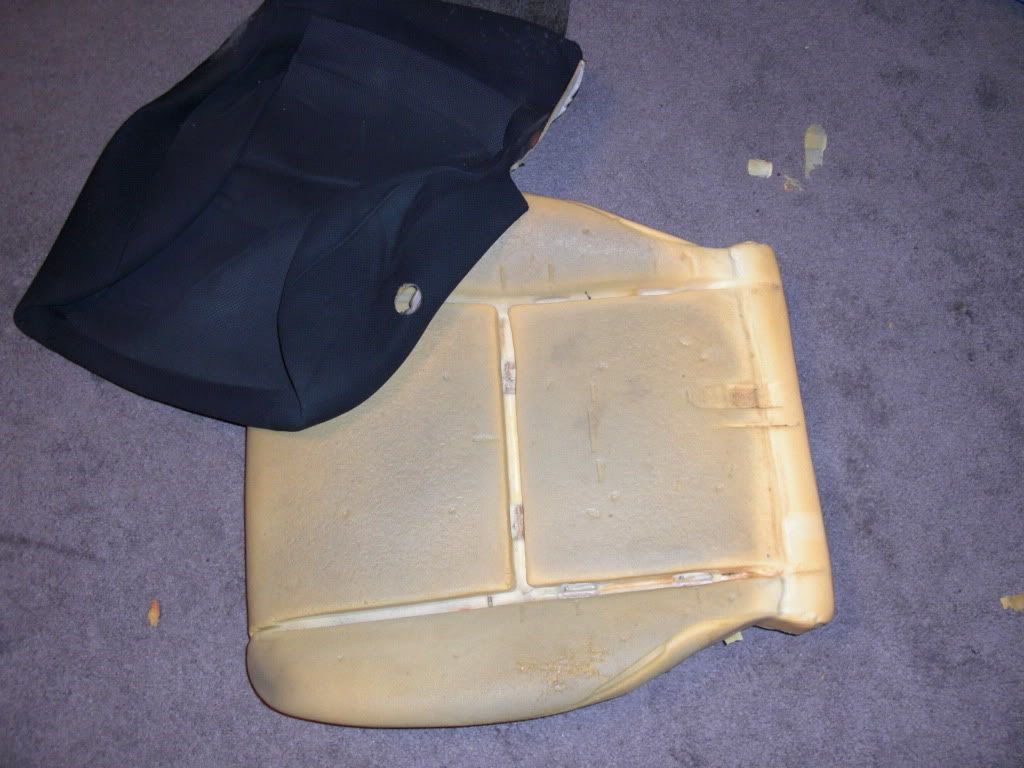
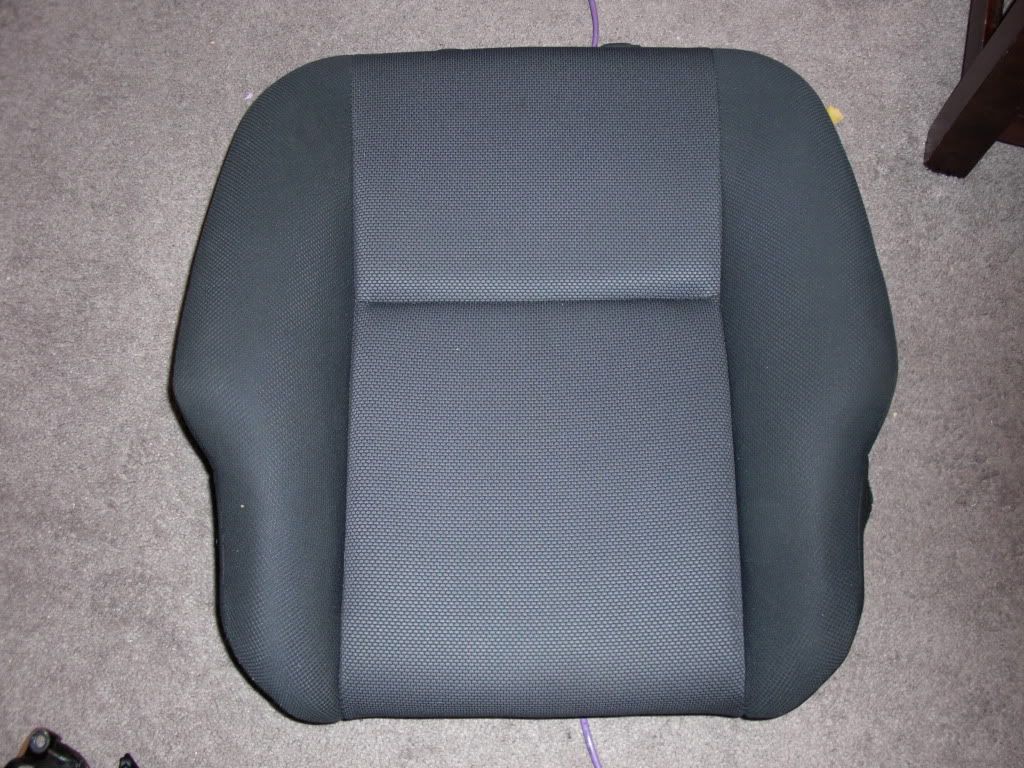
Then unsnap plastic edges and undo hog rings and you're done with the front driver side. The whole foam piece just lifts straight out of the frame for you to do so.

NOW we move along to the final seat... the Front Passenger
I began by undoing the plastic trim. All was the same as the driver side.
Then I separated the top from the bottom by removing 8 14mm nuts. Four on each side.
To remove the plastic from the back of the seat, you PULL OUT on the TOP two corners. Easy clips, then you slide it upward
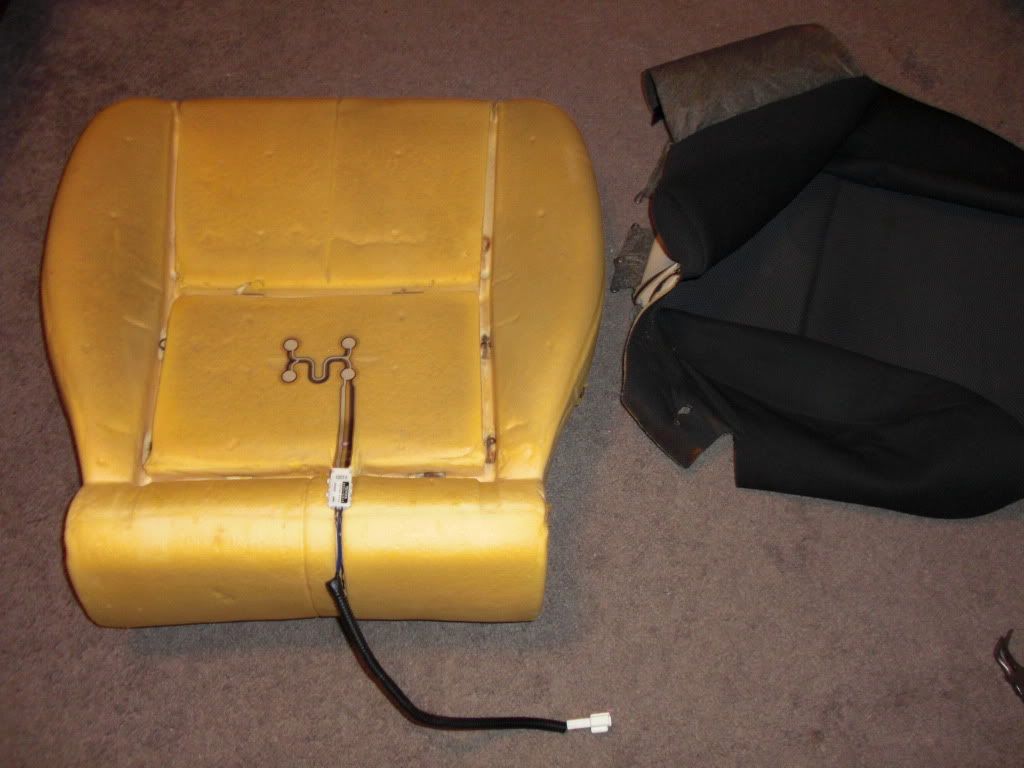
Then begin undoing fabric, hog rings, and then pull the frame out of the foam
Velcro

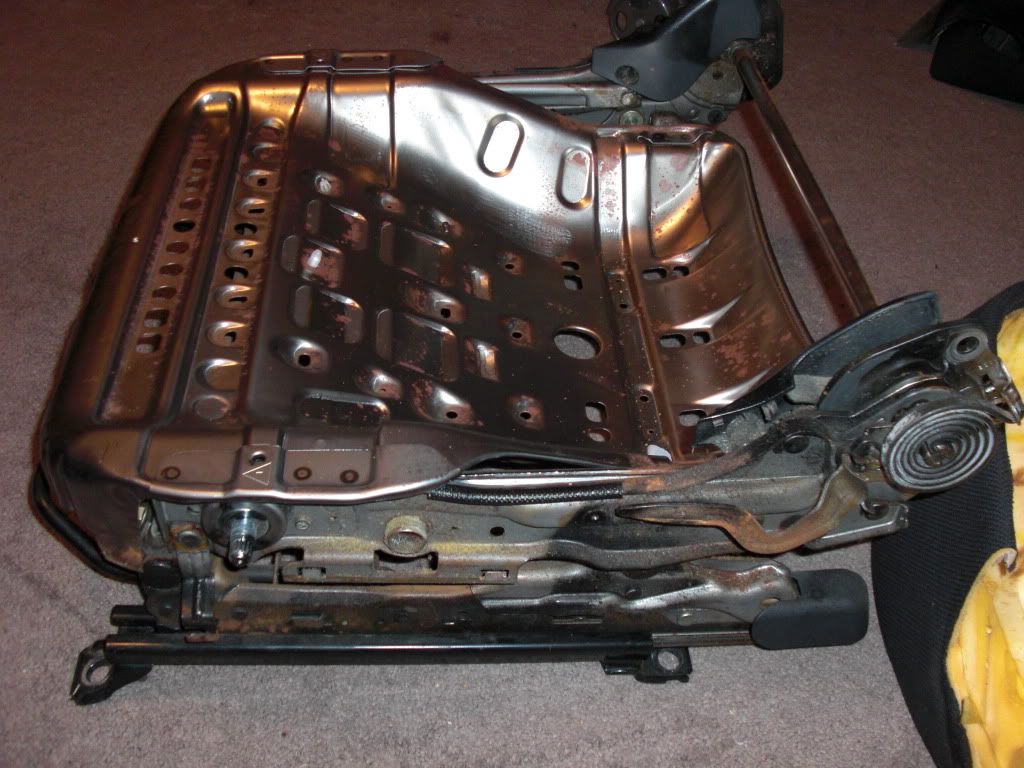
Then we move on to the MOST RAINED IN SEAT EVERRRRRRRRR!!!!!!!!!!!
The bottom of my passenger seat is SOOOOO rusty it's rediculous.lol

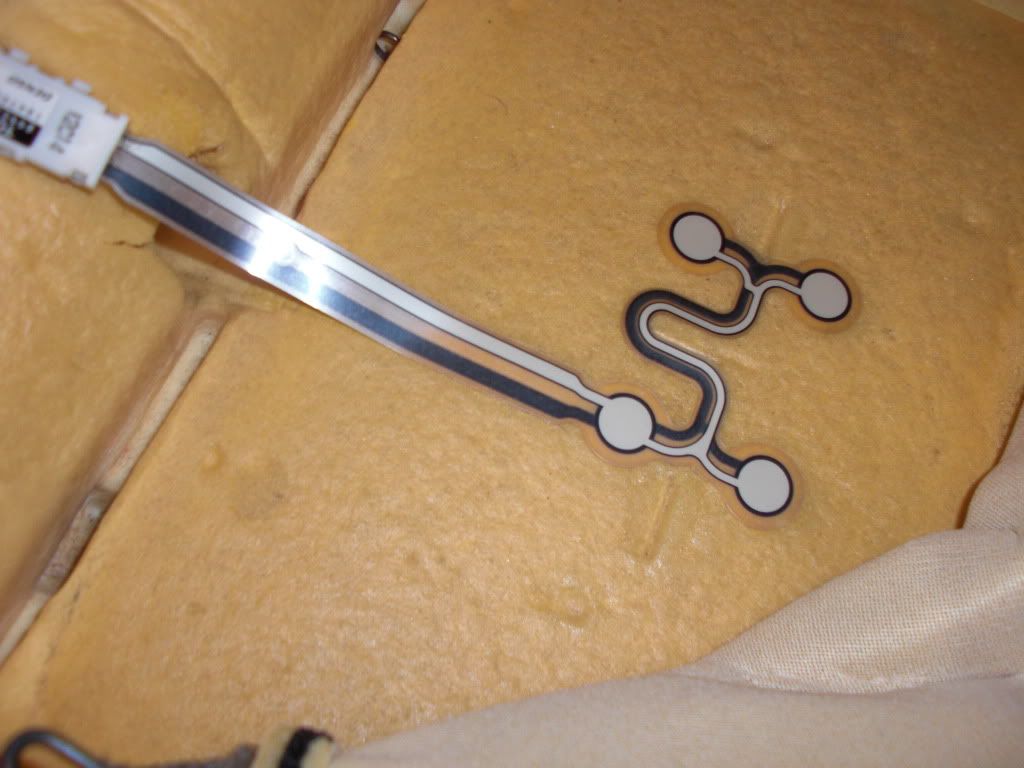
Unplug your passenger airbag seansor. Then continue removing the foam from the frame
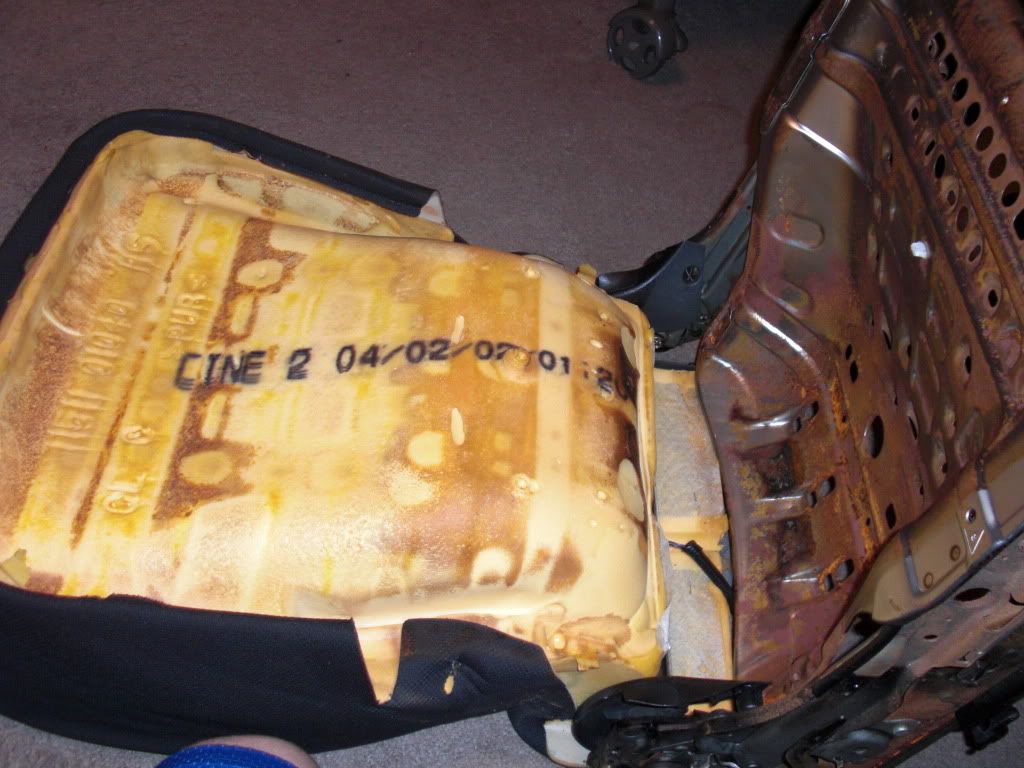
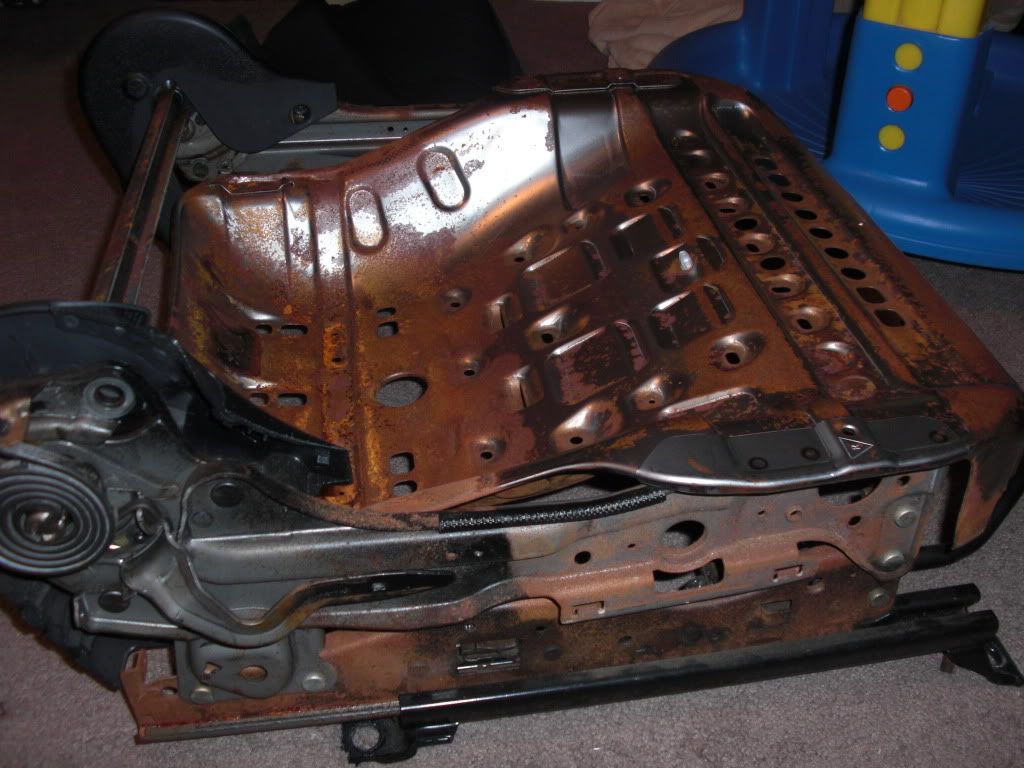
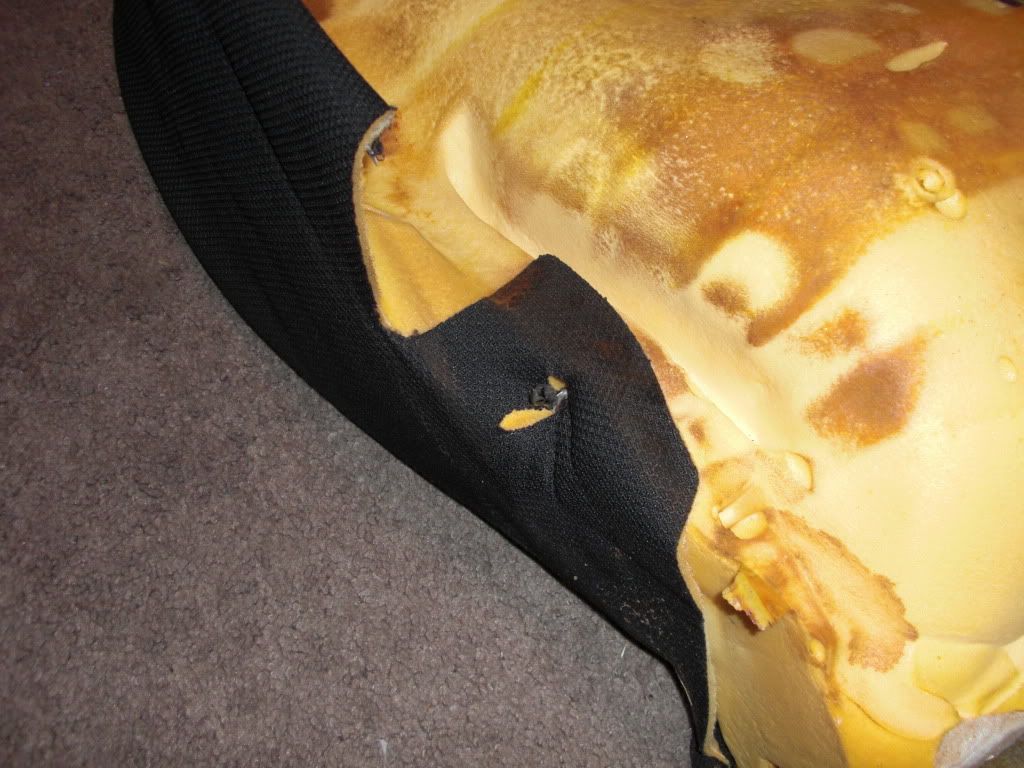
OKAY, ignore the rust please and let's continue to removing the fabric...and ALL it's hog rings from the foam.

Guess what????
YOU MADE IT!!!!!
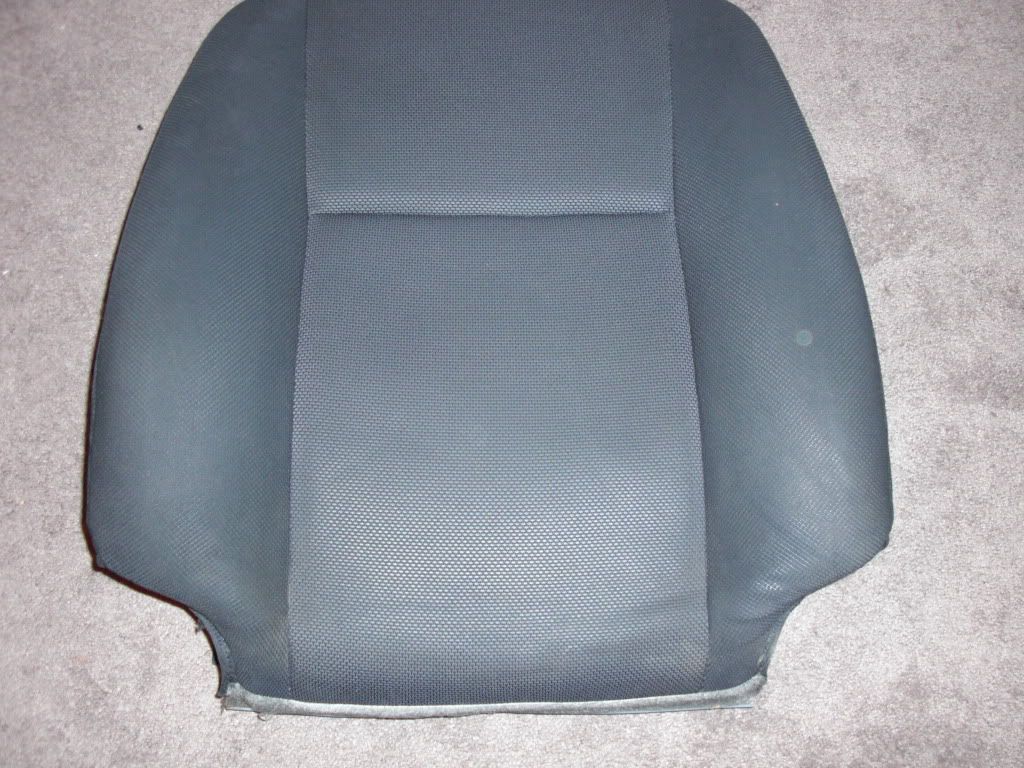
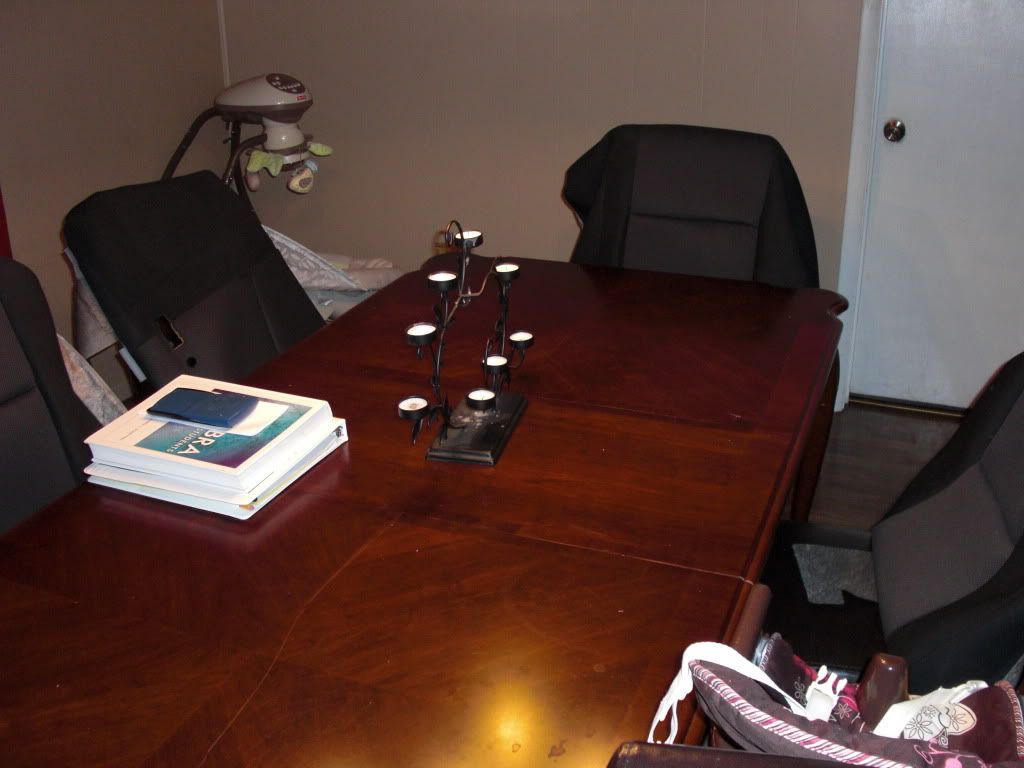
We have now successfully removed the factory covers from our seats. Now you need to vacuum (foam went everywhere)
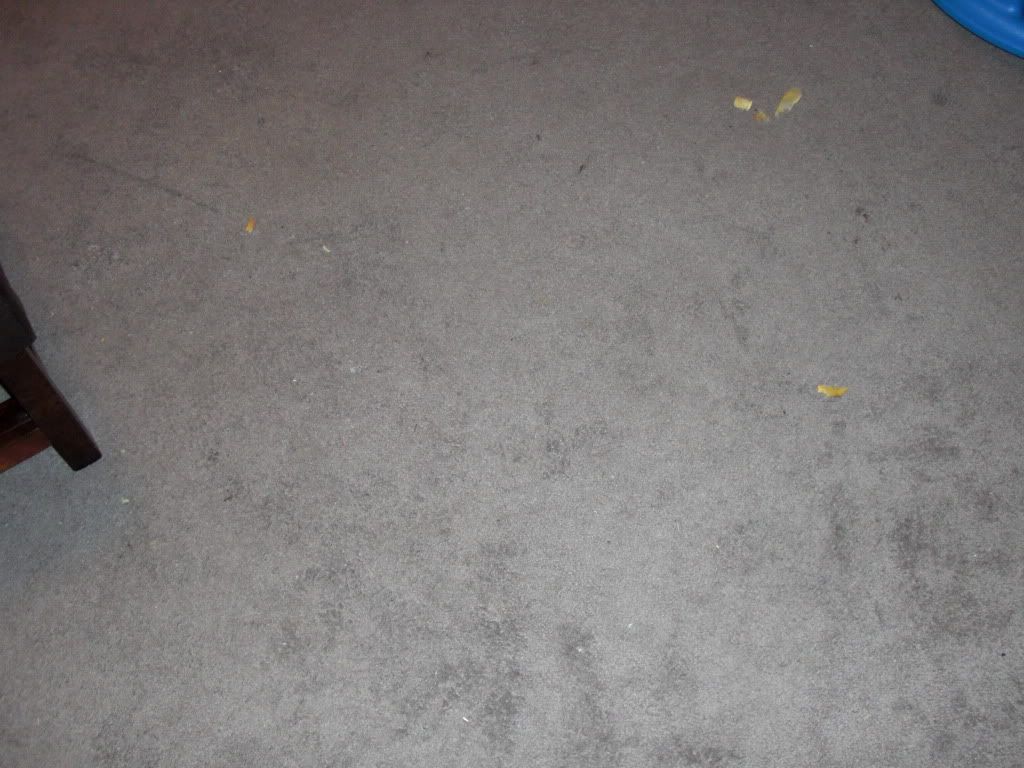
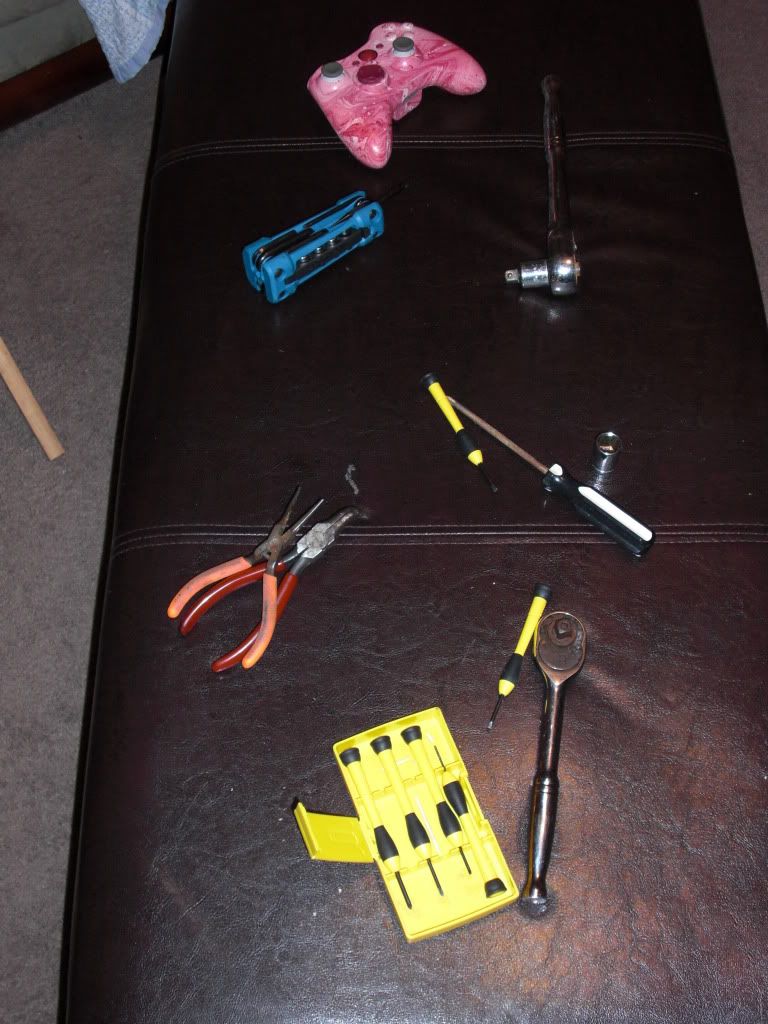
Then you get your tools off the ottoman before the wife flips out
Move your JUNK (
Machine wash on Gentle and hang to dry
Then procrastinate for 3 days and FINALLY write a HUGE tutorial for GenVibe

If you have any questions I know you won't hesitate to ask.
I really....REALLY hope this helps someone out in the future b/c it sure was a lot of work.
And a headache doing this write-up too

