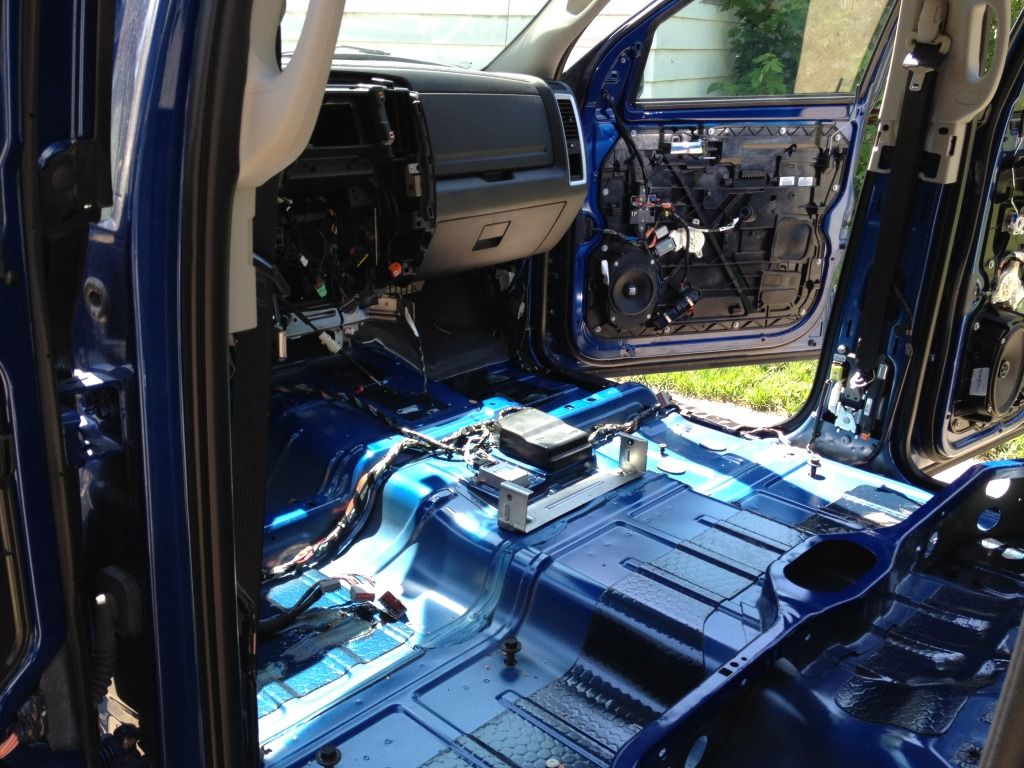
I would like to share the build log of my Ram with a New iPad in the dash. This build will start slow as my wife has a lot of projects around our previous house doing updates before we rent it out.
Well enough talking lets get to the point.
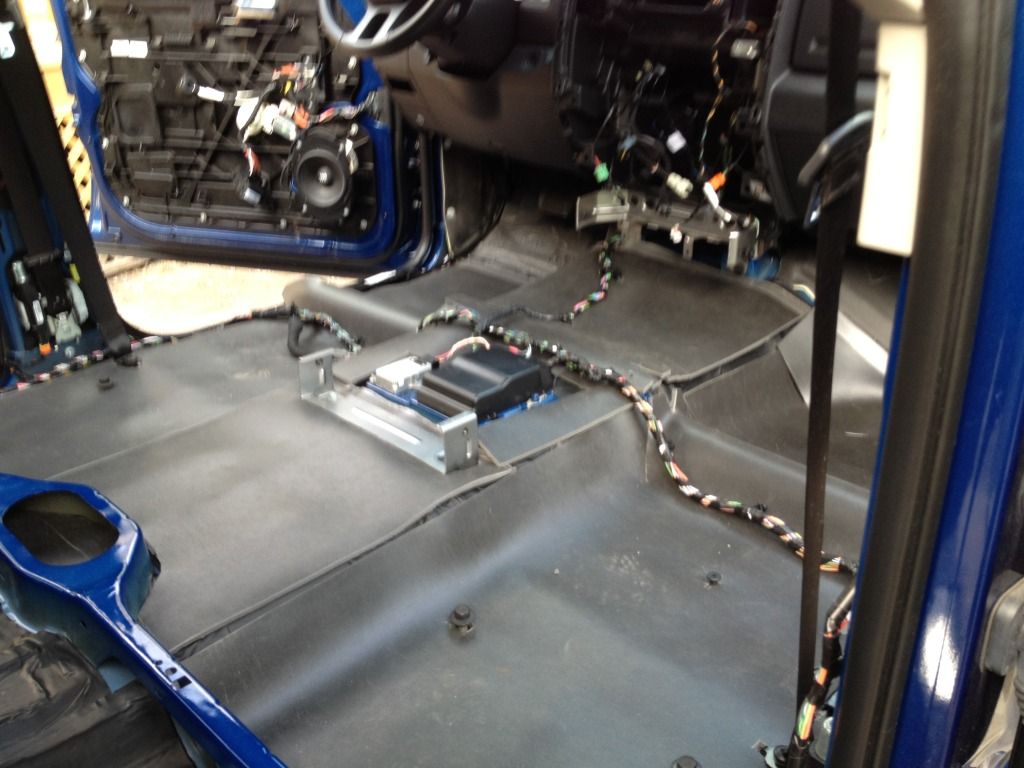
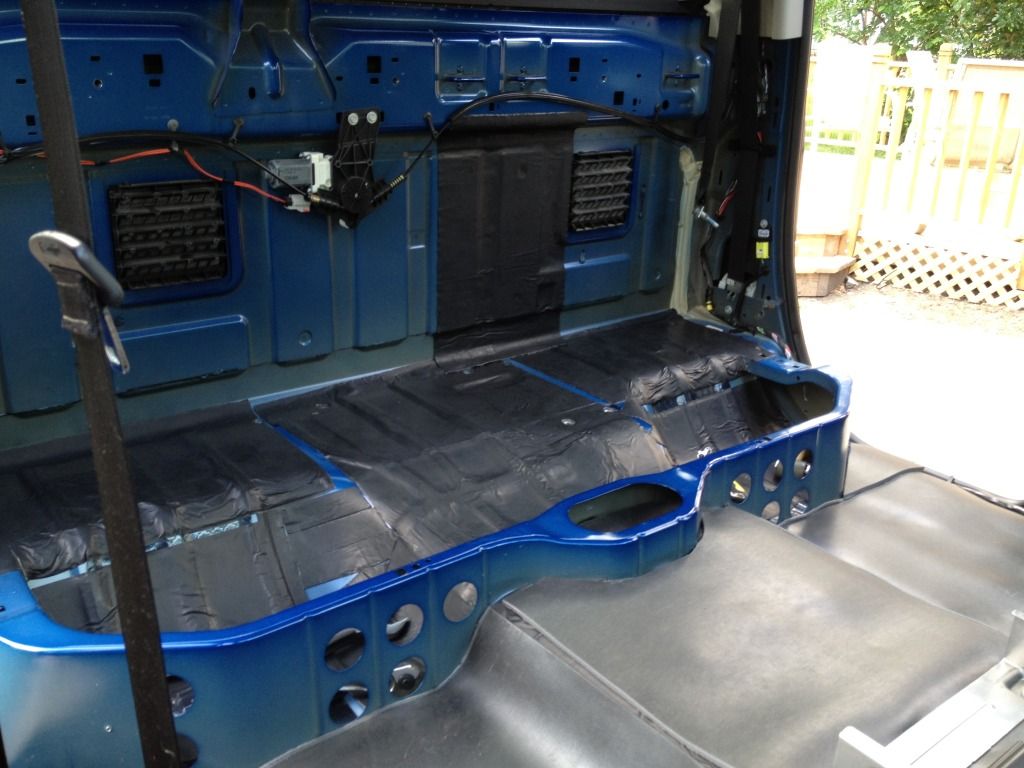
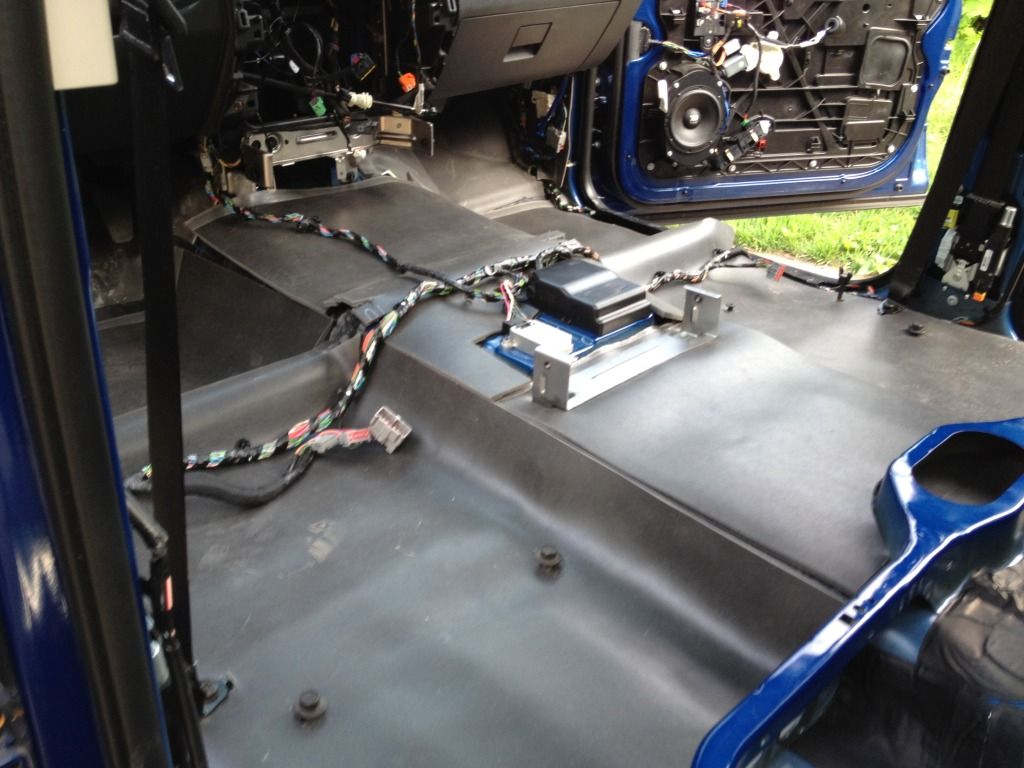
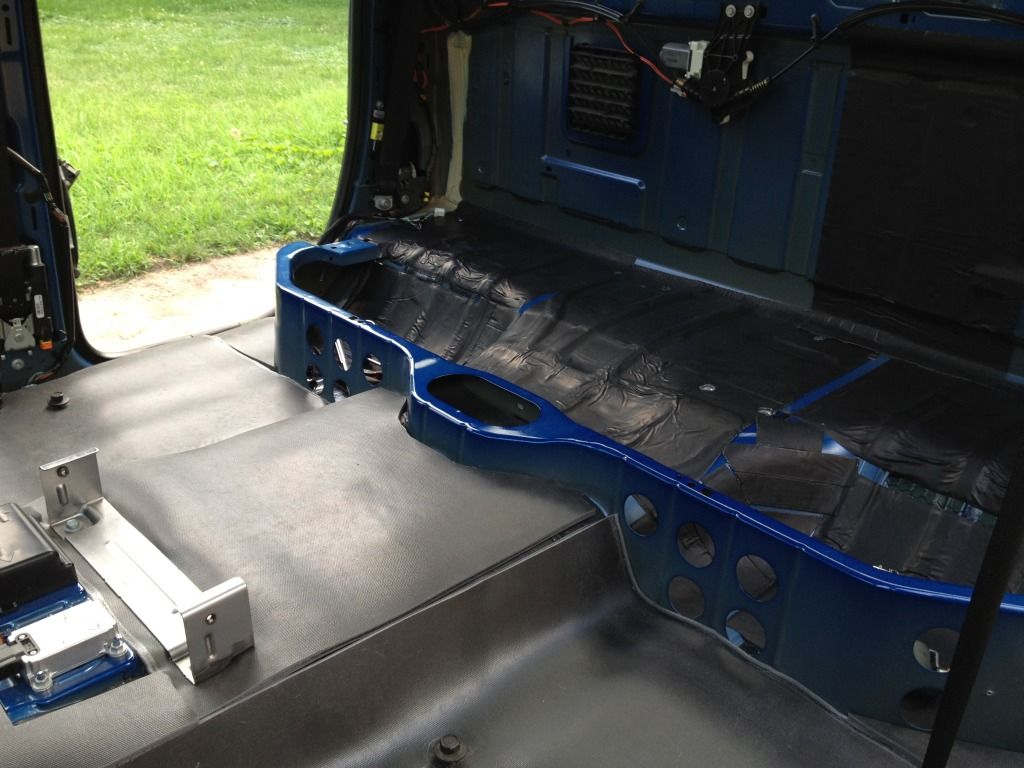
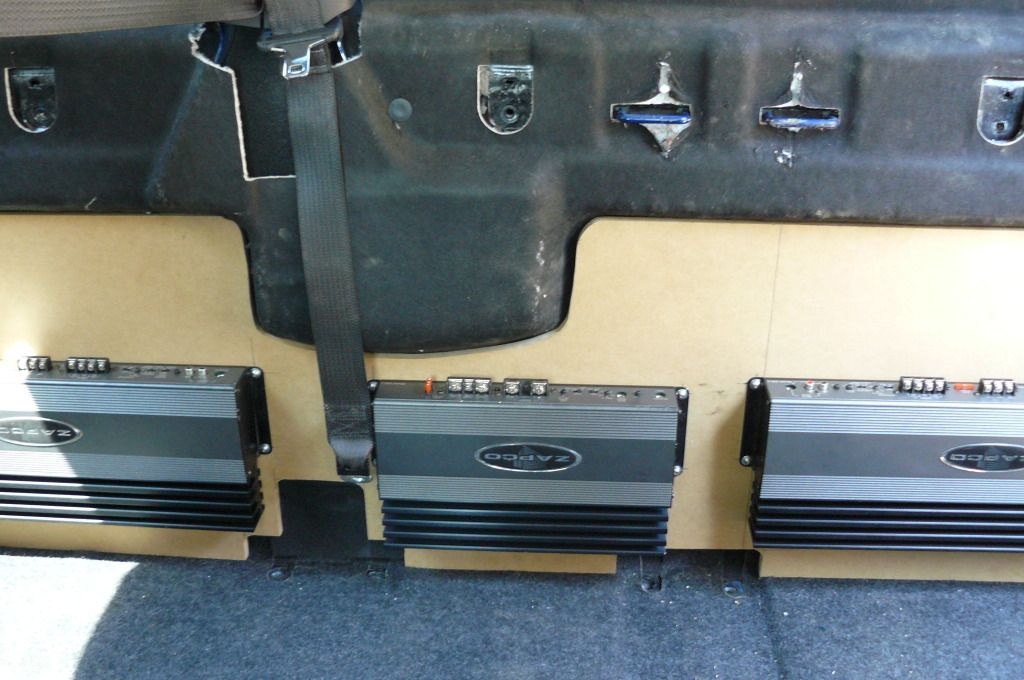
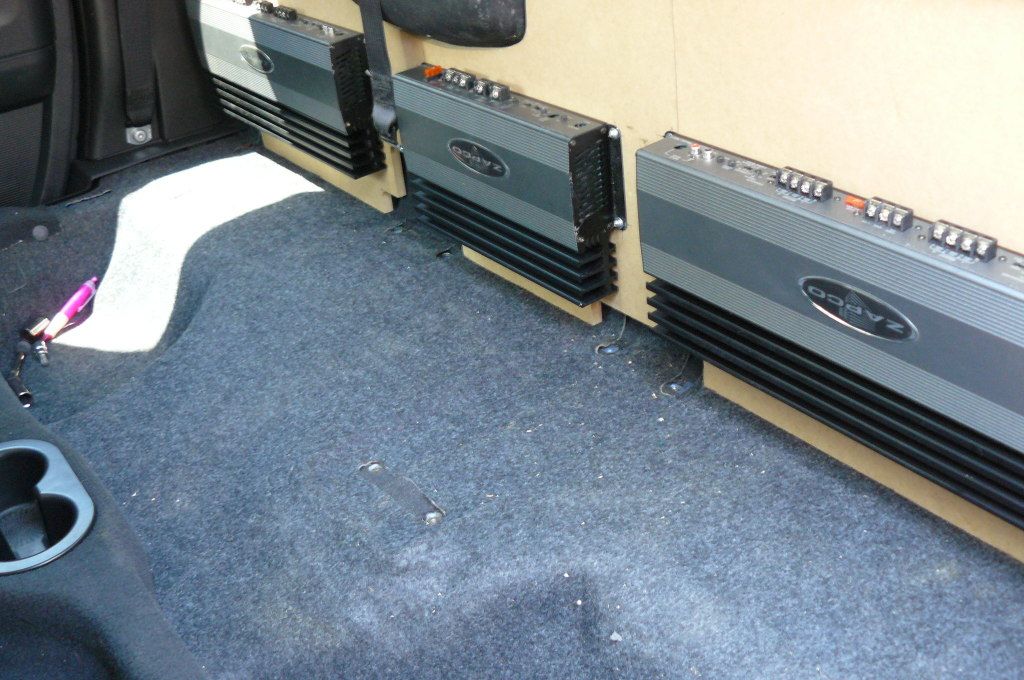
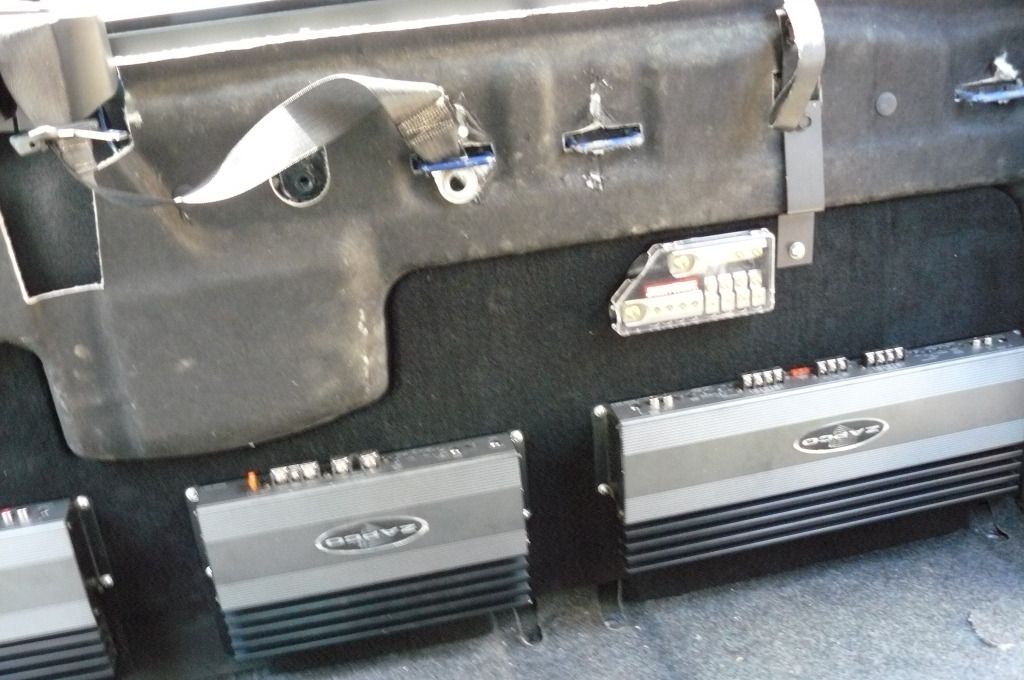
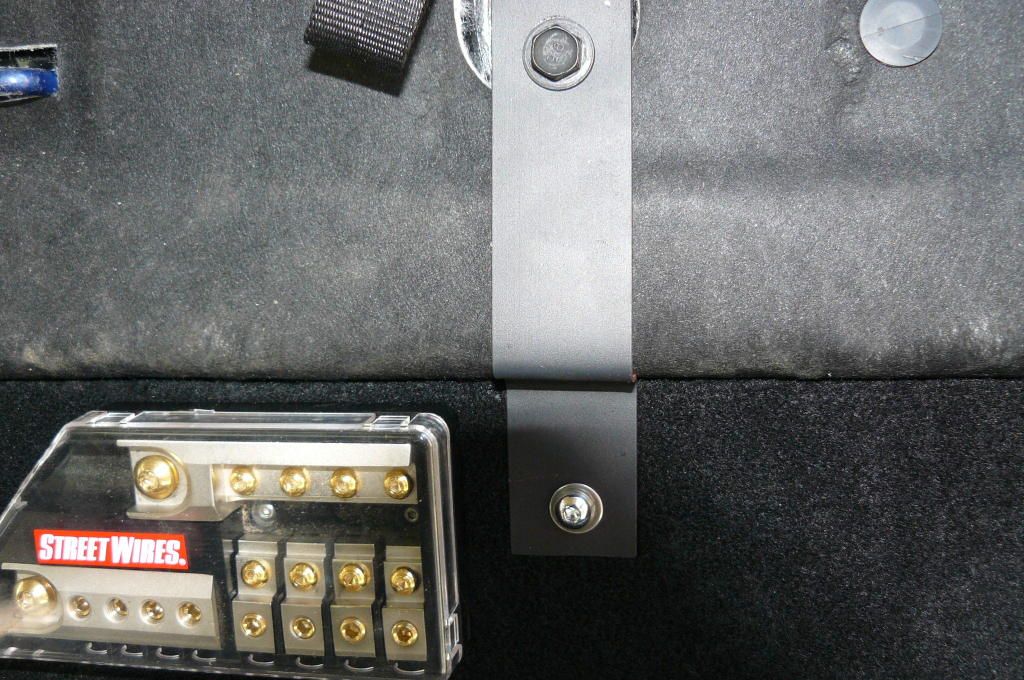
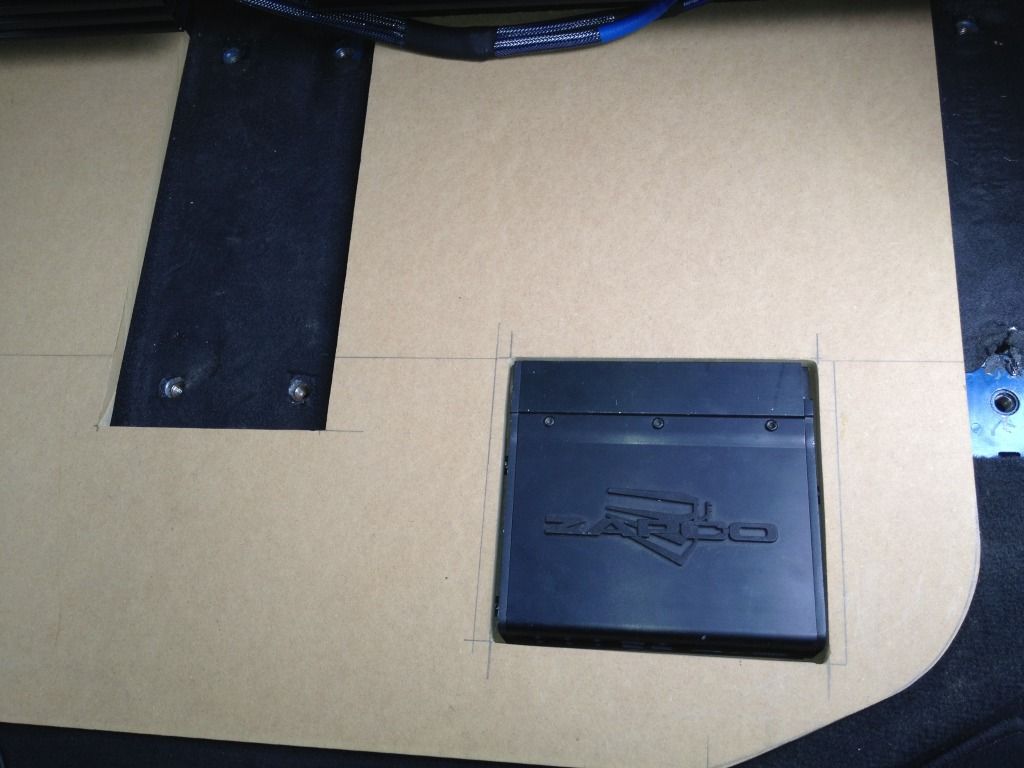
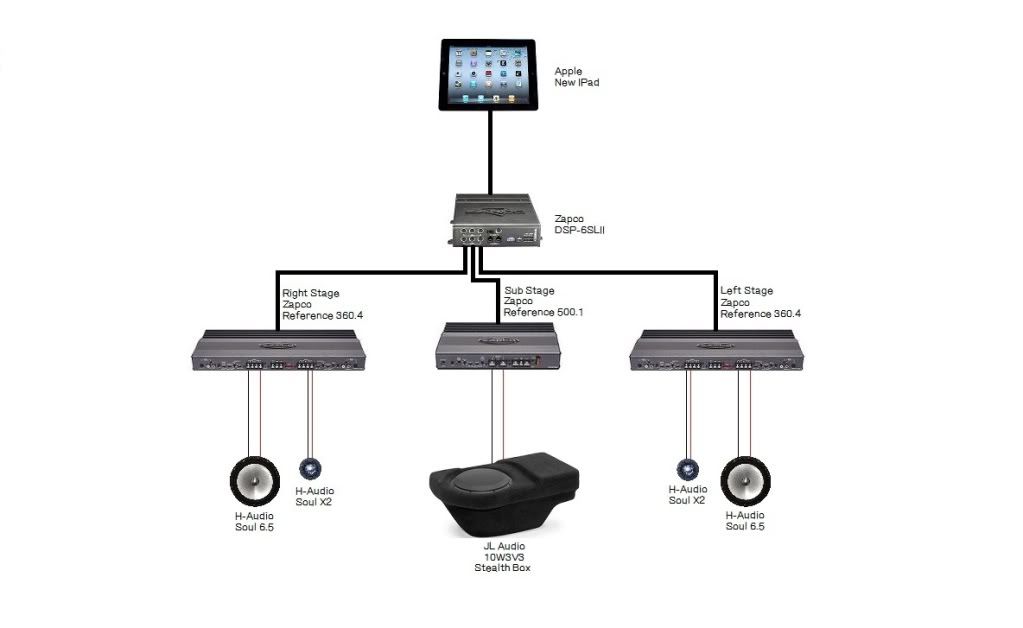
Here is the system layout that will be going in the Ram.
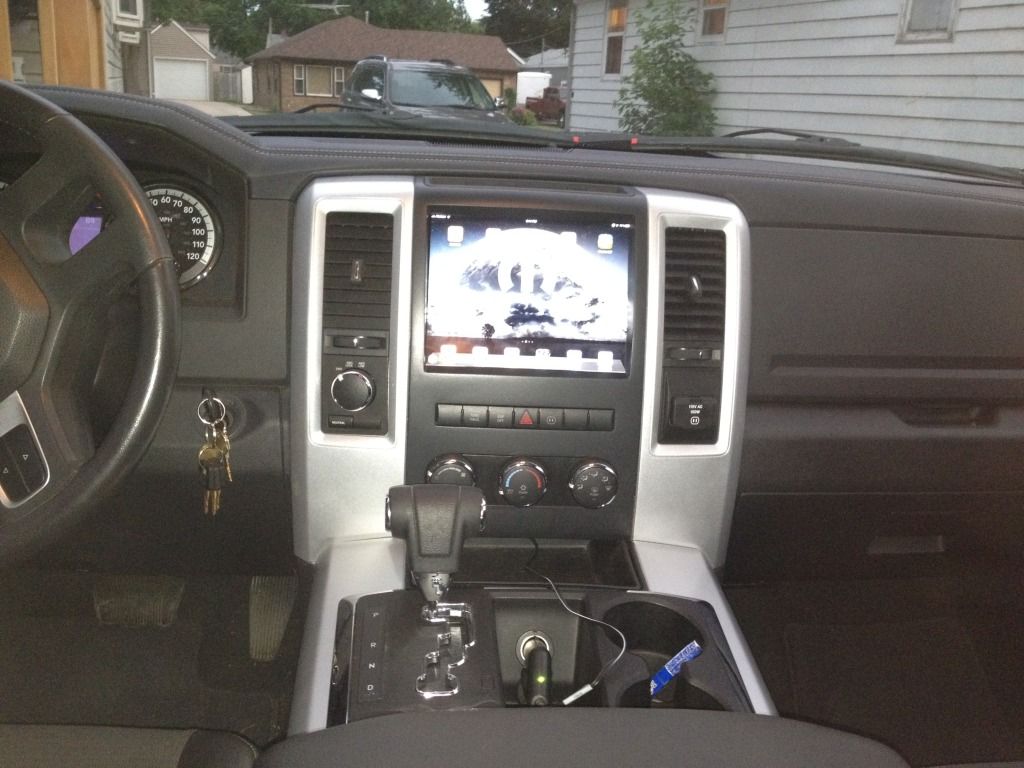
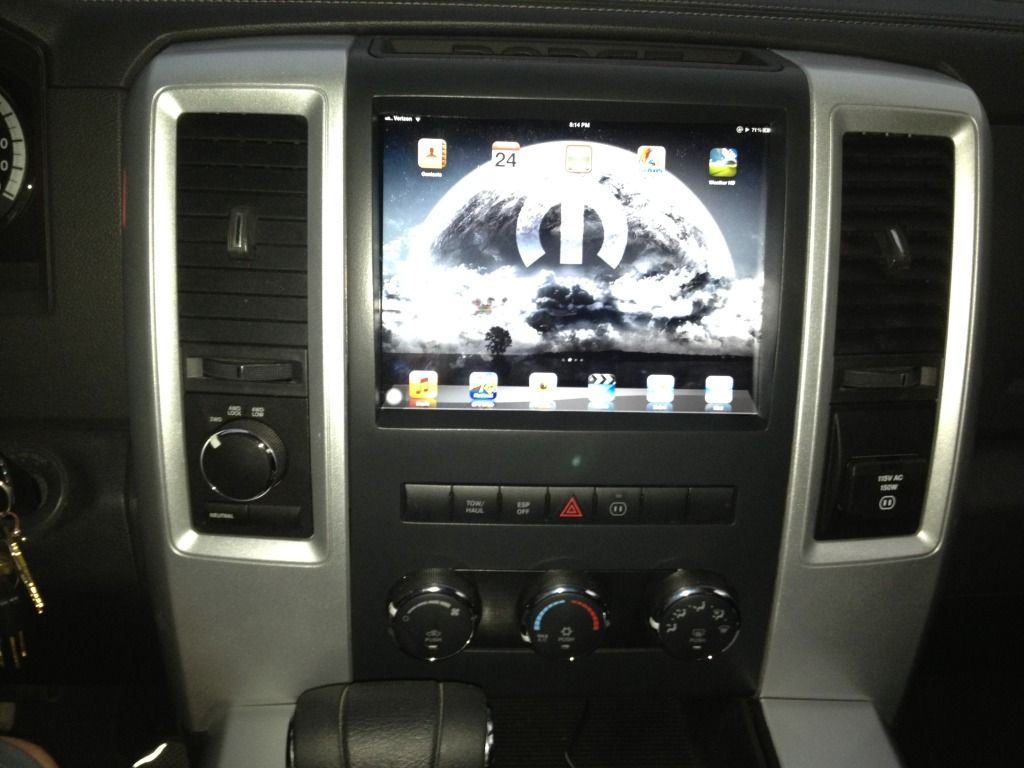
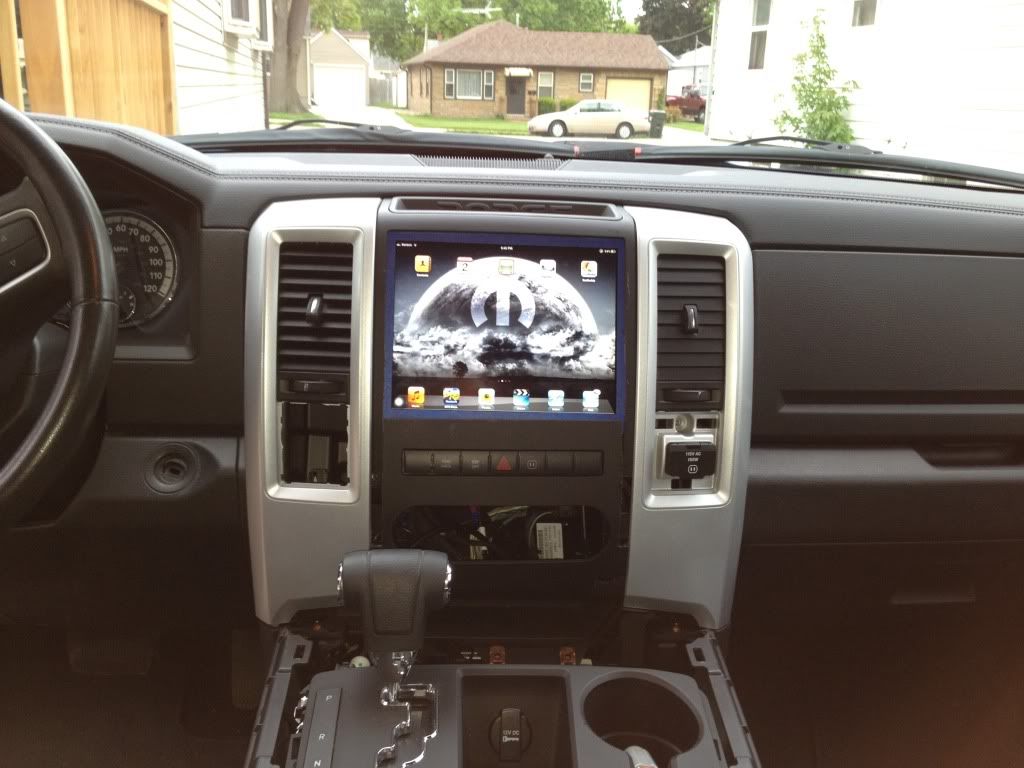
mocking the iPad up on the dash to get an idea on placement.

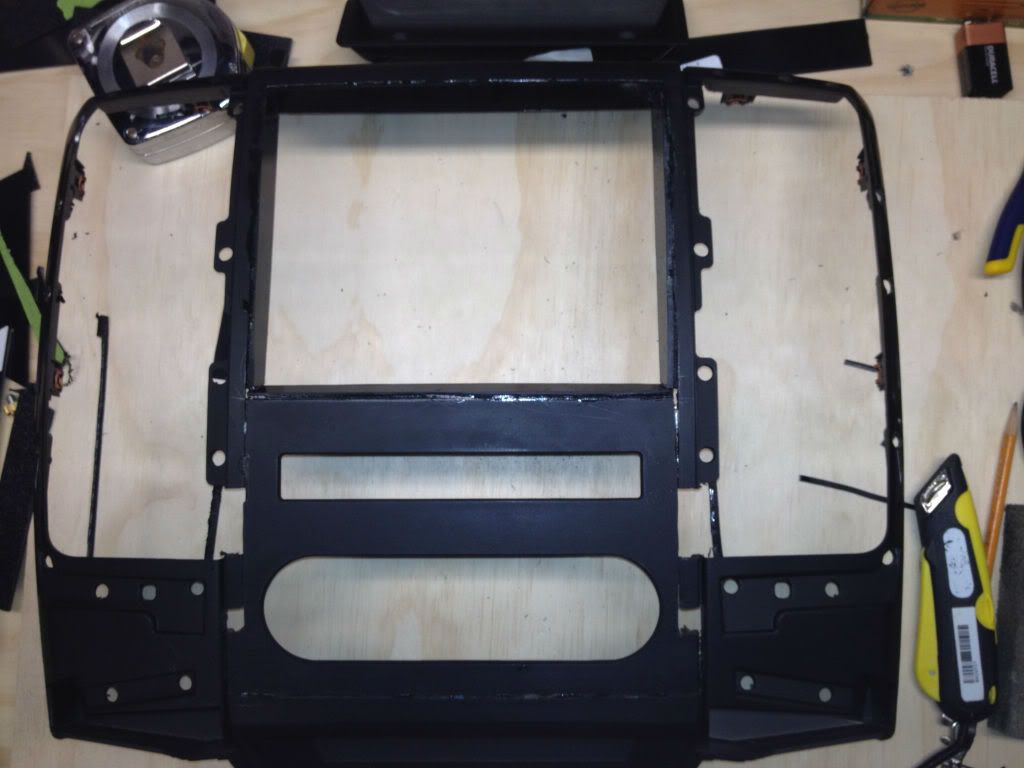
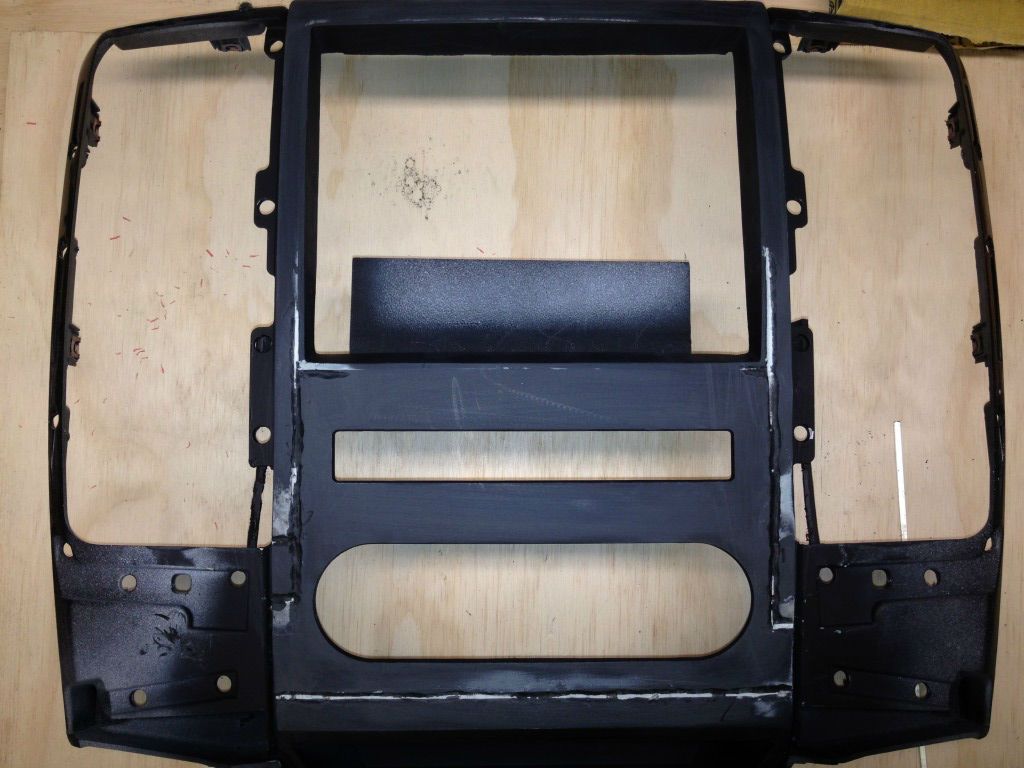
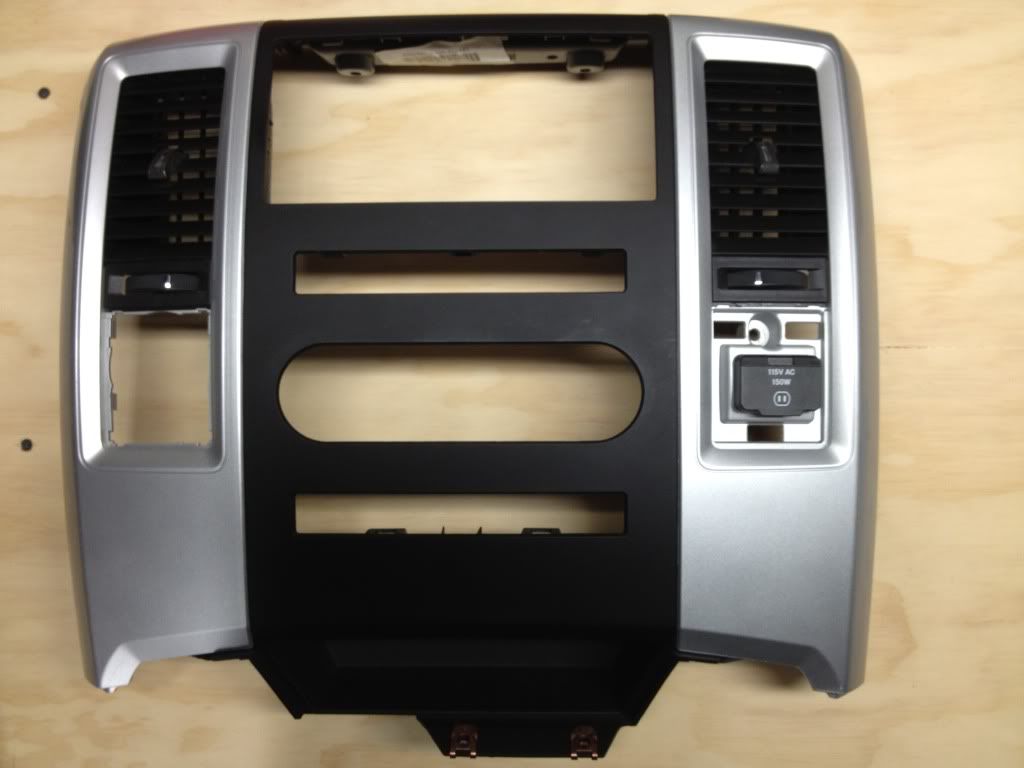
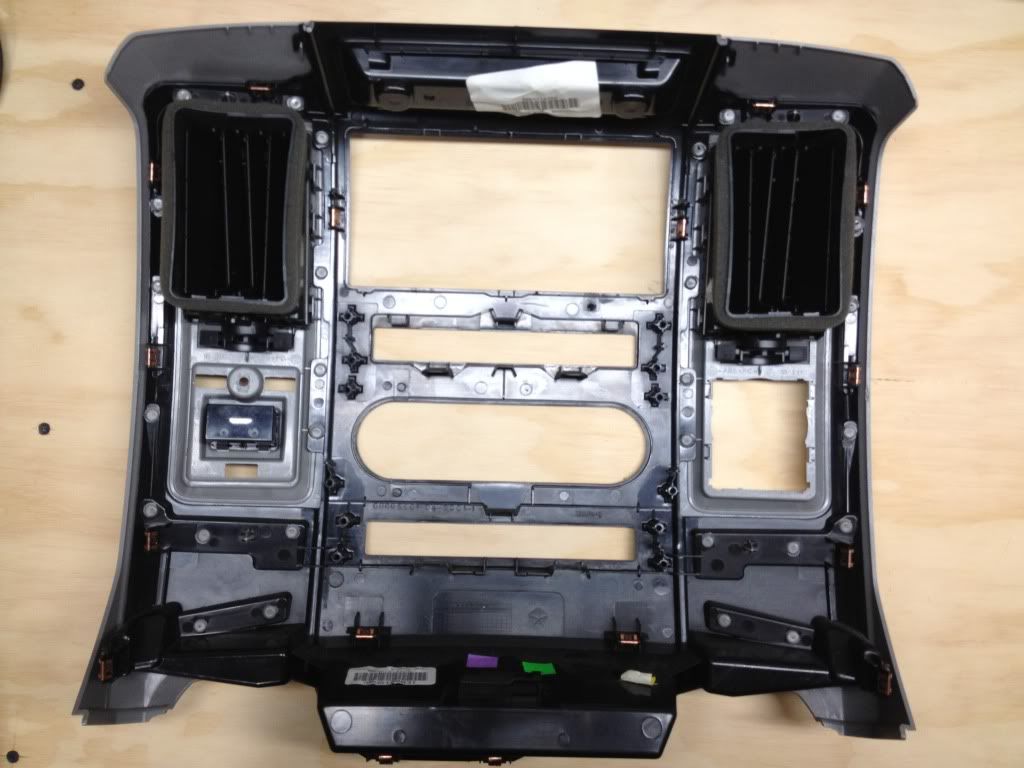
Virgin center bezel.
Front.
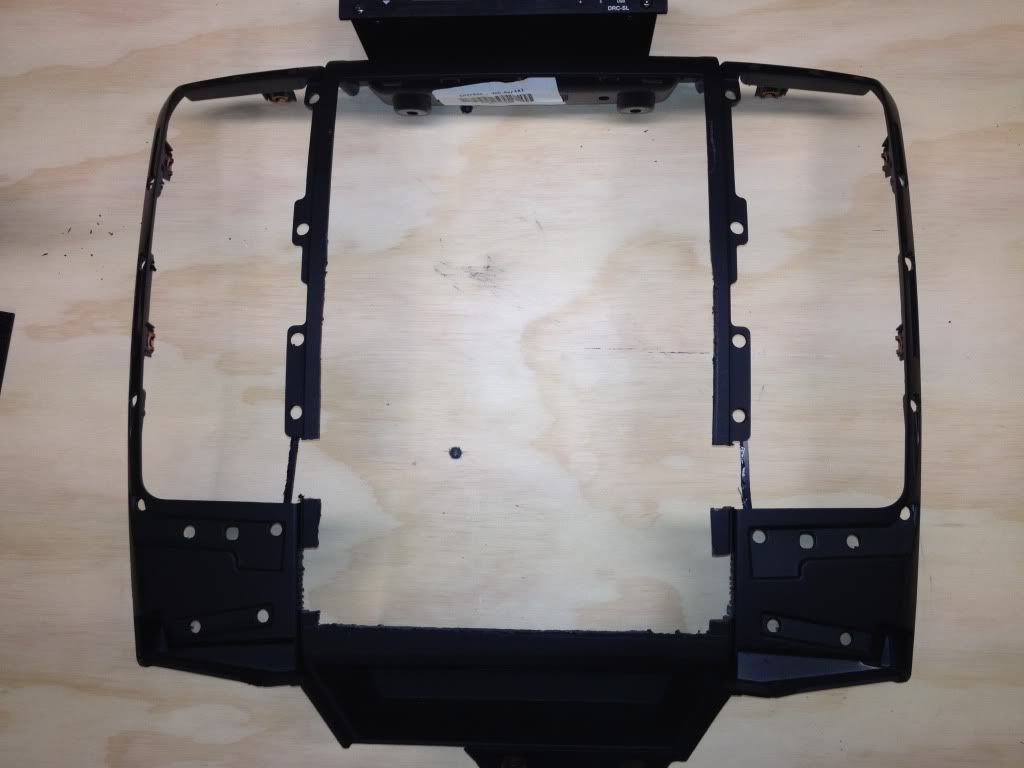
Back.
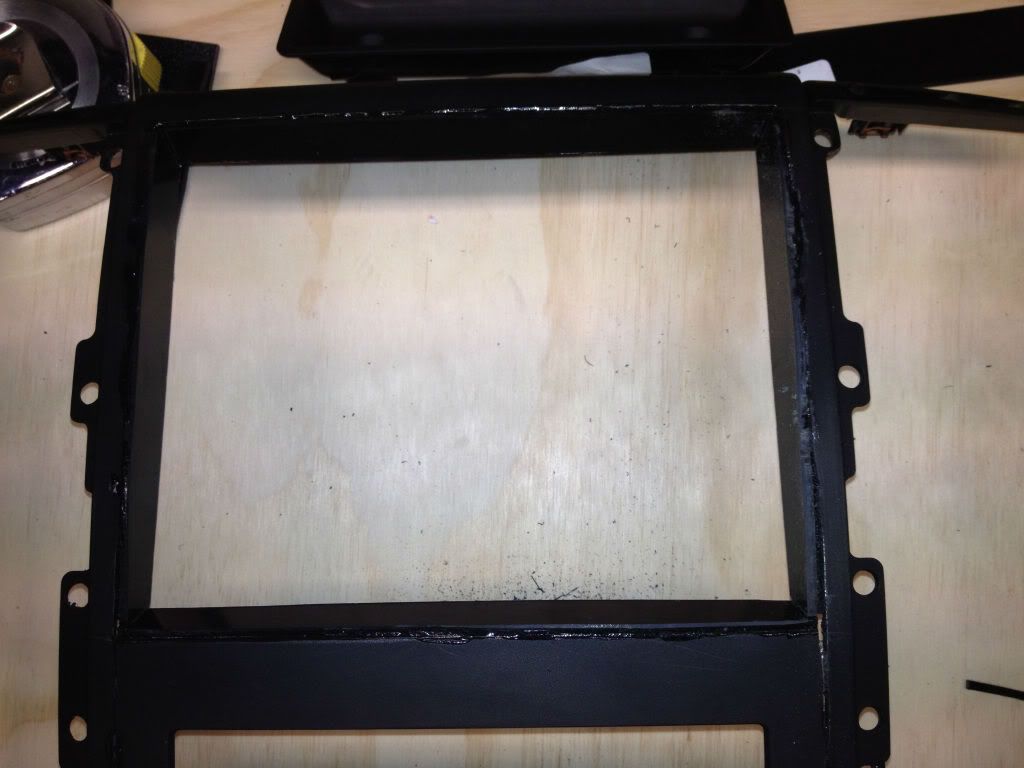
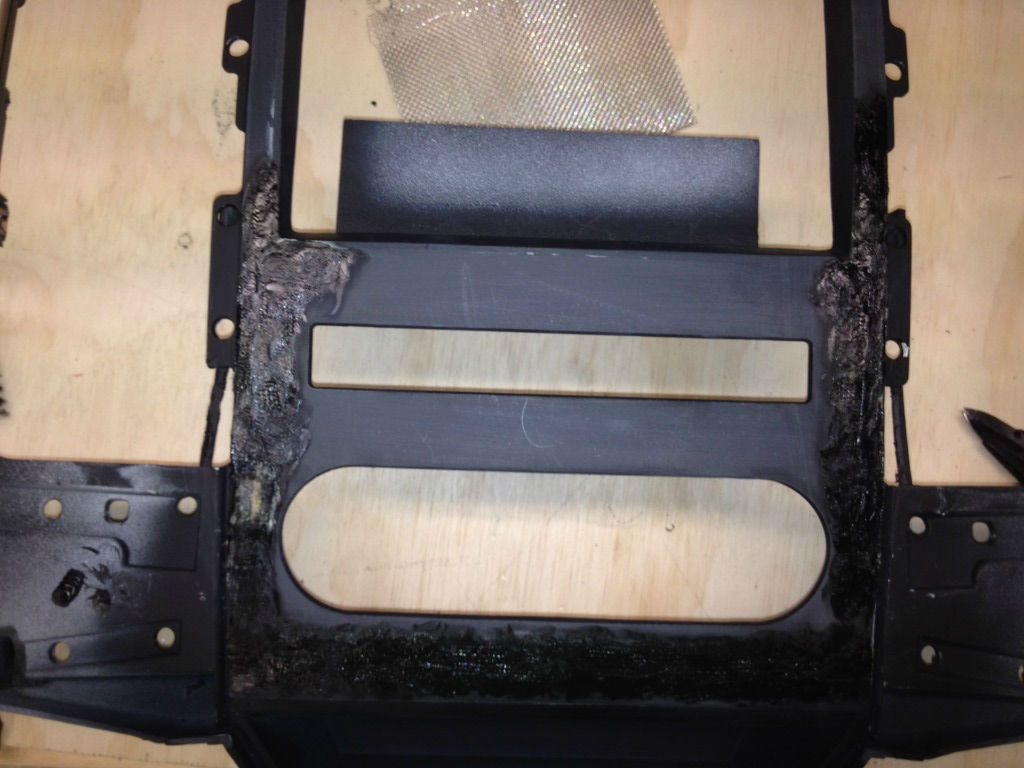
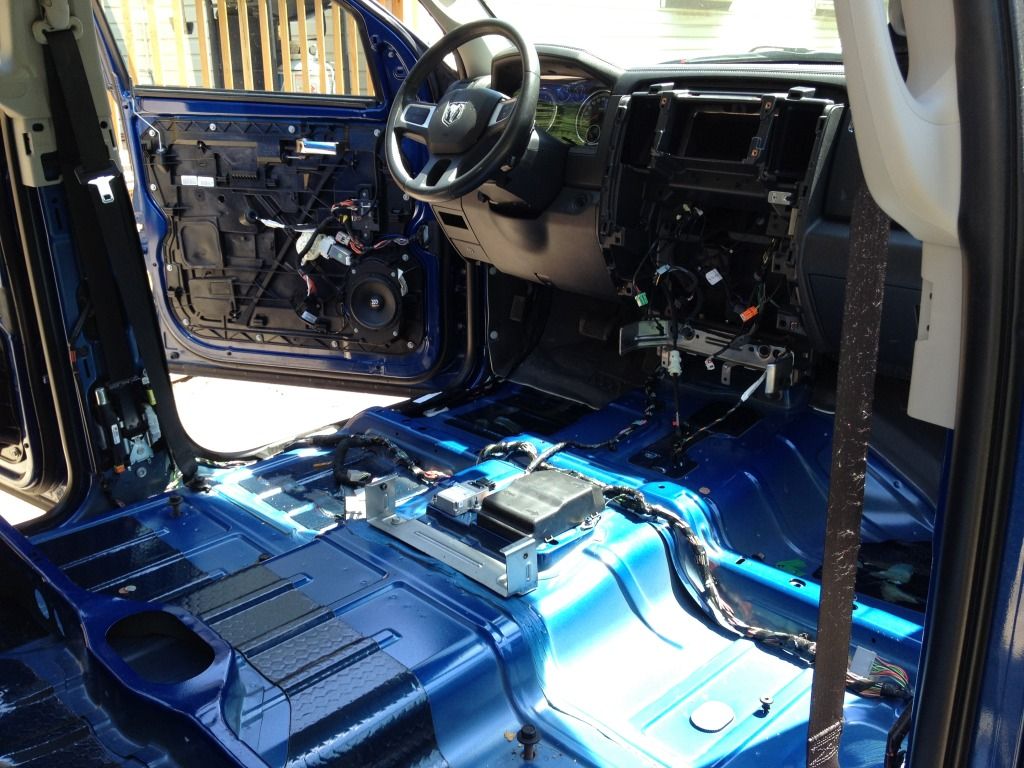
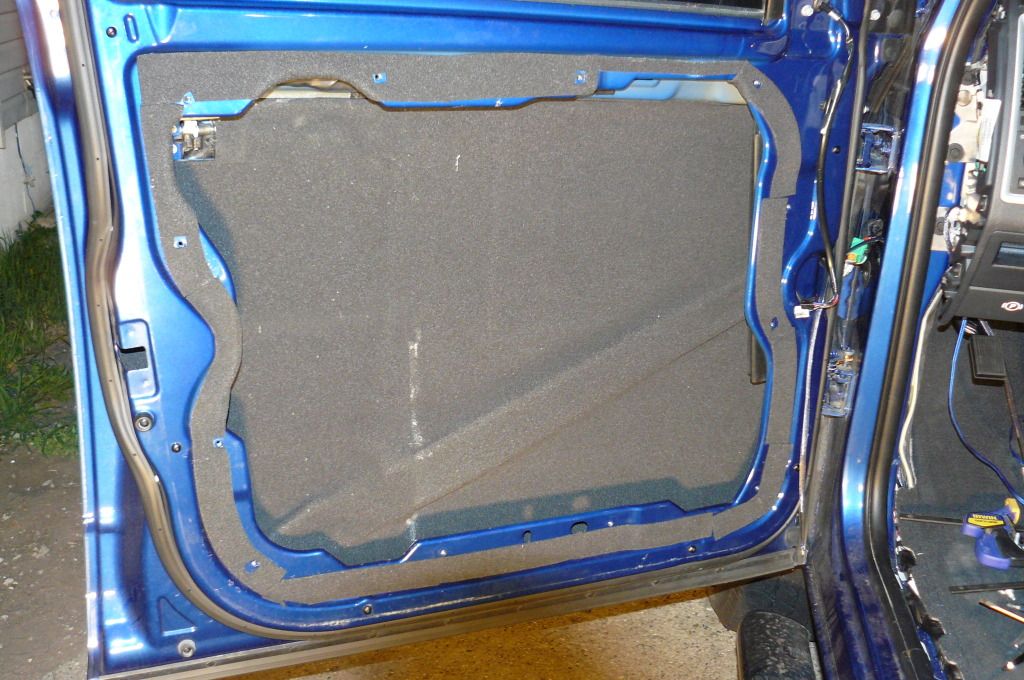
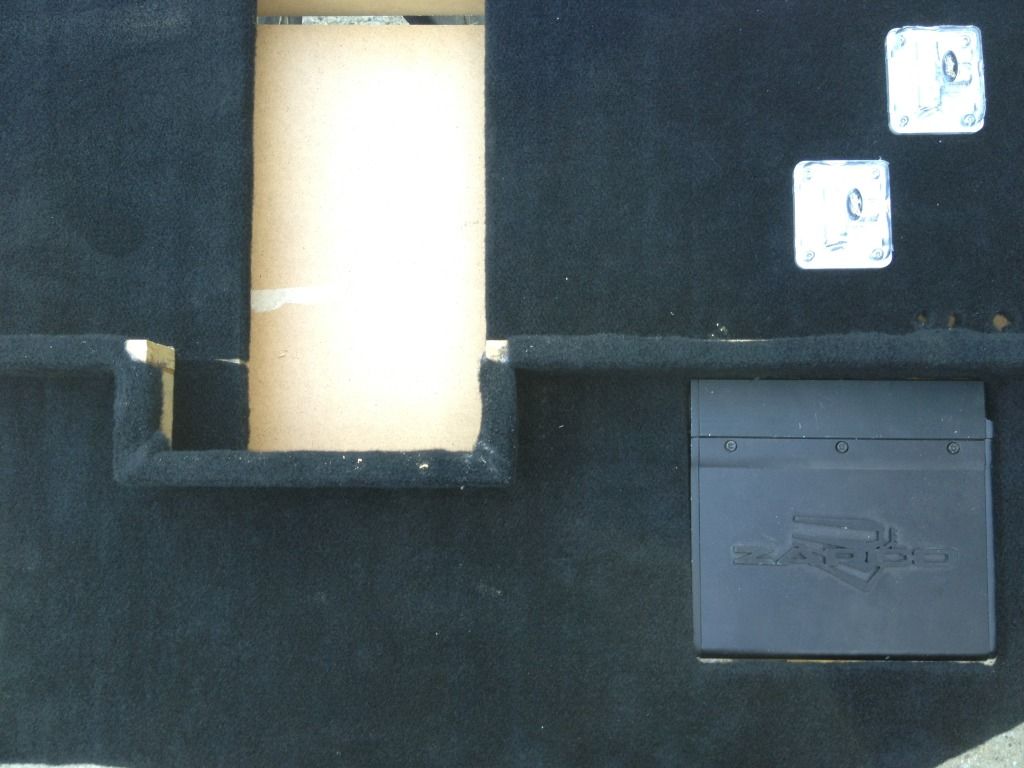
Removed the trim and vents on the sides.

Cut the middle section out.
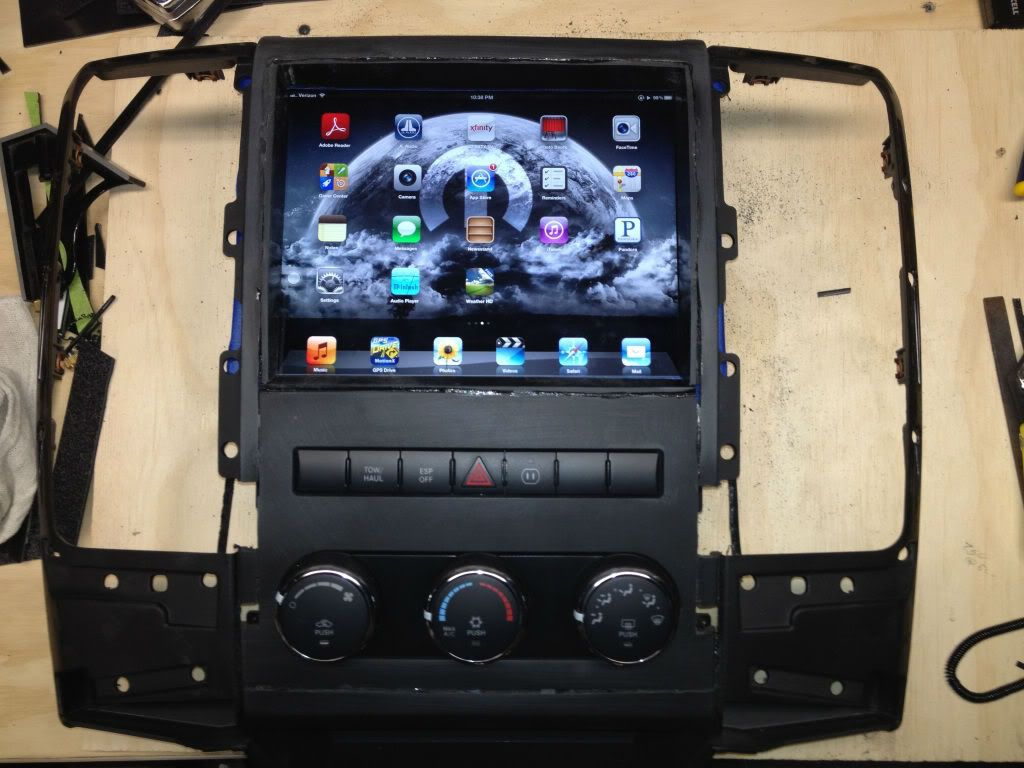
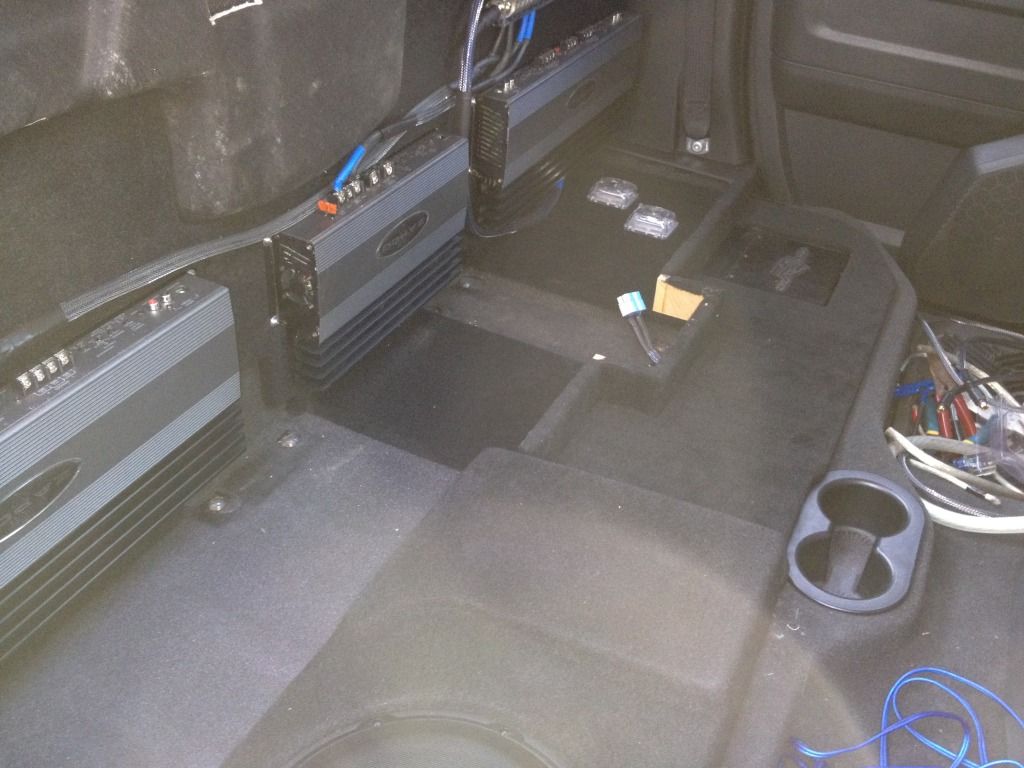
Mocked up the piece that holds HVAC controls and a factory switch bank.

I had to mock up the iPad into the dash to make sure I had enough space to work with.
That's all so far, I am just progressing slowly.
Thanks Aron