If you DON'T have a sunroof order 4. If you DO have a sunroof order 3. Any other LEDs similar to these will work. Personally, after doing this twice, I prefer the connectors used in this tutorial. If you get the polarity wrong you can just flip the connector.
This was done on my friend's 2003 Vibe AWD withOUT sunroof, so it has the mirror maplights. I will also post the difference in it if you have a Vibe WITH a sunroof, like my own.
Disclaimer: I can NOT be held liable if you hurt yourself, others, your car, your cat, die in a fiery death or anything else which could happen. I claim no responsibility if something goes wrong, especially an alien abduction and/or zombie apocalypse. That said the only issue I've encountered is a blown fuse because of my own stupidity.
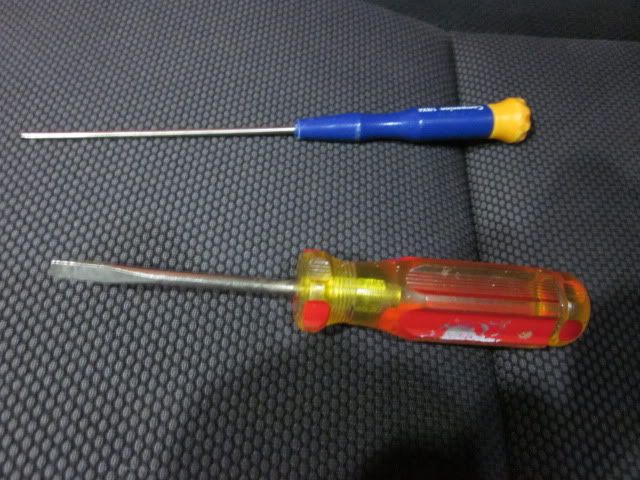
Tools needed: just two screwdrivers: a real thin one and an average one, both flatheads. You could use just a single thin one, but having the second one is pretty convenient.
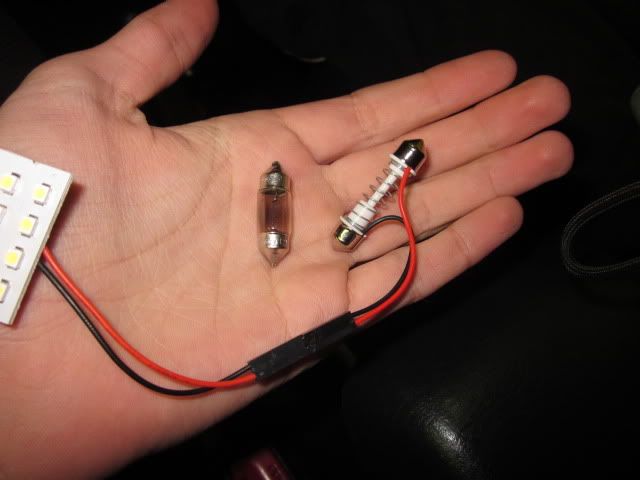
The LEDs come as 12 SMD LED lights on a plate with a wire and a connector. The connector goes to 1 of 3 plugs. One is a wedge, one a twist-style, and the last a spring-loaded dumbell (for lack of a better word). For those without the sunroof you'll need to use two wedge ones. Sunroof'd owners, you'll need a twist-style. All will need to use two of the springy ones.
I'll start at the primary ones: the ones that light up when a door is open. If you don't know which ones these are, they're the square-shaped ones in the ceiling, one in the cargo area, the next smack-dab in the center of the passenger area ceiling. Start by turning the roller-thingy and turn the interior lights OFF (not the line so they're only on with the door, OFF). Then take your big screwdriver and sticking it between the light lens and the headliner, like so.
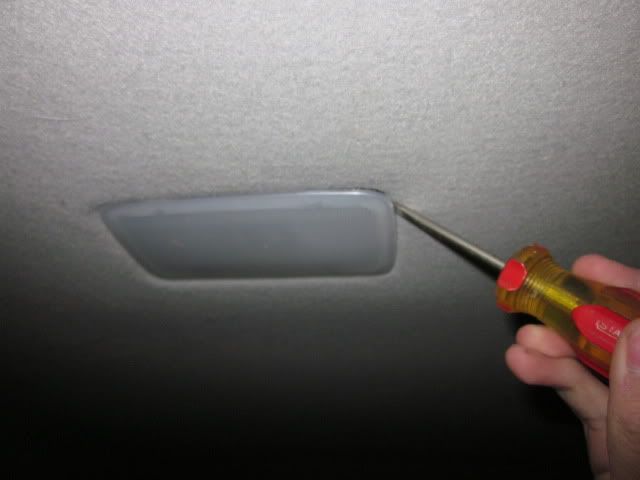
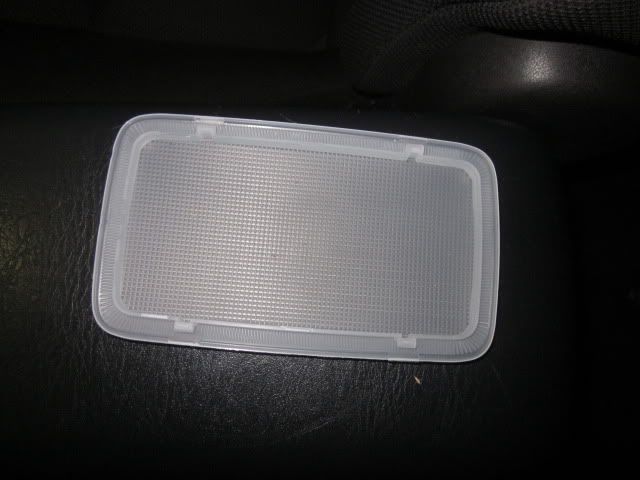
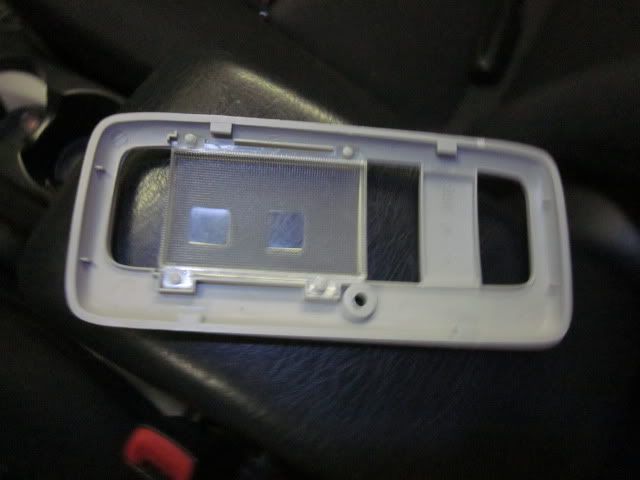
Slowly pry it off. If you just pry at it, the entire thing could come out of the ceiling. But that is unlikely. Just be careful. Once you get one of the clips out the entire thing just snaps off. Once that is off, you'll end up with this:
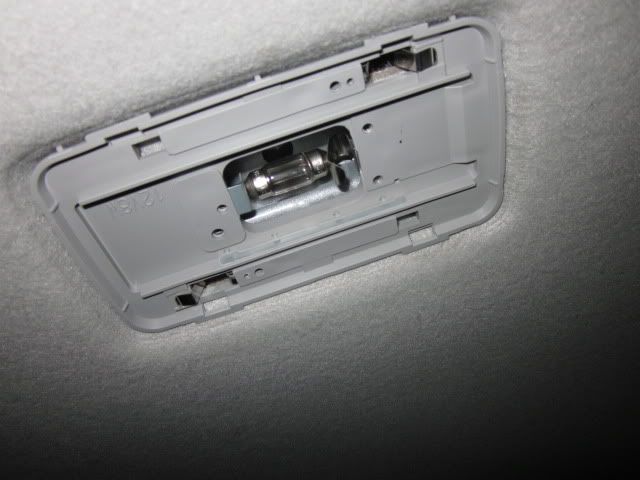
Lens:
Remove the power-cell looking light, and get your LED light ready.
Comparison:
The spring part will need to be fully compressed. squeeze it all the way, and insert it. In my case red was on the drivers side, and black on the passenger side. Test it by turning the dial from OFF to ON. If it doesn't work you can reverse the connector or the spring part. Then remove the backing to the tape on the back of the LED plate, and stick it to the plastic. It fits perfectly in the plastic ribs!
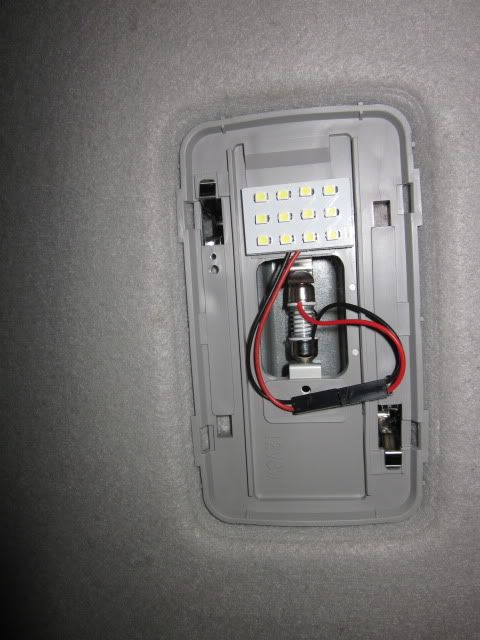
Make sure the wires are flat, and put the lens back on. It snaps into place.
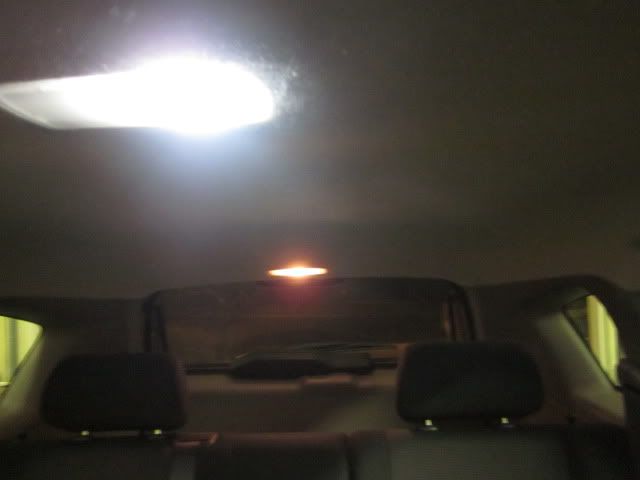
Comparison of the new LEDs to the yellow incandescent lights.
Repeat for the other light. The second one goes way faster. I did the next one in under 30 seconds.
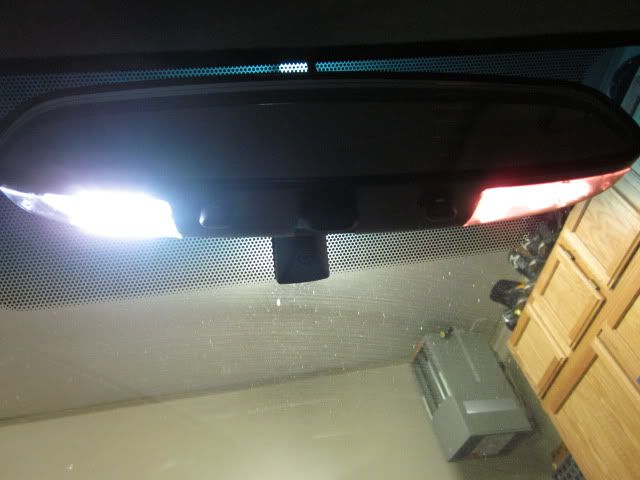
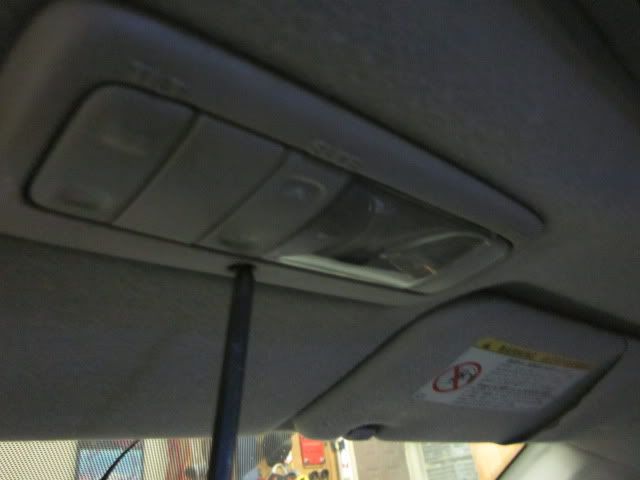
Now for the NO sunroof-specific section. This is for those with the maplights in the mirror. Take your skinny screwdriver and pry the lens covers off with the little notch facing the front of the car. Or, if you have fingernails like my friend does, you can just take it off like that.
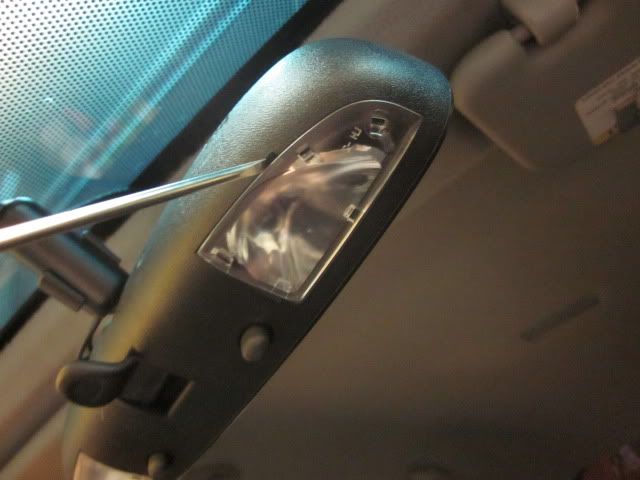
To remove the bulb, save your fingers, and CAREFULLY take your skinny screwdriver, get it behind the bulb and slowly, bit by bit, pry it out.
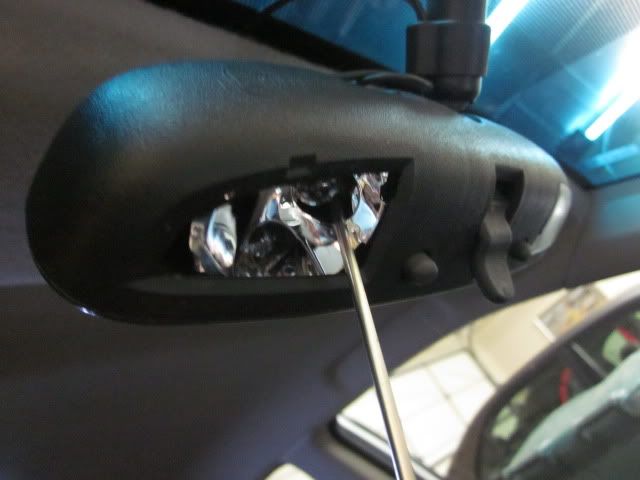
It will shoot out, so be ready. We weren't ready, and now my friend has a bulb somewhere inside of his car where we can't find it. Once the bulb is out, you'll have this
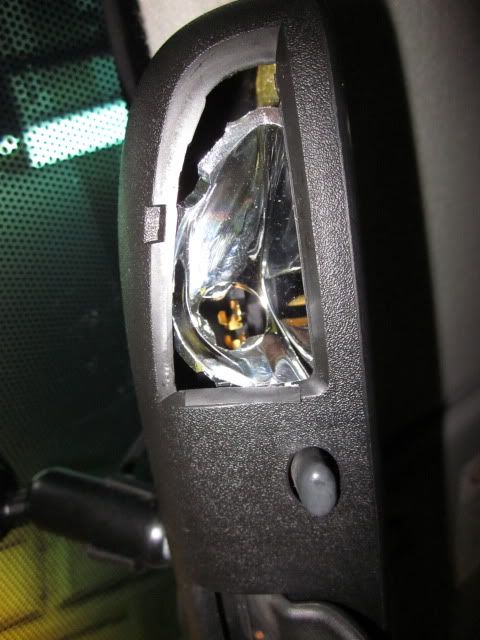
Wedge in your new LED wedge-connector. Test the light. If it doesn't work, play with the connector and see if it lights up. It is VERY bright though, so avoid staring directly at it. Tape the connector once the light works. Carefully stuff the wires into place. Once the plate is inside the space where the lens can fit back on, test it again. It may not work, so again play with the wires. What we did was continually test it as we were stuffing the wires into the reflector. Once you get it into place, slip the lens on. Test it again. You won't need the tape, it will just be held in by the lens. This is a finicky procedure. No cutting is required. Once its in, this is what it should look like.
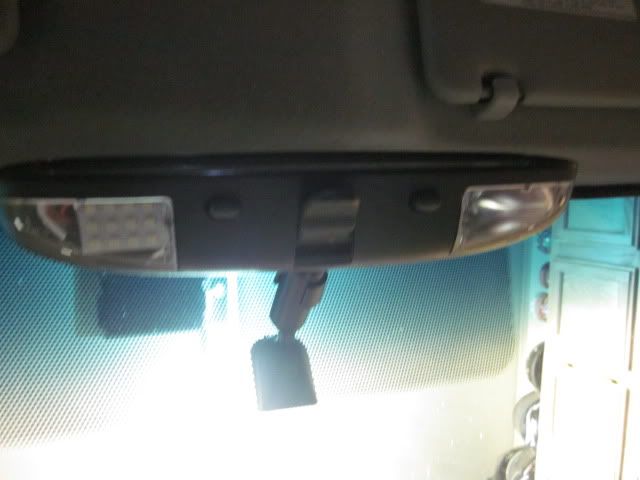
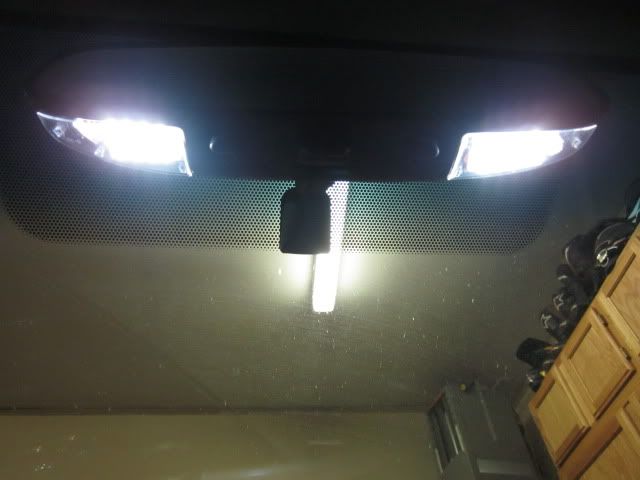
Lit up comparison
Now repeat for they passenger side one. This one is easier to get the bulb out of, but you need to be more careful when stuffing the wires and putting the lens on. Two people is ideal for just getting the lenses back on. Once you're done, this is what it should look like when lit up
Results!
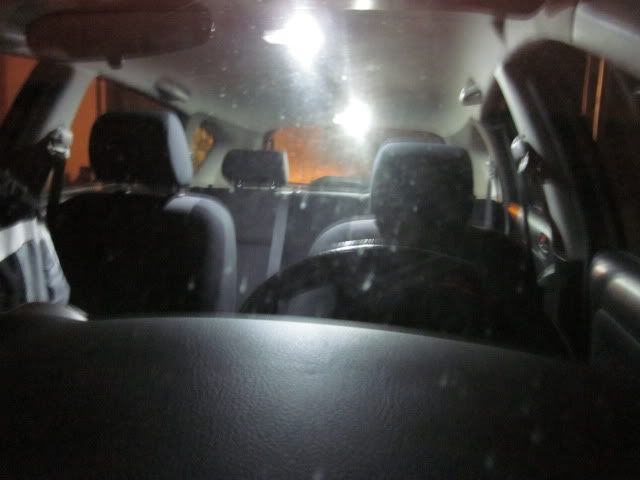
Maplights on in a dark garageLights on, in a garage only illuminated by a rather annoying streetlight
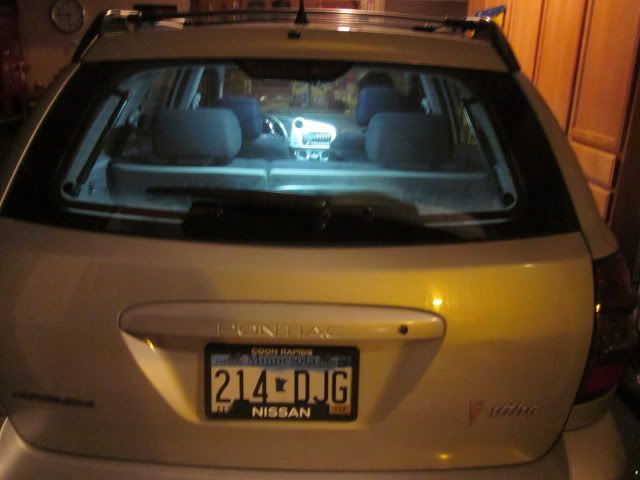
And you're done! Bask in your new glow!
For those with a sunroof, here is a short tidbit for you.
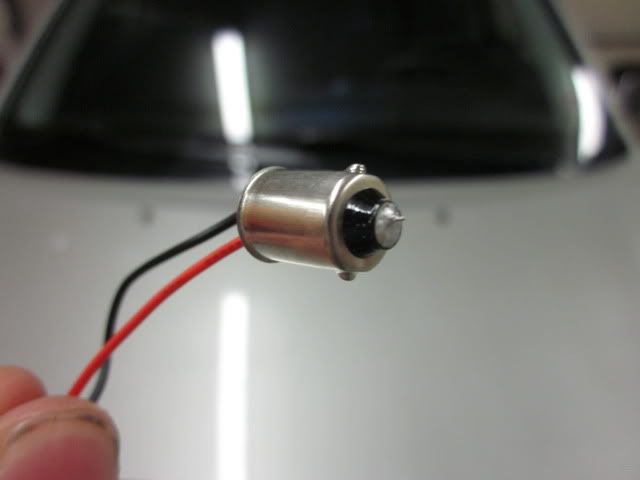
Take this connector. It looks like the base of a bulb.
Take a Philips-head screwdriver and unscrew the screw in the cover.
Once the screw is out, do the same as you did with the other dome light covers and pull off the cover. You might pull the whole thing out, which I do not know the consequences of. I brace my fingers against the buttons, and pull on the cover. It works okay for me. Once its off you'll be left with this:
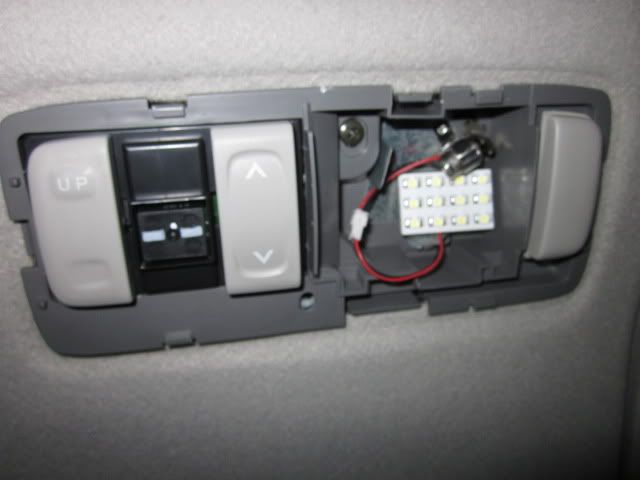
Pull out the bulb and put in the new LED adapter. I've done this a long time ago. That bulb is in Timbuktu for all I know. Here's the finished result:
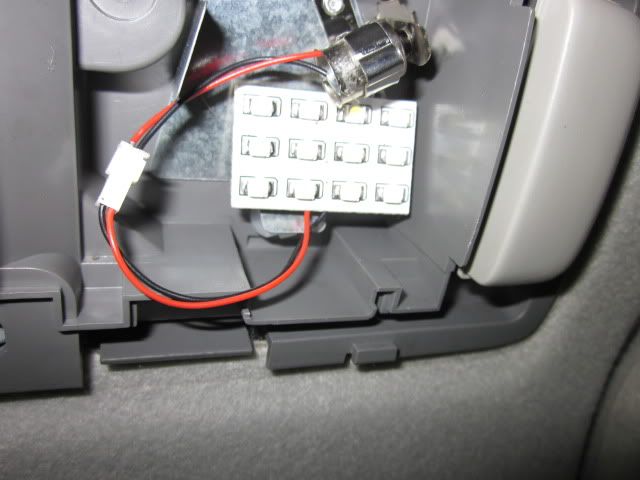
Note the wire colors. By the sounds of it its pretty common that polarity is flat-out wrong. Since the connectors I used a while back weren't reversible I had to pull the wire out of the connector and put them in the other way. Its still holding up. But still, test, test, test to make sure it works.
Snap the cover back on, reinstall the screw and you're finished.
Enjoy the glow sunroof'd Vibers!