How To Remove Factory Seat Covers

Upholstery, floor mats, seats, window tint and anything inside the vehicle and not electronic
Post Reply
User avatar
A Psycho Martyr
Posts: 2598
Joined: Mon Feb 08, 2010 6:13 am
Location: Cullman, Alabama

How To Remove Factory Seat Covers

Post by A Psycho Martyr »

Ok, so If anyone didn't know, I'm driving a 2003 Base model Vibe, so I do NOT have airbags in my seats.
I have no clue how different they actually are if you have them in yours.

In this tutorial I'll show how I removed the stock fabric off the seats for washing and hopefully some customization.
A little disclaimer: I AM NOT RESPONSIBLE IF YOU BREAK SOMETHING!!!!

What you'll need:
A ratchet
Breaker bar (if ya have one, not a must-have tho)
12mm socket
14mm socket
Phillips head screwdriver
Flat-head screwdriver
Hex key or Star bit (not sure what size :? )
Ziploc bags labeled (Front Driver)(Front Passenger)(Rear 60)(Rear 40) <---so ya don't lose parts ;)
Some good chill tunes 8-)

With that said....let's get started with some tasty, tasty pictures:

I began by removing ALL my seats (Look HERE if you're not sure how to do this)

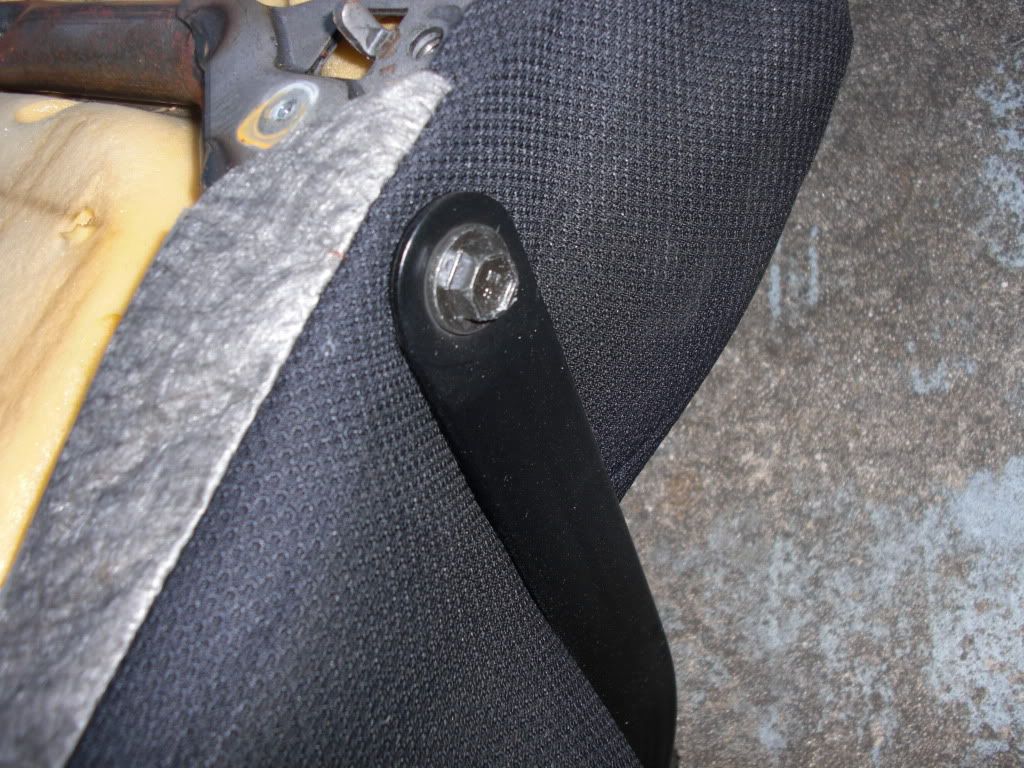
The first seat I did was the 60% section in the rear. You begin by removing the top of the seat from the bottom.
It's two 12mm bolts (one on each side)
Image

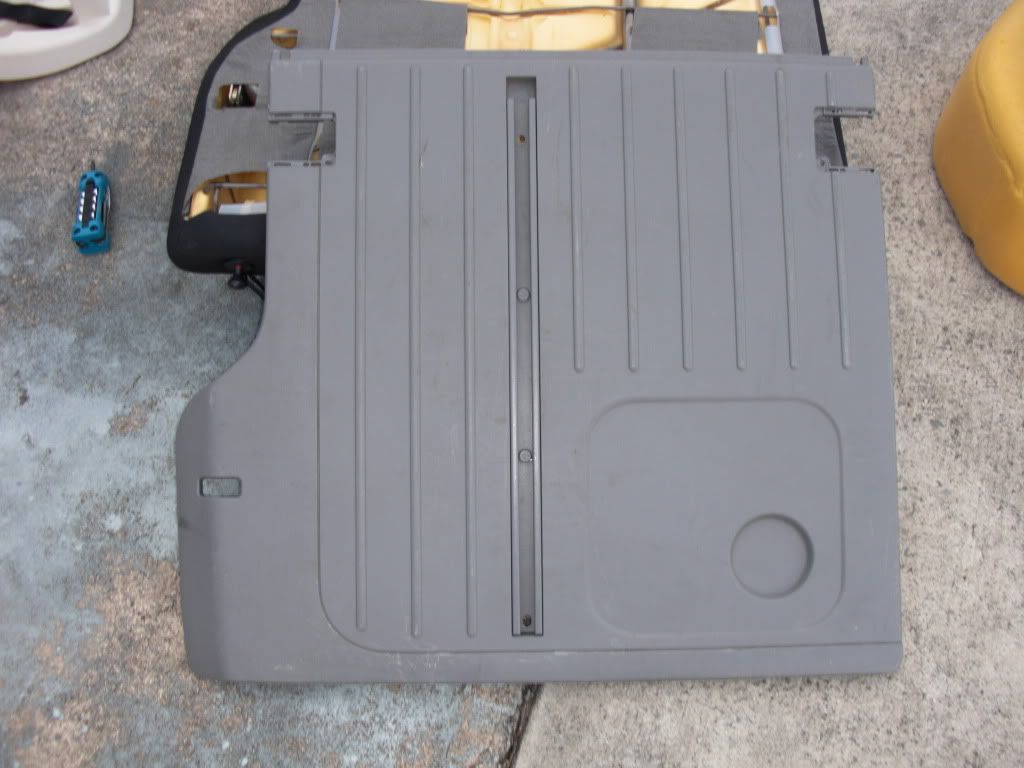
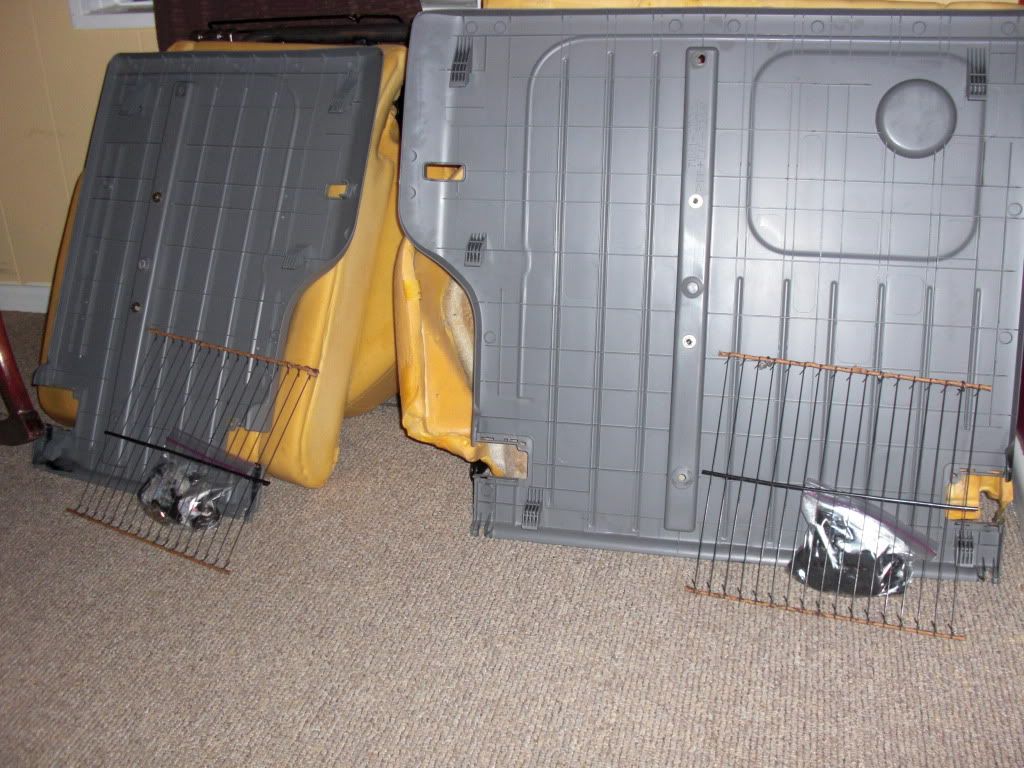
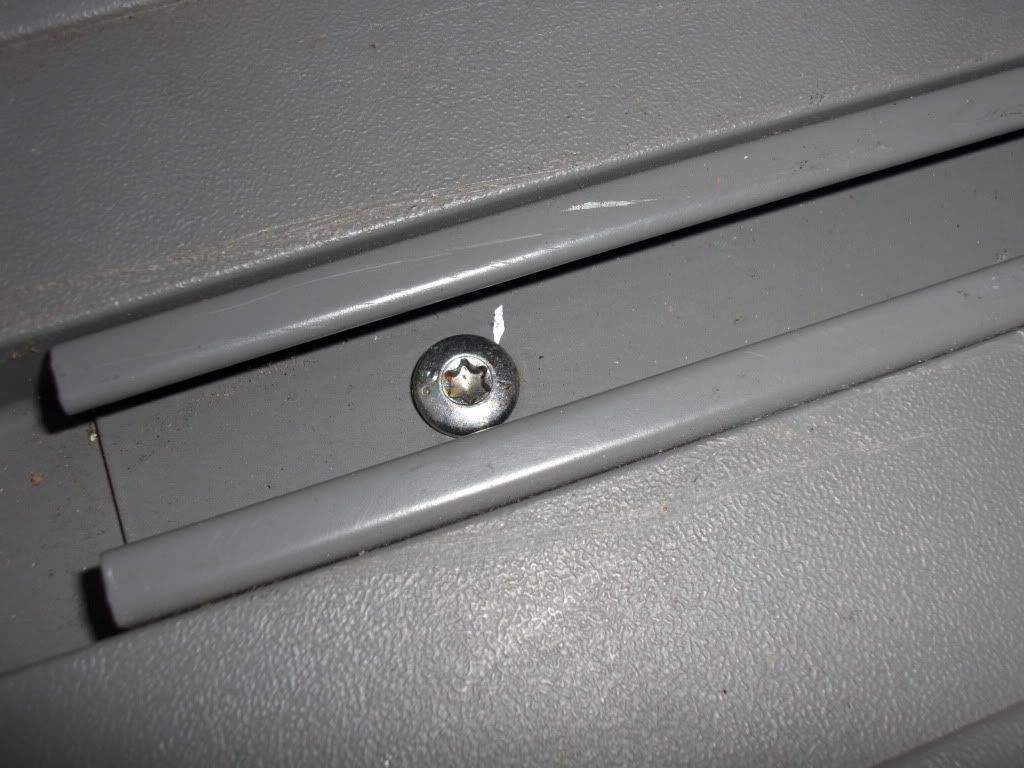
Then, starting with the TOP, you'll need to remove the plastic off the back.
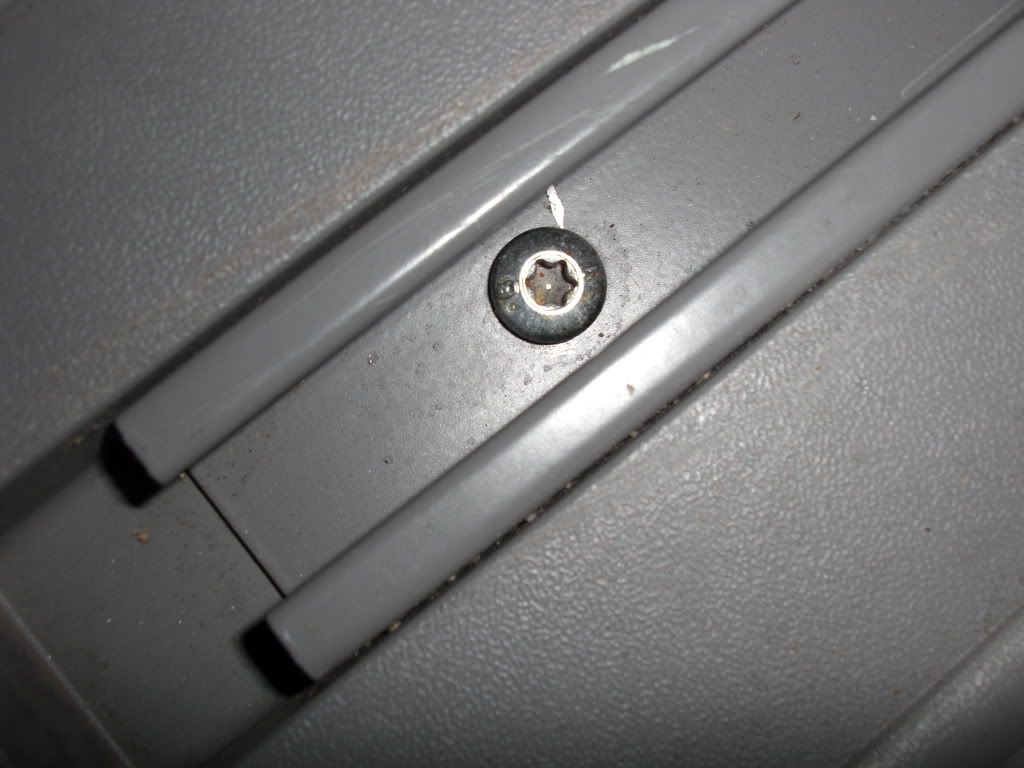
You'll start by removing these two silver screws (hex head or whatever) from the tracks in the back of the plastic
Image

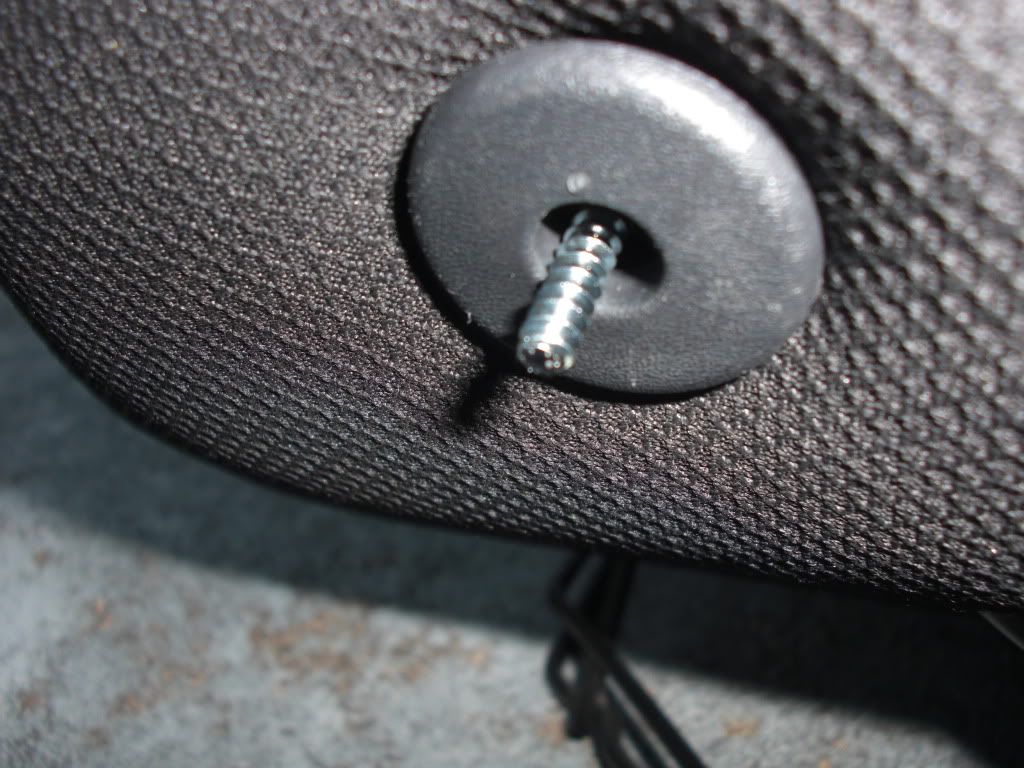
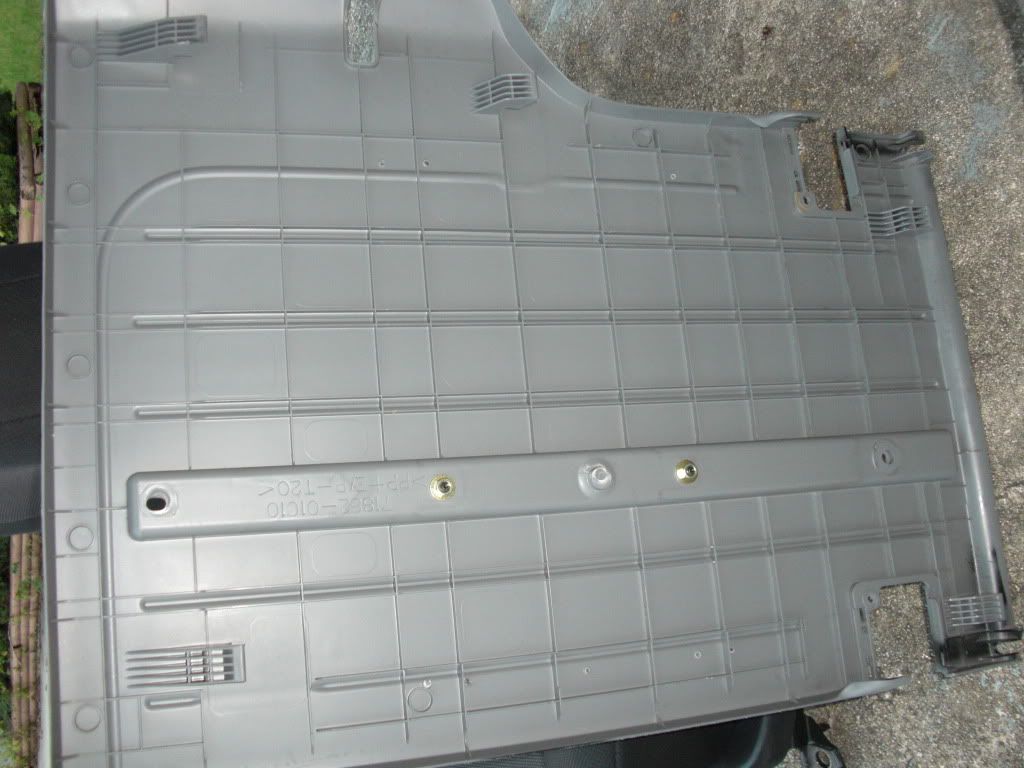
Then you'll remove these little gold screws
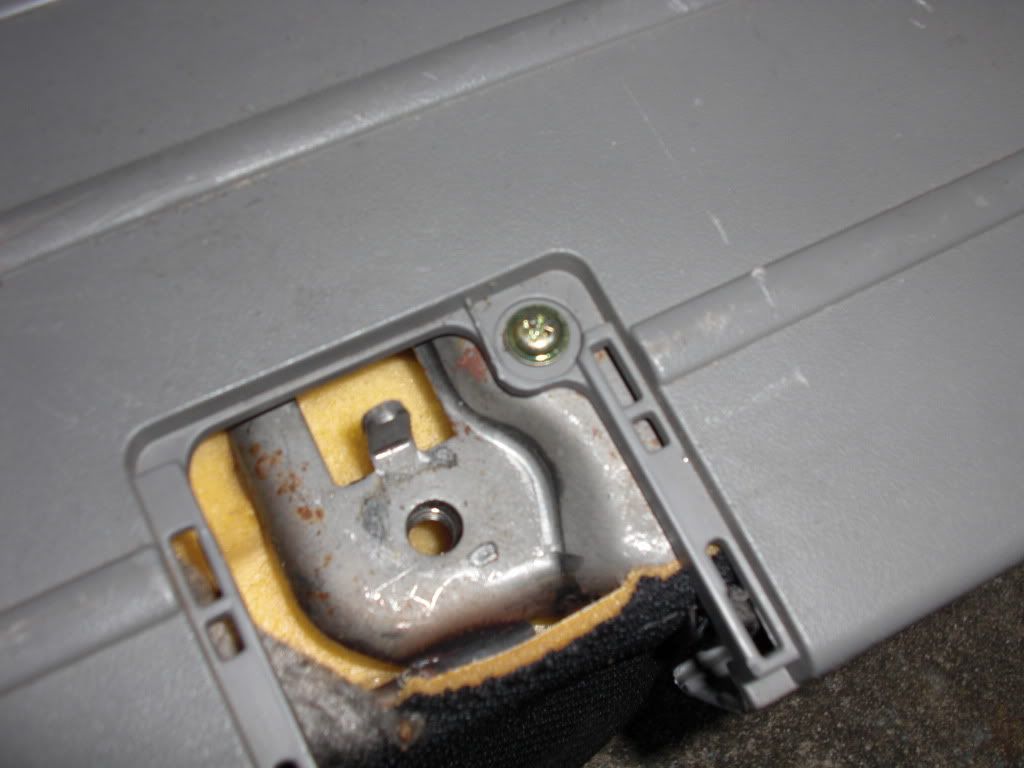
Image

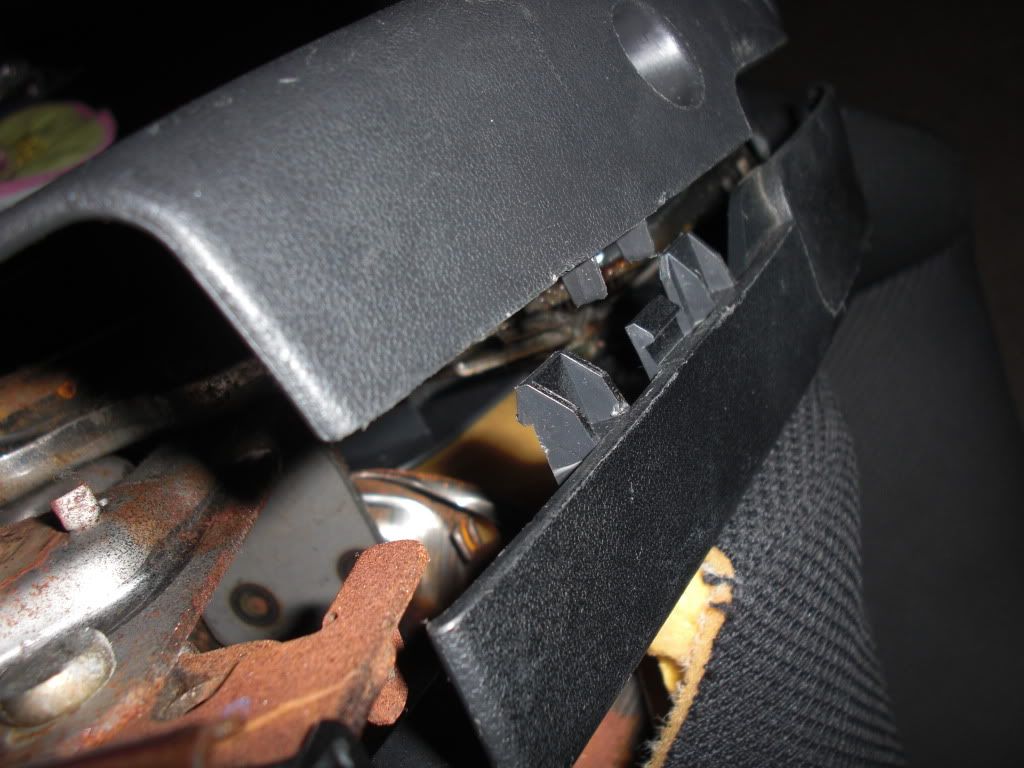
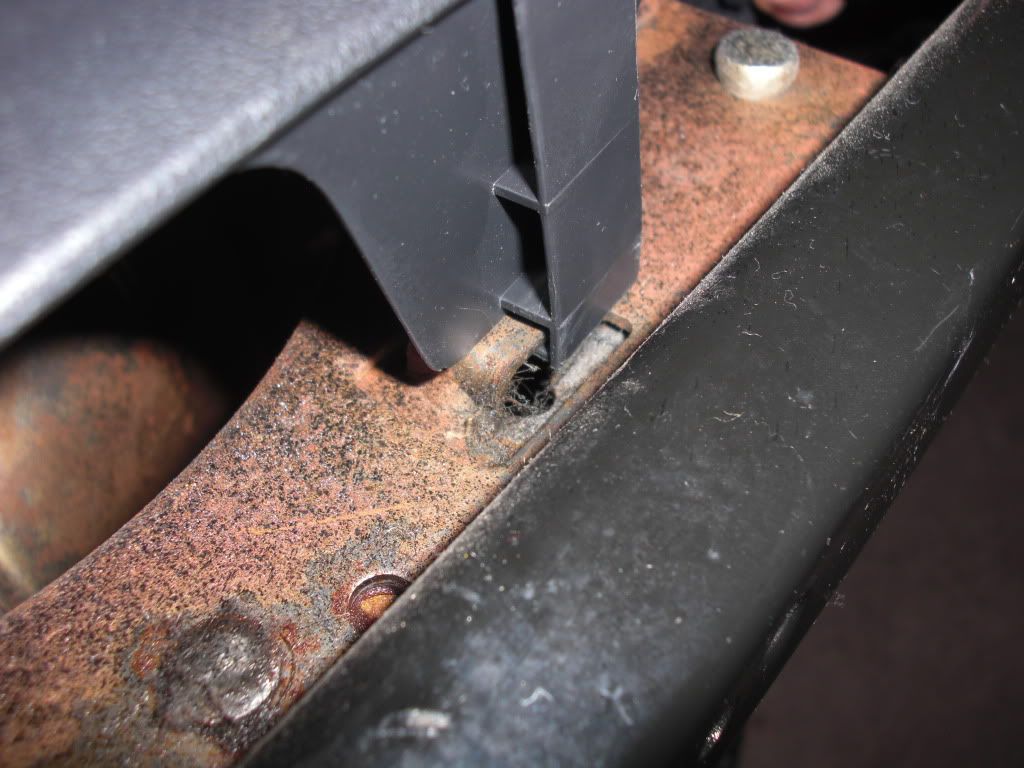
Now to remove the plastic off the back of the seat you slide up on the entire piece. DON'T PULL! :o It literally just slides up and then comes unhooked.
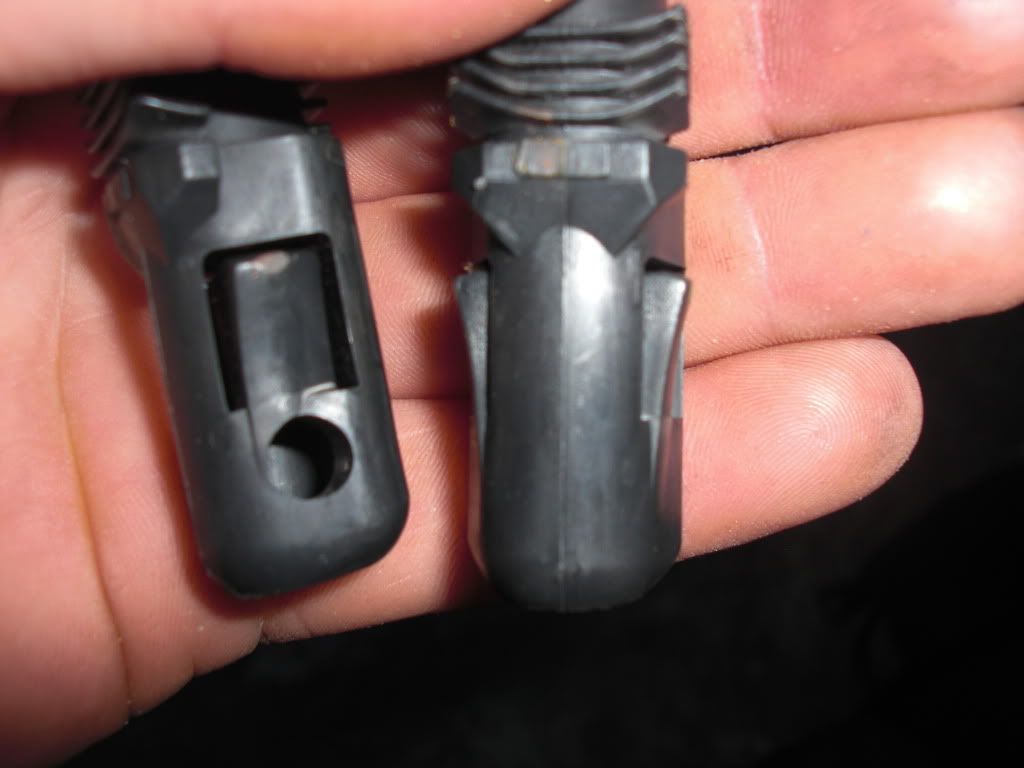
Here's what the hooks (NOT clips) holding it in place look like.
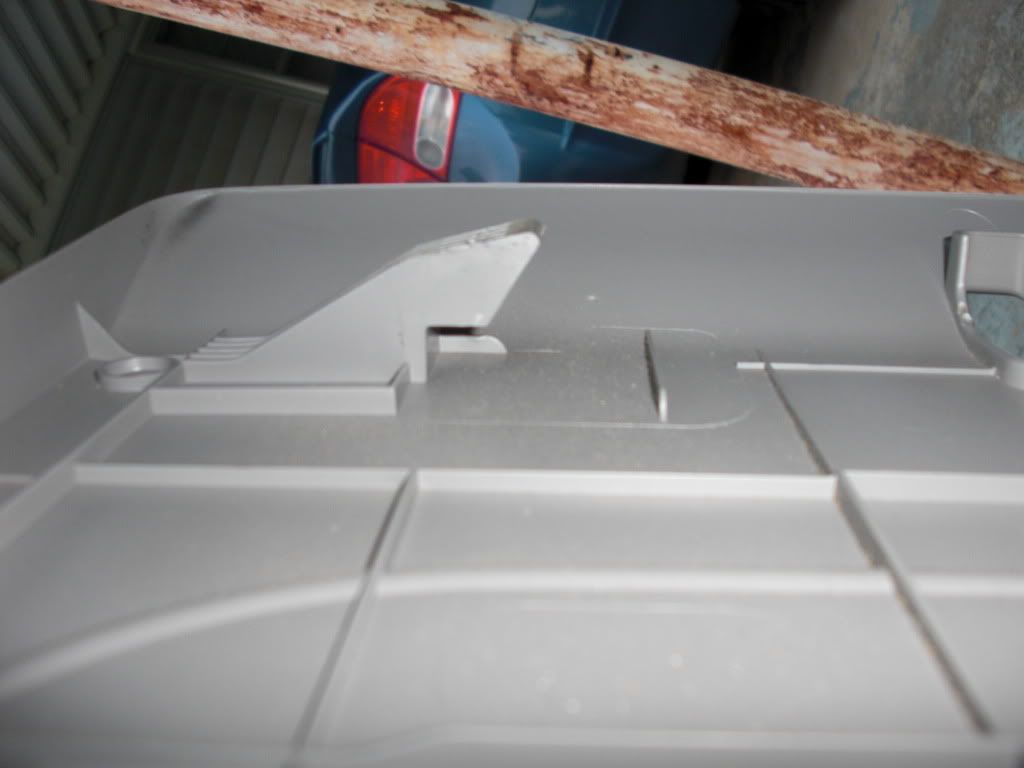
Image
Image

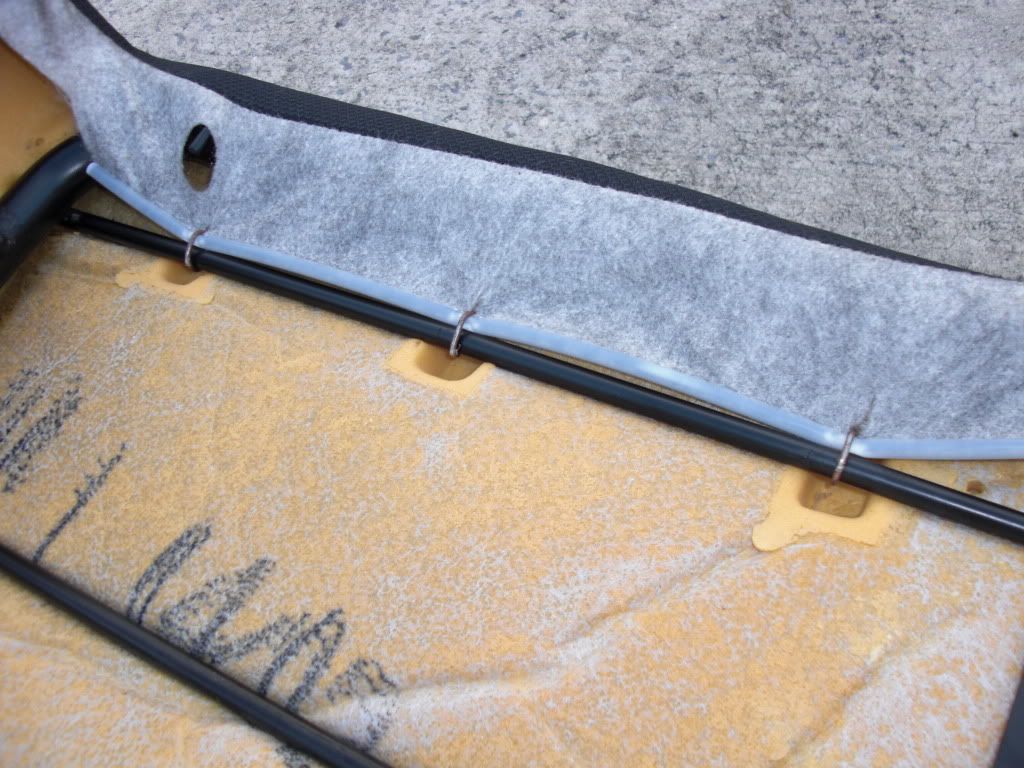
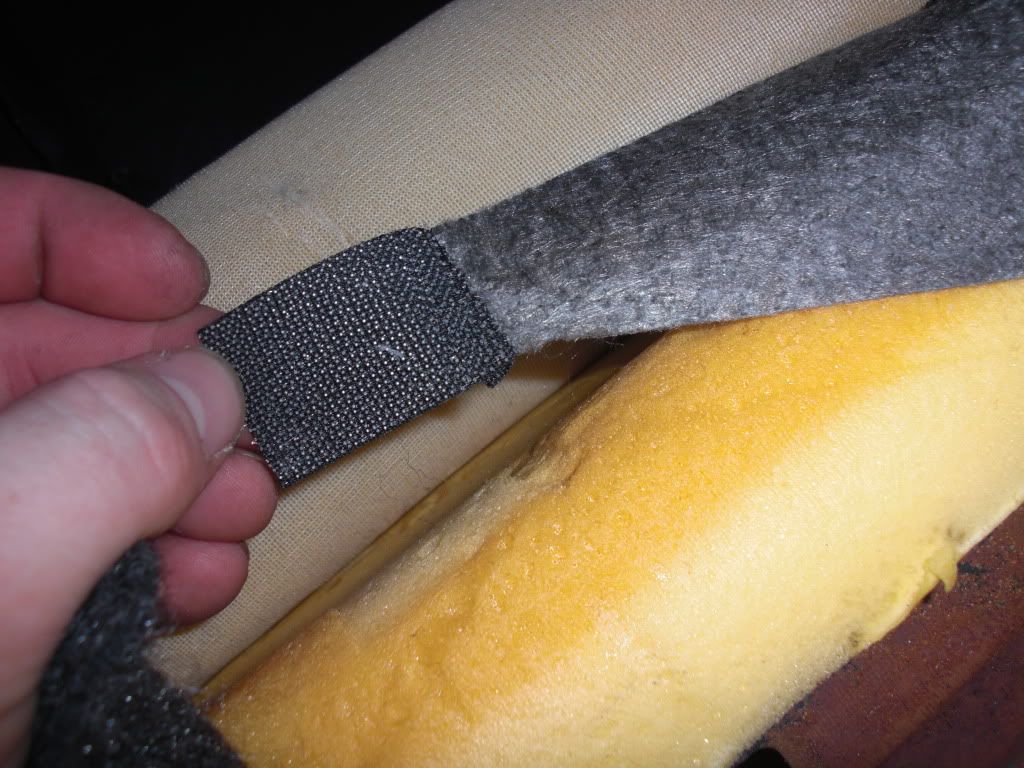
Now that the plastic is off, some of the fabric is held on by plastic hooks. Just undo everything you can and pull it all back.
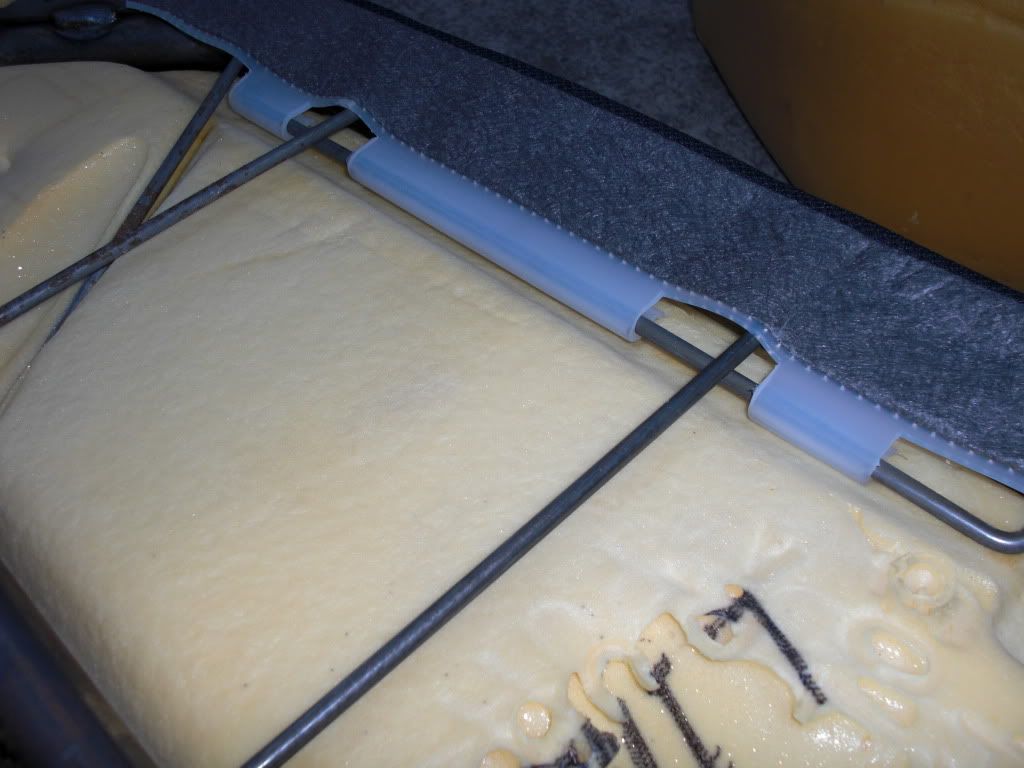
Image

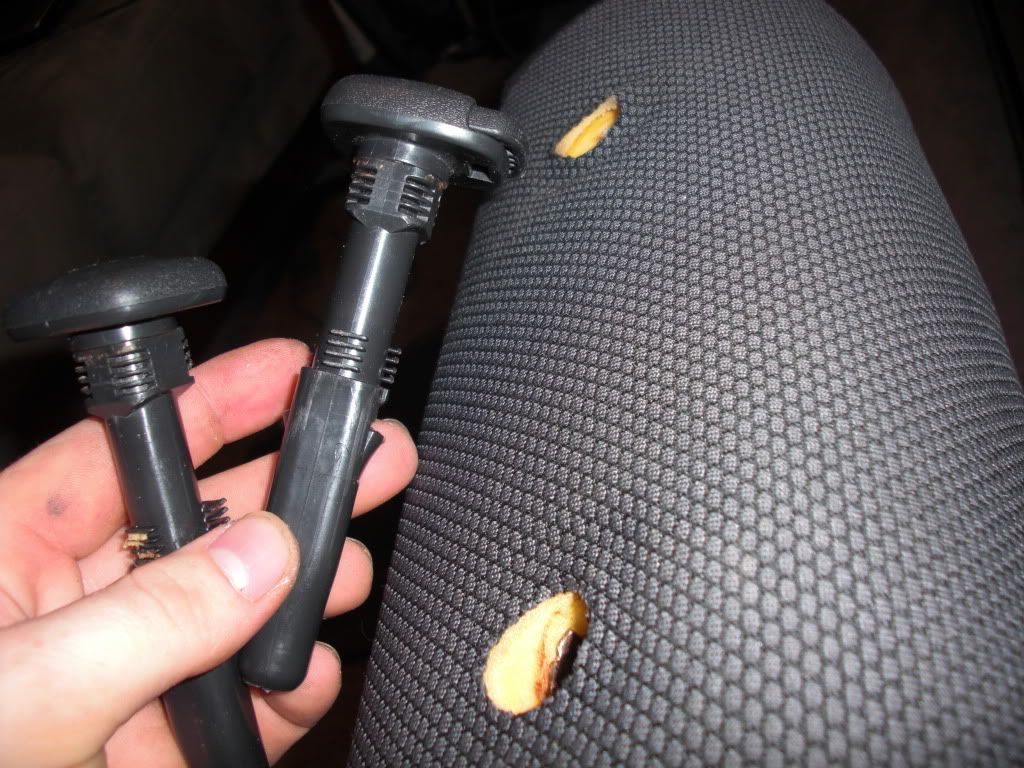
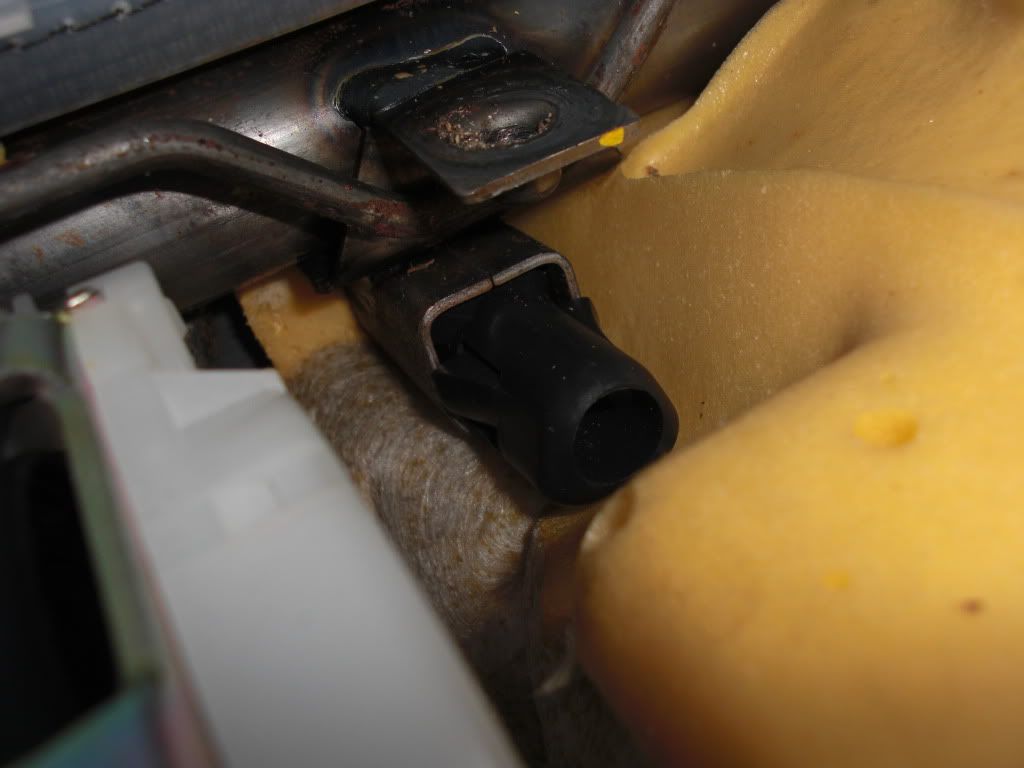
Then you'll need to remove the plastic pieces that your headrests fit into. Easy squeezy :P
Just reach inside and squeeze two tabs while pushing and it pops straight out! Here's what it looks like from the inside
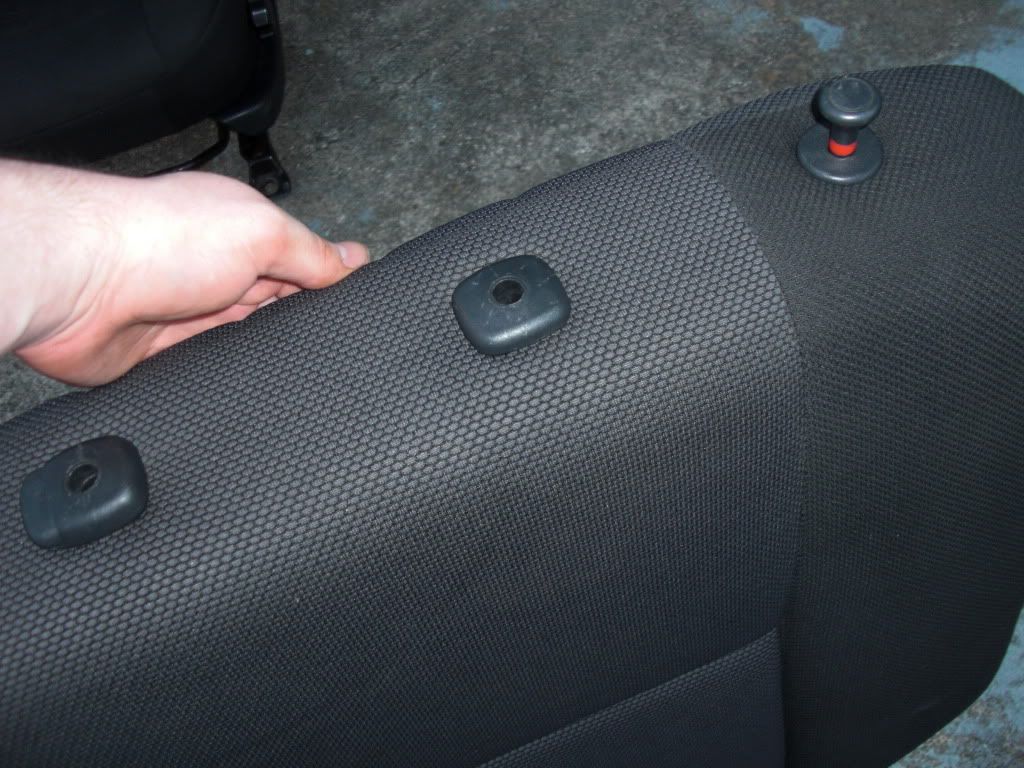
Image
Image
Image
Image

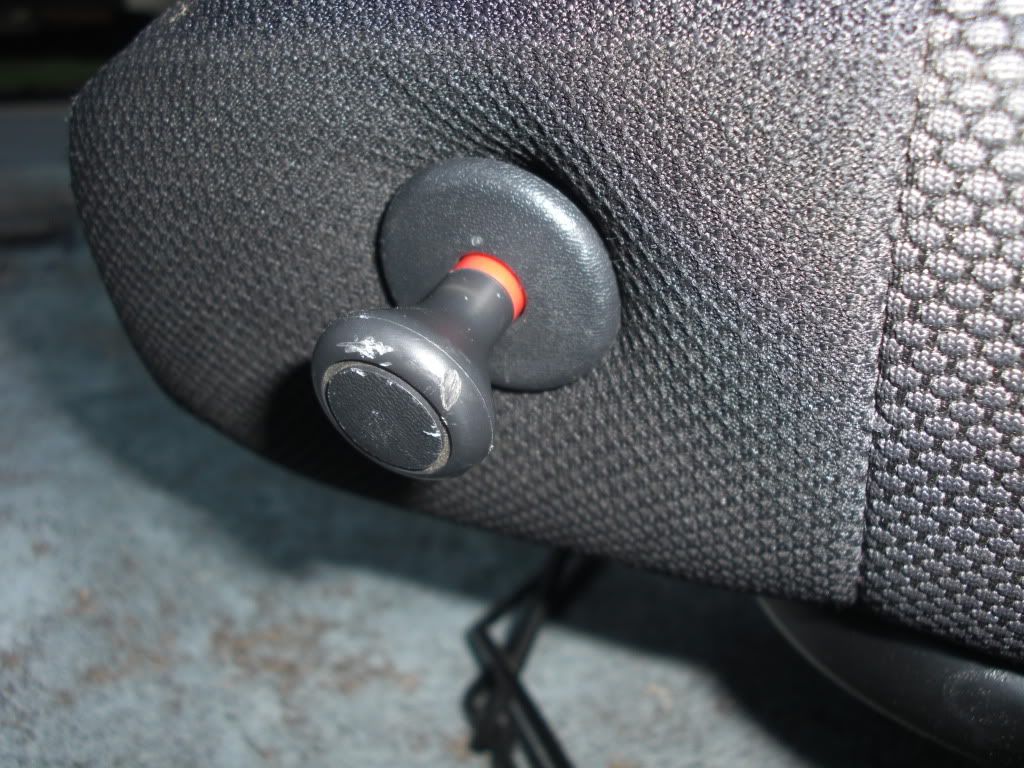
Then you move on to the piece you pull up on to lay the seats down. It's simply threaded on there. Lefty Loosey and you're home free :D
Image
Image

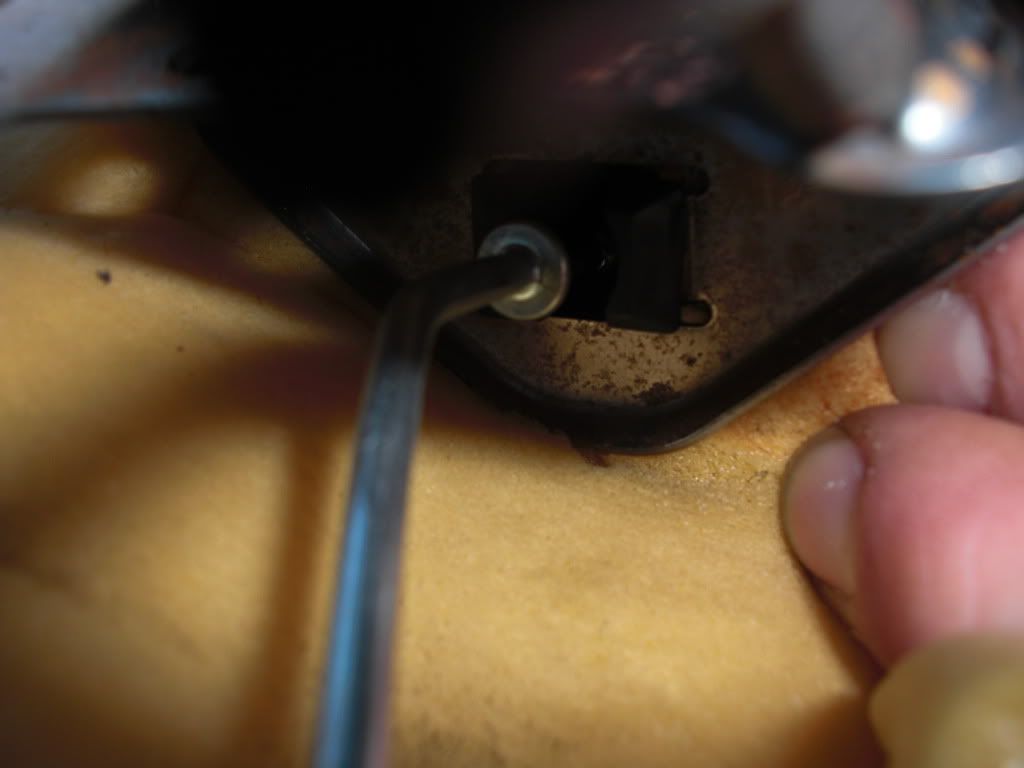
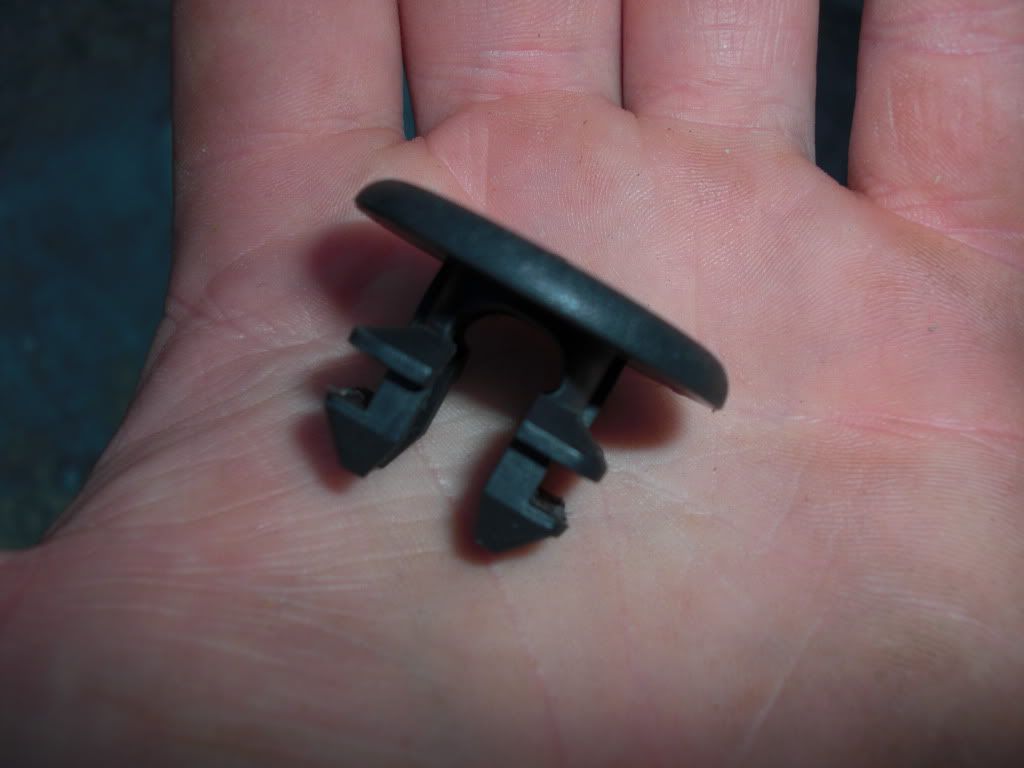
Don't forget about the circle plastic thing still in there. It's just like the headrest holders. Here it is before and after removal
Image
Image

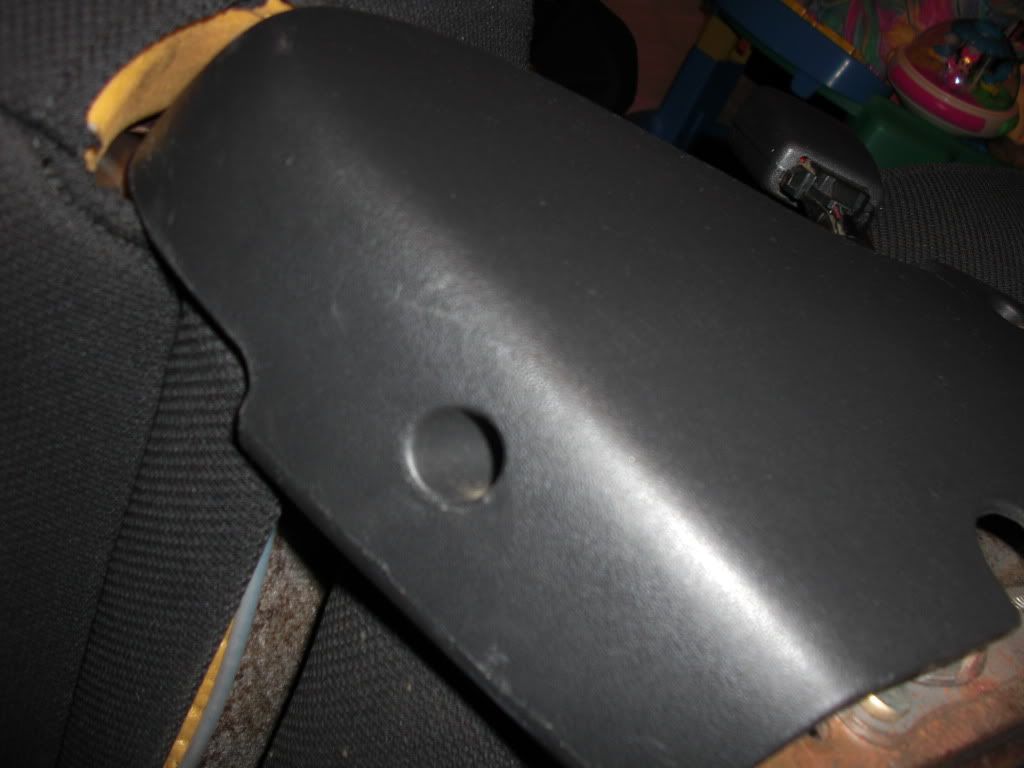
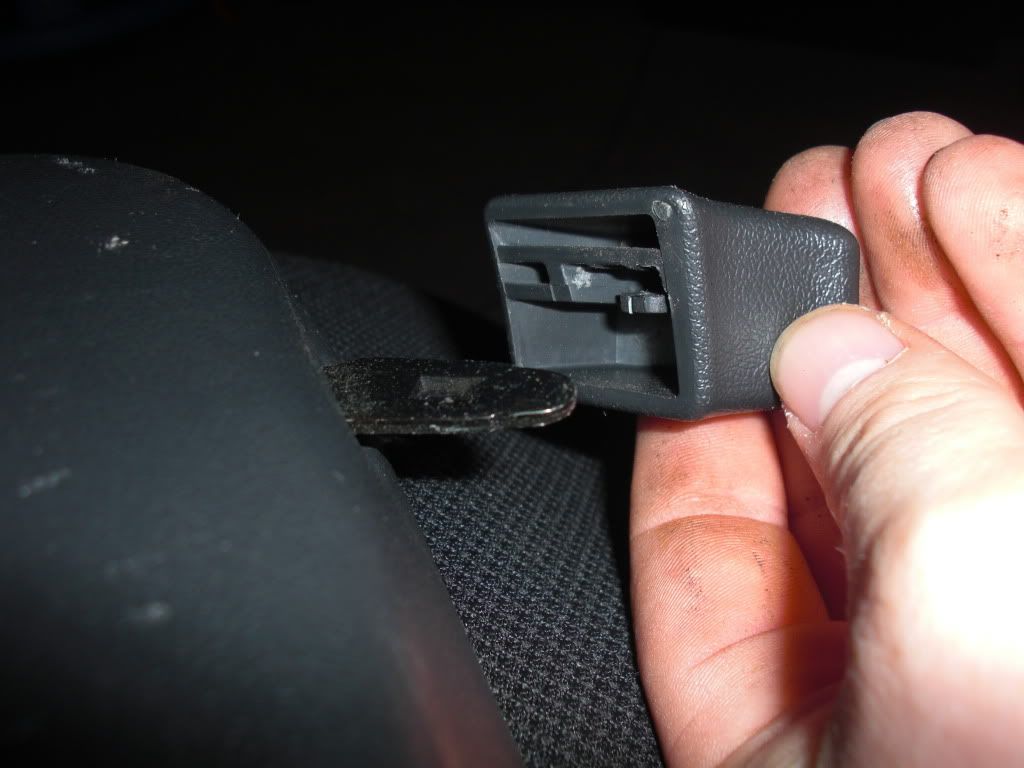
Now on to the plastic trim that your shoulder seatbelt comes thru. Tiny tabs hold it into place. Just pop it out.
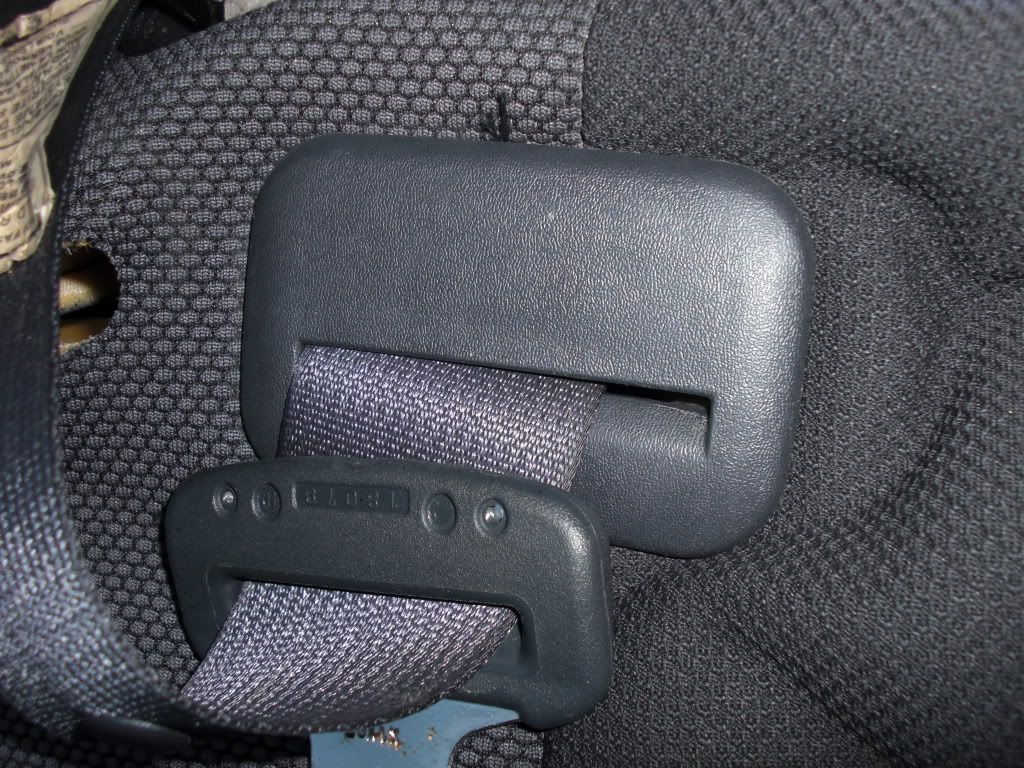
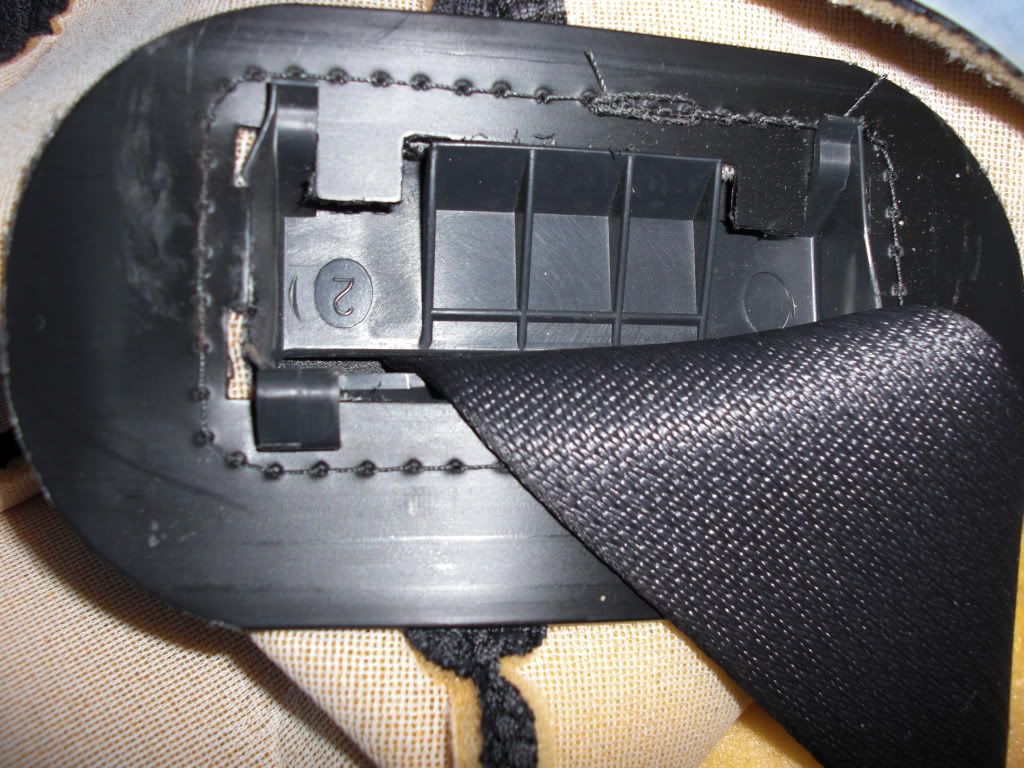
Image
Image

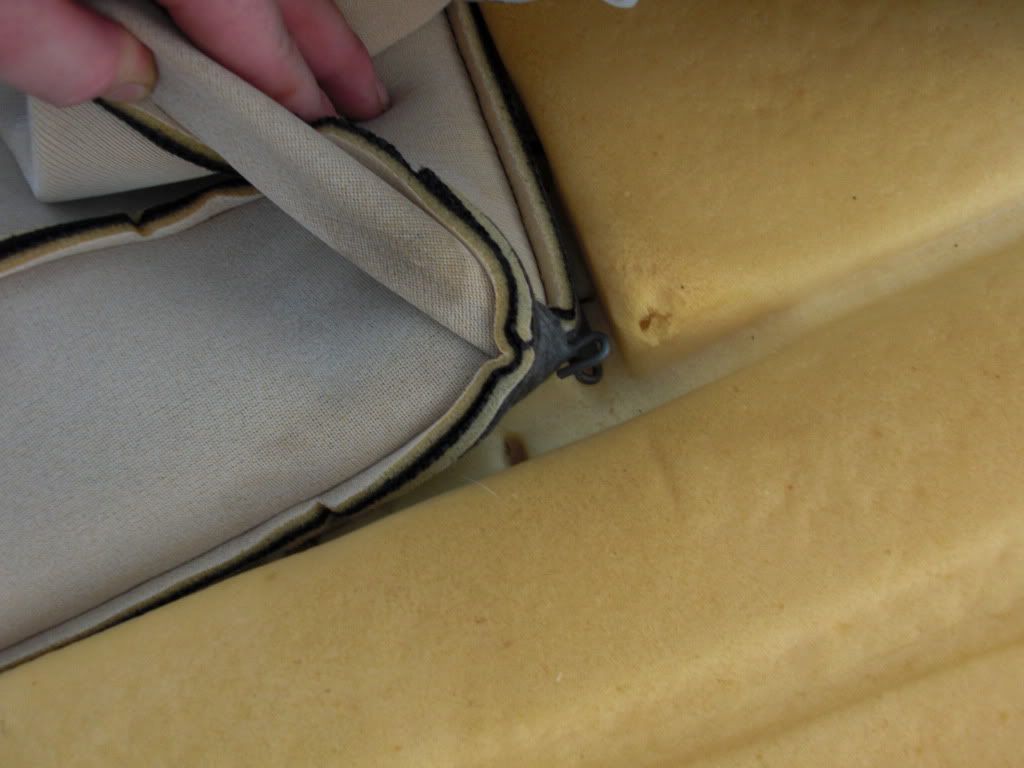
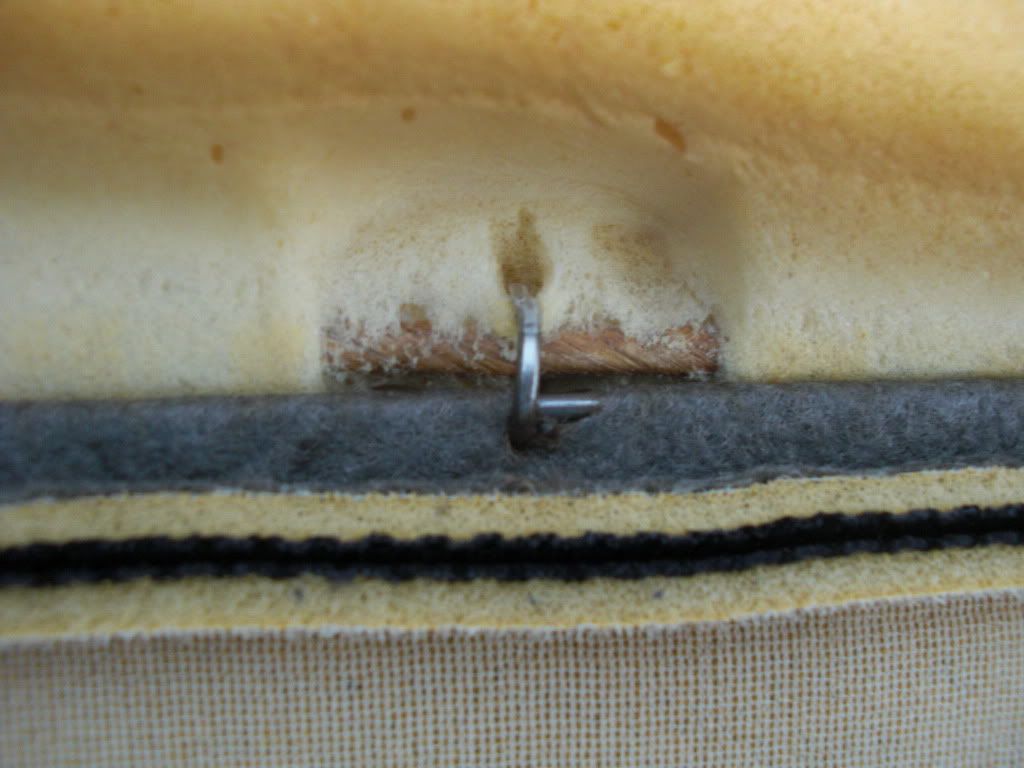
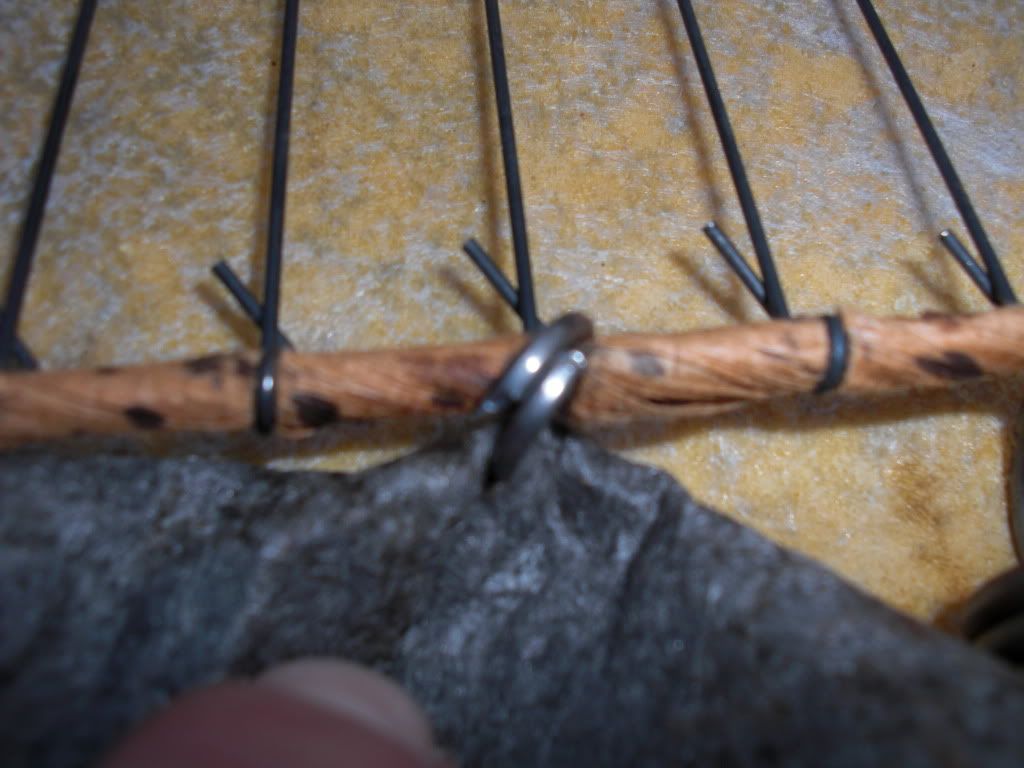
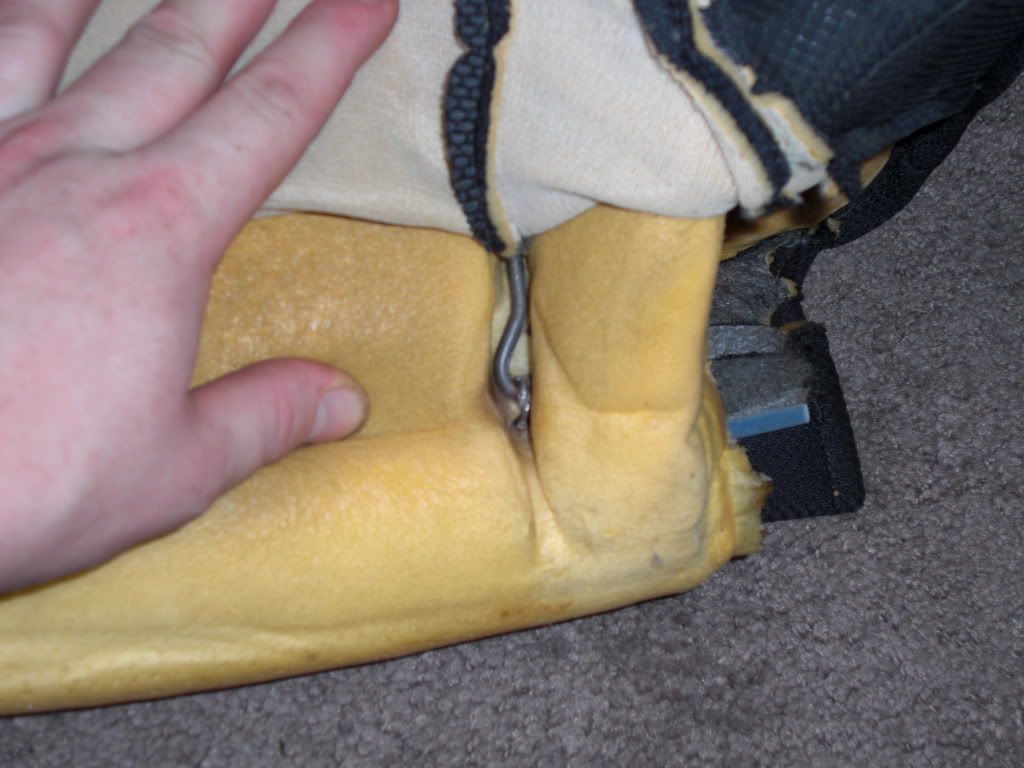
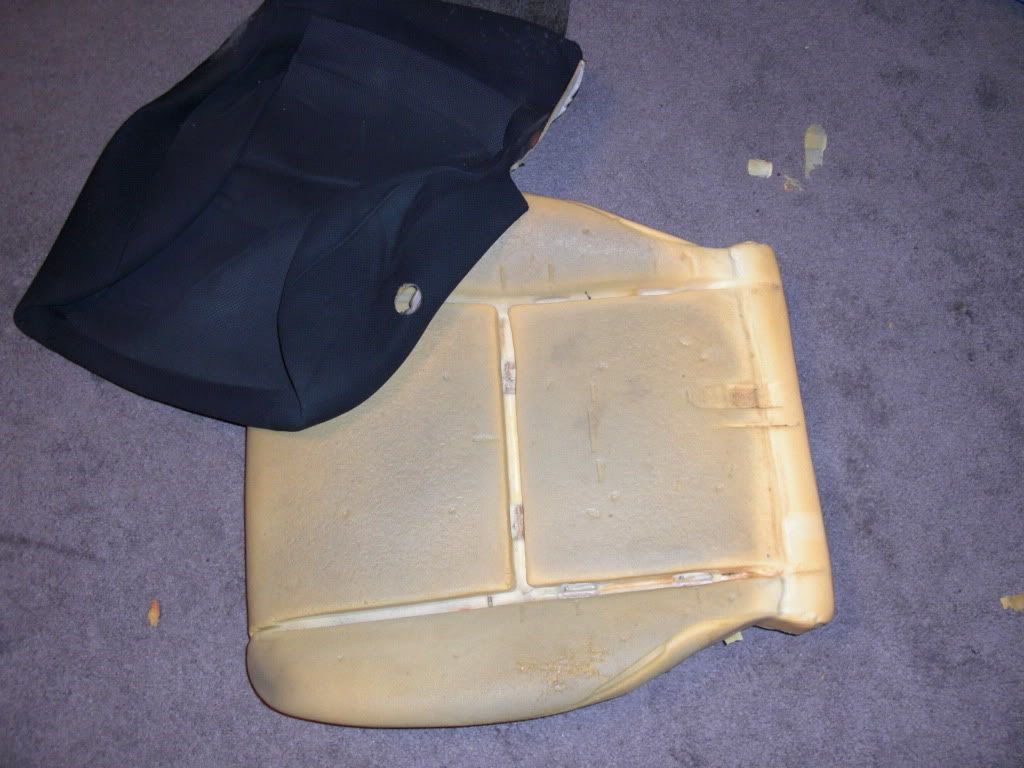
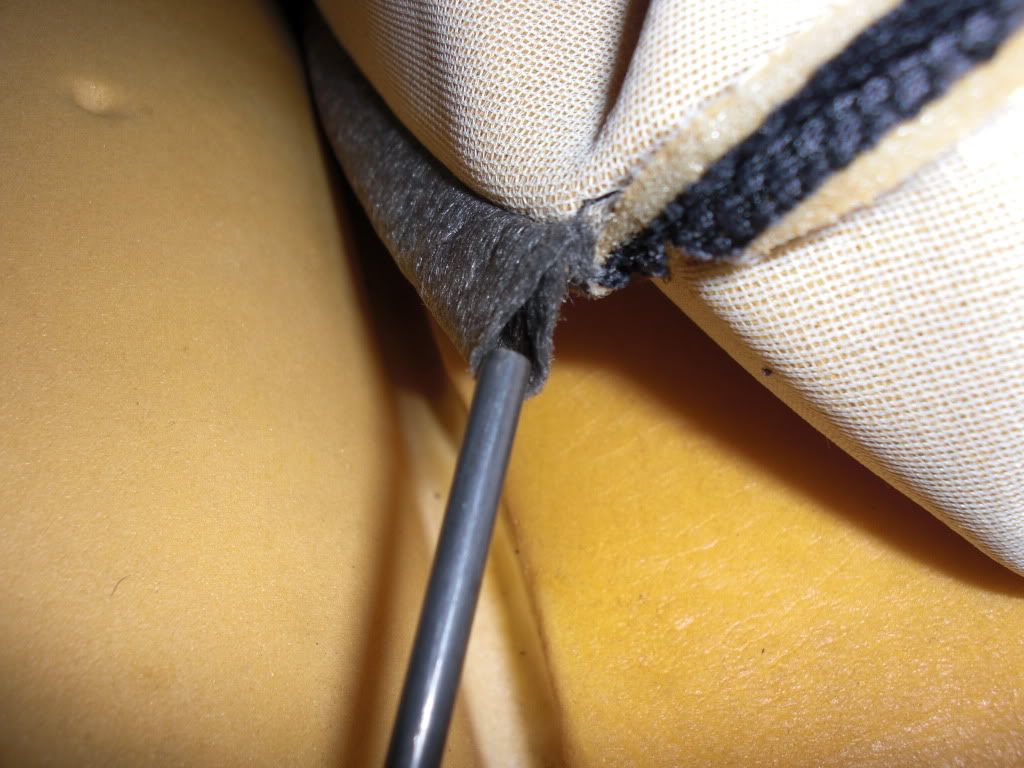
Now to remove the foam from the frame of the seat, you have these annoying little metal rings called hog rings pinched onto a metal bar inside the foam.
I pried them all apart and pulled them out, but in retrospect, I realize I could have just cut them with wire cutters and saved LOADS of time.
You have to trash them anyways and use all new ones. So here they are....and they're EVERYWHERE!!! :x
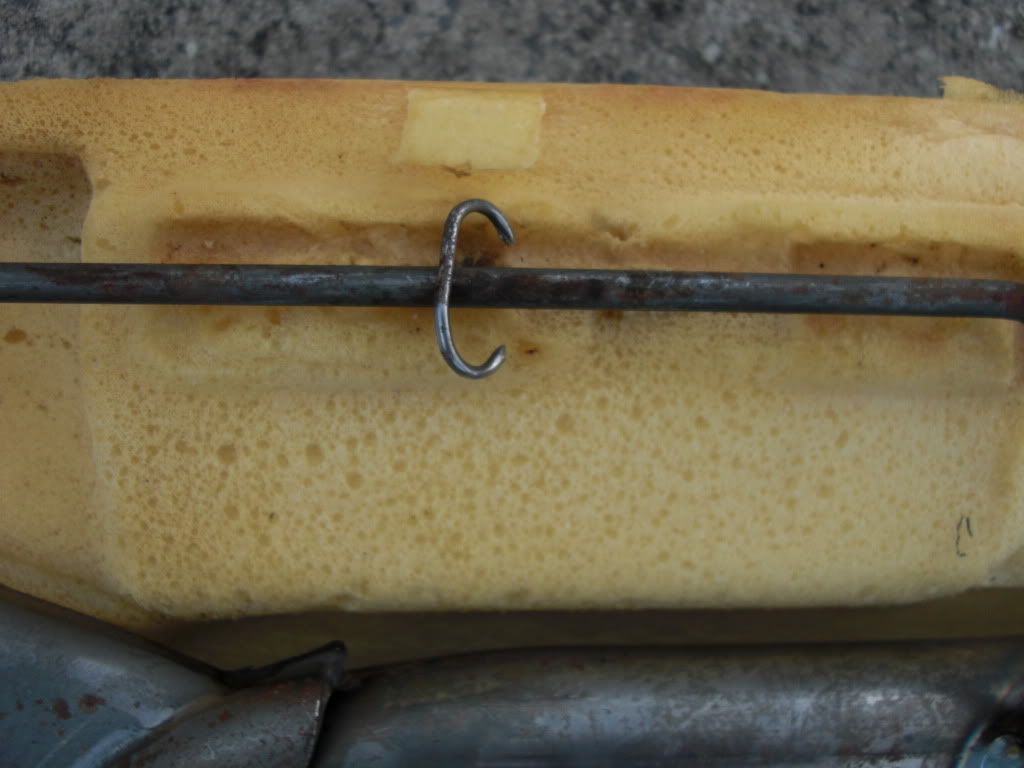
Image
Image
Image

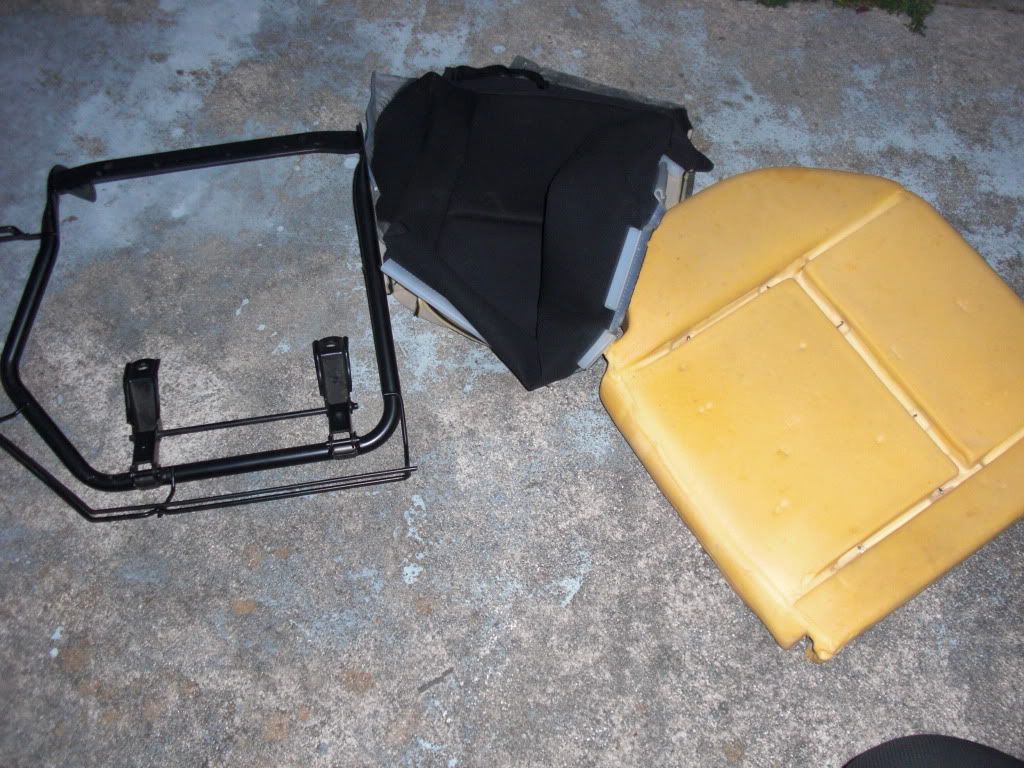
Now THAT piece is done

Image

Okay So the whole hog ring thing goes the same throughout the WHOLE process, so I'm not gonna post
anymore pics of those. The rest of this "How-To" will show you how to disassemble every seat down to that point

On to the bottom of the 60% seat:

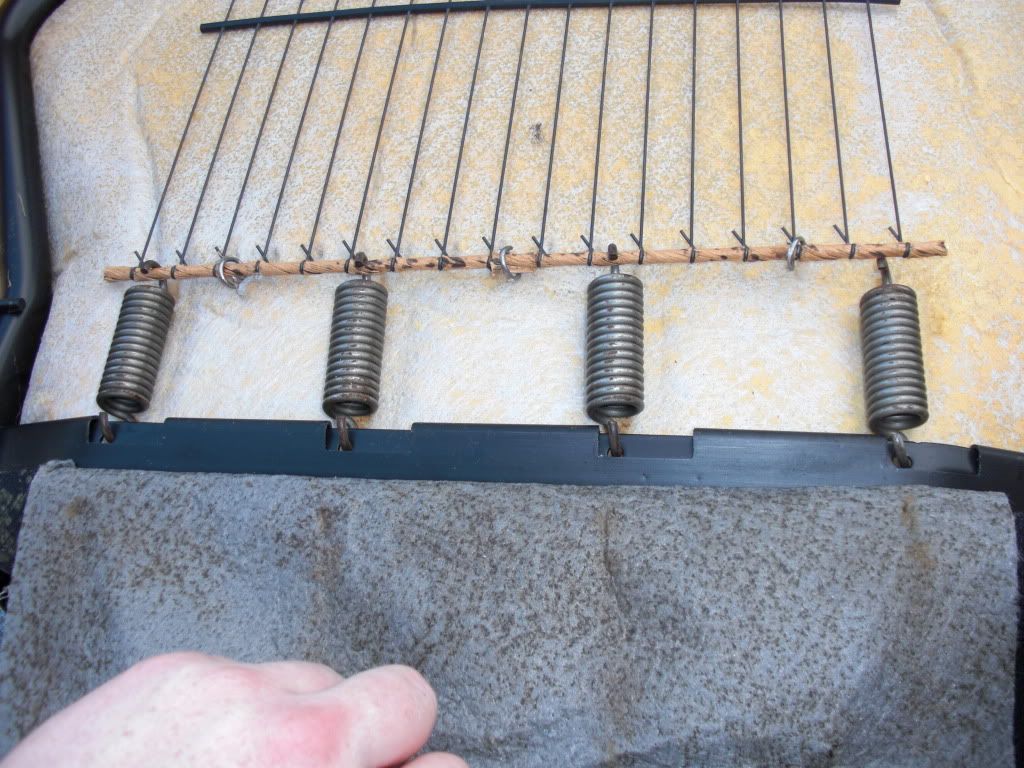
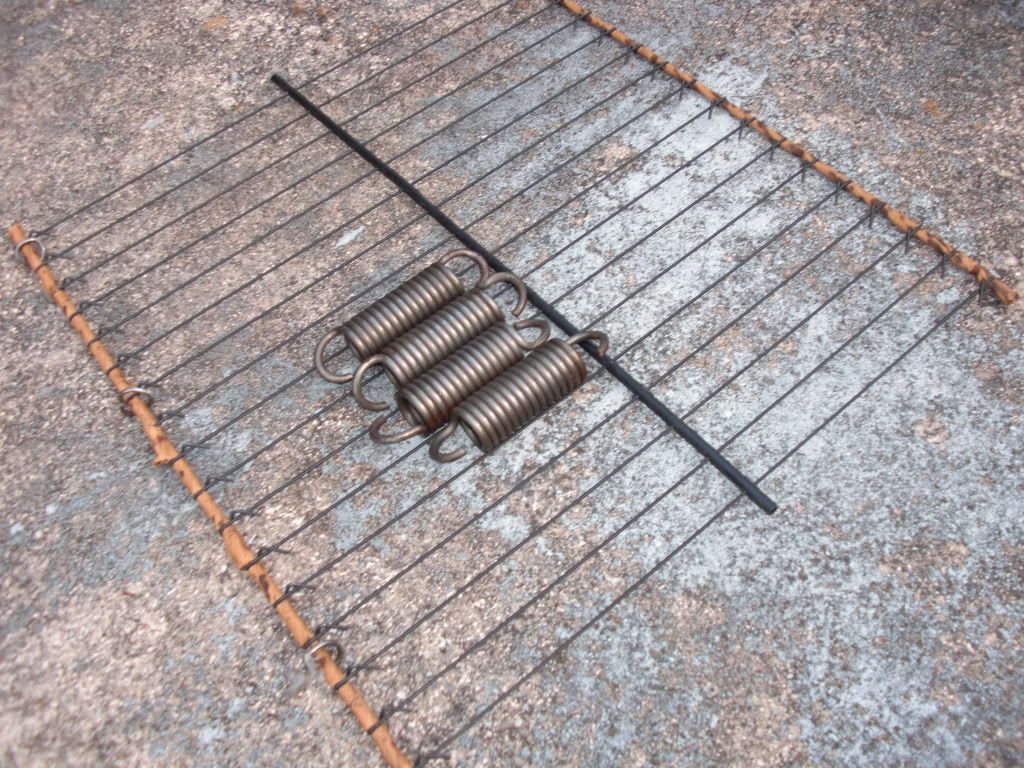
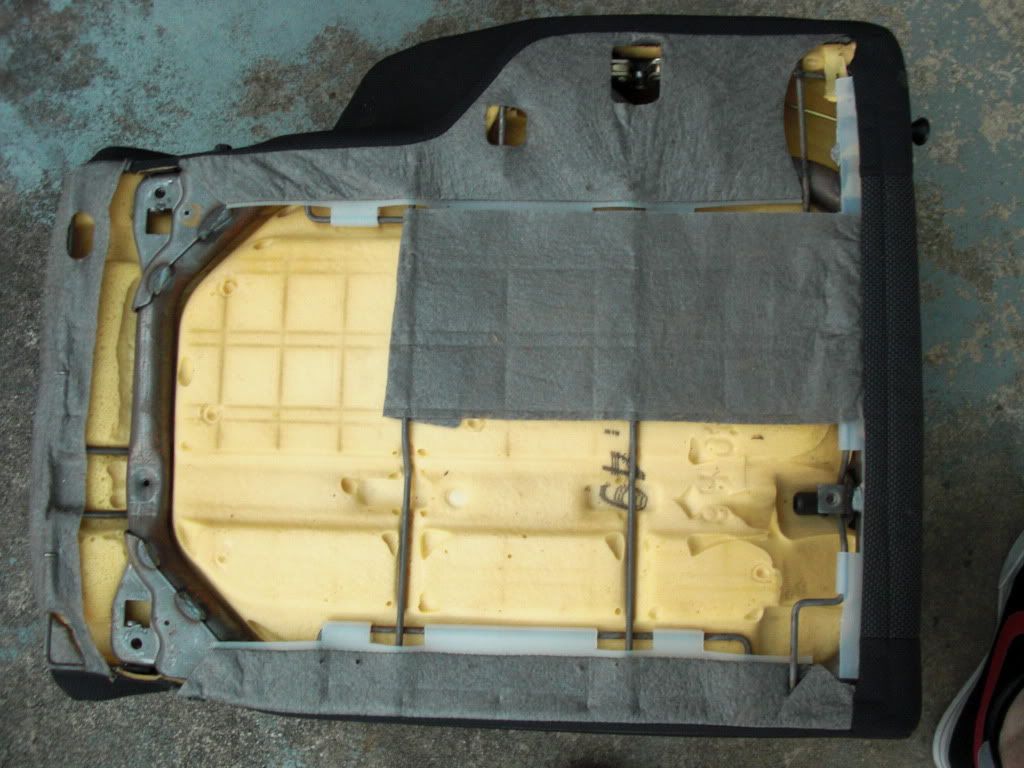
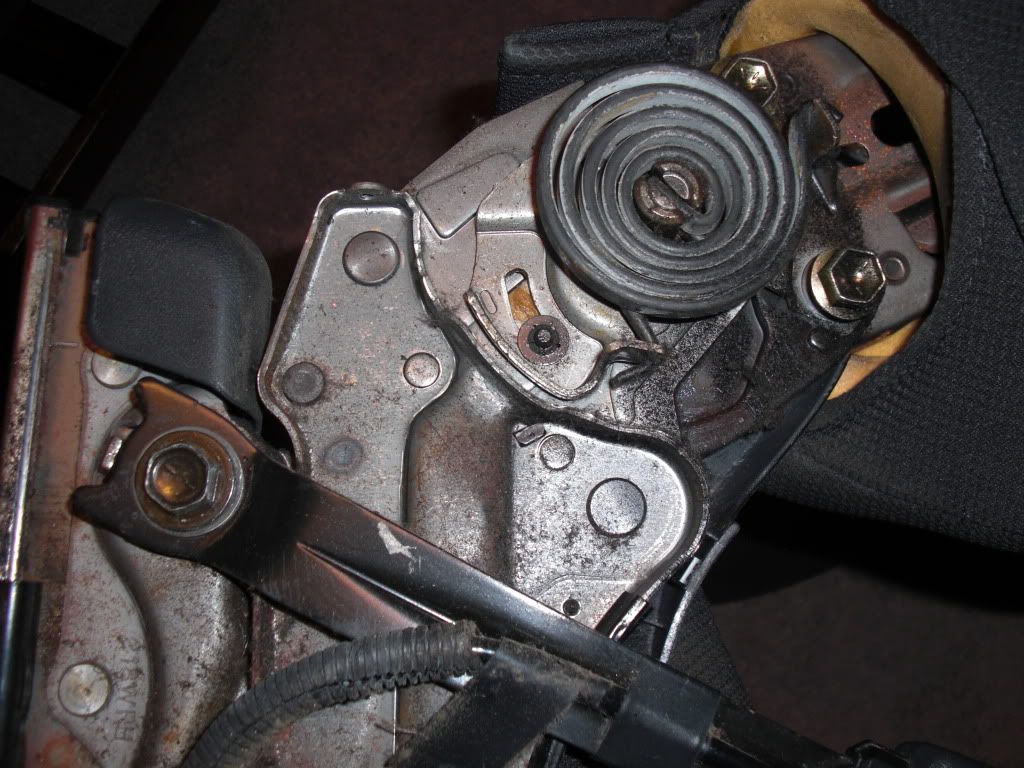
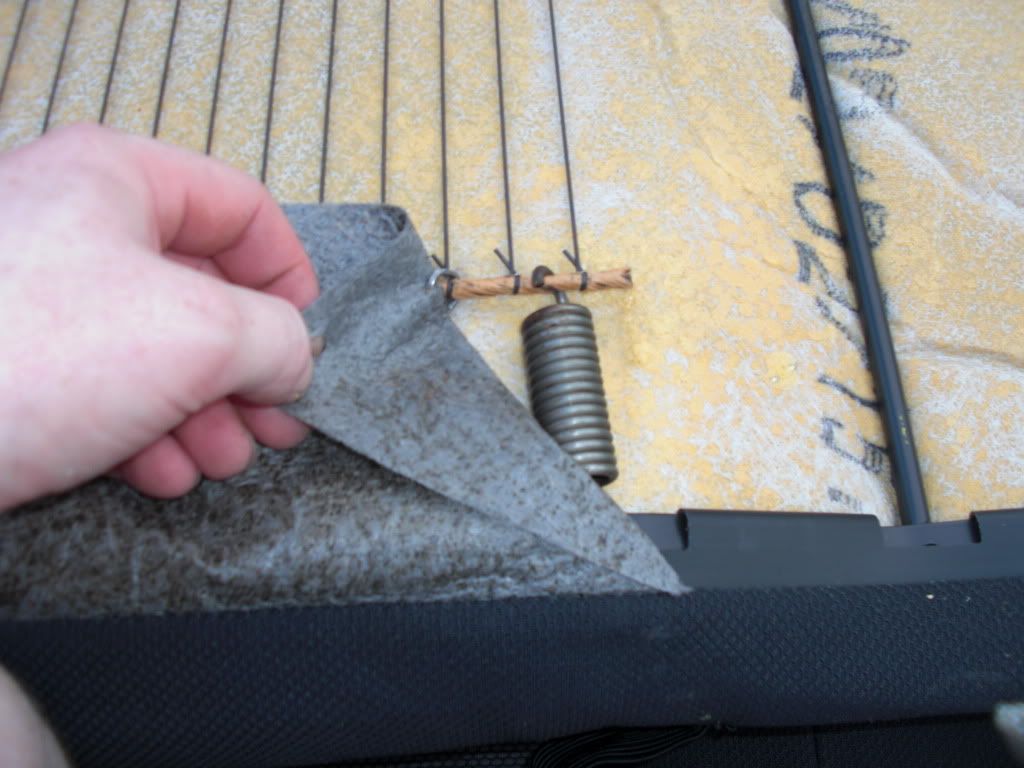
You 1st need to remove this spring thingy . One side of it is covered by fabric that is hog ringed to the spring itself.
Undo those and then undo the 4 springs in there. Set all that aside and don't lose anything.
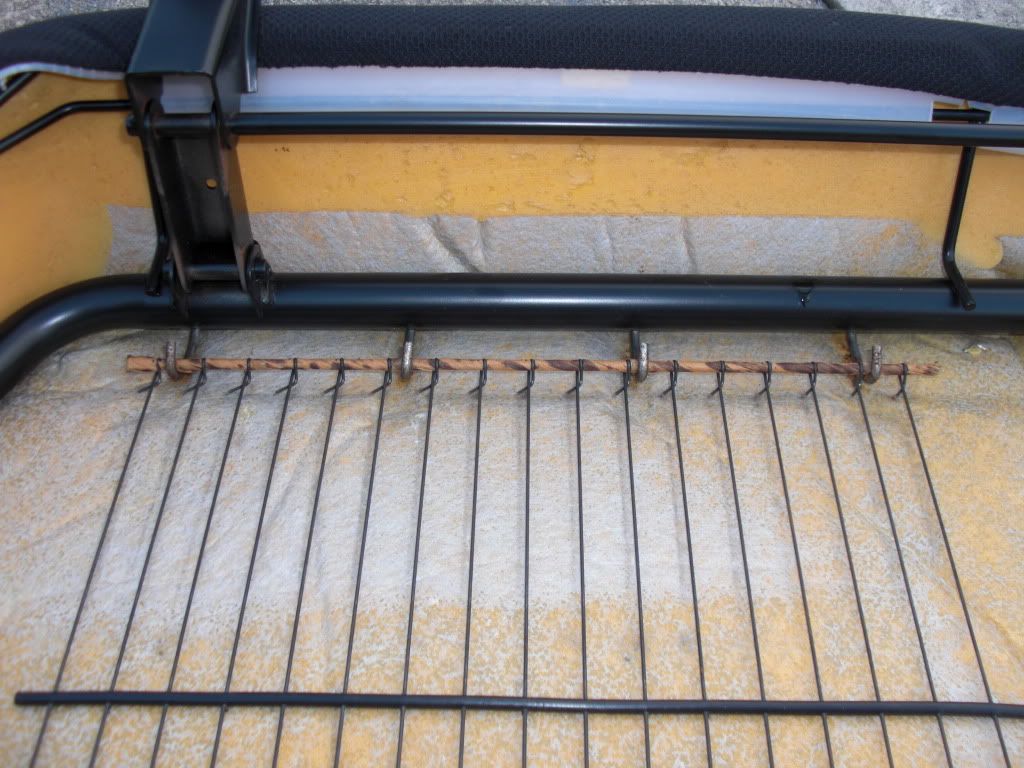
Image
Image
Image
Image
Image

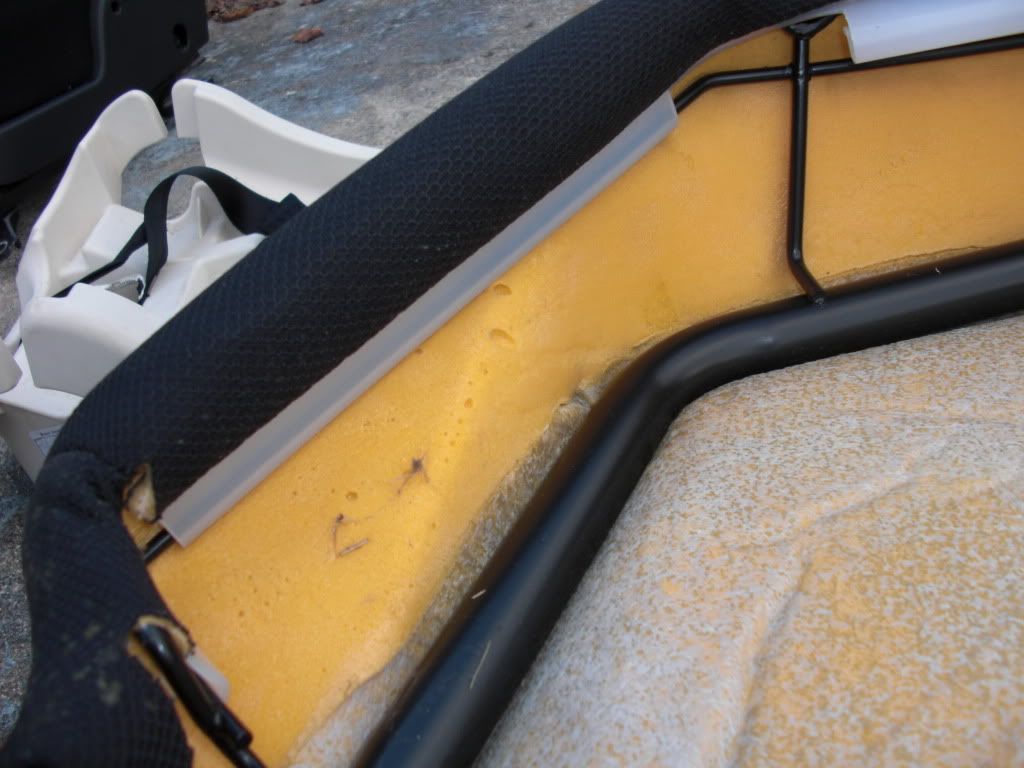
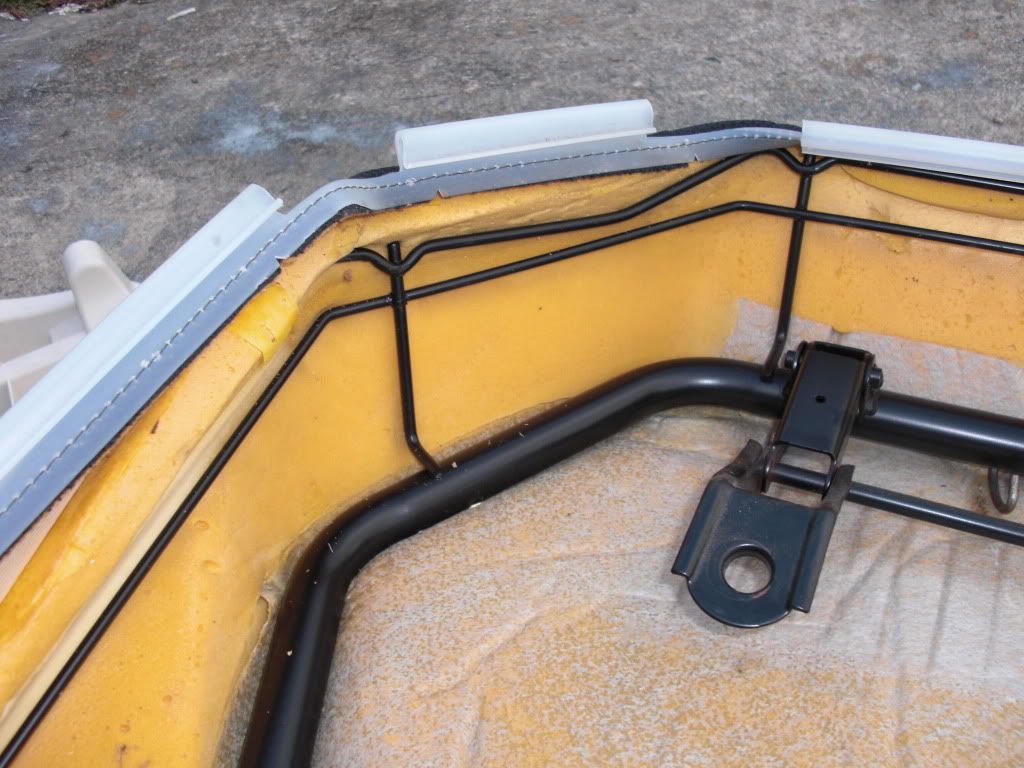
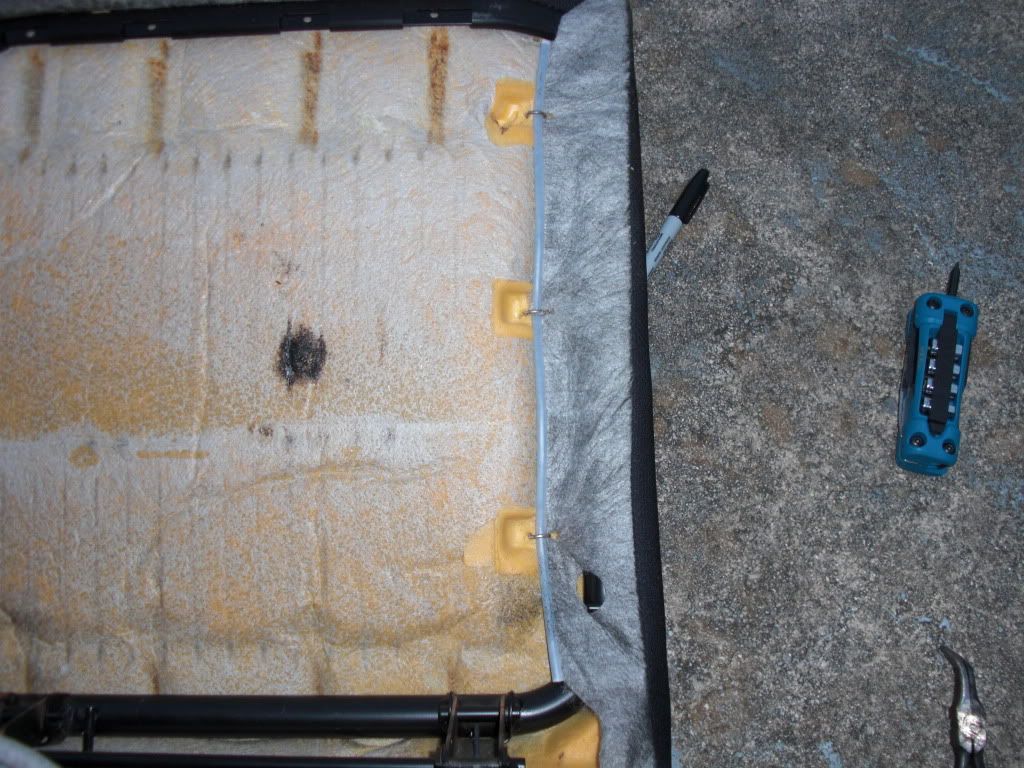
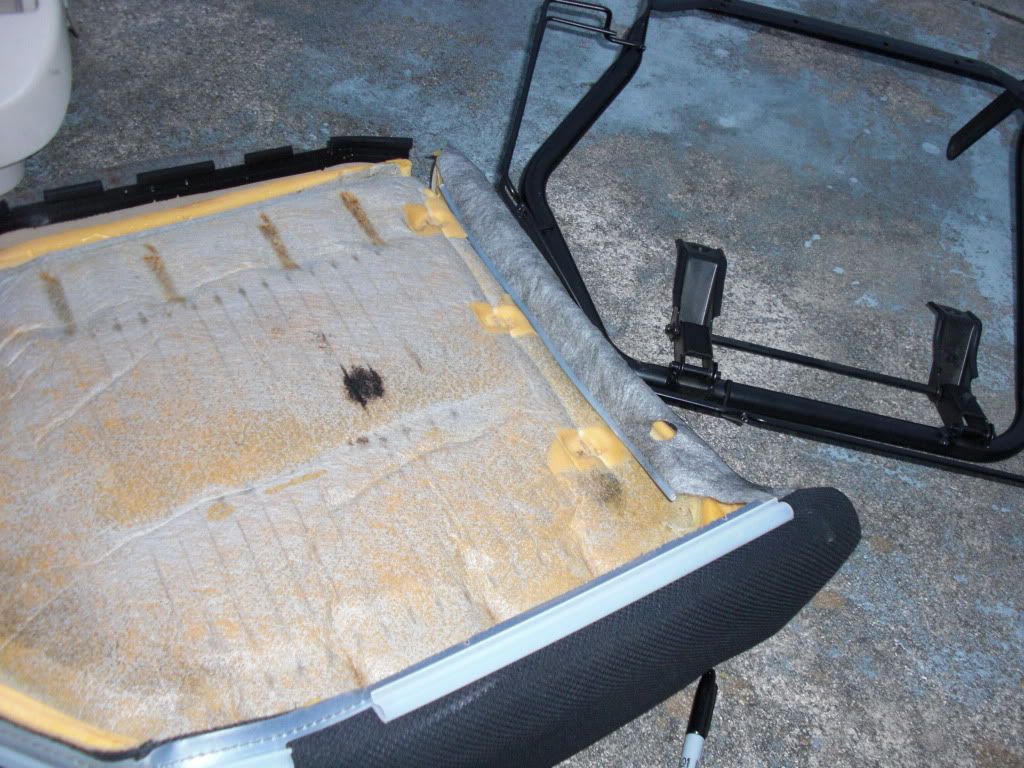
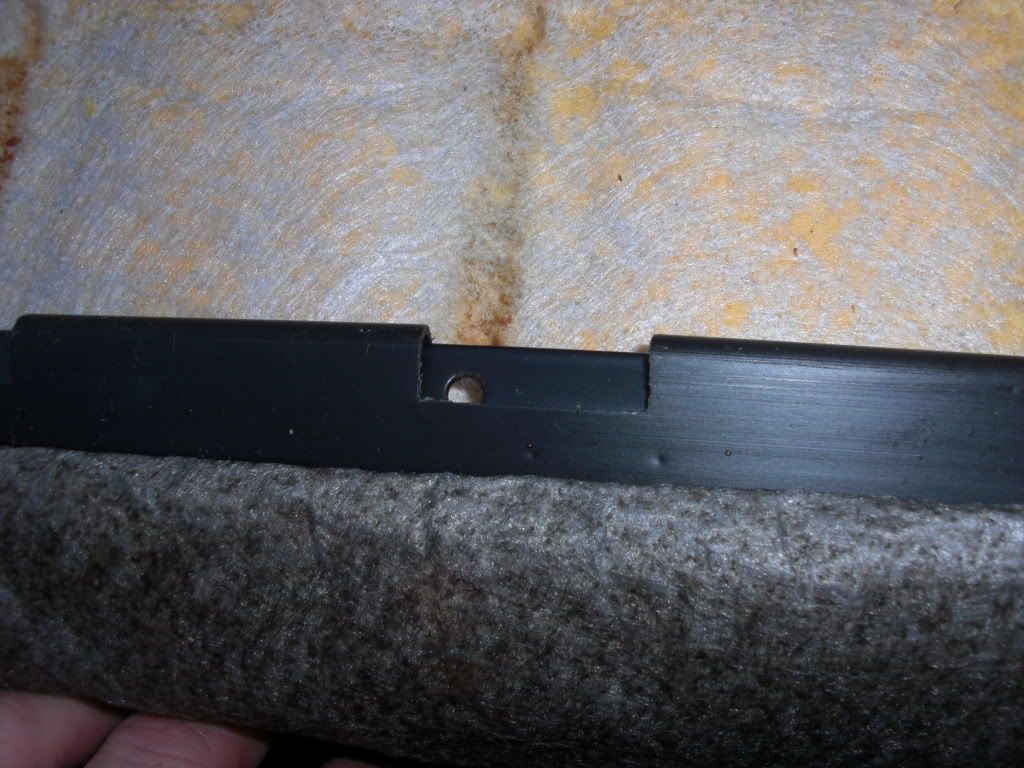
Now start to unclip the plastic edges of the fabric from the frame of the seat.
Do this until you can pull the cover around the foam and begin to undo those blasted hog rings :evil:
Image
Image
Image
Image

Once all your hog rings are removed, you're done with the 60% seat completely :D
NOW let's move on to the 40% seat

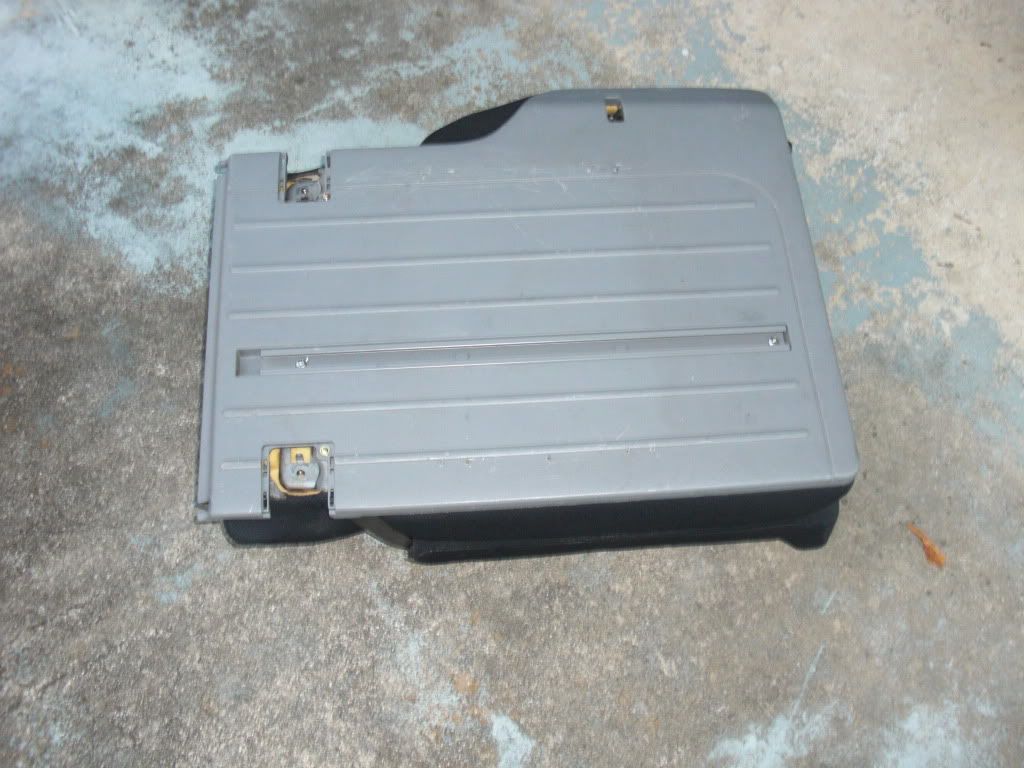
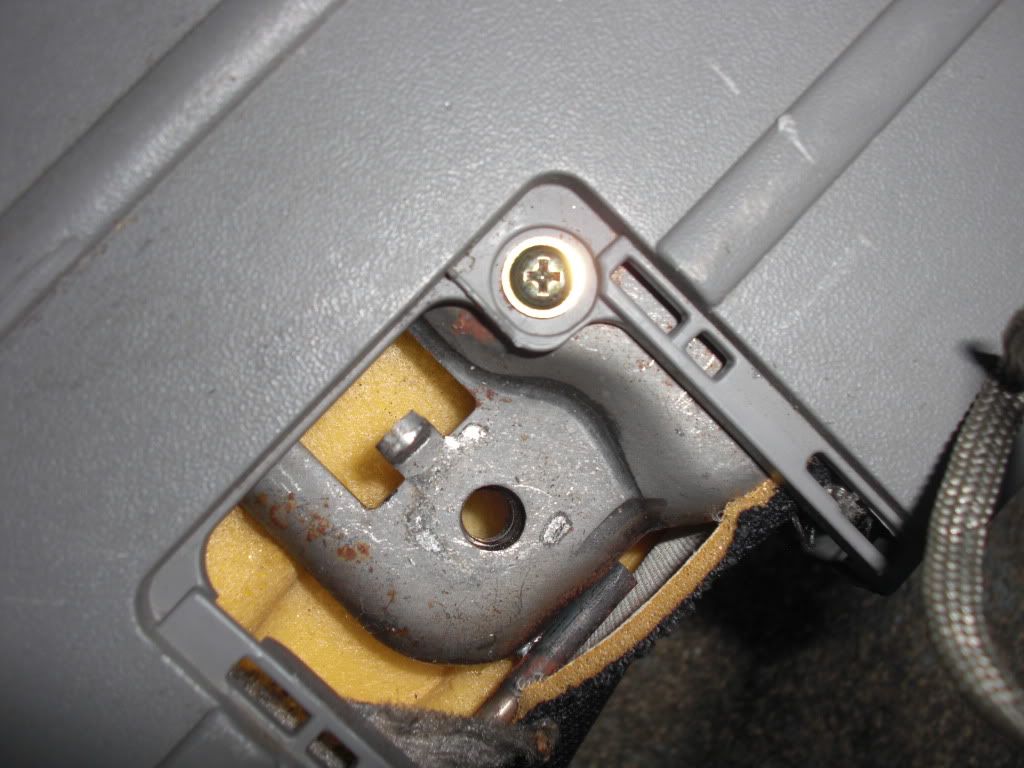
Same process for removal of the plastic backing. Two hex head screws inside the tracks, two gold screws, then SLIDE it up
Image
Image
Image
Image
Image

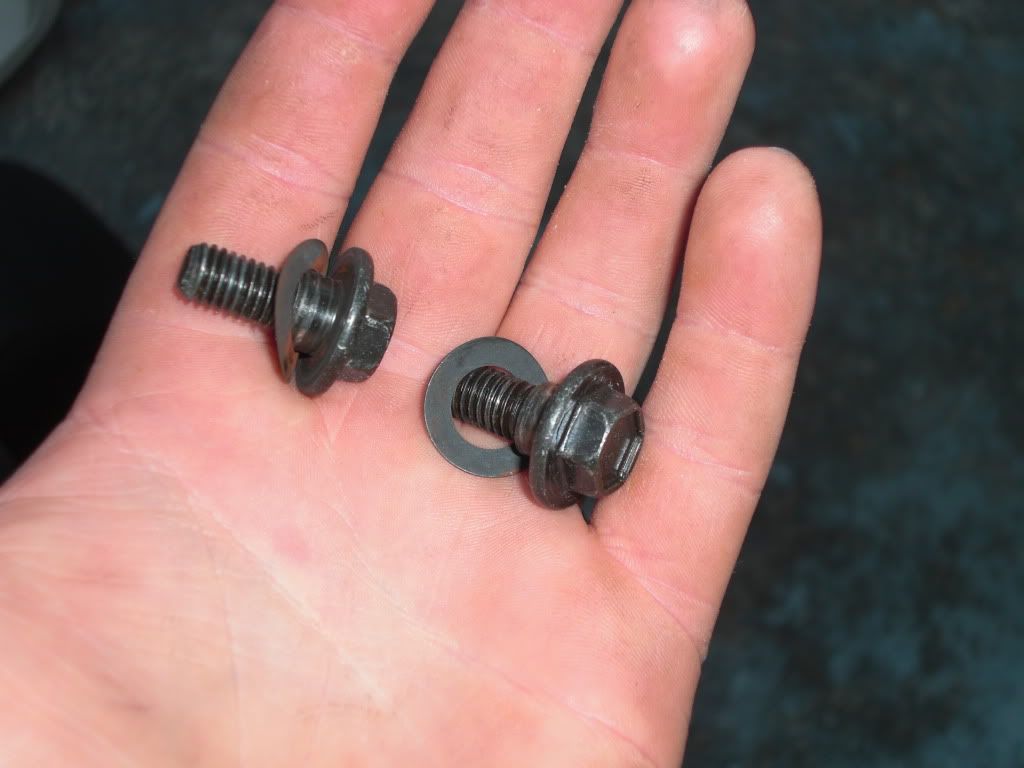
Then I went ahead and separated the top from the bottom of the seat. Two 12mm nuts hold this thing on. One on each hinge

Image
Image

Then pull all these out....same as before

Image

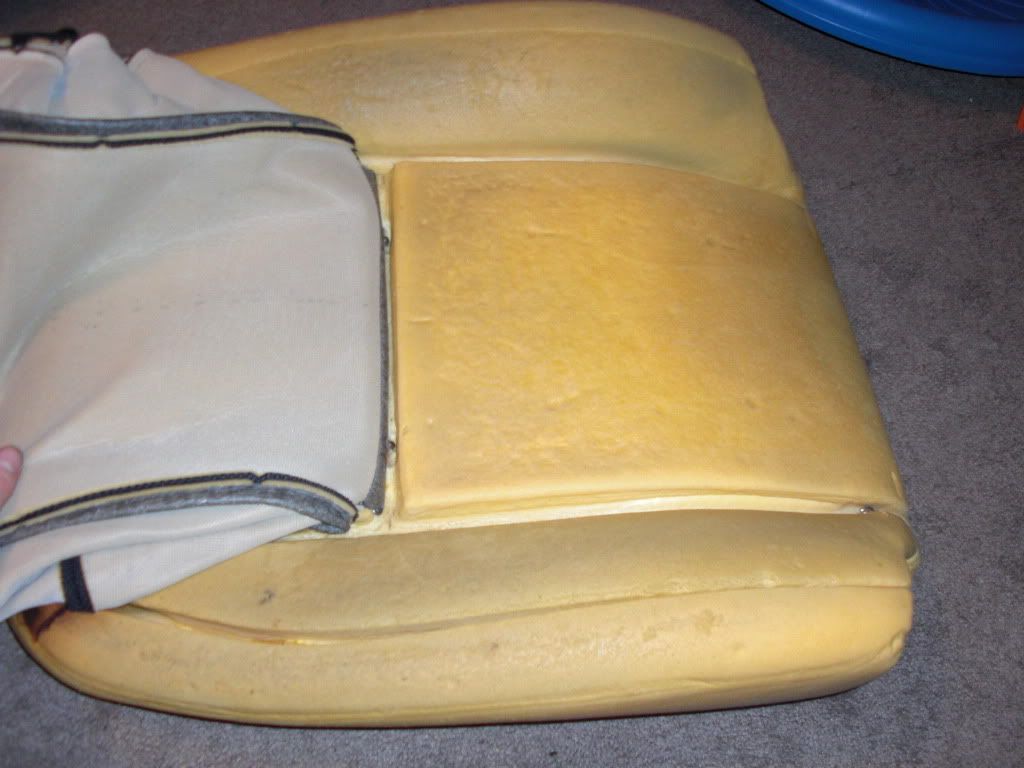
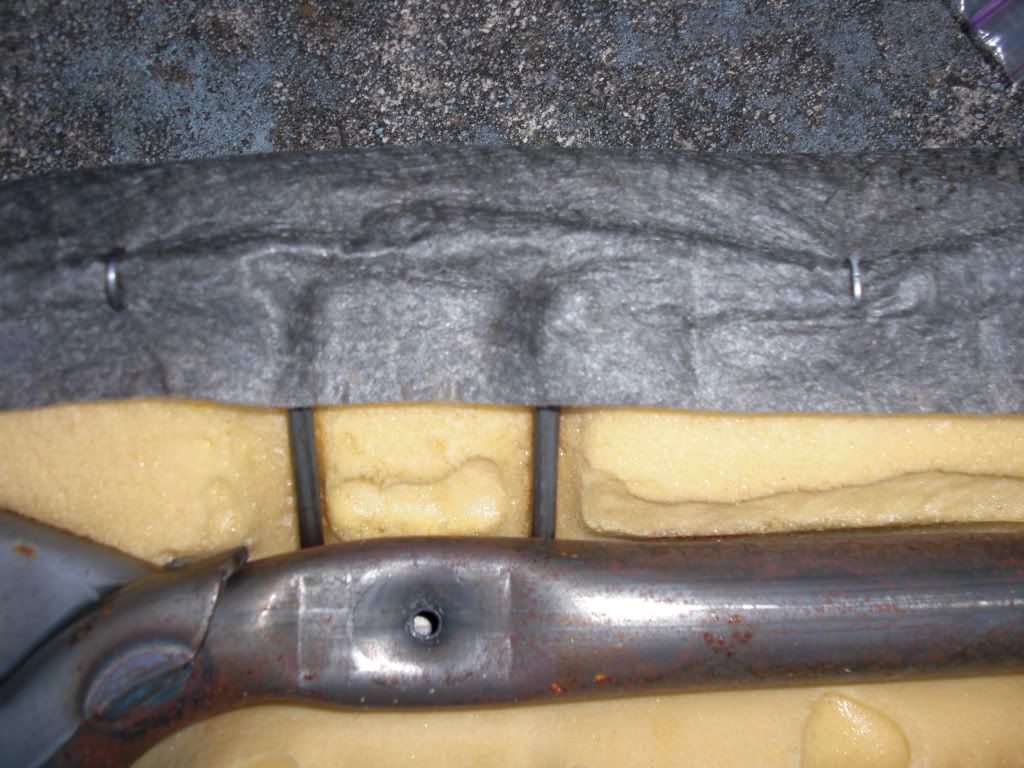
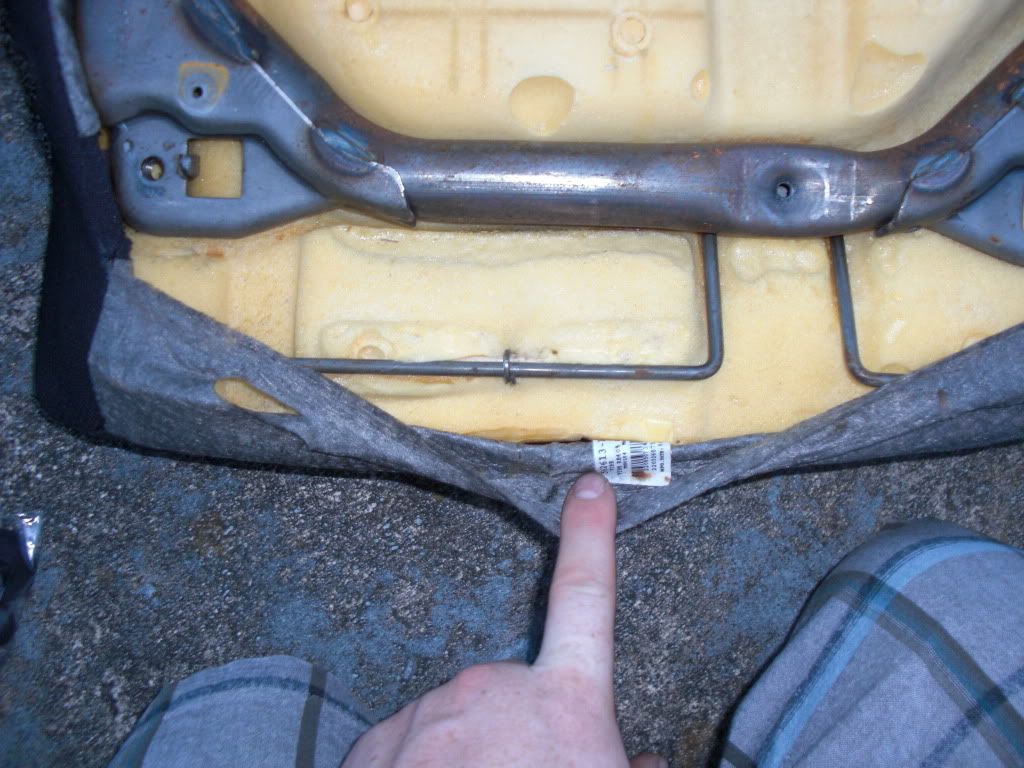
Start undoing more hog rings until you can remove the frame from inside the foam, then remove MORE hog rings til the fabric is free
Image
Image
Image
Image

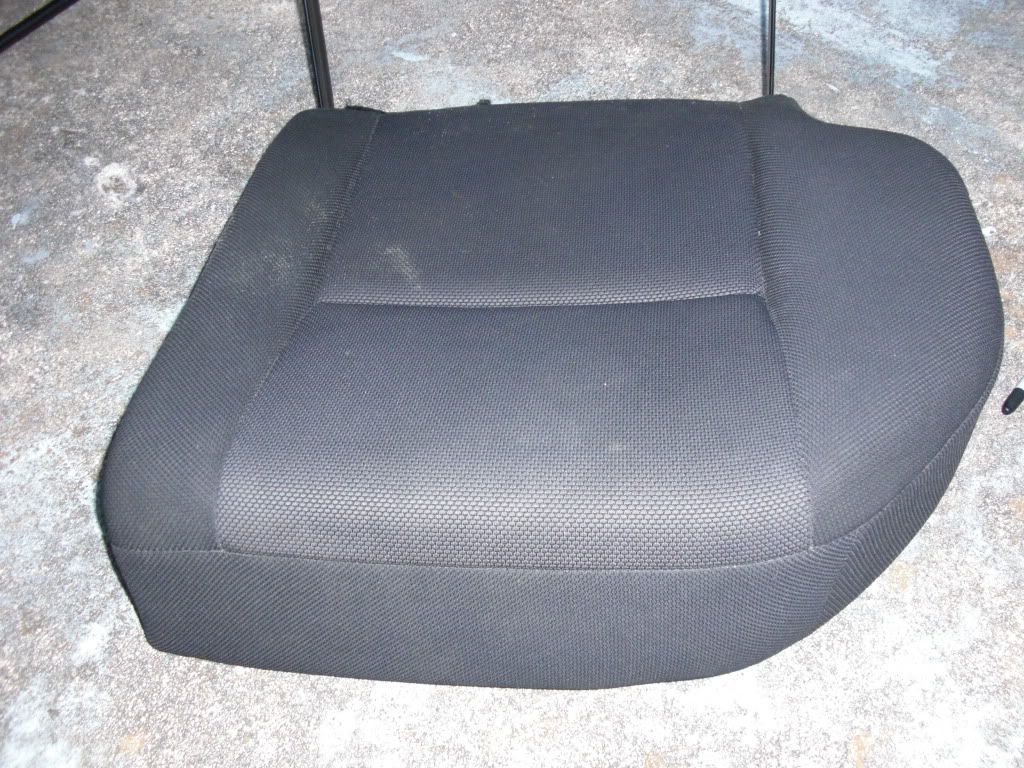
Now on to the bottom half of the 40% seat. Flip it over and you have the same spring thingy. Removal is the same as the 60% seat
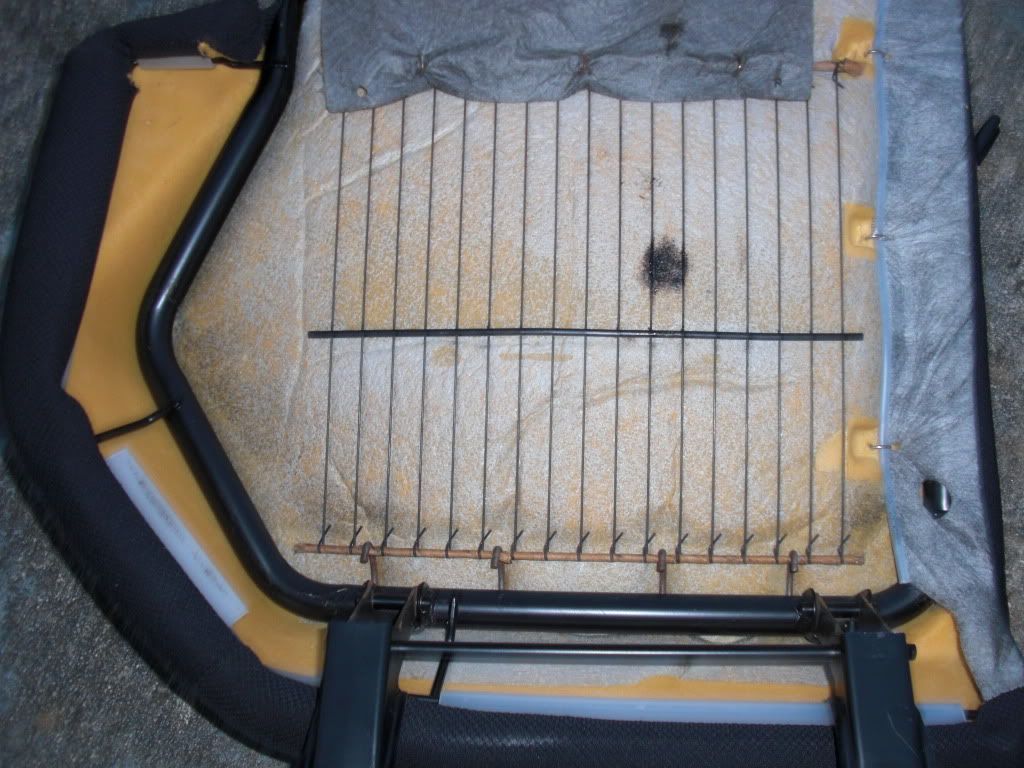
Image
Image
Image

Then start undoing your fabric carefully making sure you undo all the hog rings and you're done in NO time :roll: (took me forever b/c I was all scared :lol: )
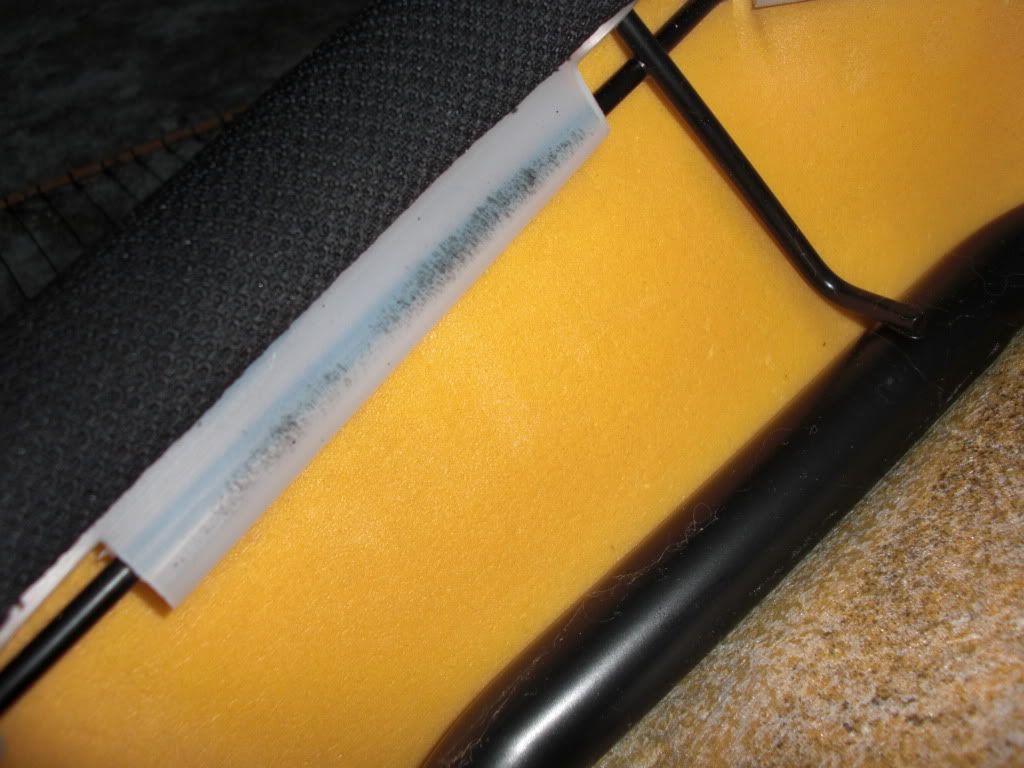
Image
Image
Image

THE REAR SEATS ARE DONE!!!!

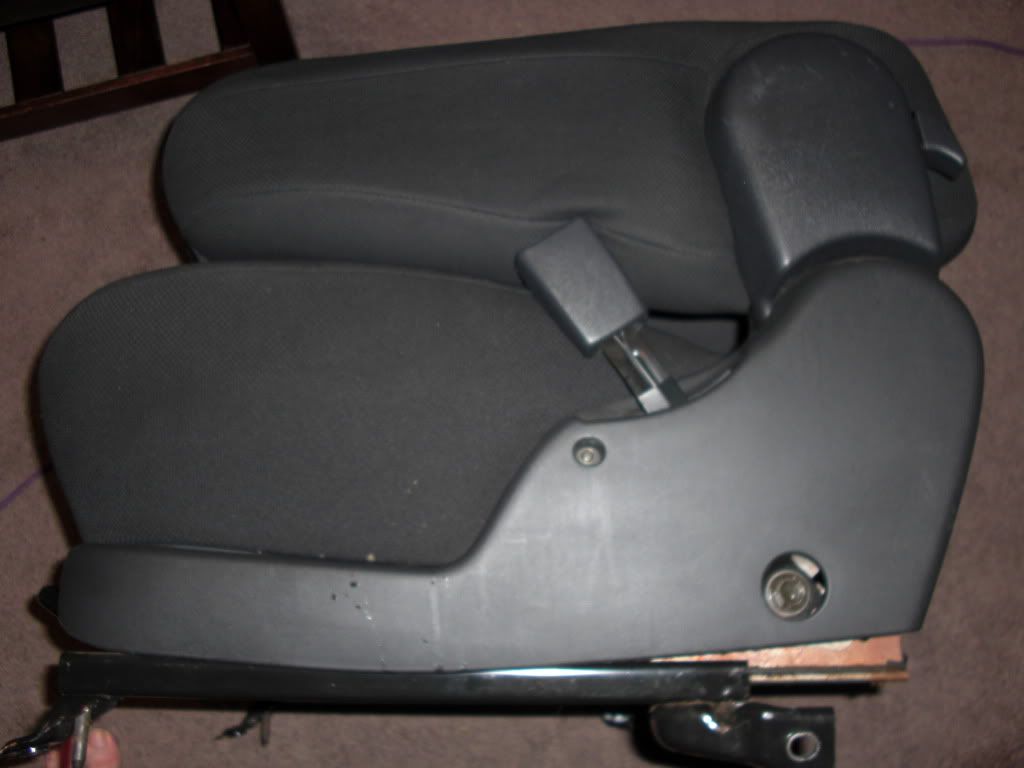
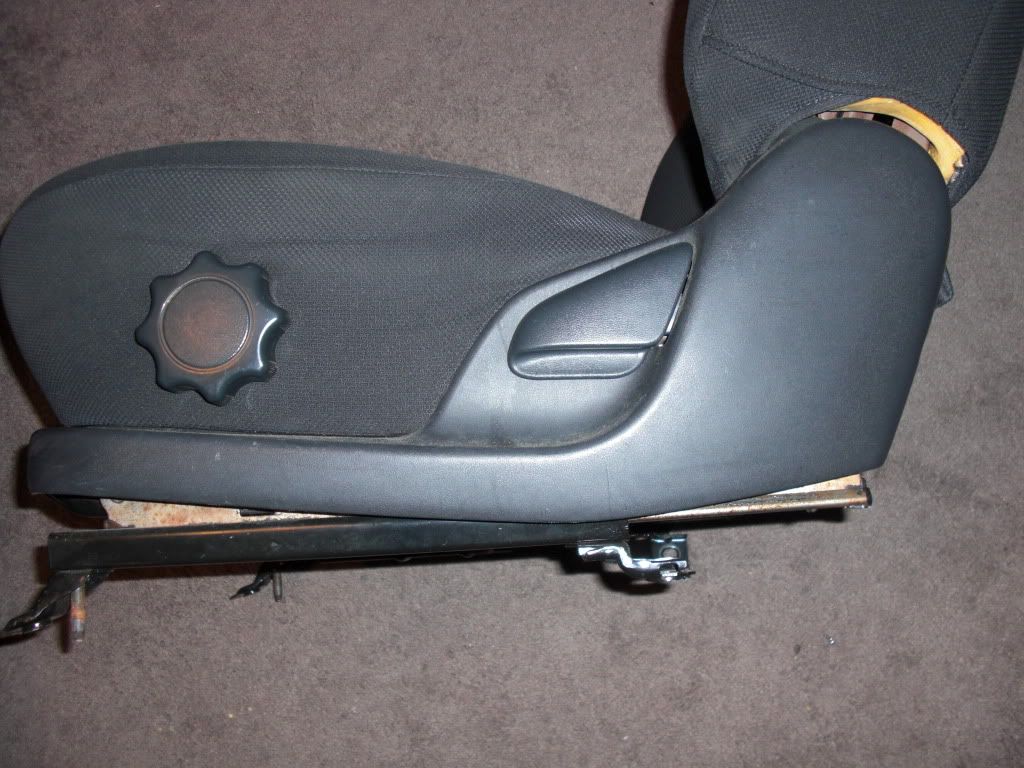
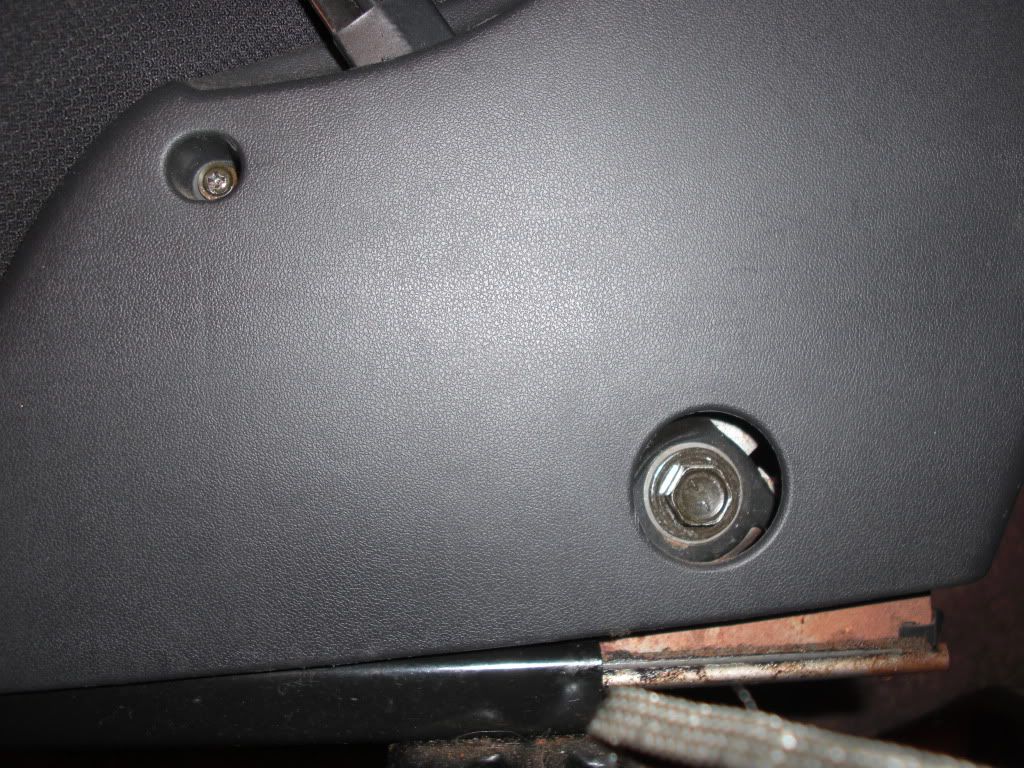
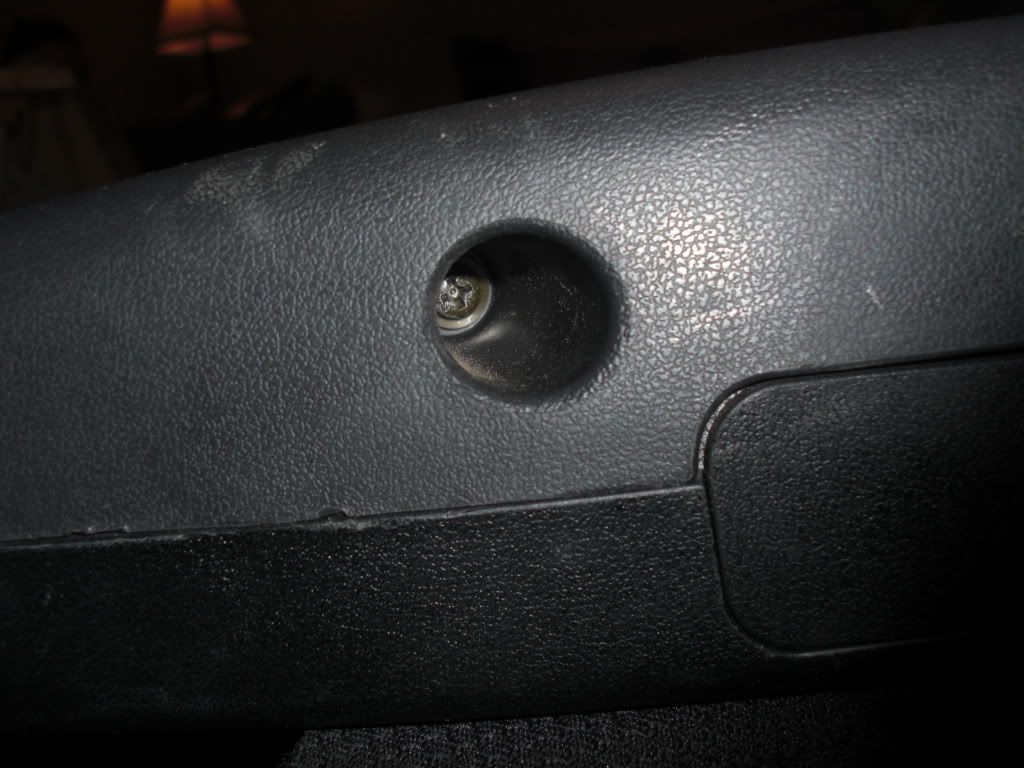
Okay, on to the front seats, we'll do the driver side first since it was the easiest. Start by removing the plastic trim all around it.
There are two screws on each side and then the plastic is kinda pieced together w/ no actual clip. The seatbelt actually did (with help) fit thru the whole in the trim
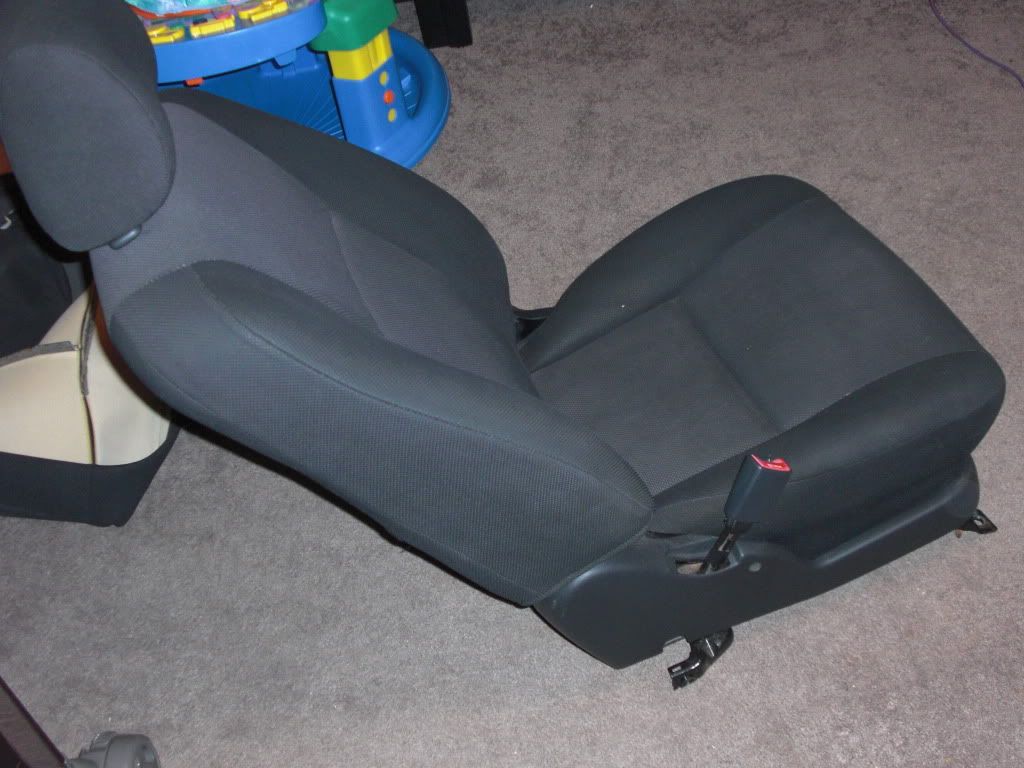
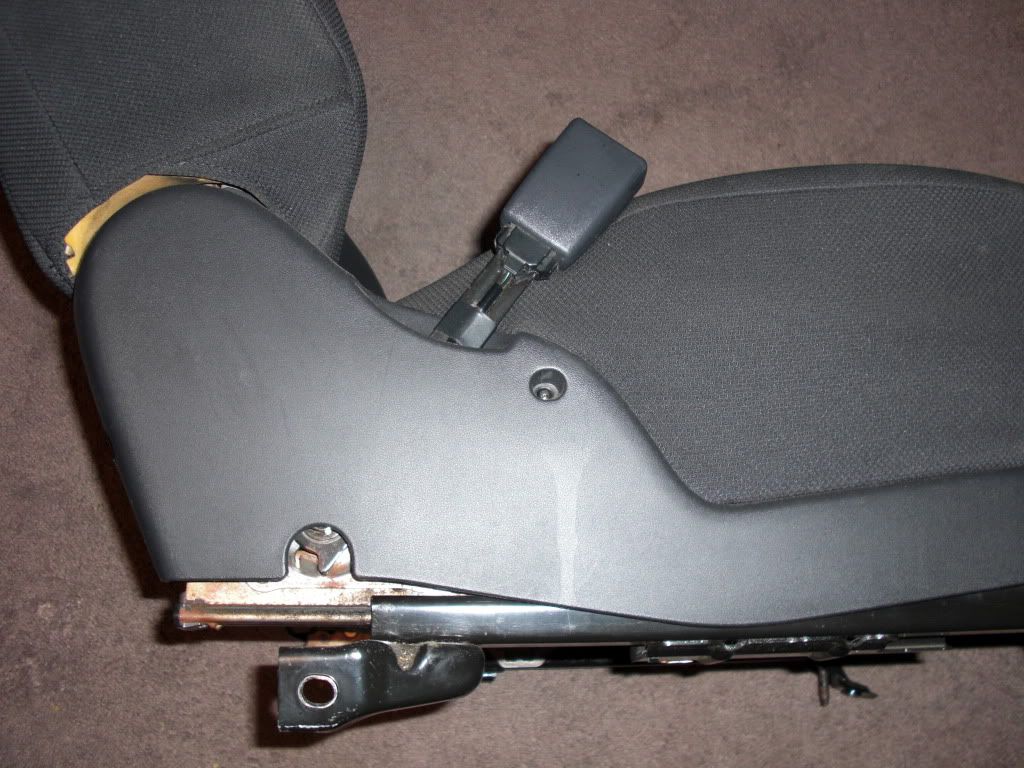
Image
Image
Image
Image

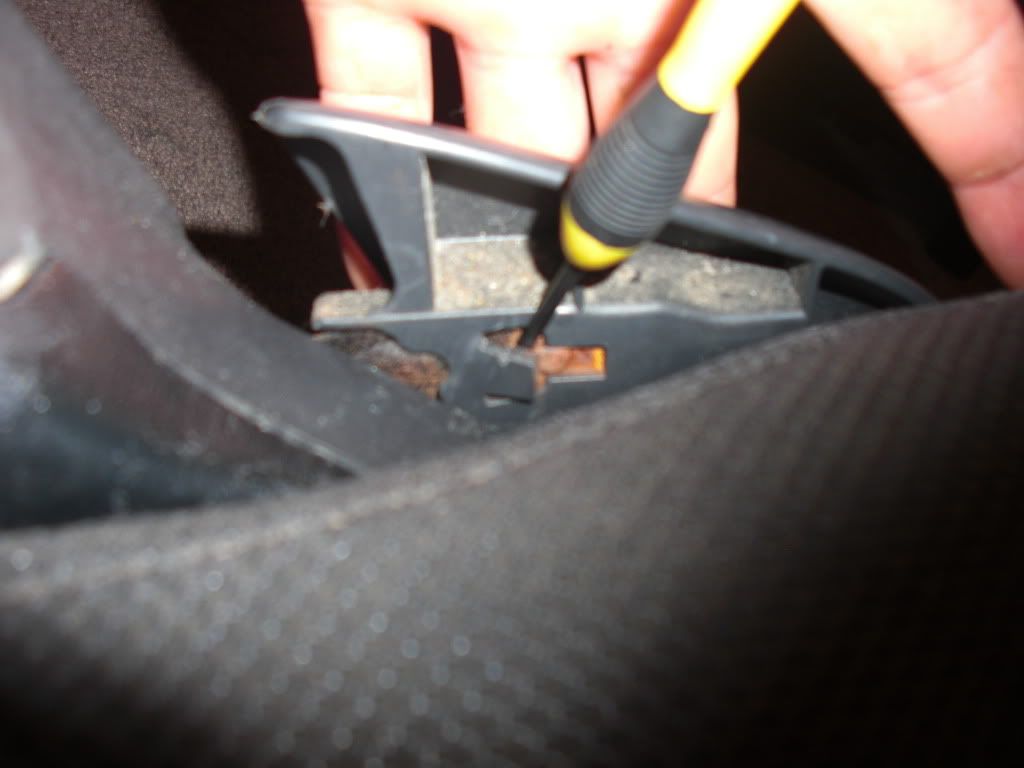
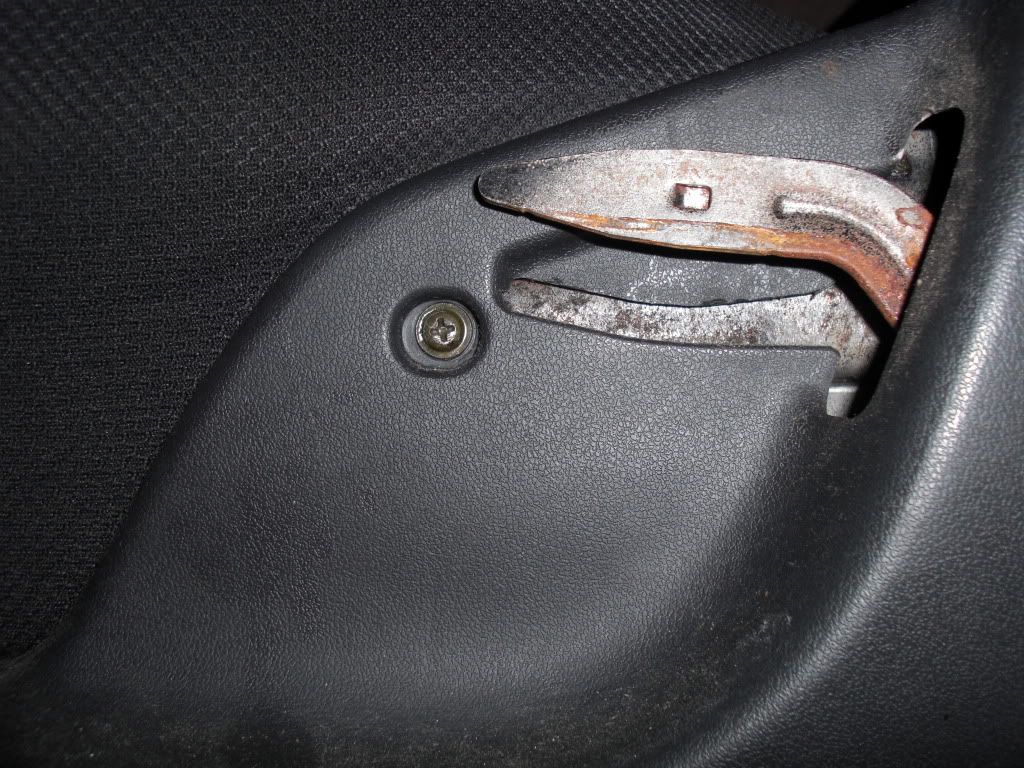
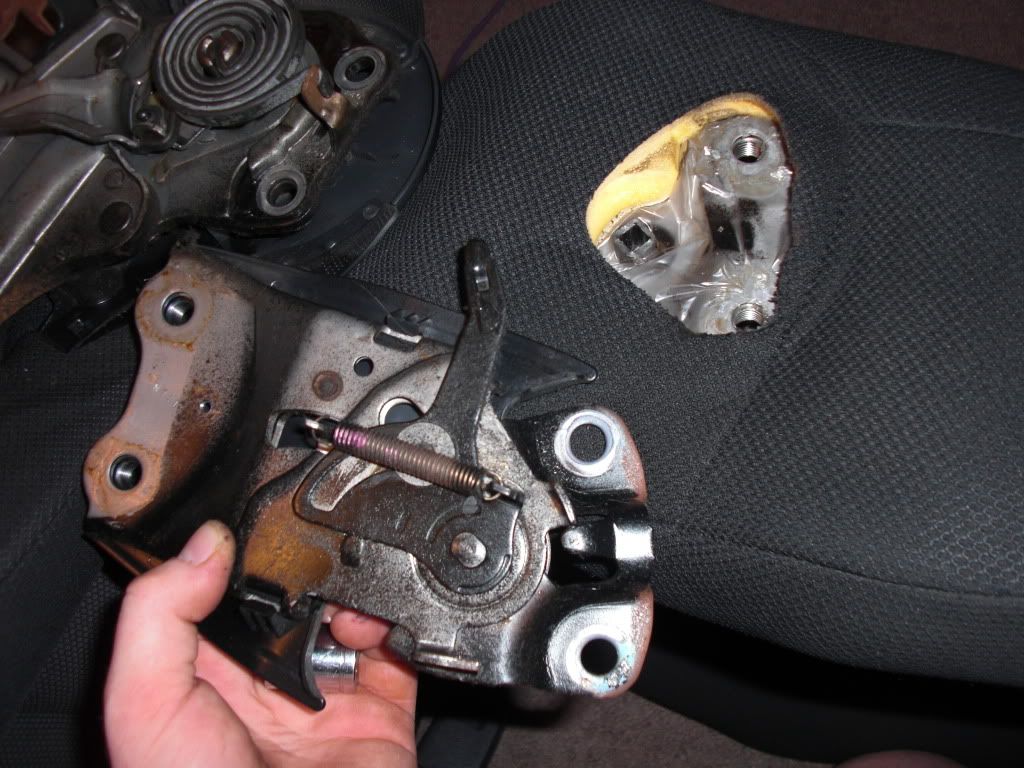
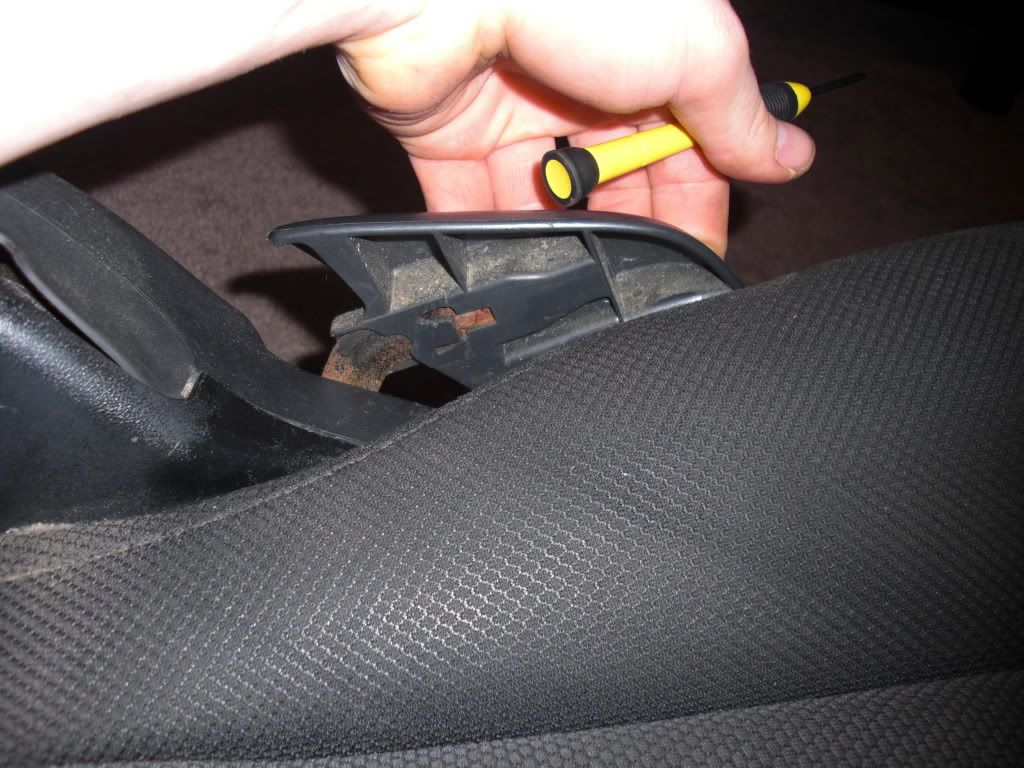
The lever you pull to recline the seat is pretty easy. Just pull it up and you can see in my photo where I pried. This is where you use the flat head
Image
Image
Image
Image
Image

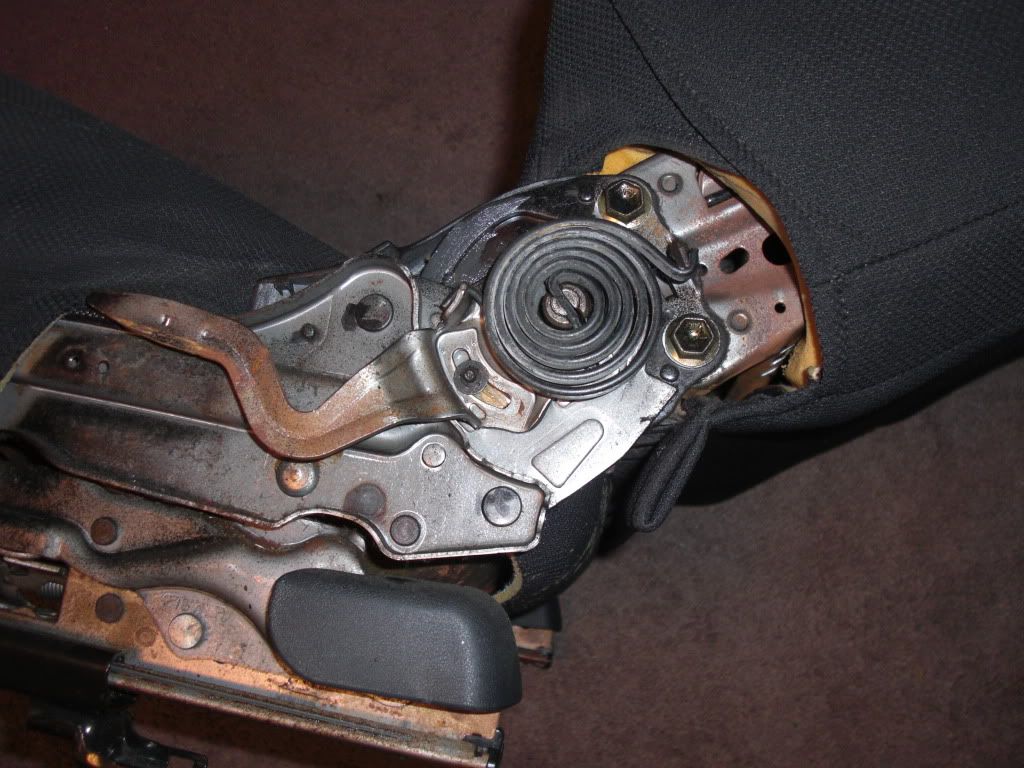
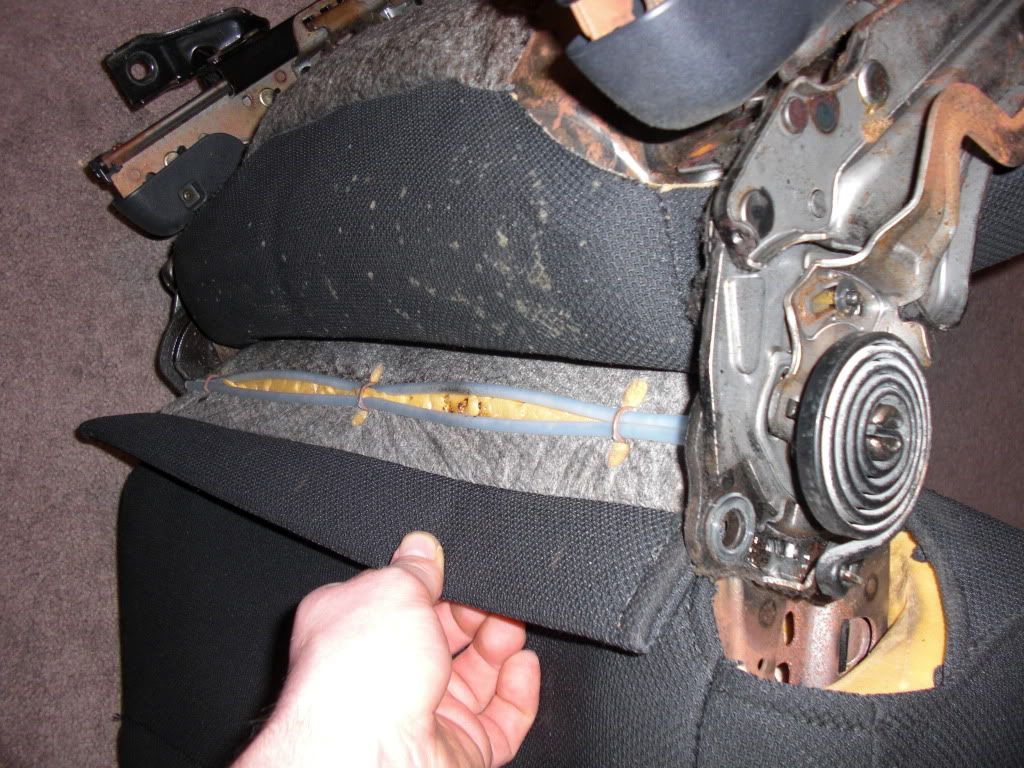
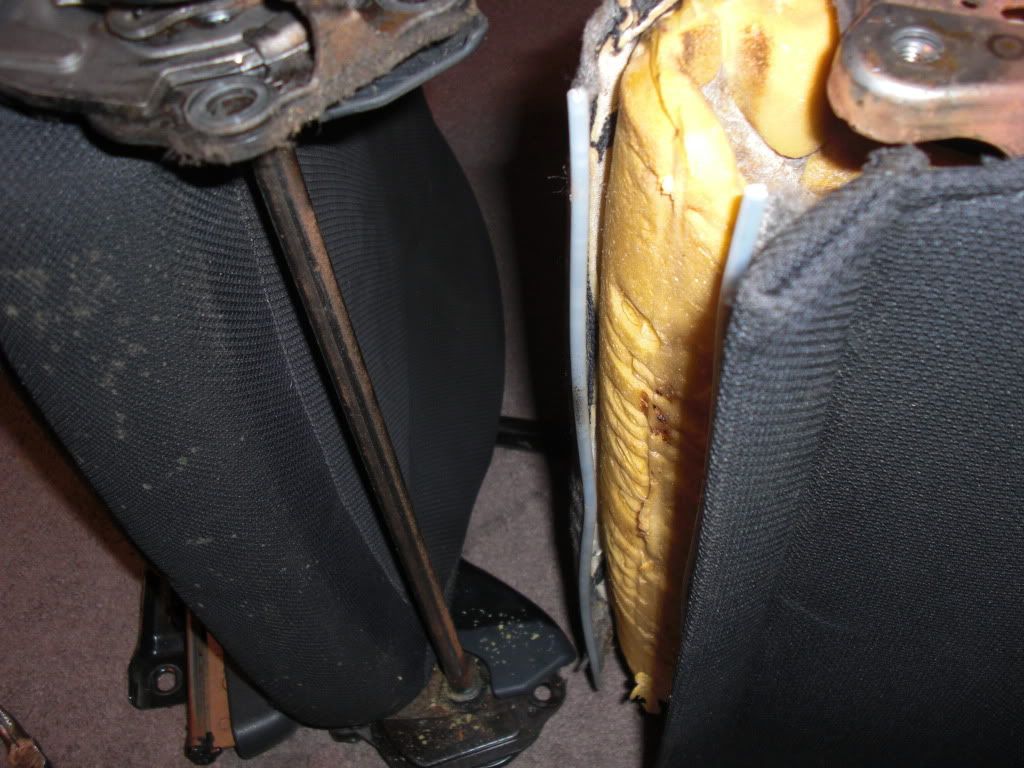
Then to remove the top half from the bottom half you undo a few hog rings, then undo the two 14mm nuts on each side.
These babies were EXTREMELY torqued down, so this is where a breaker bar would come in handy
Image
Image
Image

Now if we look down inside the top half, we see 3 more hog rings, undo those, then remove the headrest holders.
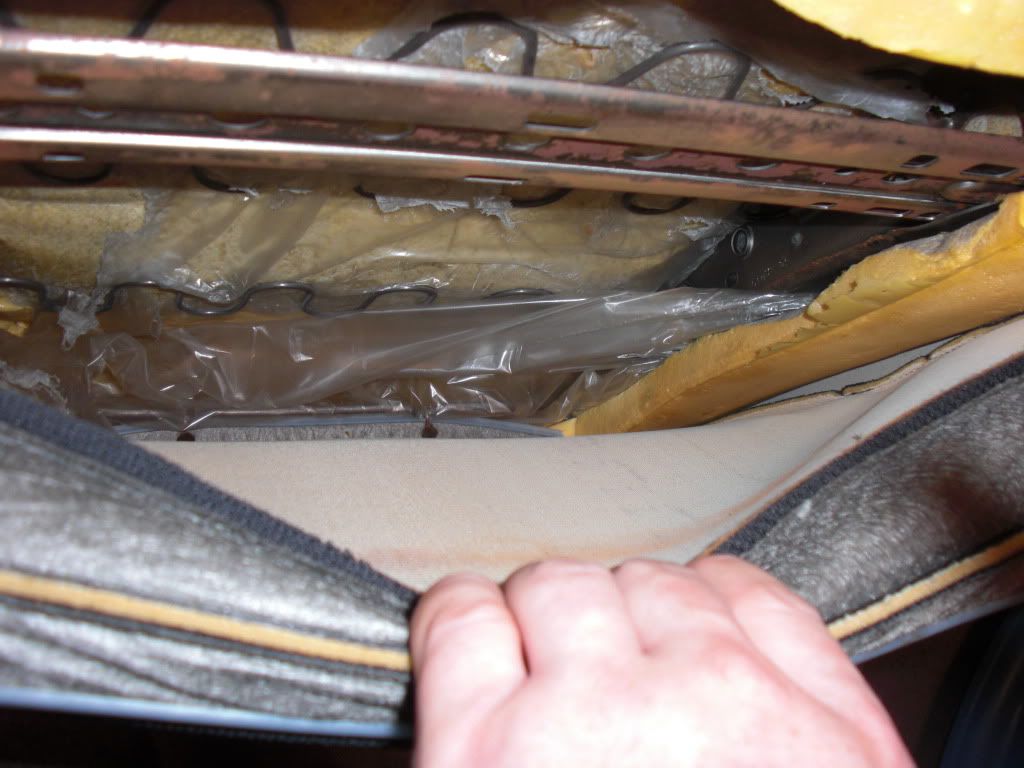
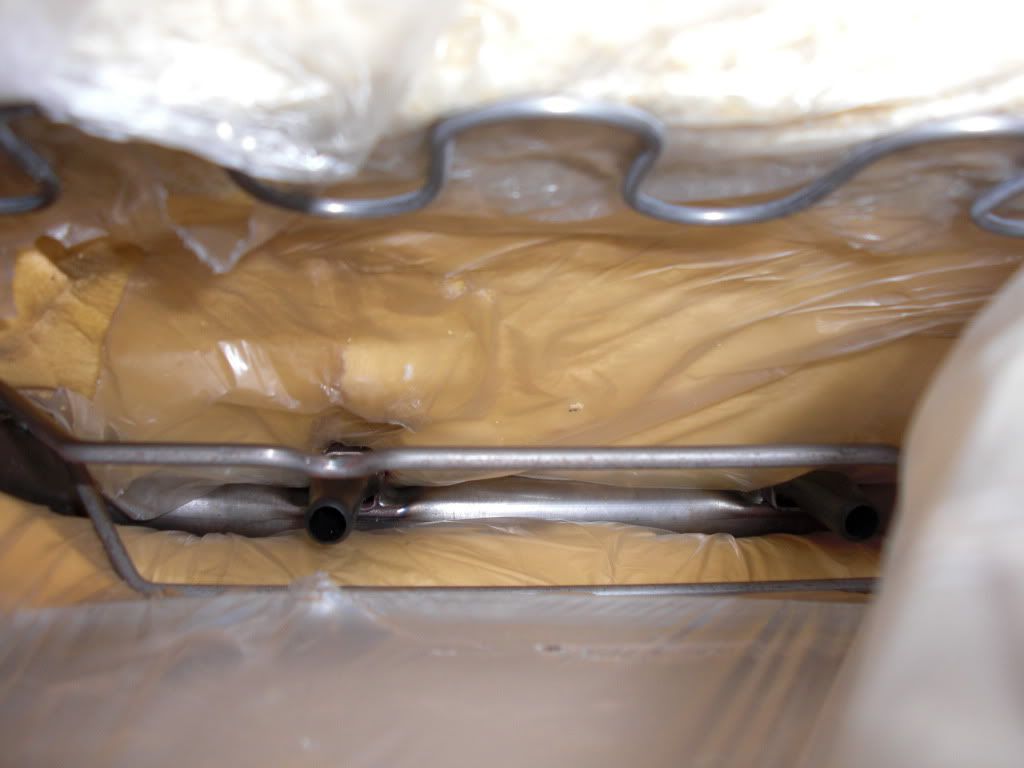
Image
Image
Image

Then your metal frame pulls out and you find trashed plastic.lol Start removing the hog rings and your fabric from the foam.
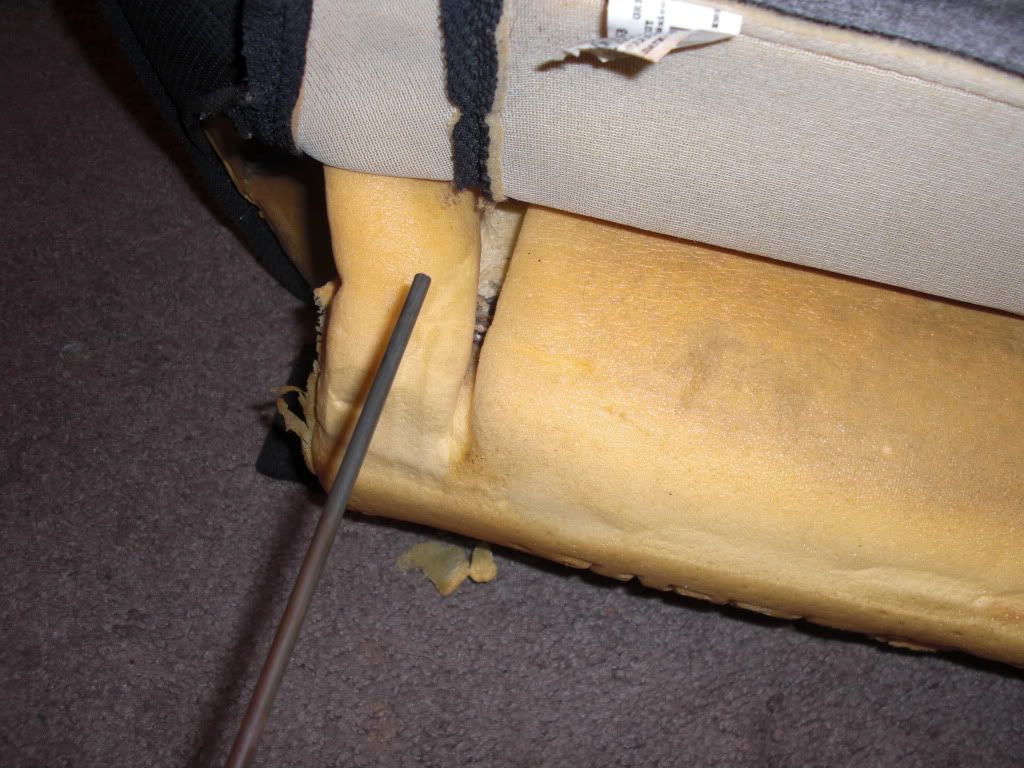
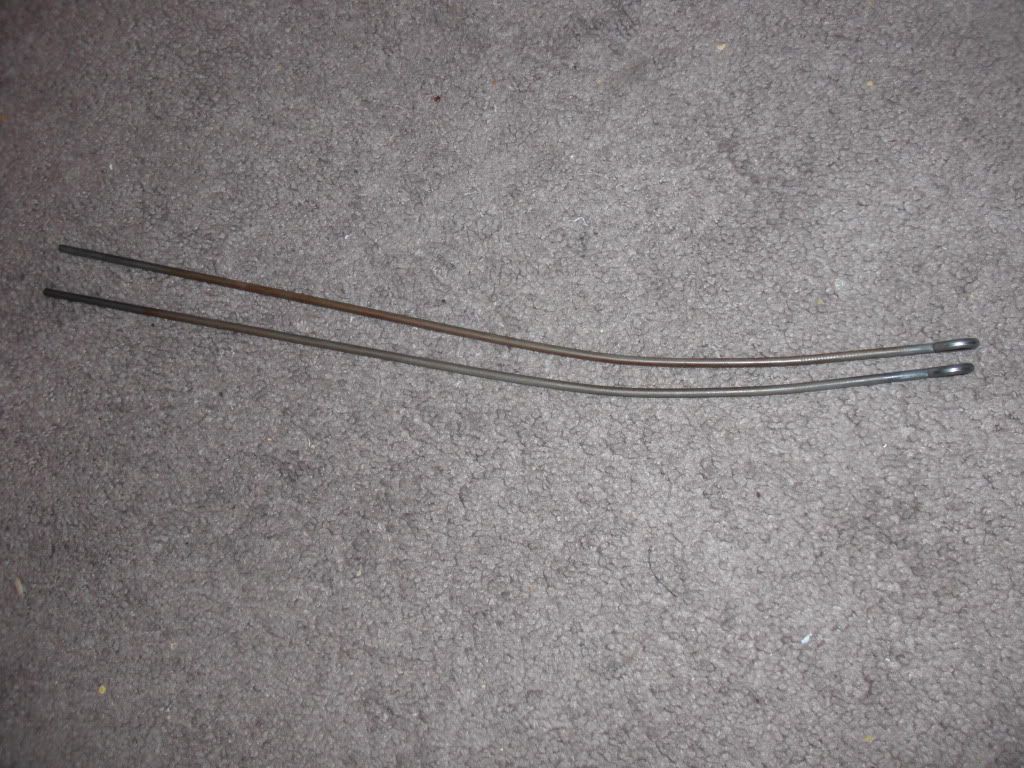
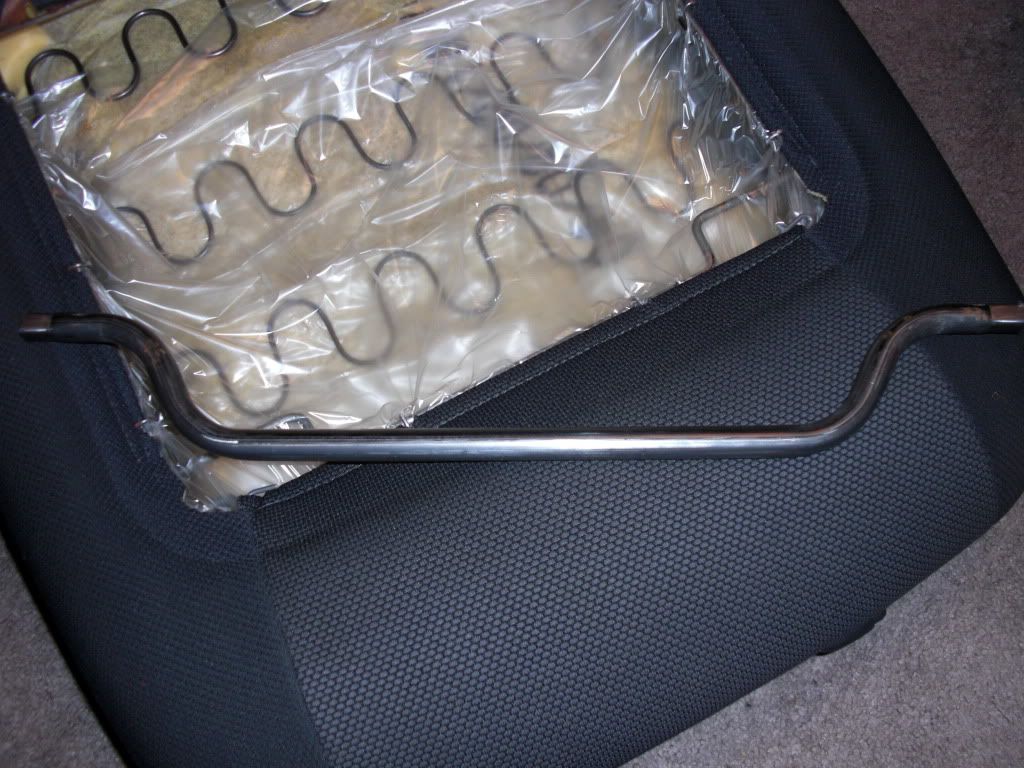
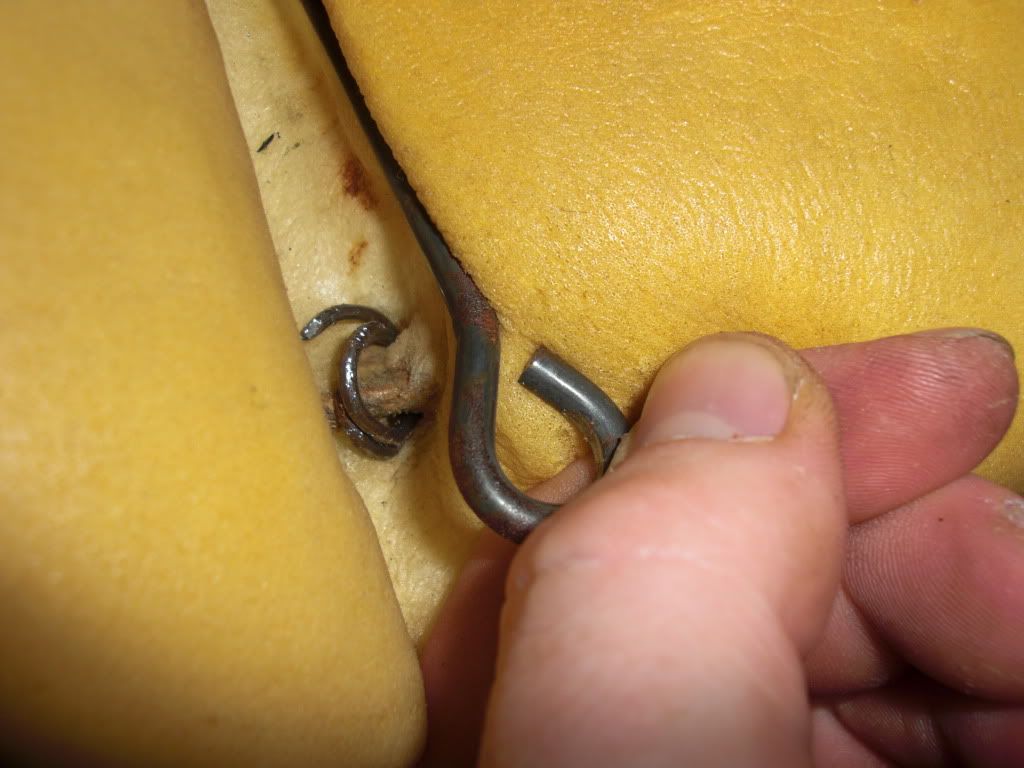
The front seats down each side just have a metal rod w/ a loop that is hog ringed to the foam.
Undo the rings and pull the rod out and the fabric will begin to come loose
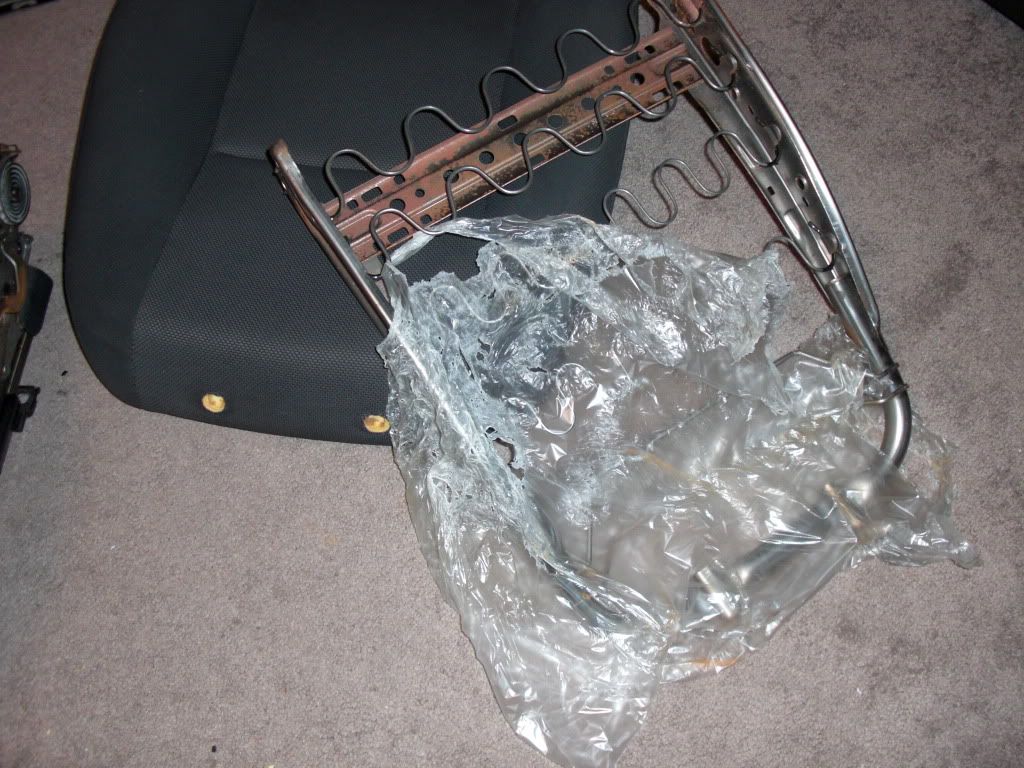
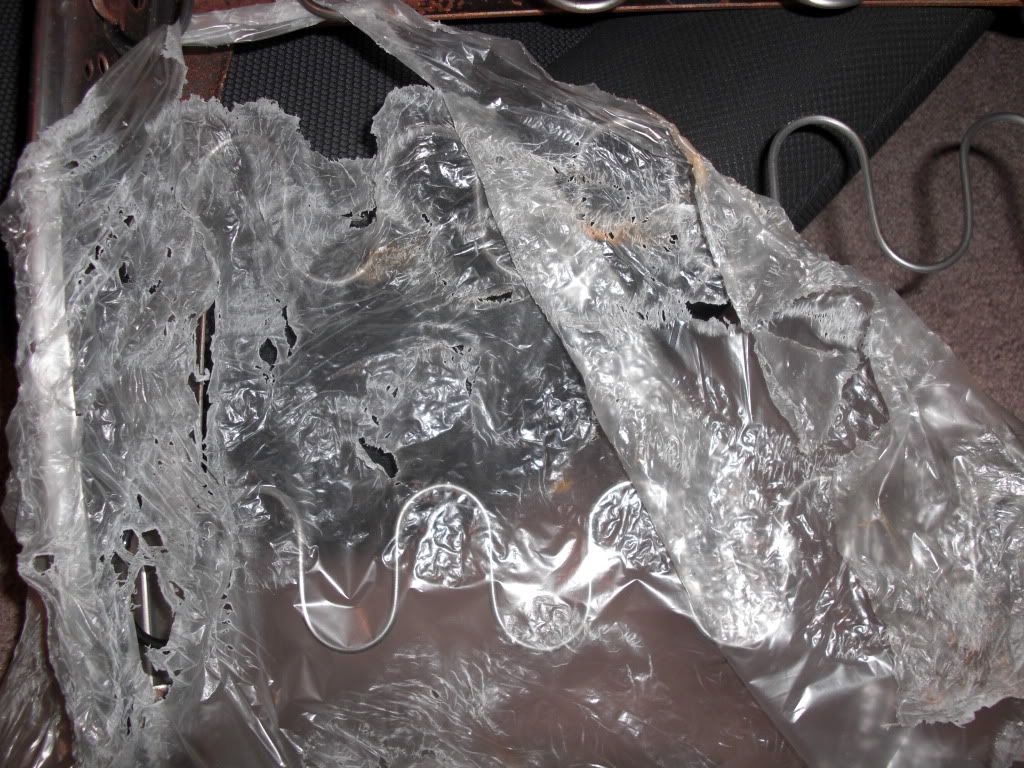
Image
Image
Image
Image
Image
Image

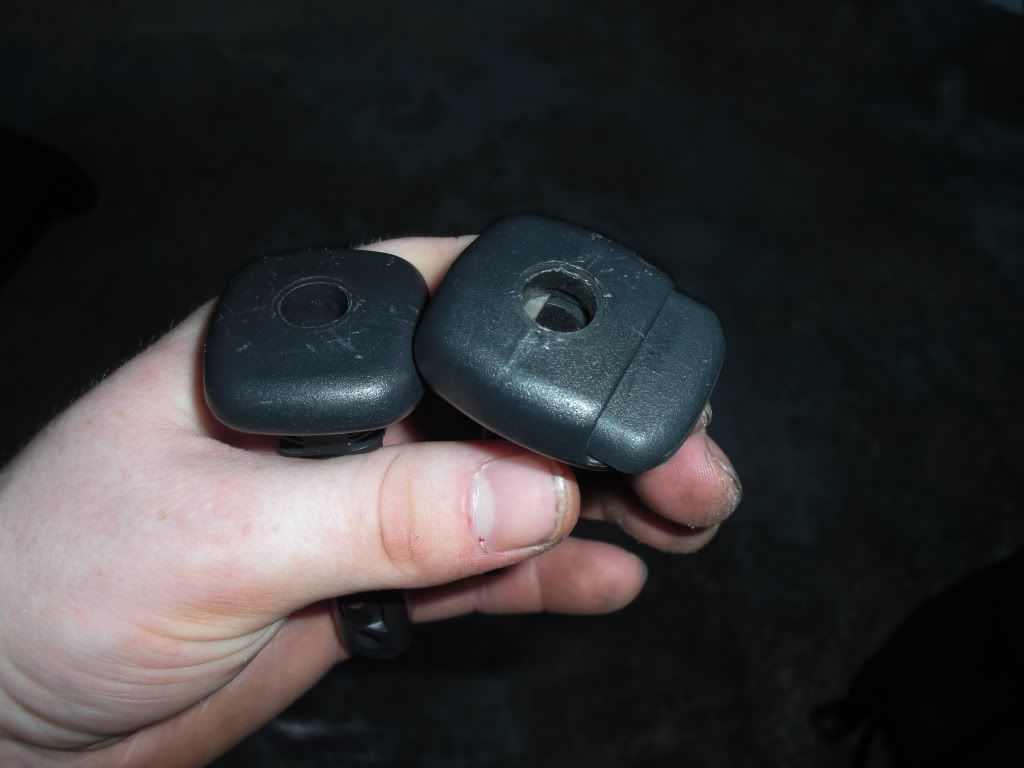
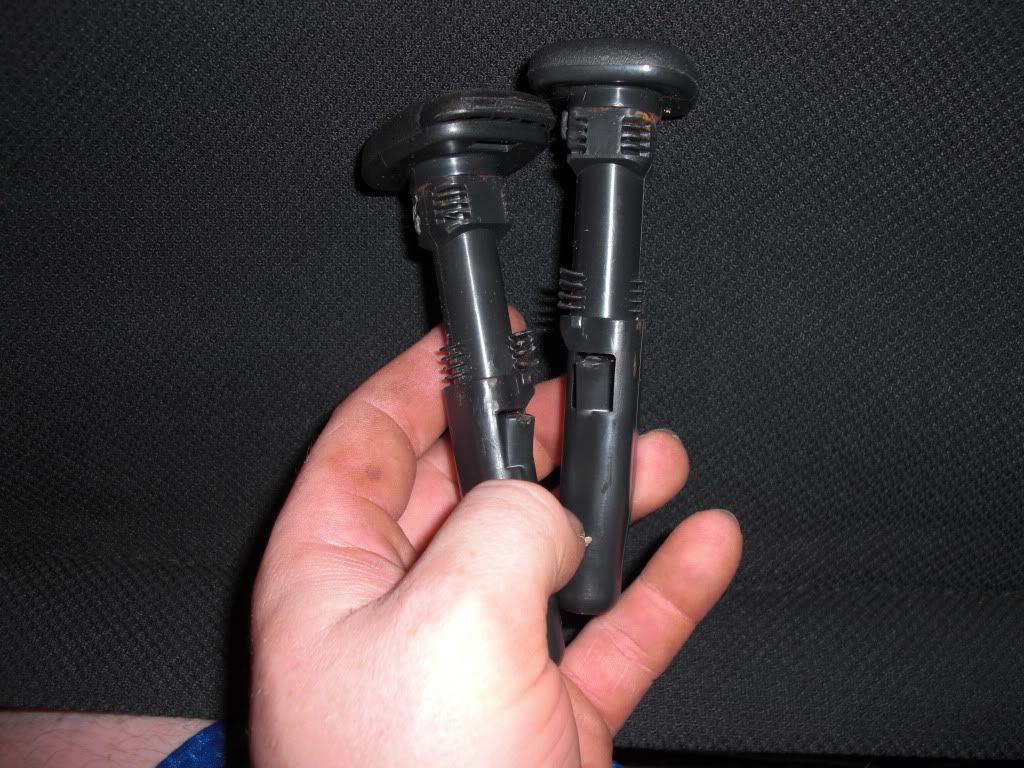
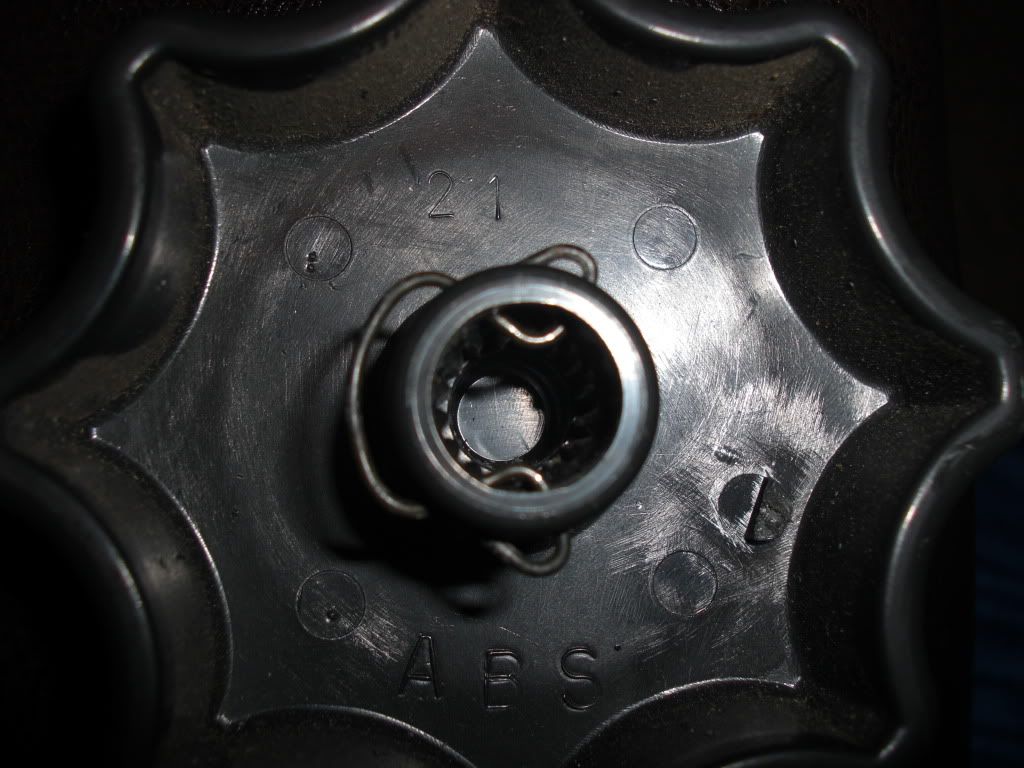
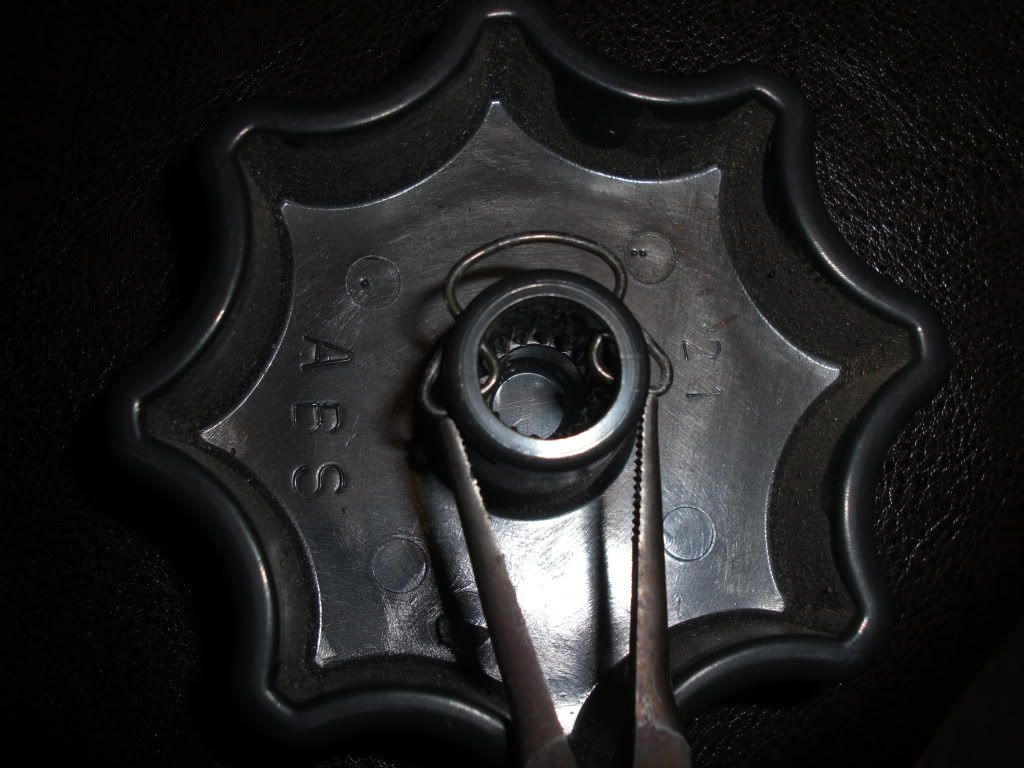
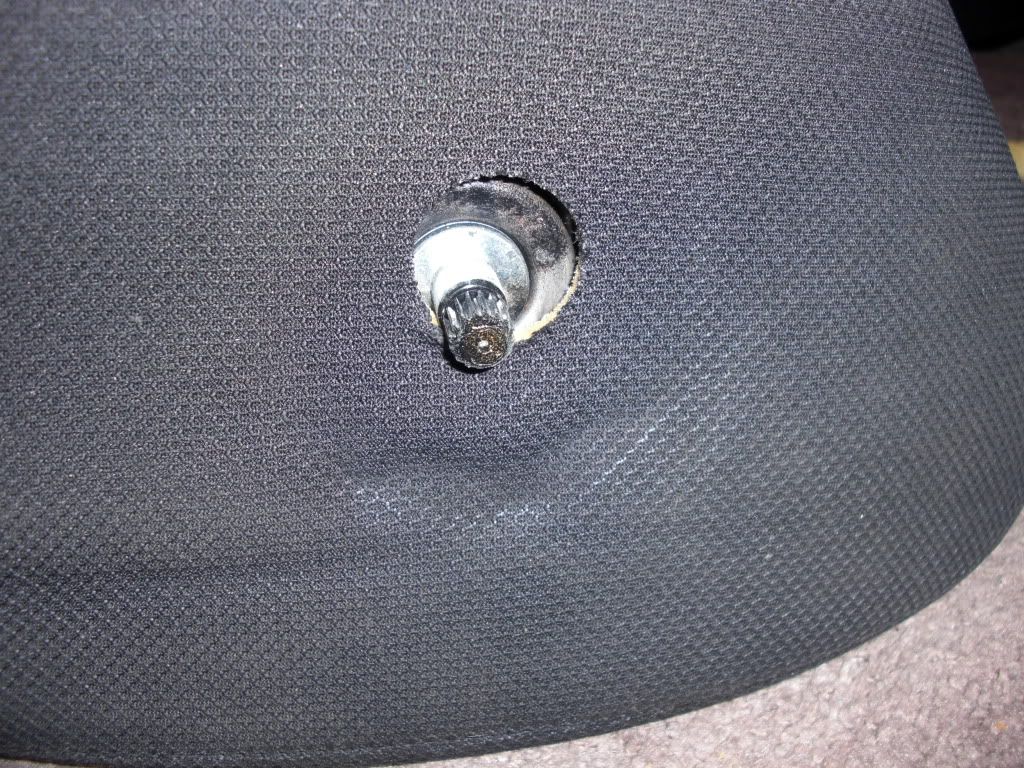
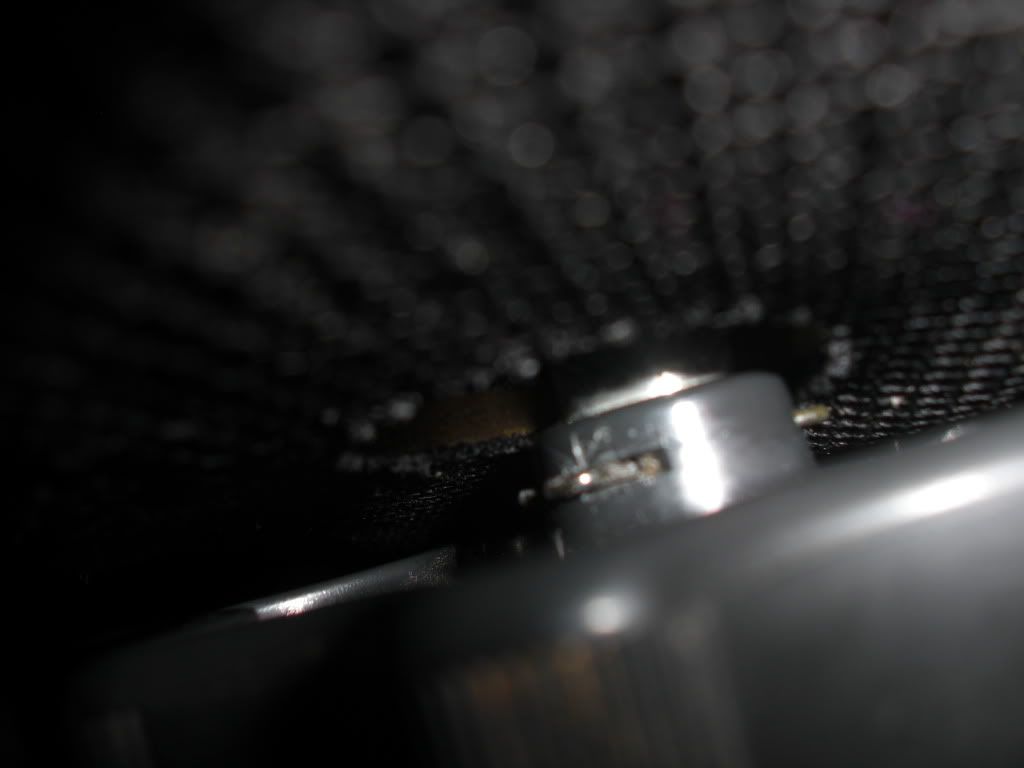
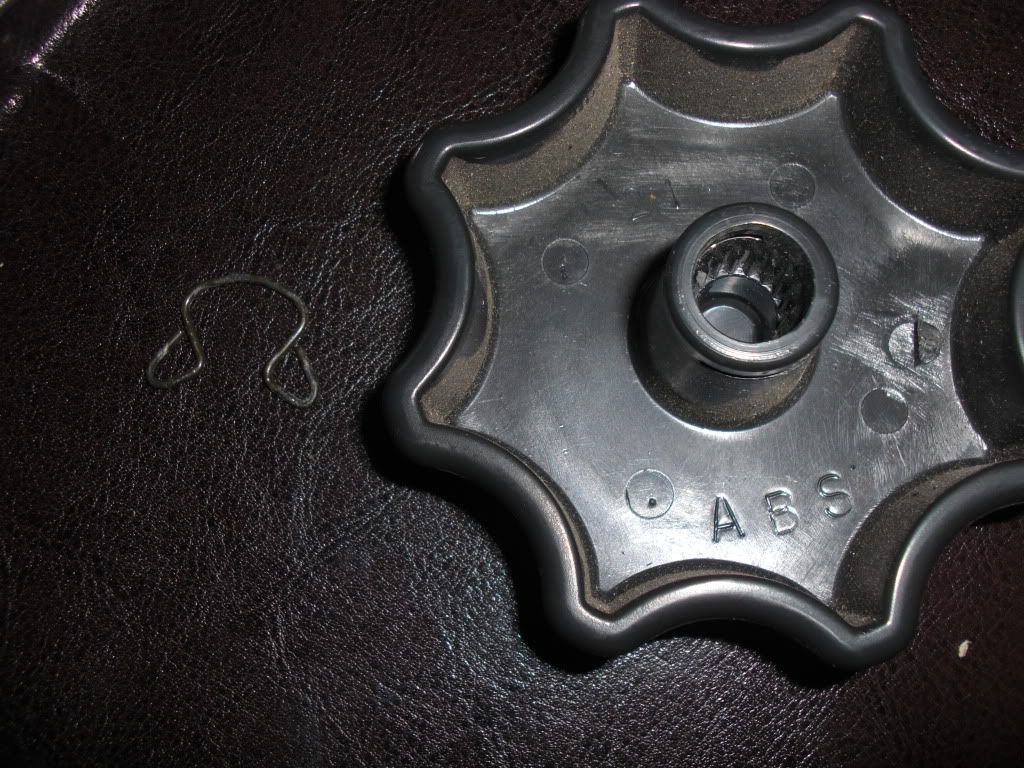
Now we move on to the bottom of the seat. We need to remove the knob that raises the base of the seat up. Here are the best pics I could get.
I used needlenose pliers, held them open and pushed this clip out.
Image
Image
Image
Image
Image

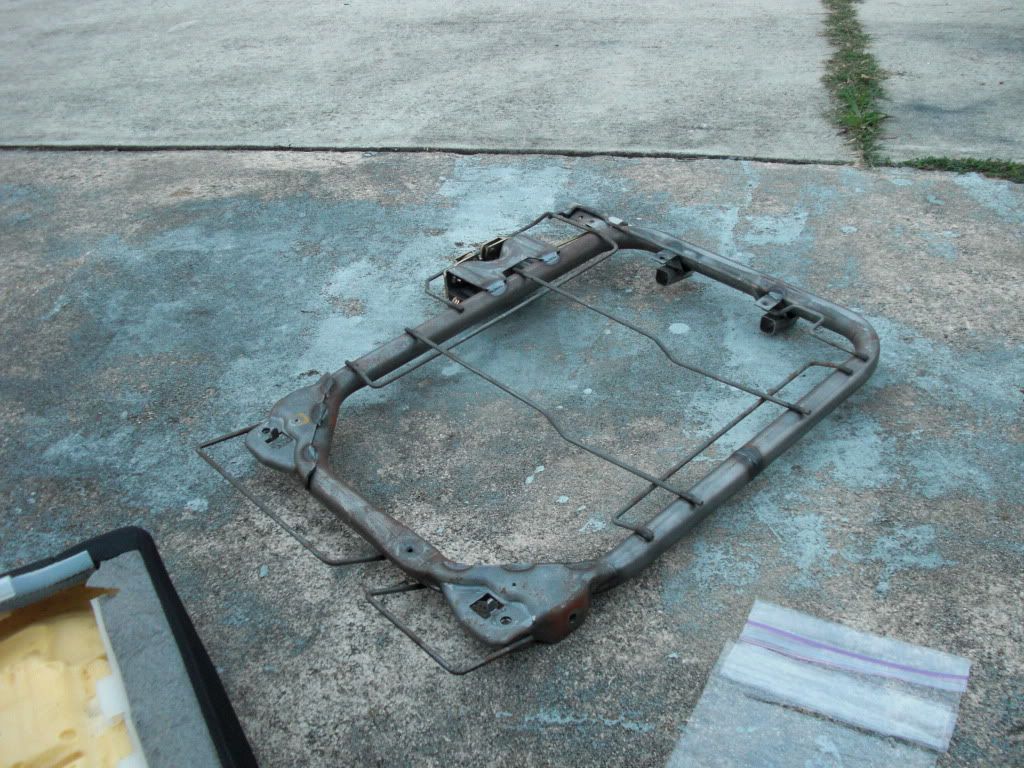
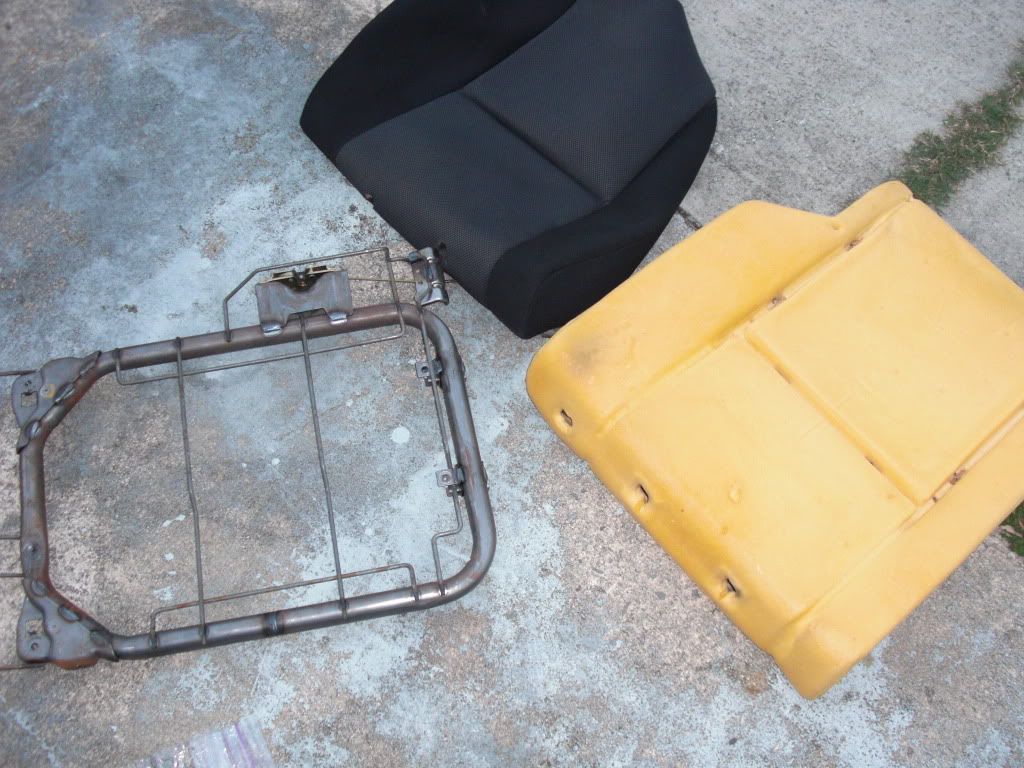
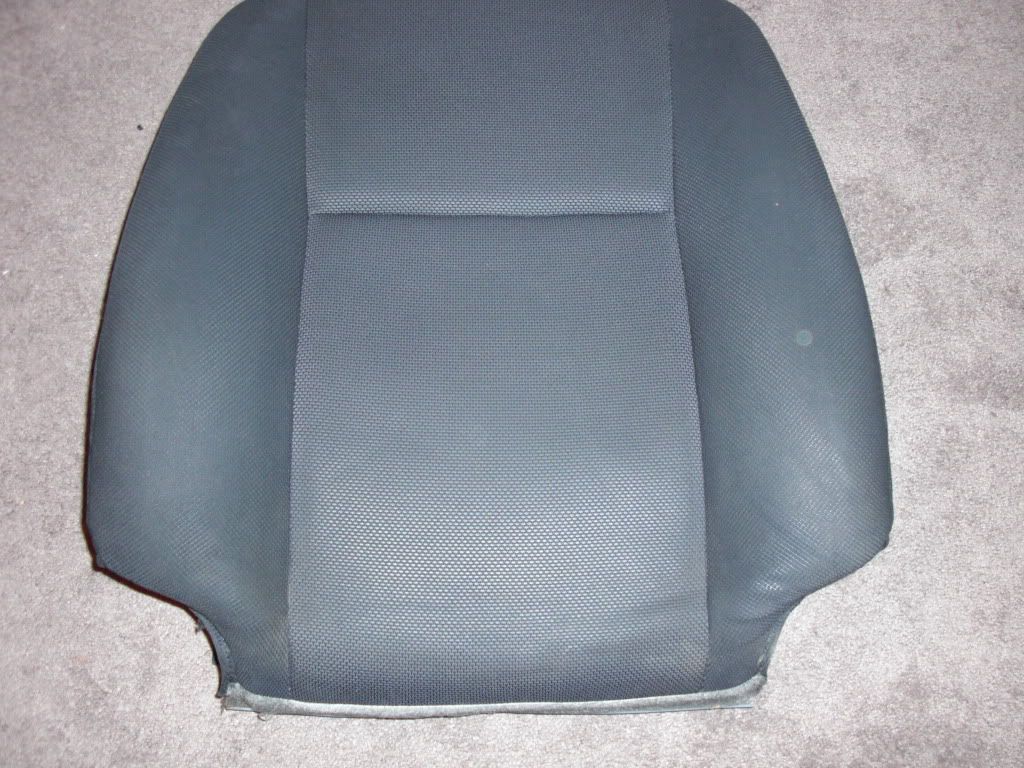
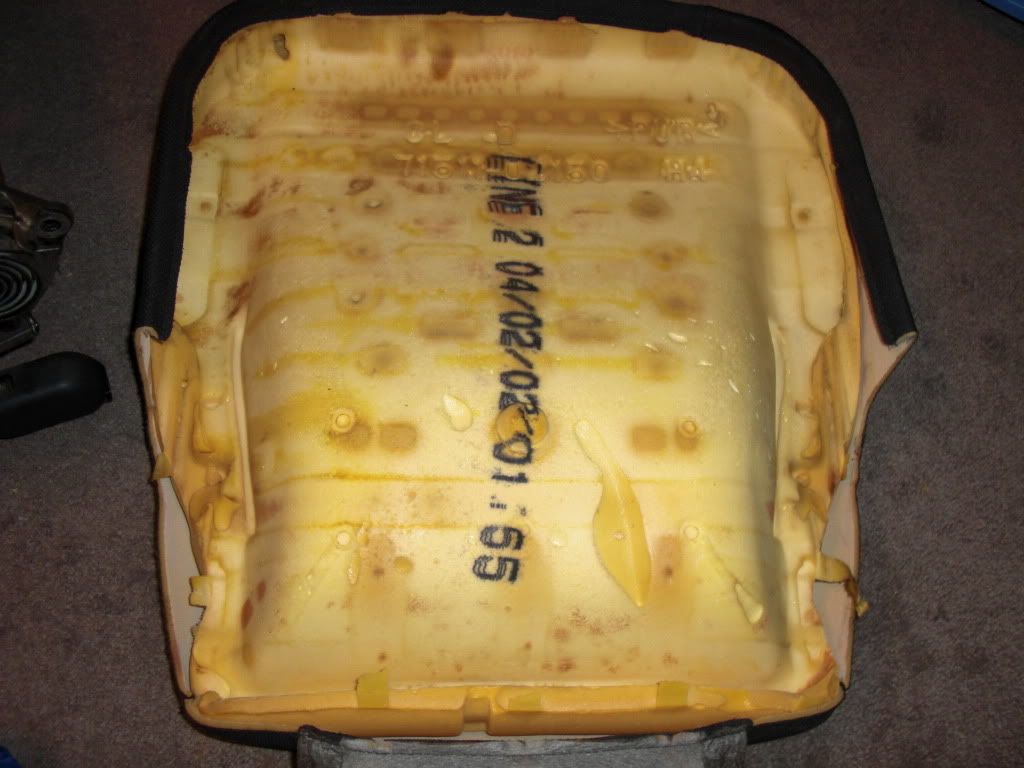
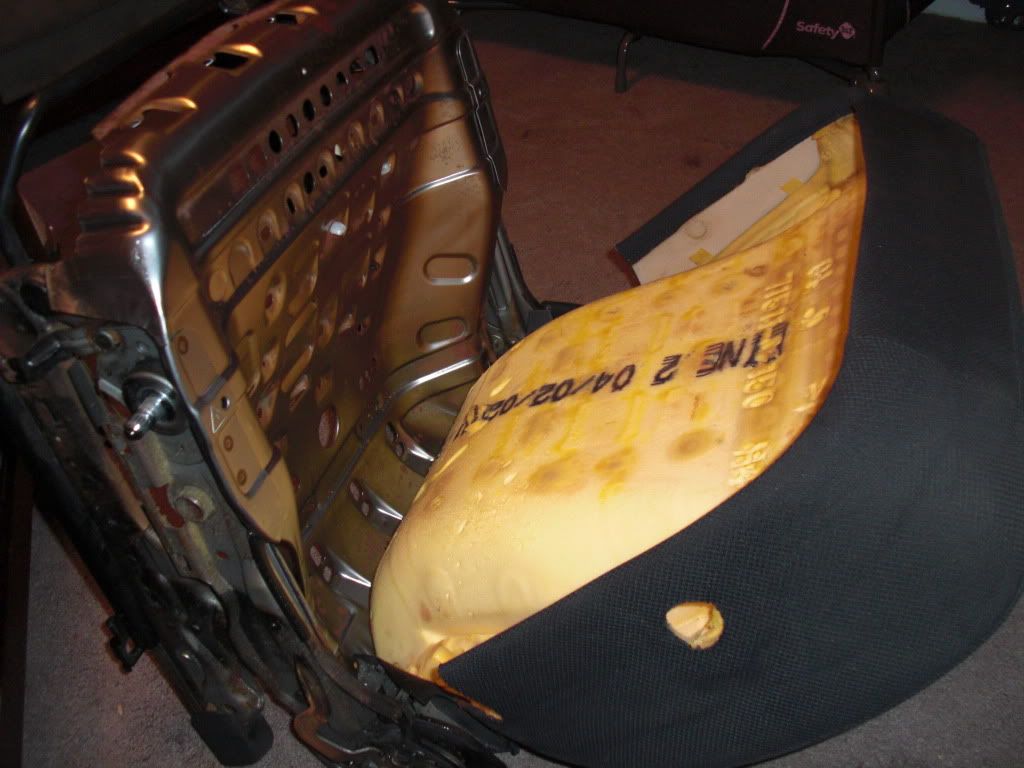
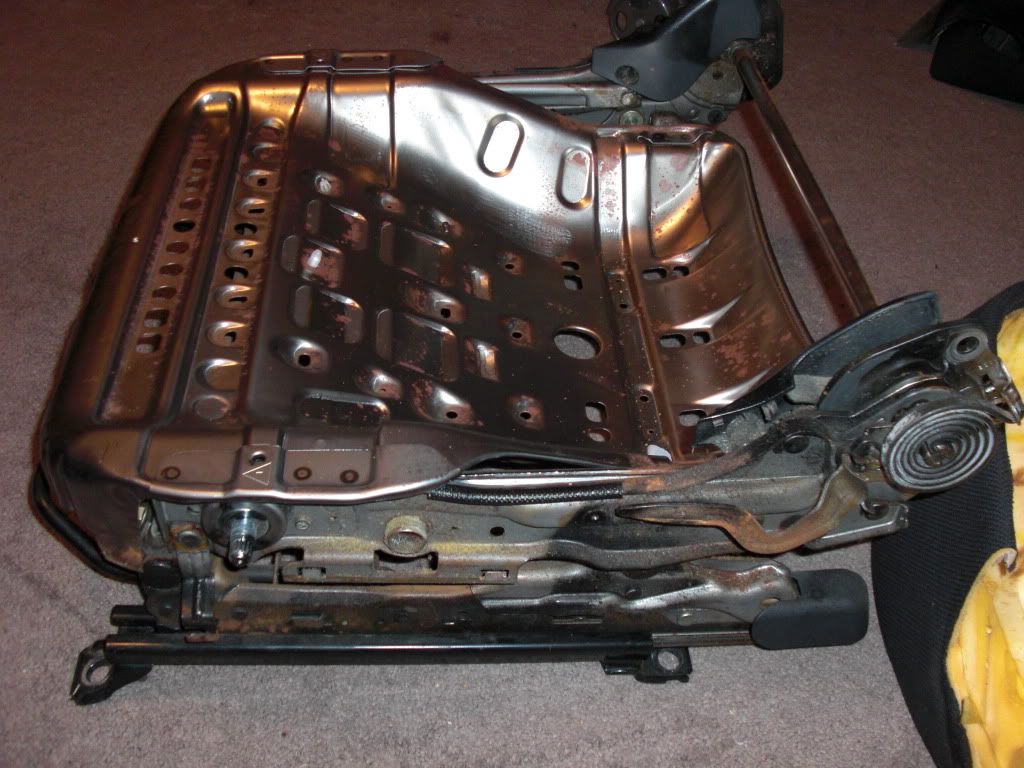
Then unsnap plastic edges and undo hog rings and you're done with the front driver side. The whole foam piece just lifts straight out of the frame for you to do so.
Image
Image
Image
Image

NOW we move along to the final seat... the Front Passenger
I began by undoing the plastic trim. All was the same as the driver side.
Image
Image
Image
Image
Image
Image

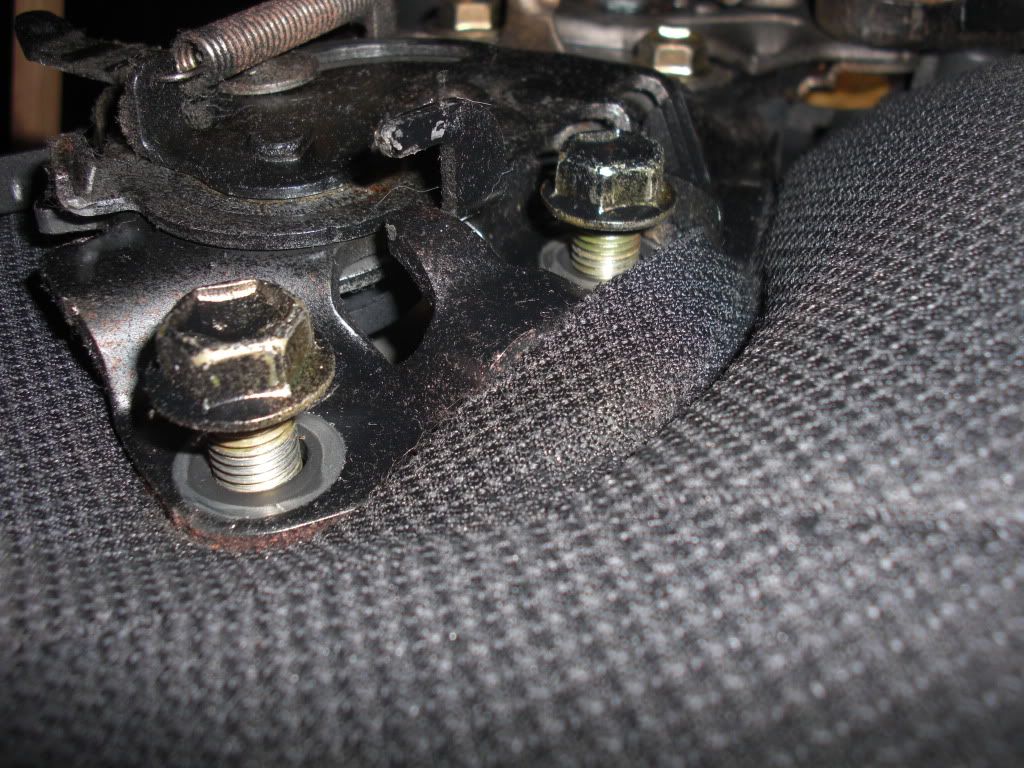
Then I separated the top from the bottom by removing 8 14mm nuts. Four on each side.
Image
Image
Image

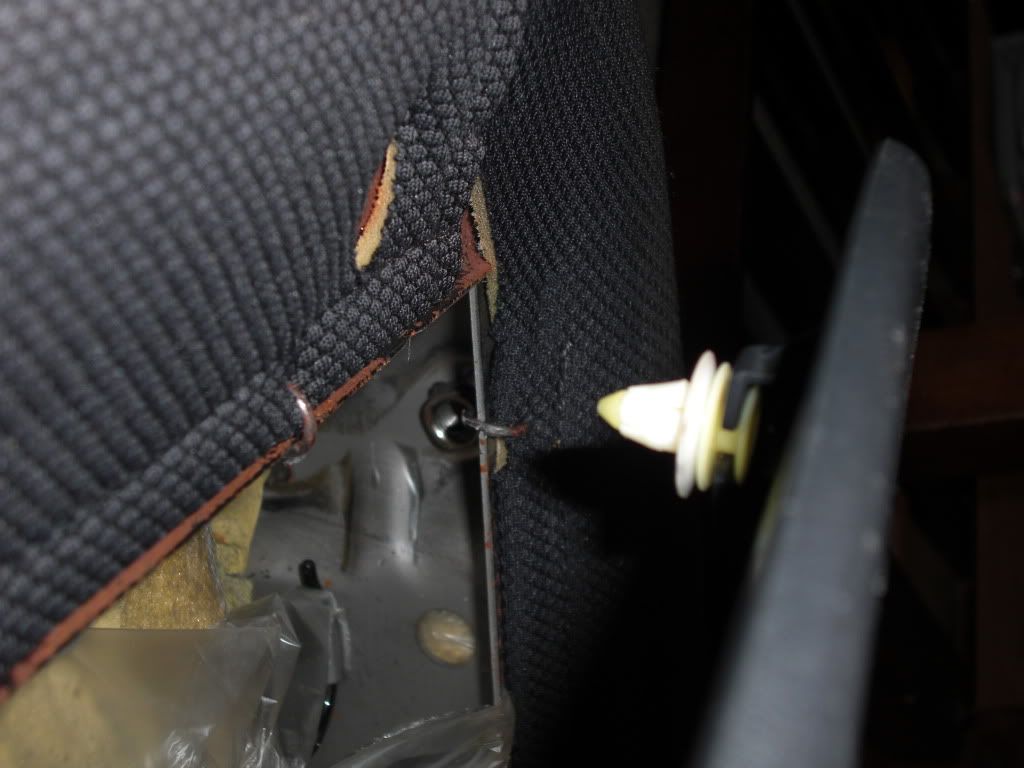
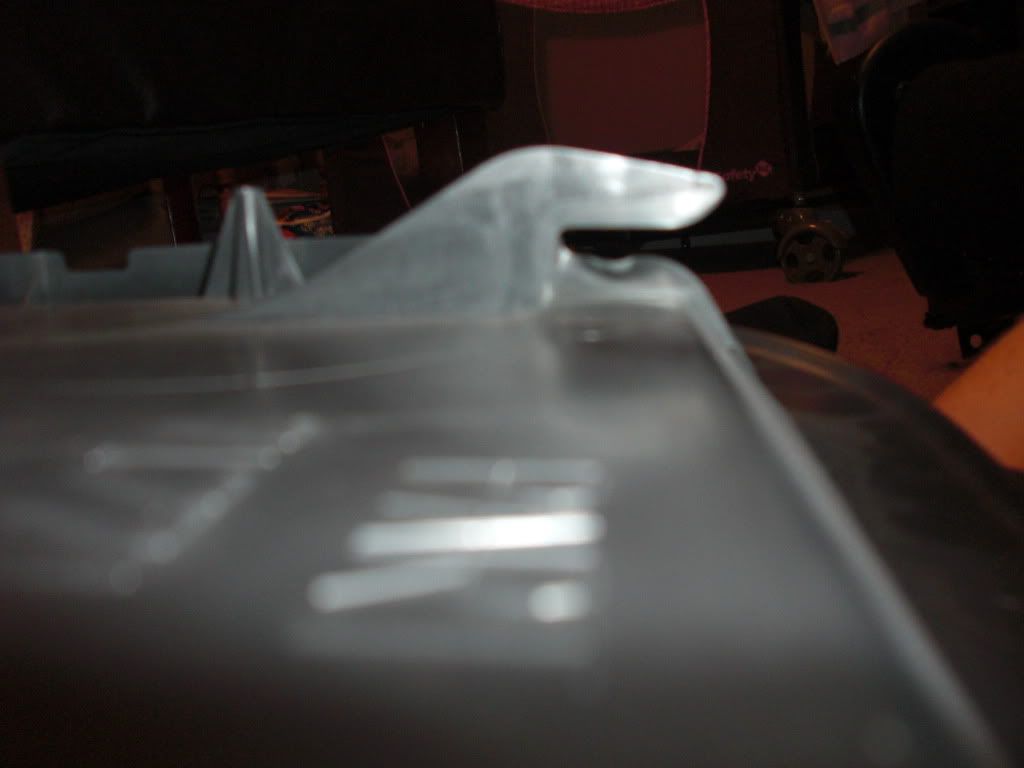
To remove the plastic from the back of the seat, you PULL OUT on the TOP two corners. Easy clips, then you slide it upward
Image
Image
Image


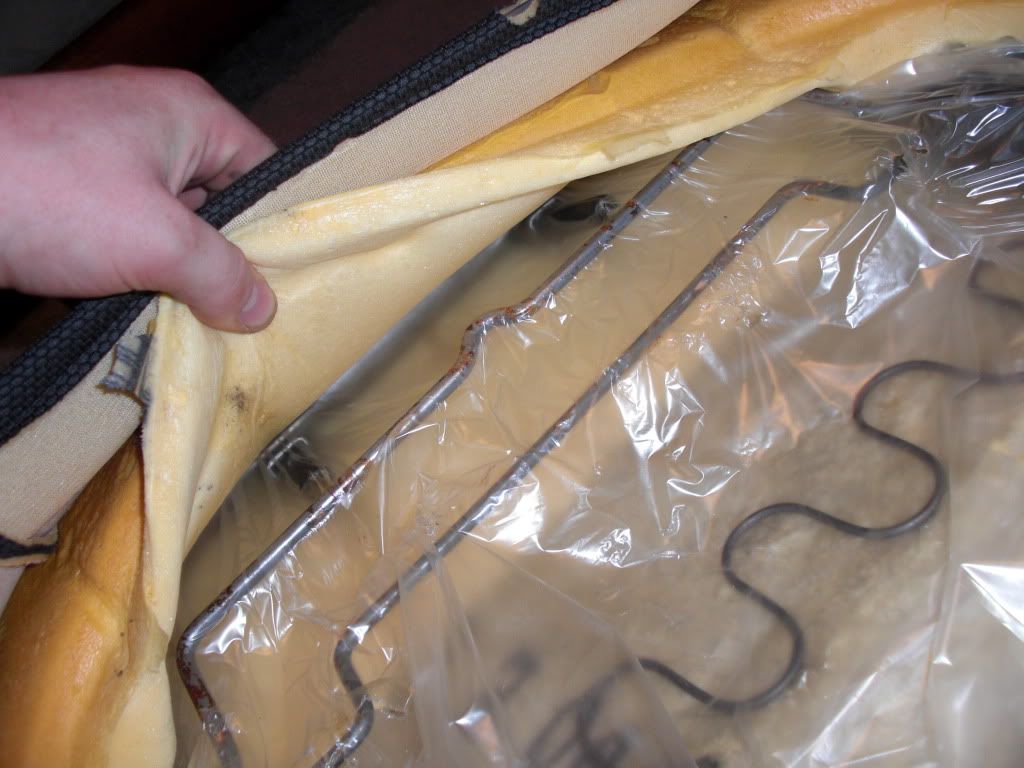
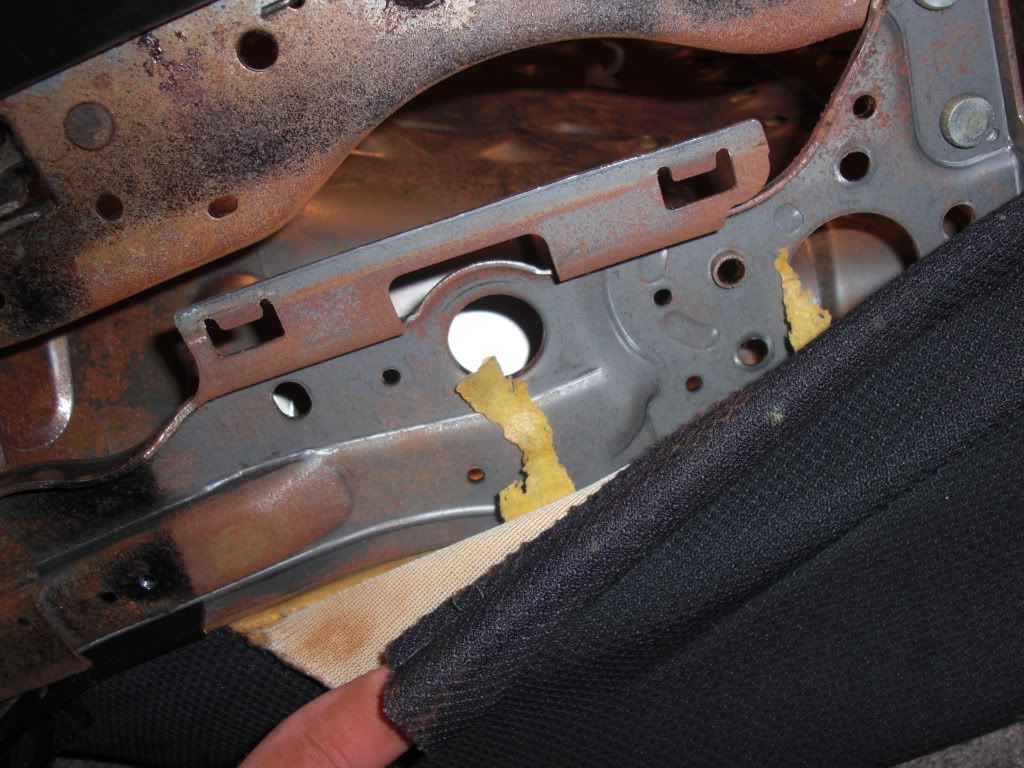
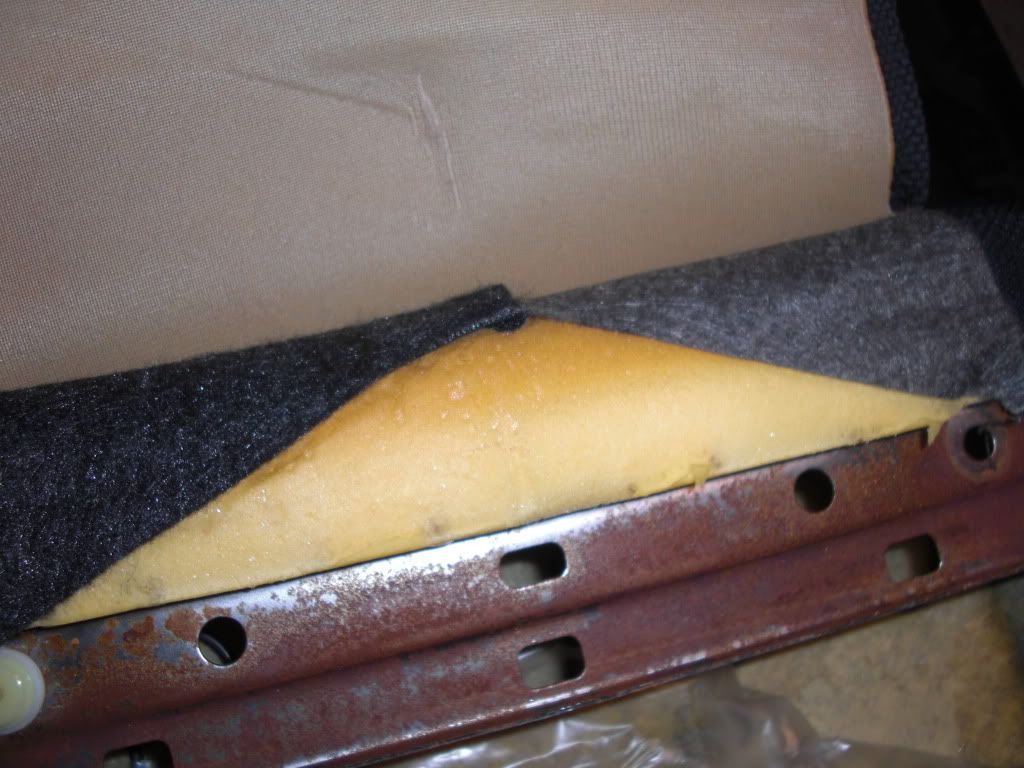
Then begin undoing fabric, hog rings, and then pull the frame out of the foam
Image
Velcro
Image
Image
Image
Image
Image
Image

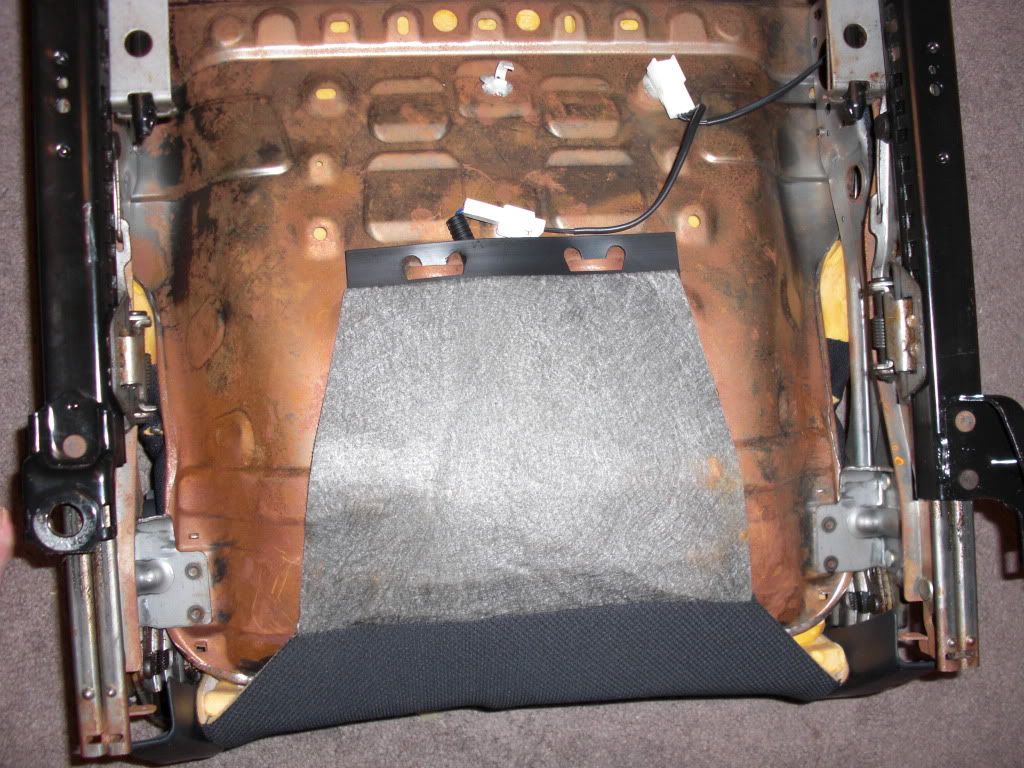
Then we move on to the MOST RAINED IN SEAT EVERRRRRRRRR!!!!!!!!!!!
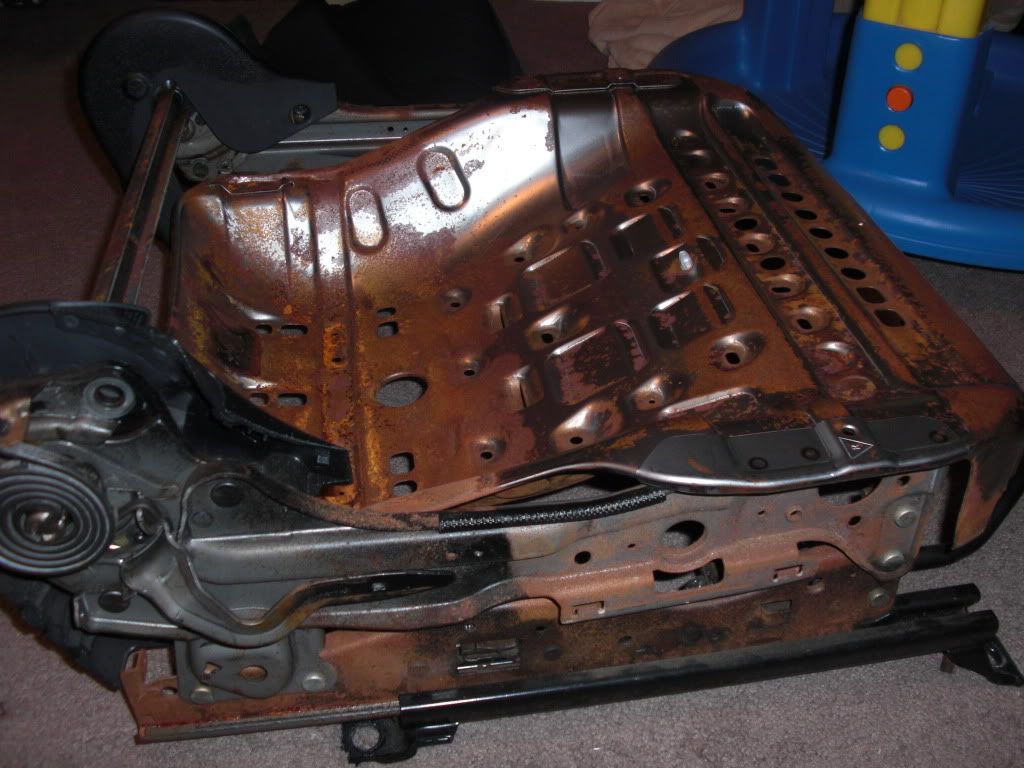
The bottom of my passenger seat is SOOOOO rusty it's rediculous.lol :shock: ops :lol:
Image
Image

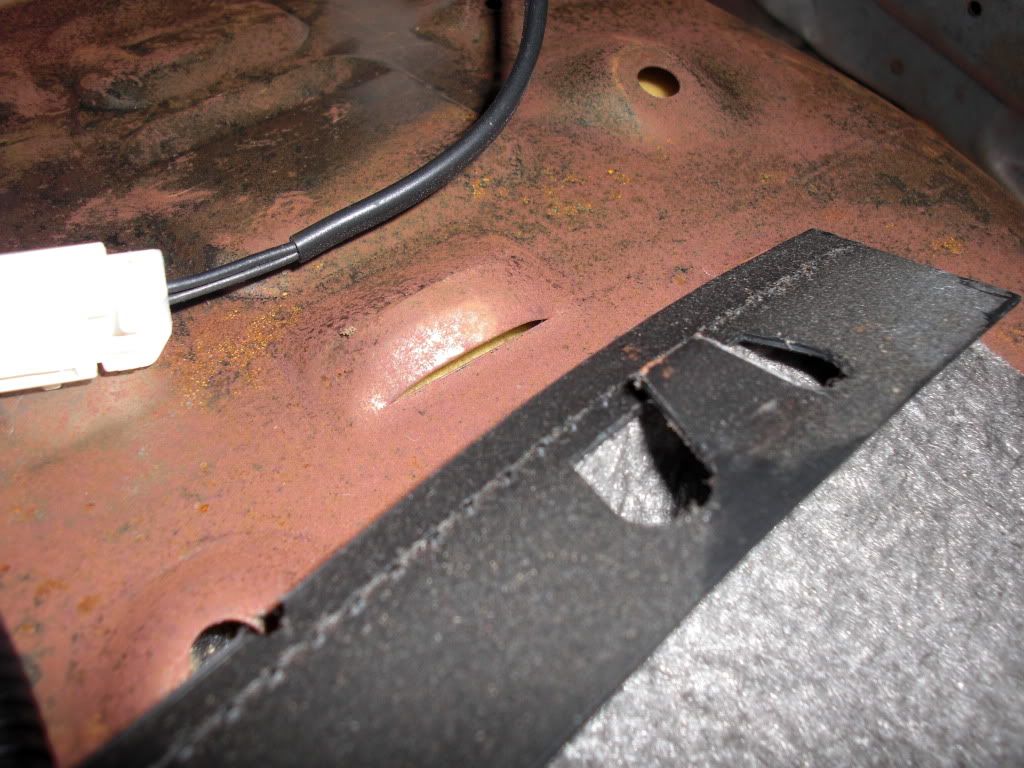
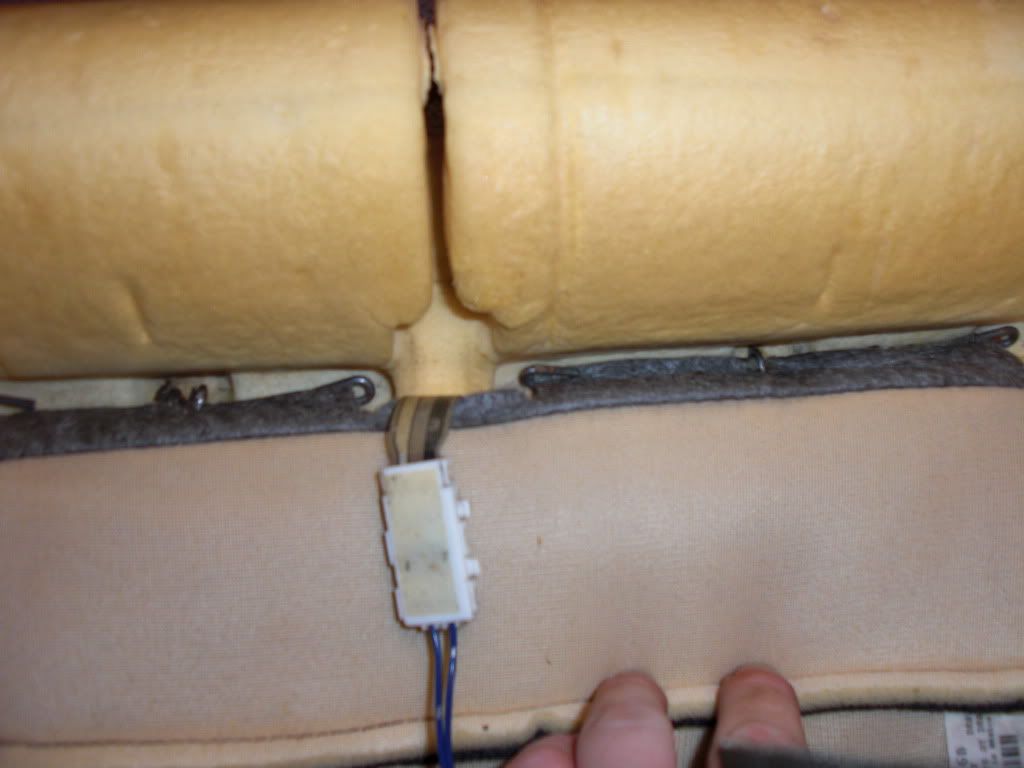
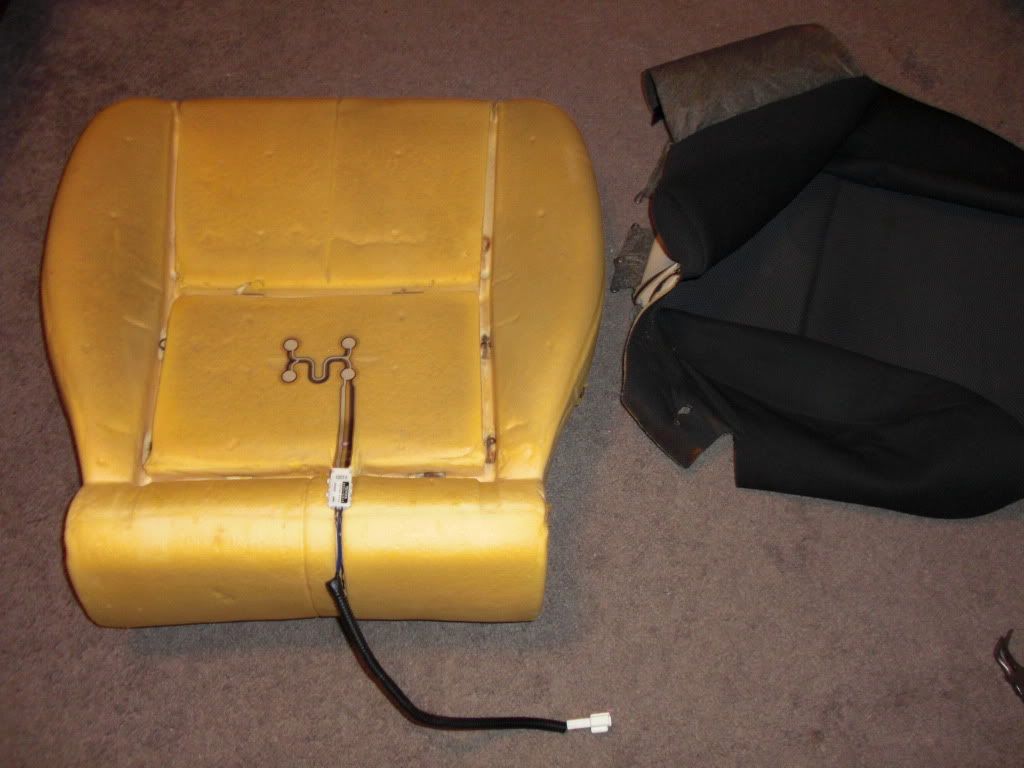
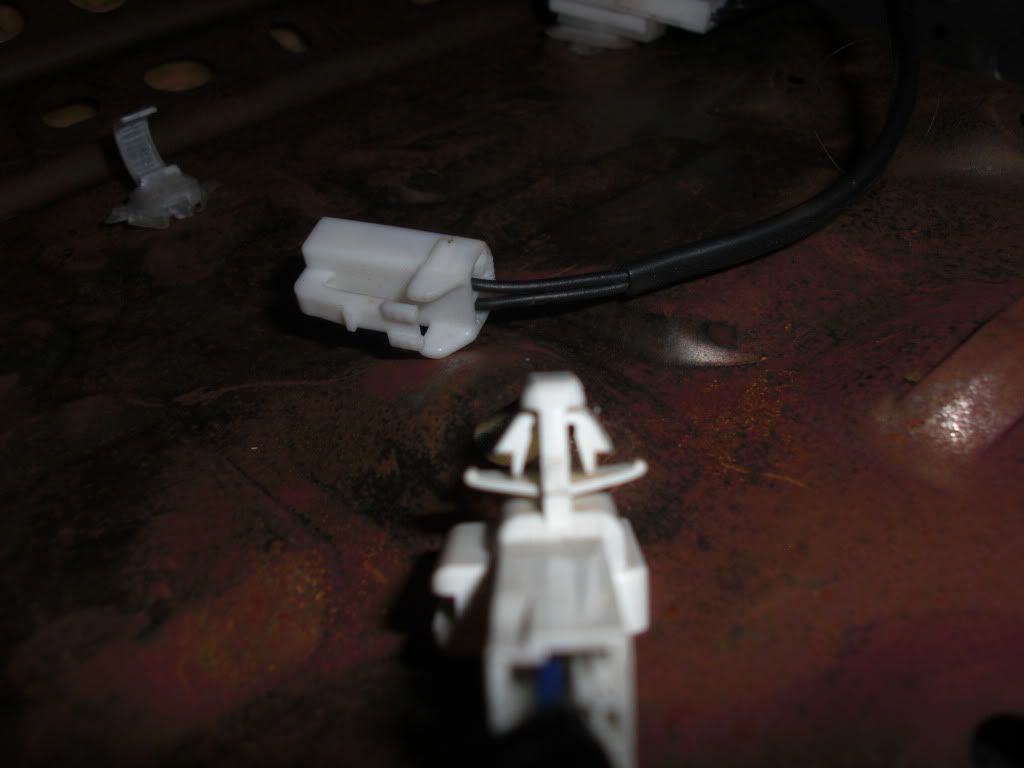
Unplug your passenger airbag seansor. Then continue removing the foam from the frame
Image
Image
Image
Image
Image

OKAY, ignore the rust please and let's continue to removing the fabric...and ALL it's hog rings from the foam.
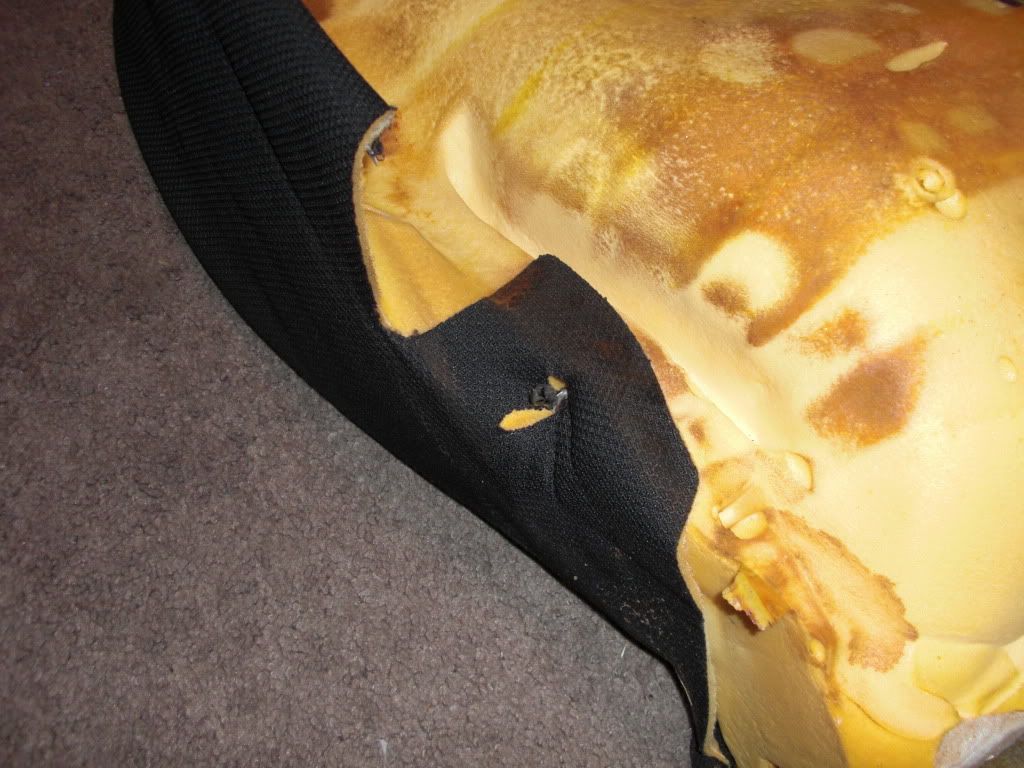
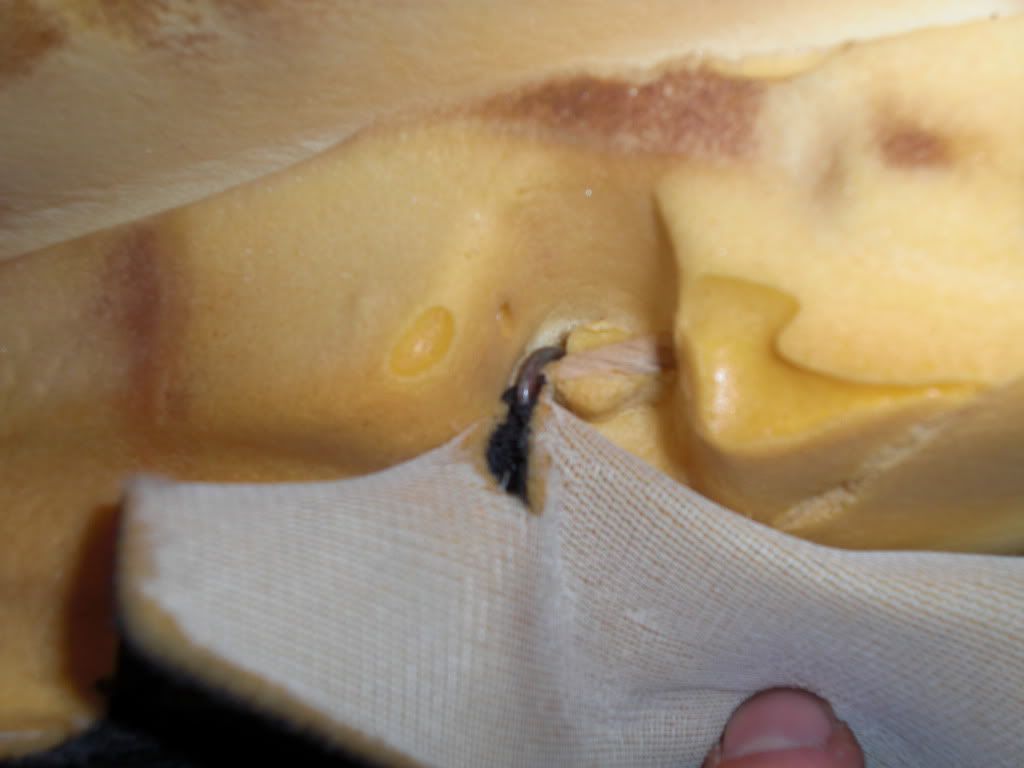
Image
Image
Image
Image
Image

Guess what????

YOU MADE IT!!!!!

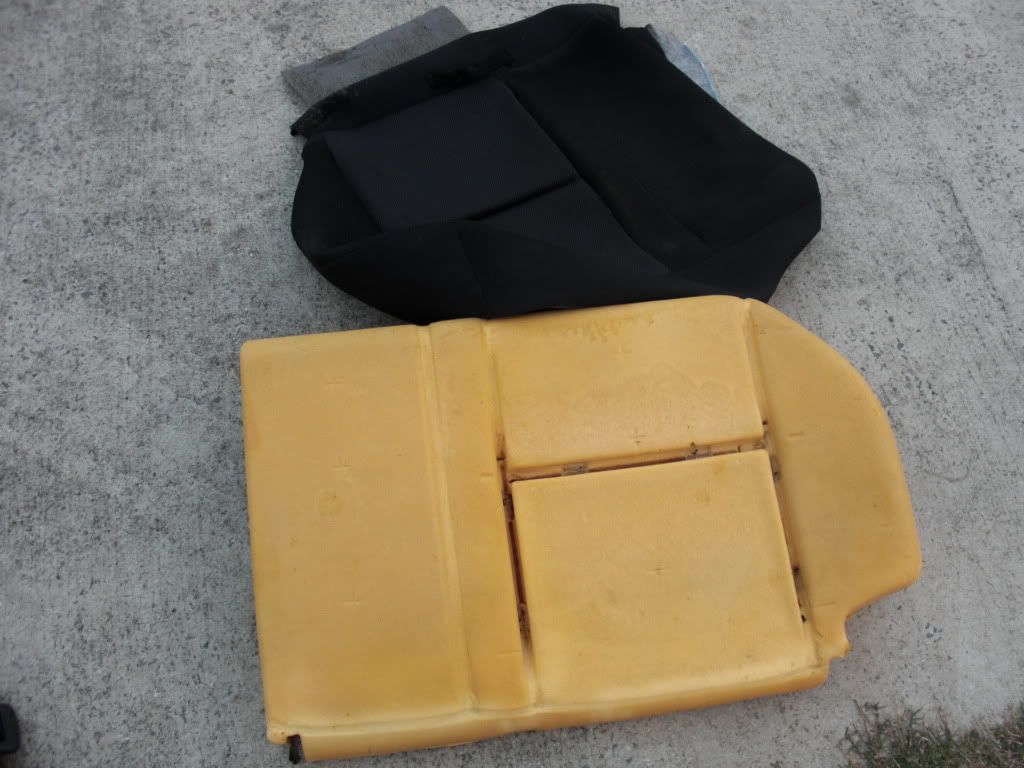
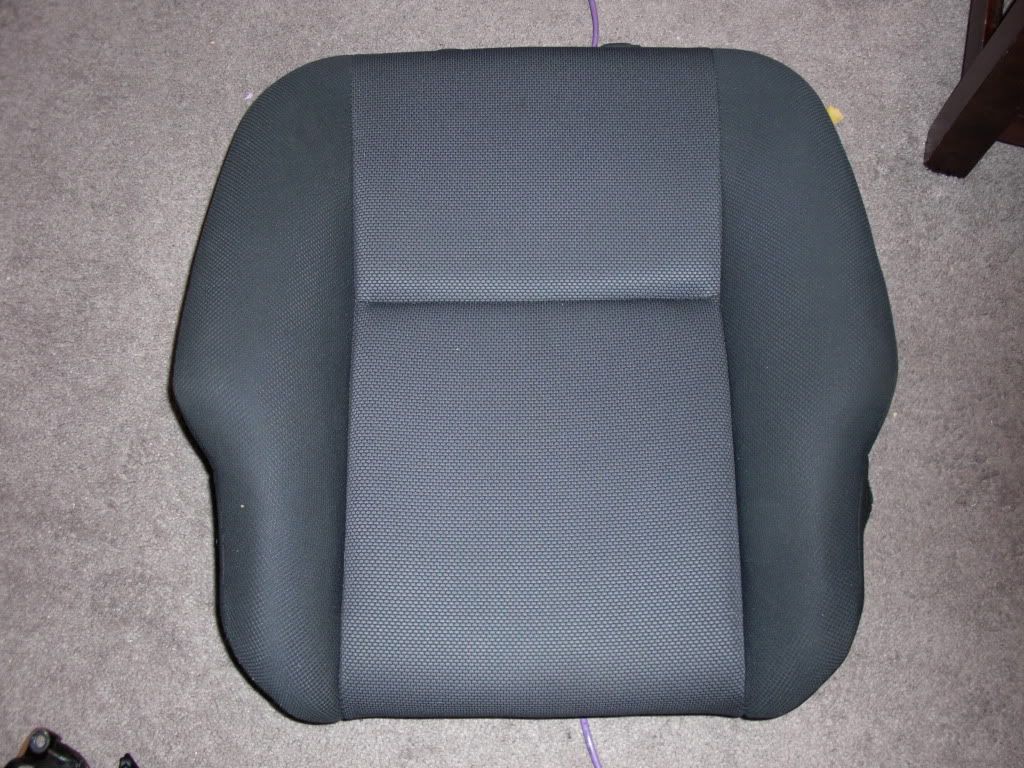
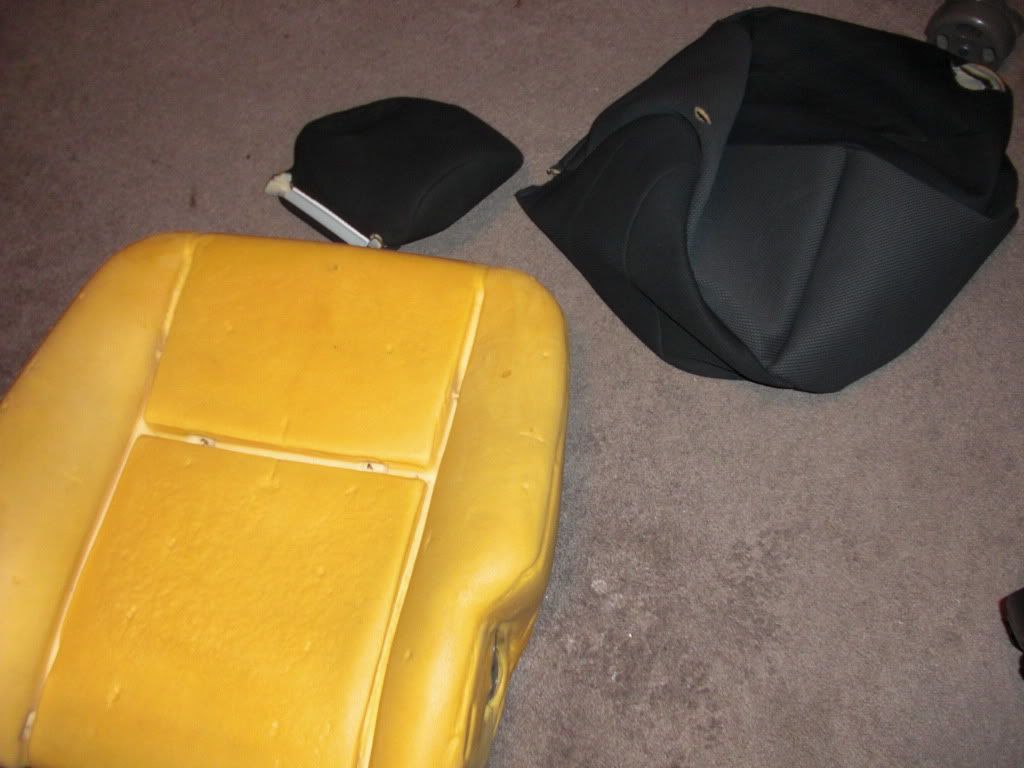
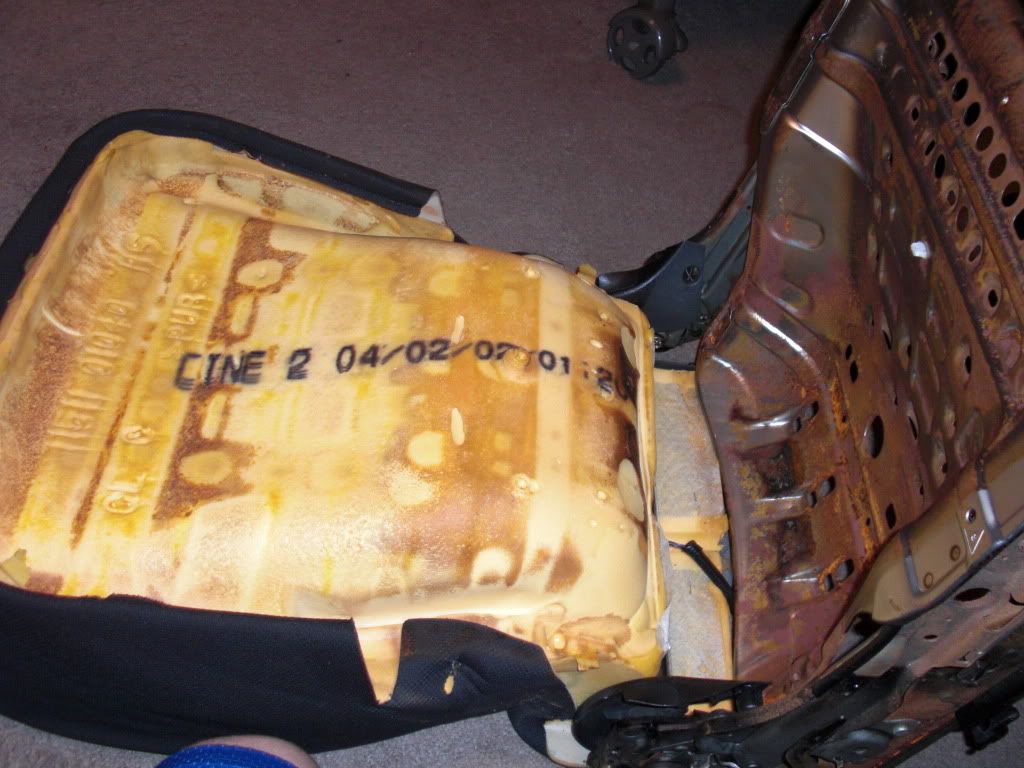
We have now successfully removed the factory covers from our seats. Now you need to vacuum (foam went everywhere)
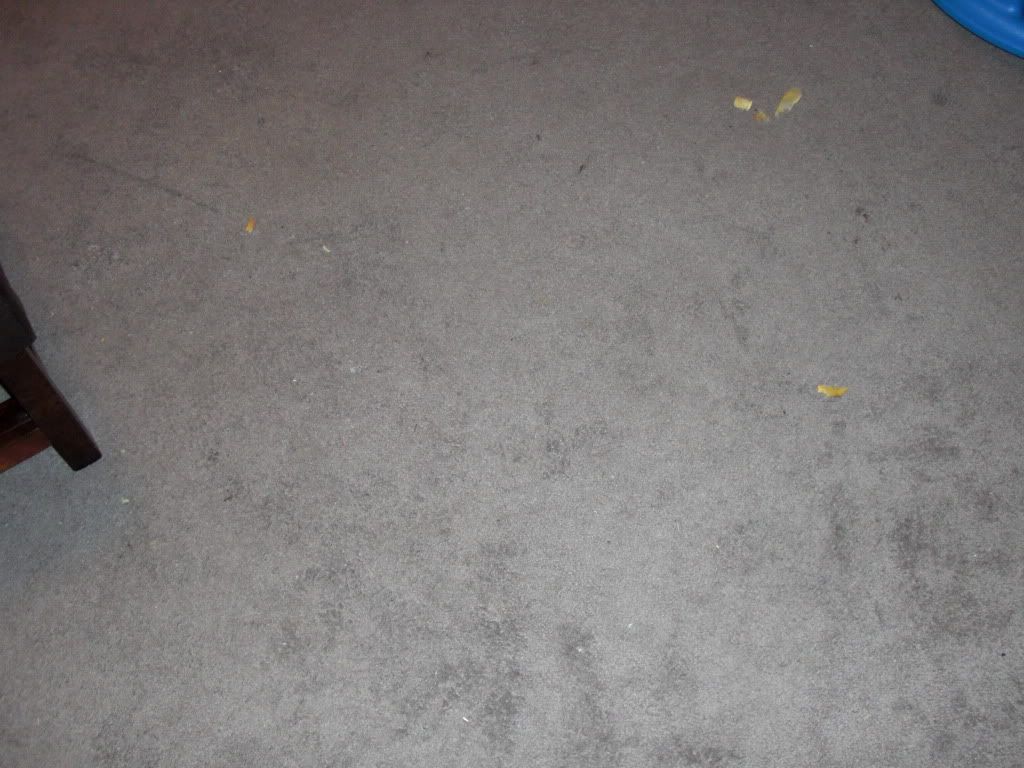
Image

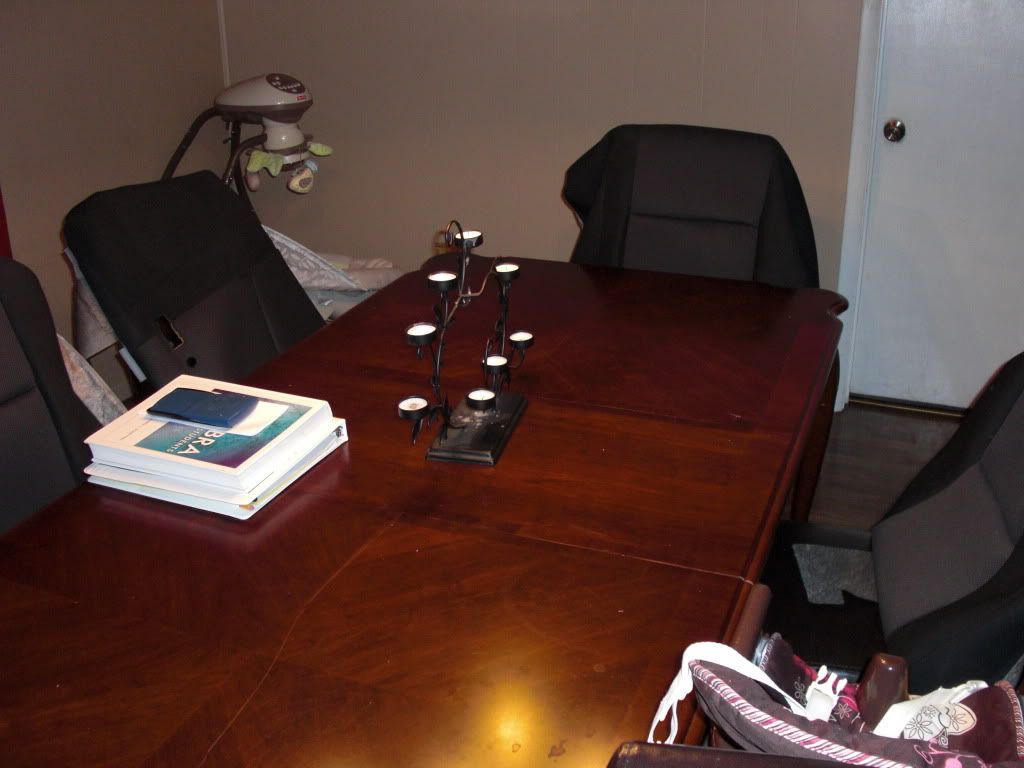
Then you get your tools off the ottoman before the wife flips out
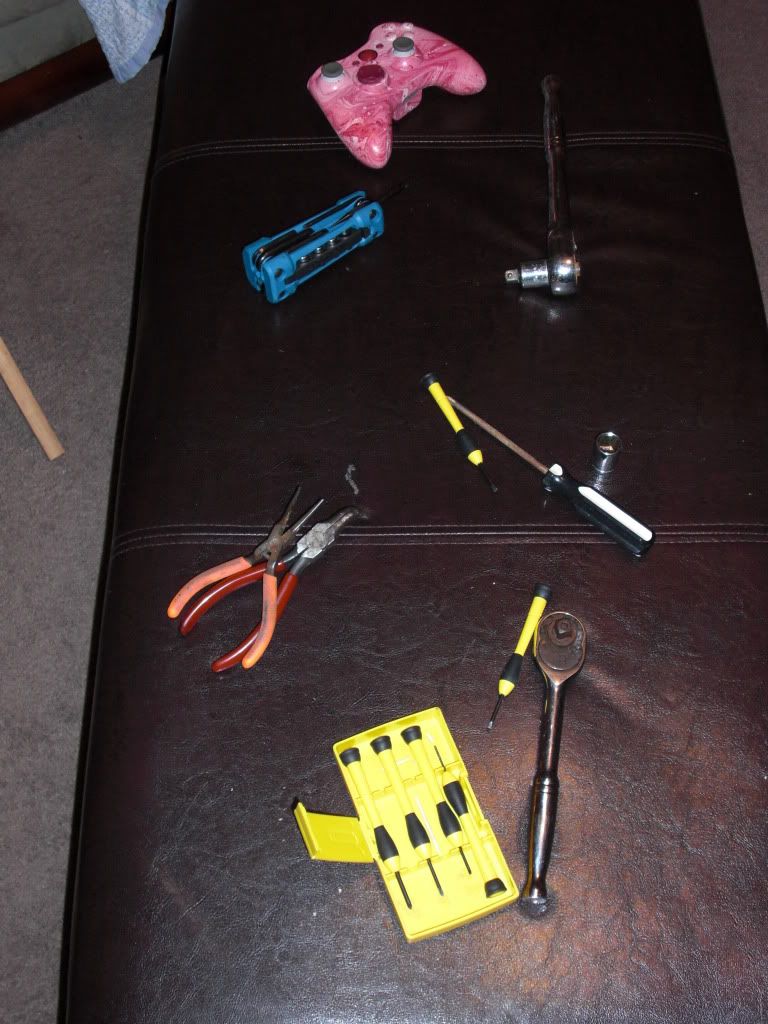
Image

Move your JUNK ( :roll: ) out of the way

Image

Machine wash on Gentle and hang to dry
Image

Then procrastinate for 3 days and FINALLY write a HUGE tutorial for GenVibe ;)
Image


If you have any questions I know you won't hesitate to ask. :lol:
I really....REALLY hope this helps someone out in the future b/c it sure was a lot of work.
And a headache doing this write-up too :o
CAMOGIRL
Posts: 849
Joined: Mon Feb 28, 2011 1:18 am

Re: How To Remove Factory Seat Covers

Post by CAMOGIRL »

WOWH. :geek:

I kinda feel exhausted from looking at everything you did! This is a very helpful writeup, I get all slow and scared too, and it's nice that you posted what stuff looks like, and what kind of connectors to expect. After carpooling to school last year 60 miles RT, and this year 90 miles RT, I think I'm going to take it all apart and wash it, it's gettin kinda grimy with three nursing students living out of it... How clean did they come in the washer on gentle? Like brand new or was there still spotting but mostly good?
Well-behaved women rarely make history.
User avatar
A Psycho Martyr
Posts: 2598
Joined: Mon Feb 08, 2010 6:13 am
Location: Cullman, Alabama

Re: How To Remove Factory Seat Covers

Post by A Psycho Martyr »

I haven't taken them out in the sunlight, but they seem to be spotless. I mean not NEW, but no stain spots or those little rings they get when they get wet.
I know you can have them shampoo'd and there are several ways to clean them while they're still in the car, but mine were coming off anyways.

They smell awesome now too. You know when you slap a seat and you can see a cloud of dust come off?
machine washing will rinse ALL that out and my washer has a clear window in the front.....water was brown at one point in the rinse cycle :shock:
tpollauf
Posts: 4023
Joined: Wed Jan 20, 2010 11:37 am
Location: Toledo/Oregon, Port Clinton Ohio
Contact:

Re: How To Remove Factory Seat Covers

Post by tpollauf »

Brandon. You know a portable dirt devil and/or Bissel would be a lot quicker and easier :? However the perfectionist in you (most of us here) saw the advantages of going to this extreme and doing it right. Awesome report and tutorial :D I love the fact that you did all this on your wife's furniture and didn't get caught :lol: I bet the kids toys came in handy :roll: Since you went through all this bother, now you need to have something "classy" embroiled into the fabric before you put it all back together. Let your imagination run wild (I usually do!) and get creative. My post last winter on installing heated seat elements doesn't even come close to what you have posted here. Nice work !!!! ;)
Image
2009 Vibe GT (manual), 2009 G8Gt, 2009 Vibe GT (auto)
2014 Silverado, 2004 Vibe GT

"everything is modifiable"
star_deceiver
Posts: 5800
Joined: Fri Jun 05, 2009 1:49 pm
Location: Airdrie, AB

Re: How To Remove Factory Seat Covers

Post by star_deceiver »

That's quite the write-up! I don't think my car's seen a vacuum in..... ever.... with the exception of moving one!
2019 Ram 3500 4x4 CCSB srw 8HP75
2016 Ram 3500 4x4 RCLB Dually w/stick (traded in - 05/10/19)
2012 Chevy Silverado 1500 Cheyenne 4x4 (Traded in - 03/30/16)
2009 Vibe. (Traded in - 12/12/12)
User avatar
Reaccion
Posts: 159
Joined: Thu Aug 23, 2012 7:52 pm

Re: How To Remove Factory Seat Covers

Post by Reaccion »

Wow!! Very nice! I needed this! Great details!!
lannvouivre
Posts: 1601
Joined: Thu Jun 09, 2011 1:00 pm
Location: Texas yay

Re: How To Remove Factory Seat Covers

Post by lannvouivre »

Now the real question is...how did you get them back on?! lol
"If you don't love me at my diddliest, you don't deserve me at my doodliest." - User ktluvscricket of reddit
User avatar
A Psycho Martyr
Posts: 2598
Joined: Mon Feb 08, 2010 6:13 am
Location: Cullman, Alabama

Re: How To Remove Factory Seat Covers

Post by A Psycho Martyr »

I'm not puttin them back on til I get what I want done to them,
but when that happens, I gotta buy a set of Hog Ring Pliers and some rings and prepare to shout profanities :evil:
NcLoven
Posts: 2
Joined: Wed Nov 07, 2012 8:24 pm

Re: How To Remove Factory Seat Covers

Post by NcLoven »

Well I drive a base model 2005 and I want to make my own custom seat covers. Do I have airbags in the seat? Thanks for the tutorial. I will use it when doing mine... If there are no airbags in the seats.
User avatar
A Psycho Martyr
Posts: 2598
Joined: Mon Feb 08, 2010 6:13 am
Location: Cullman, Alabama

Re: How To Remove Factory Seat Covers

Post by A Psycho Martyr »

I suppose you could look up tour VIN# somewhere and find out. or call a dealer and ask em.
I would think if you had airbags, the seats would be marked somehow.
Like maybe a tag or an embroidery thing saying they had airbags
silverbullet
Posts: 388
Joined: Thu Oct 28, 2010 1:05 am

Re: How To Remove Factory Seat Covers

Post by silverbullet »

When I put heated seats in the front I used zip ties instead of hog rings. Way easier and works perfect. I'm curious to see what you'll do with yours.
User avatar
BillCrittenden
Posts: 22
Joined: Sat Apr 07, 2012 12:00 am

Re: How To Remove Factory Seat Covers

Post by BillCrittenden »

I just wanted to say THANK YOU for such an awesome guide here! I took my seats out after 170K miles to throw the covers in the wash and get rid of the moldy old carpet. I couldn't have done it without breaking stuff if it weren't for this. Thank you.

Instead of hog rings for reinstallation, I was going to use some 20 or 22 gauge wire and just twist it off but I find that the seats still conform to the pads quite nicely without. Zip ties, why didn't I think of zip ties?
hoooboy
Posts: 52
Joined: Wed Dec 11, 2013 8:47 pm

Re: How To Remove Factory Seat Covers

Post by hoooboy »

Nice HUGE DIY
I also use zip-ties. So far no problem!

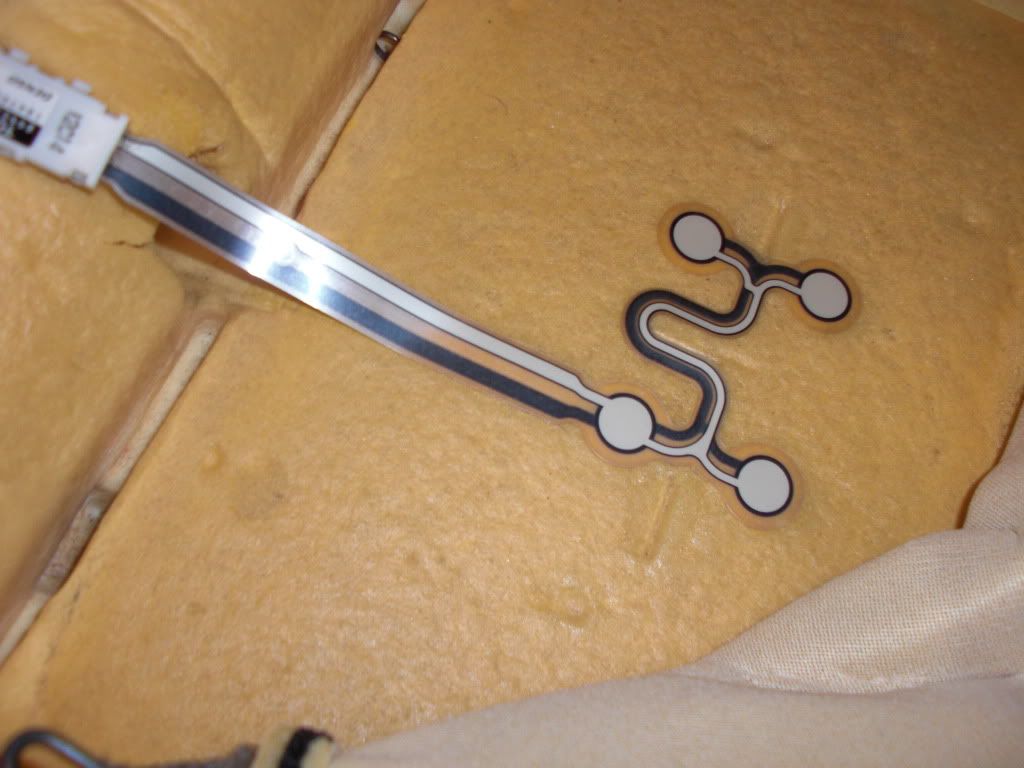
Is this a seat heater??? It doesnt look like mines!
Image

Damn your passenger seat rack was so rusty! (I was a rustproofing tech for the last 6 years! lol)
User avatar
A Psycho Martyr
Posts: 2598
Joined: Mon Feb 08, 2010 6:13 am
Location: Cullman, Alabama

Re: How To Remove Factory Seat Covers

Post by A Psycho Martyr »

nah, that's the Passenger Seatbelt Light switch.
When pressure is applied, the airbag turns on

...and yeah, man every time it's rained in my car
it has been the passenger side .lol.
terrible, I know :?
hoooboy
Posts: 52
Joined: Wed Dec 11, 2013 8:47 pm

Re: How To Remove Factory Seat Covers

Post by hoooboy »

That's weird because I put seat heater pads on my Matrix XRS 2005 and I dont have this thing! I have a switch somewhere because I also have a seatbelt light for the airbag. But I never see this sensor on my car!
tpollauf
Posts: 4023
Joined: Wed Jan 20, 2010 11:37 am
Location: Toledo/Oregon, Port Clinton Ohio
Contact:

Re: How To Remove Factory Seat Covers

Post by tpollauf »

Some cars had (and may still have) this sensor on the BOTTOM of the seat. Follow the wiring and you'll locate it!
Image
2009 Vibe GT (manual), 2009 G8Gt, 2009 Vibe GT (auto)
2014 Silverado, 2004 Vibe GT

"everything is modifiable"
User avatar
A Psycho Martyr
Posts: 2598
Joined: Mon Feb 08, 2010 6:13 am
Location: Cullman, Alabama

Re: How To Remove Factory Seat Covers

Post by A Psycho Martyr »

tpollauf wrote:Follow the wiring and you'll locate it!
^^Tim's right. It should be that simple.
Post Reply