1) First things first jack up the car and remove the wheels
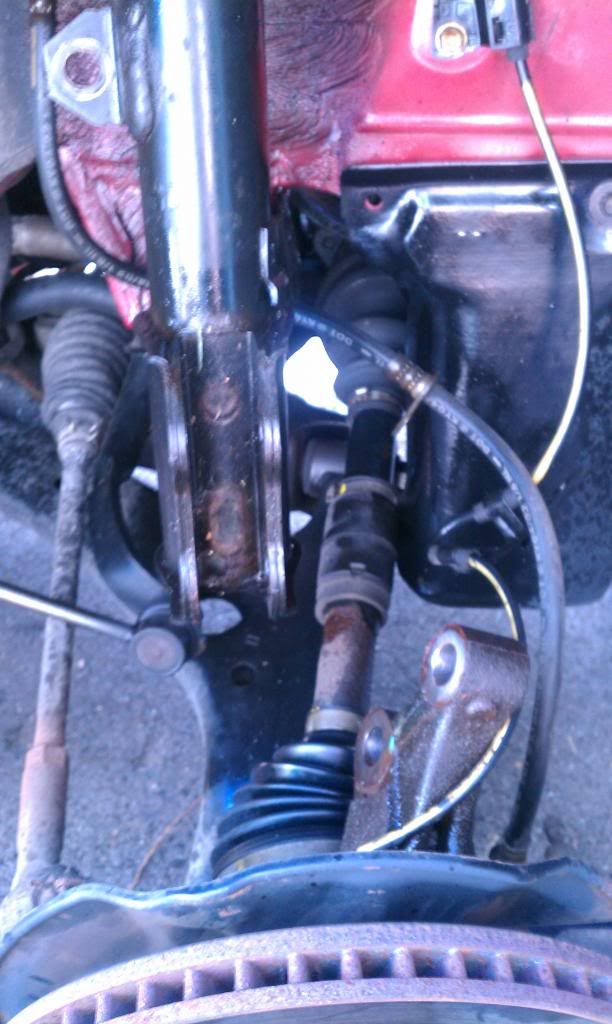
2) remove the 14 mm bolt holding the brake hose and abs wire
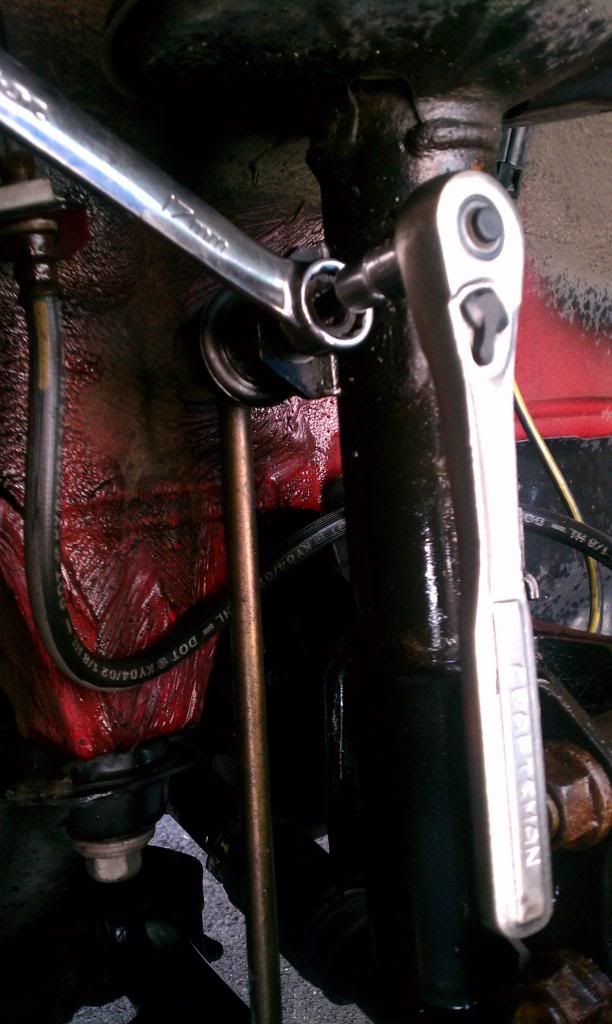
3) remove the sway bar end link . hit it w/ som wd40 first , then use an airgun till it spins freely , now use a hex bit and a box end wrench to remove the nut (you will most likely need to hammer the hex bit in to get a good bite)
4) remove the two 22 mm nuts and bolts that mount the strut to the steering knuckle (if you arnt changing springs you may want to mark the knuckle for alignment purposes)
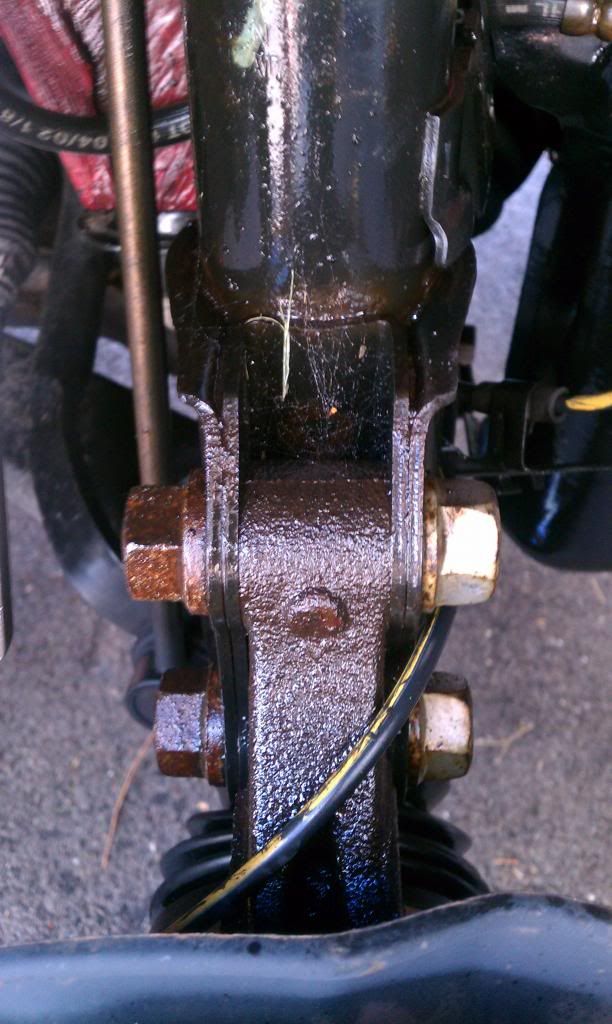
(Make sure you dont let the susspension hang to low ) otherwise you could damage the hose , wire , or axle do not let axle pull out of its sockets make sure it rotates smoothly before putting back together
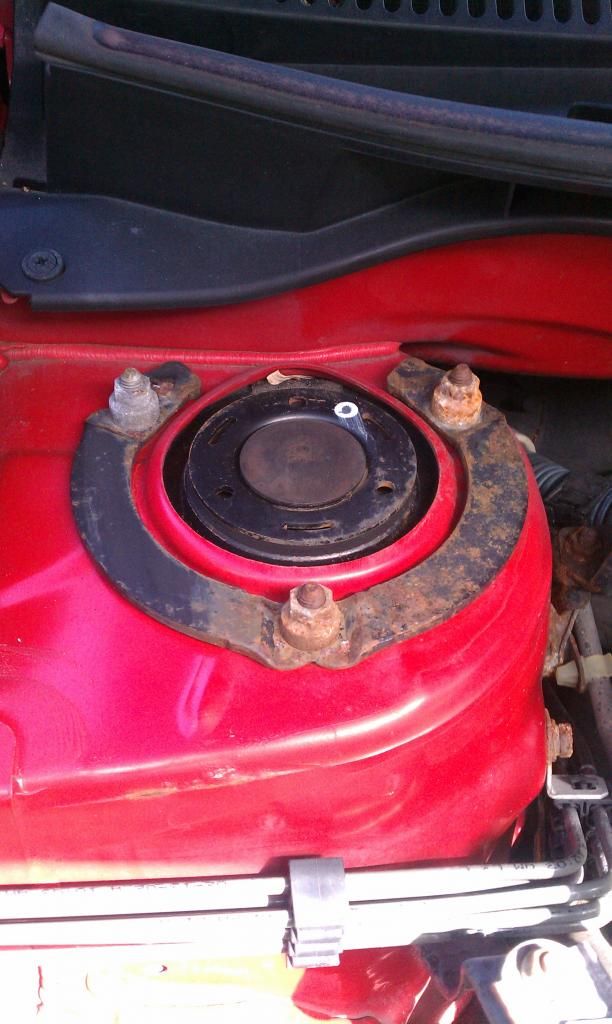
5) remove the 3 12mm nuts on the strut tops (be carefull not to let it drop) or you may damage the axle boot
6)Mark the spring and strut with a line from top to bottom . this will ensure that your hat is inline with the lower mounting when reinstalling . and help with getting spring to sit correctly on the perch and rubber top
i usually use white out for this
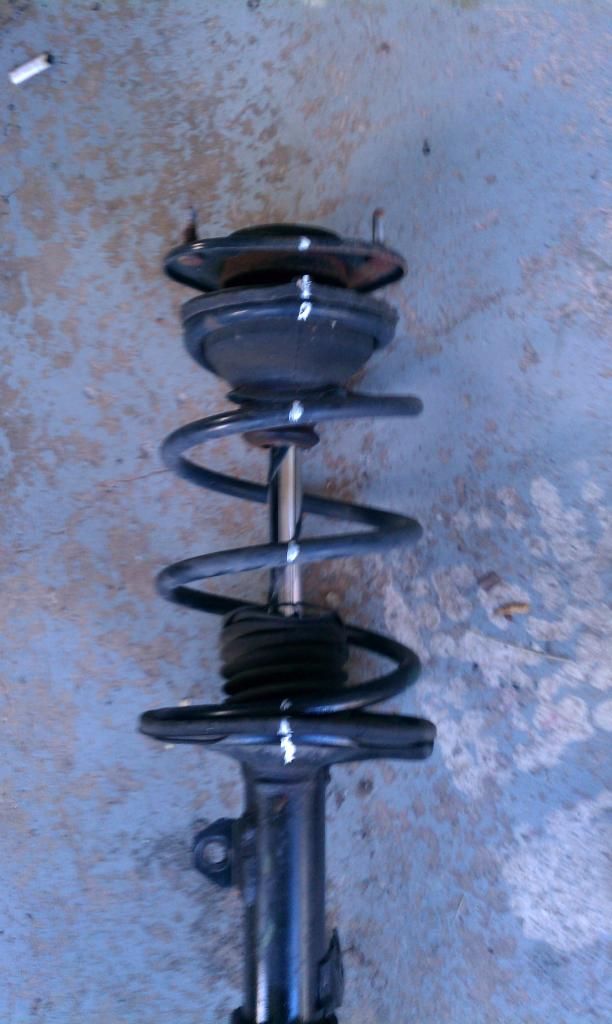
7)some will tell you you will need a spring compressor to take the spring strut assyembly apart . you don't just make sure you are pressing firmly down on the air gun and when it pops it will only pop up a little bit , (if reinstalling oem springs you will need spring compressor ) but lowering springs are shorter than oem springs so you can get the hat's back on by just pressing down a bit
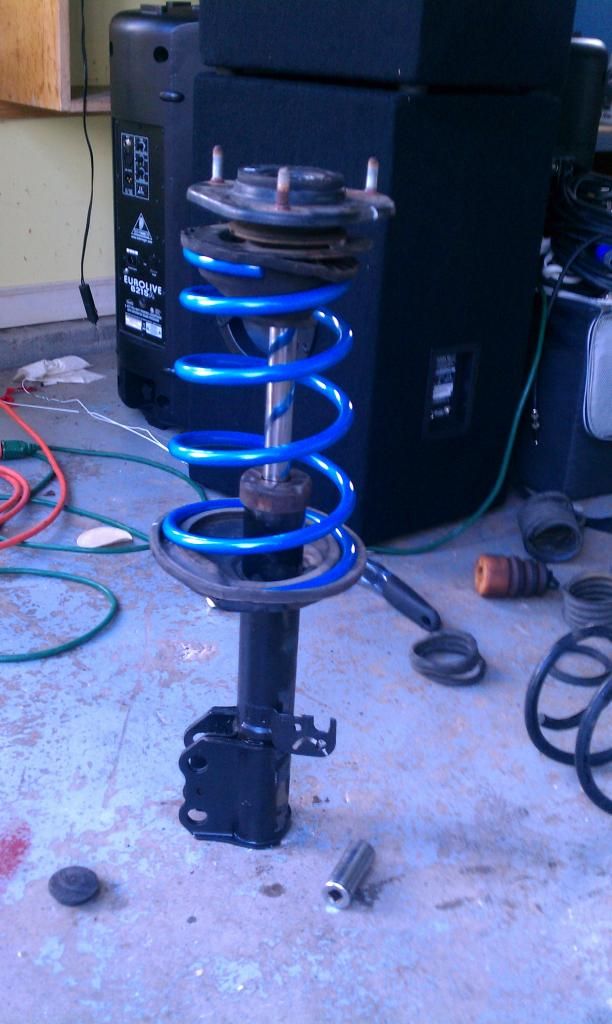
8) take the assembly apart one piece at a time take care to re install all parts in the correct reverse order and don't get the washers flipped upside down
9) make sure before you tighten the top bol down that the square part of the shaft sits correctly in the hat (otherwise you will get alot of banging and part failure)
10)re install the assembly to the vehicle
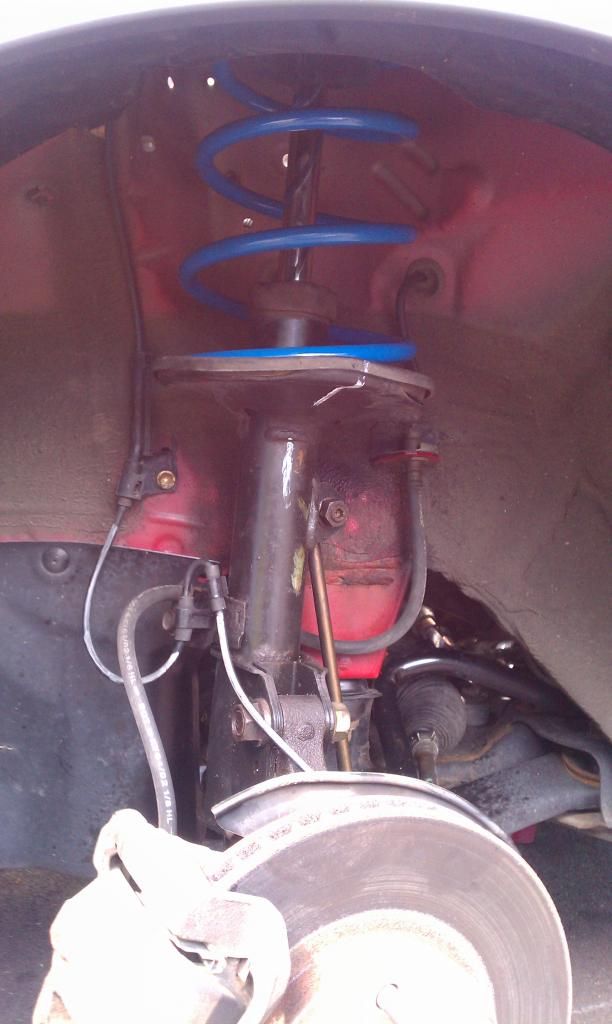
11) if lowering i would tighten lower bolts with as much positive camber as you can because it is bound to be negative when all is said and done
some may require a camber bolt
ok now on to the rear (the fun part lol) the rear is a little tricky
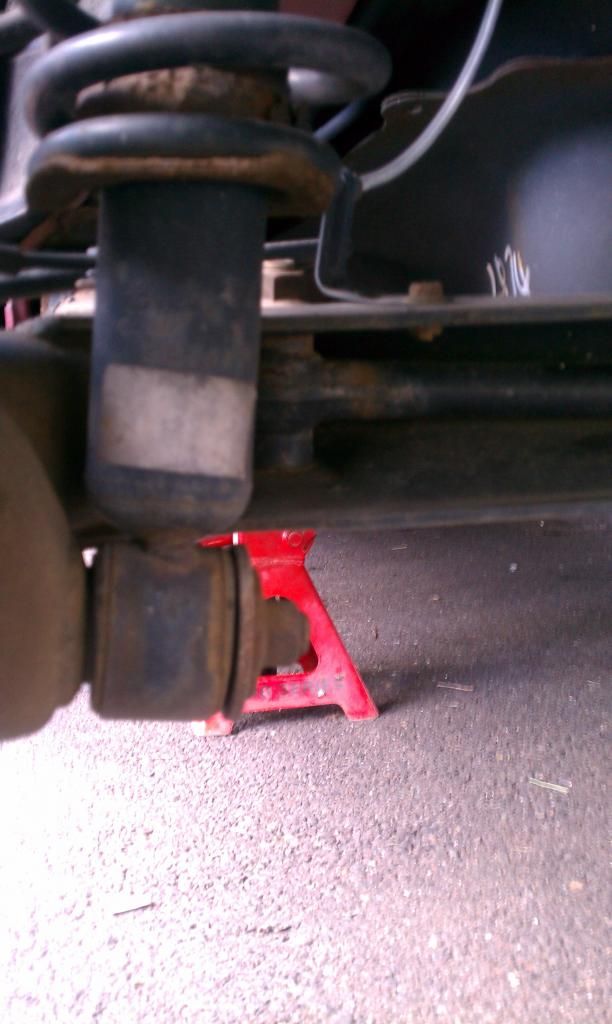
1) raise vehicle and remove wheels (always use a jack stand)
2) remove all rear interior panels from rear doors back
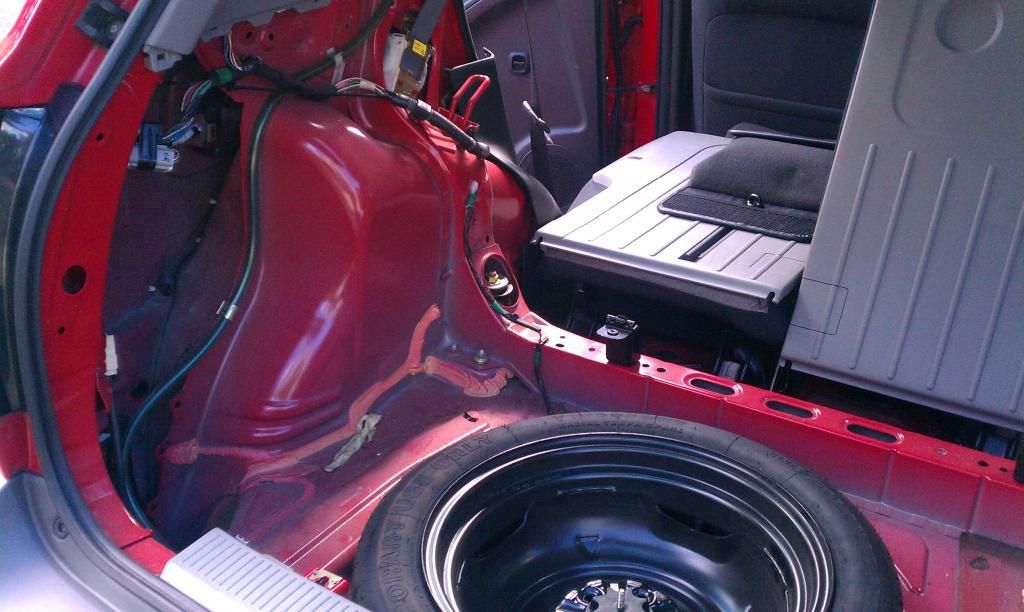
3) remove lower nut and wiggle (or pry if needed) to remove strut from lower smounting stud
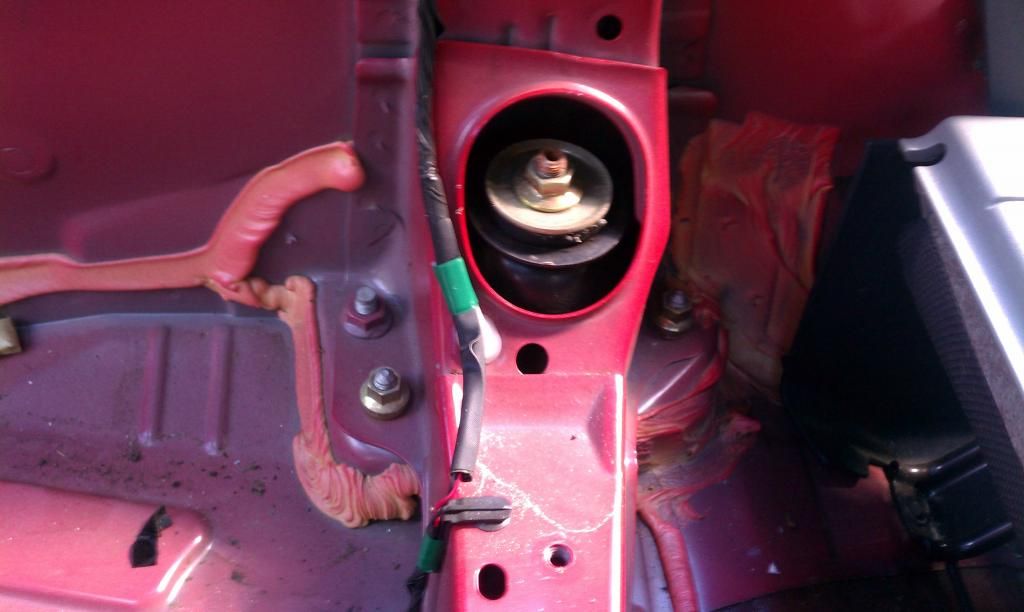
4) remove the 1 upper mount bolt from bottom , then the 2 upper mount bolts from inside the car
5) remove strut assyembly from vehicle
6) same as front mark a line the length of the assembly with white out to ensure proper alignment of all parts
7) the rear springs are much more compressed so be very care full when removing nut from top . if you push down firmly on air gun it will pop up a bit just make sur not to lose the nut and washer if they do go flying
8) take apart and re assymble with new parts
9) you will need something to compress the new springs on the rear , i used long carpenters clamps (the kind used to hold things together when being glued) . they work very well when you place them on the top of the hat and bottom perch
10) re install rear strut
11) lower vehicle , drive for a week or so to let springs settle , and then get it aligned
10) happy tuning now go see how fast she corners !
from suv
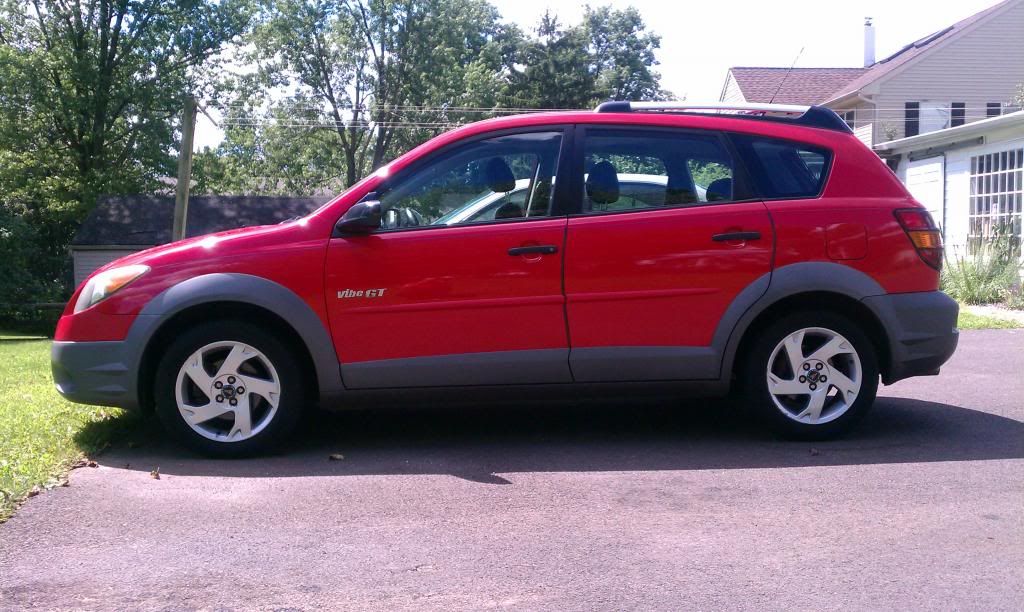
to sport wagon